
A customer brought me a pickup last summer that had just come down a long mountain grade. He said the pedal “went soft and then went to the floor” on the last switchback, and he parked it with the emergency brake shaking.
The pads were fine. The rotors were fine. The fluid in the reservoir looked like black tea and tested at 4% water content. On that descent, the fluid boiled, turned to vapor, and his pedal was pressing on gas instead of liquid.
Brake fluid is the most skipped service item I see, and the one with the scariest failure mode. Here’s how I decide when it needs a flush, and how to do one in the driveway.
Your Pedal Is a Water Pipe
Your brake system is hydraulic. The pedal pushes the master cylinder, which pushes fluid, which pushes caliper pistons, which clamp pads on rotors.
The whole trick depends on one physical fact: liquid does not compress. Your foot’s pressure arrives at the wheels instantly and undiminished.
But gas compresses. If anything in the fluid turns to vapor — boiling from heat, or air sneaking in past a seal — your pedal stroke spends itself squeezing that vapor instead of moving the pistons. That’s the “spongy” or “going to the floor” feeling, and on a mountain it’s the whole ballgame.
The One Enemy: Water
Brake fluid is hygroscopic. It pulls moisture out of the air through microscopic pores in rubber hoses, past seals, and every time the reservoir cap is opened.
It doesn’t take a leak or a flood. It happens parked in a dry garage. Typical absorbed water runs 2 to 3 percent after a couple of years, and it never leaves on its own.
Water does two things you don’t want. It drops the fluid’s boiling point, and it corrodes the system from the inside out.
What Water Does to Your Boiling Point
| Fluid | Dry boiling point | Wet (3% water) boiling point |
|---|---|---|
| DOT 3 | 401°F | 284°F |
| DOT 4 | 446°F | 311°F |
| DOT 5.1 | 518°F | 375°F |
Hard braking from highway speed can push caliper fluid past 300°F on its own. Add a sticky caliper, a heavy load, or a mountain, and wet DOT 3 is boiling in your lines. Boiled fluid is the pedal-to-the-floor story from my intro.
What Water Does While You Sleep
The corrosion side is slower and just as expensive. Water in the lines rusts steel brake lines from the inside, pits caliper bores, and fouls the tiny valves inside the ABS module.
I’ve replaced more rusted brake lines and ABS units on neglected cars than on worn-out ones. A rusted line usually announces itself by bursting at the worst possible moment, like the middle of a panic stop.
The fluid also darkens as it ages and collects debris. Clear amber fluid turning to cola is your visual cue that the chemistry is spent.
So When Do You Flush?
My shop rule: every 2 to 3 years, or 30,000 miles, whichever comes first. Your manual may state an interval; if it says nothing, that’s not permission to skip — it’s just silence.
Three ways to know instead of guess:
- Test strips. Dip a strip in the reservoir and it changes color based on copper content and moisture. Parts stores sell them for a few dollars. Over 3% water means flush now.
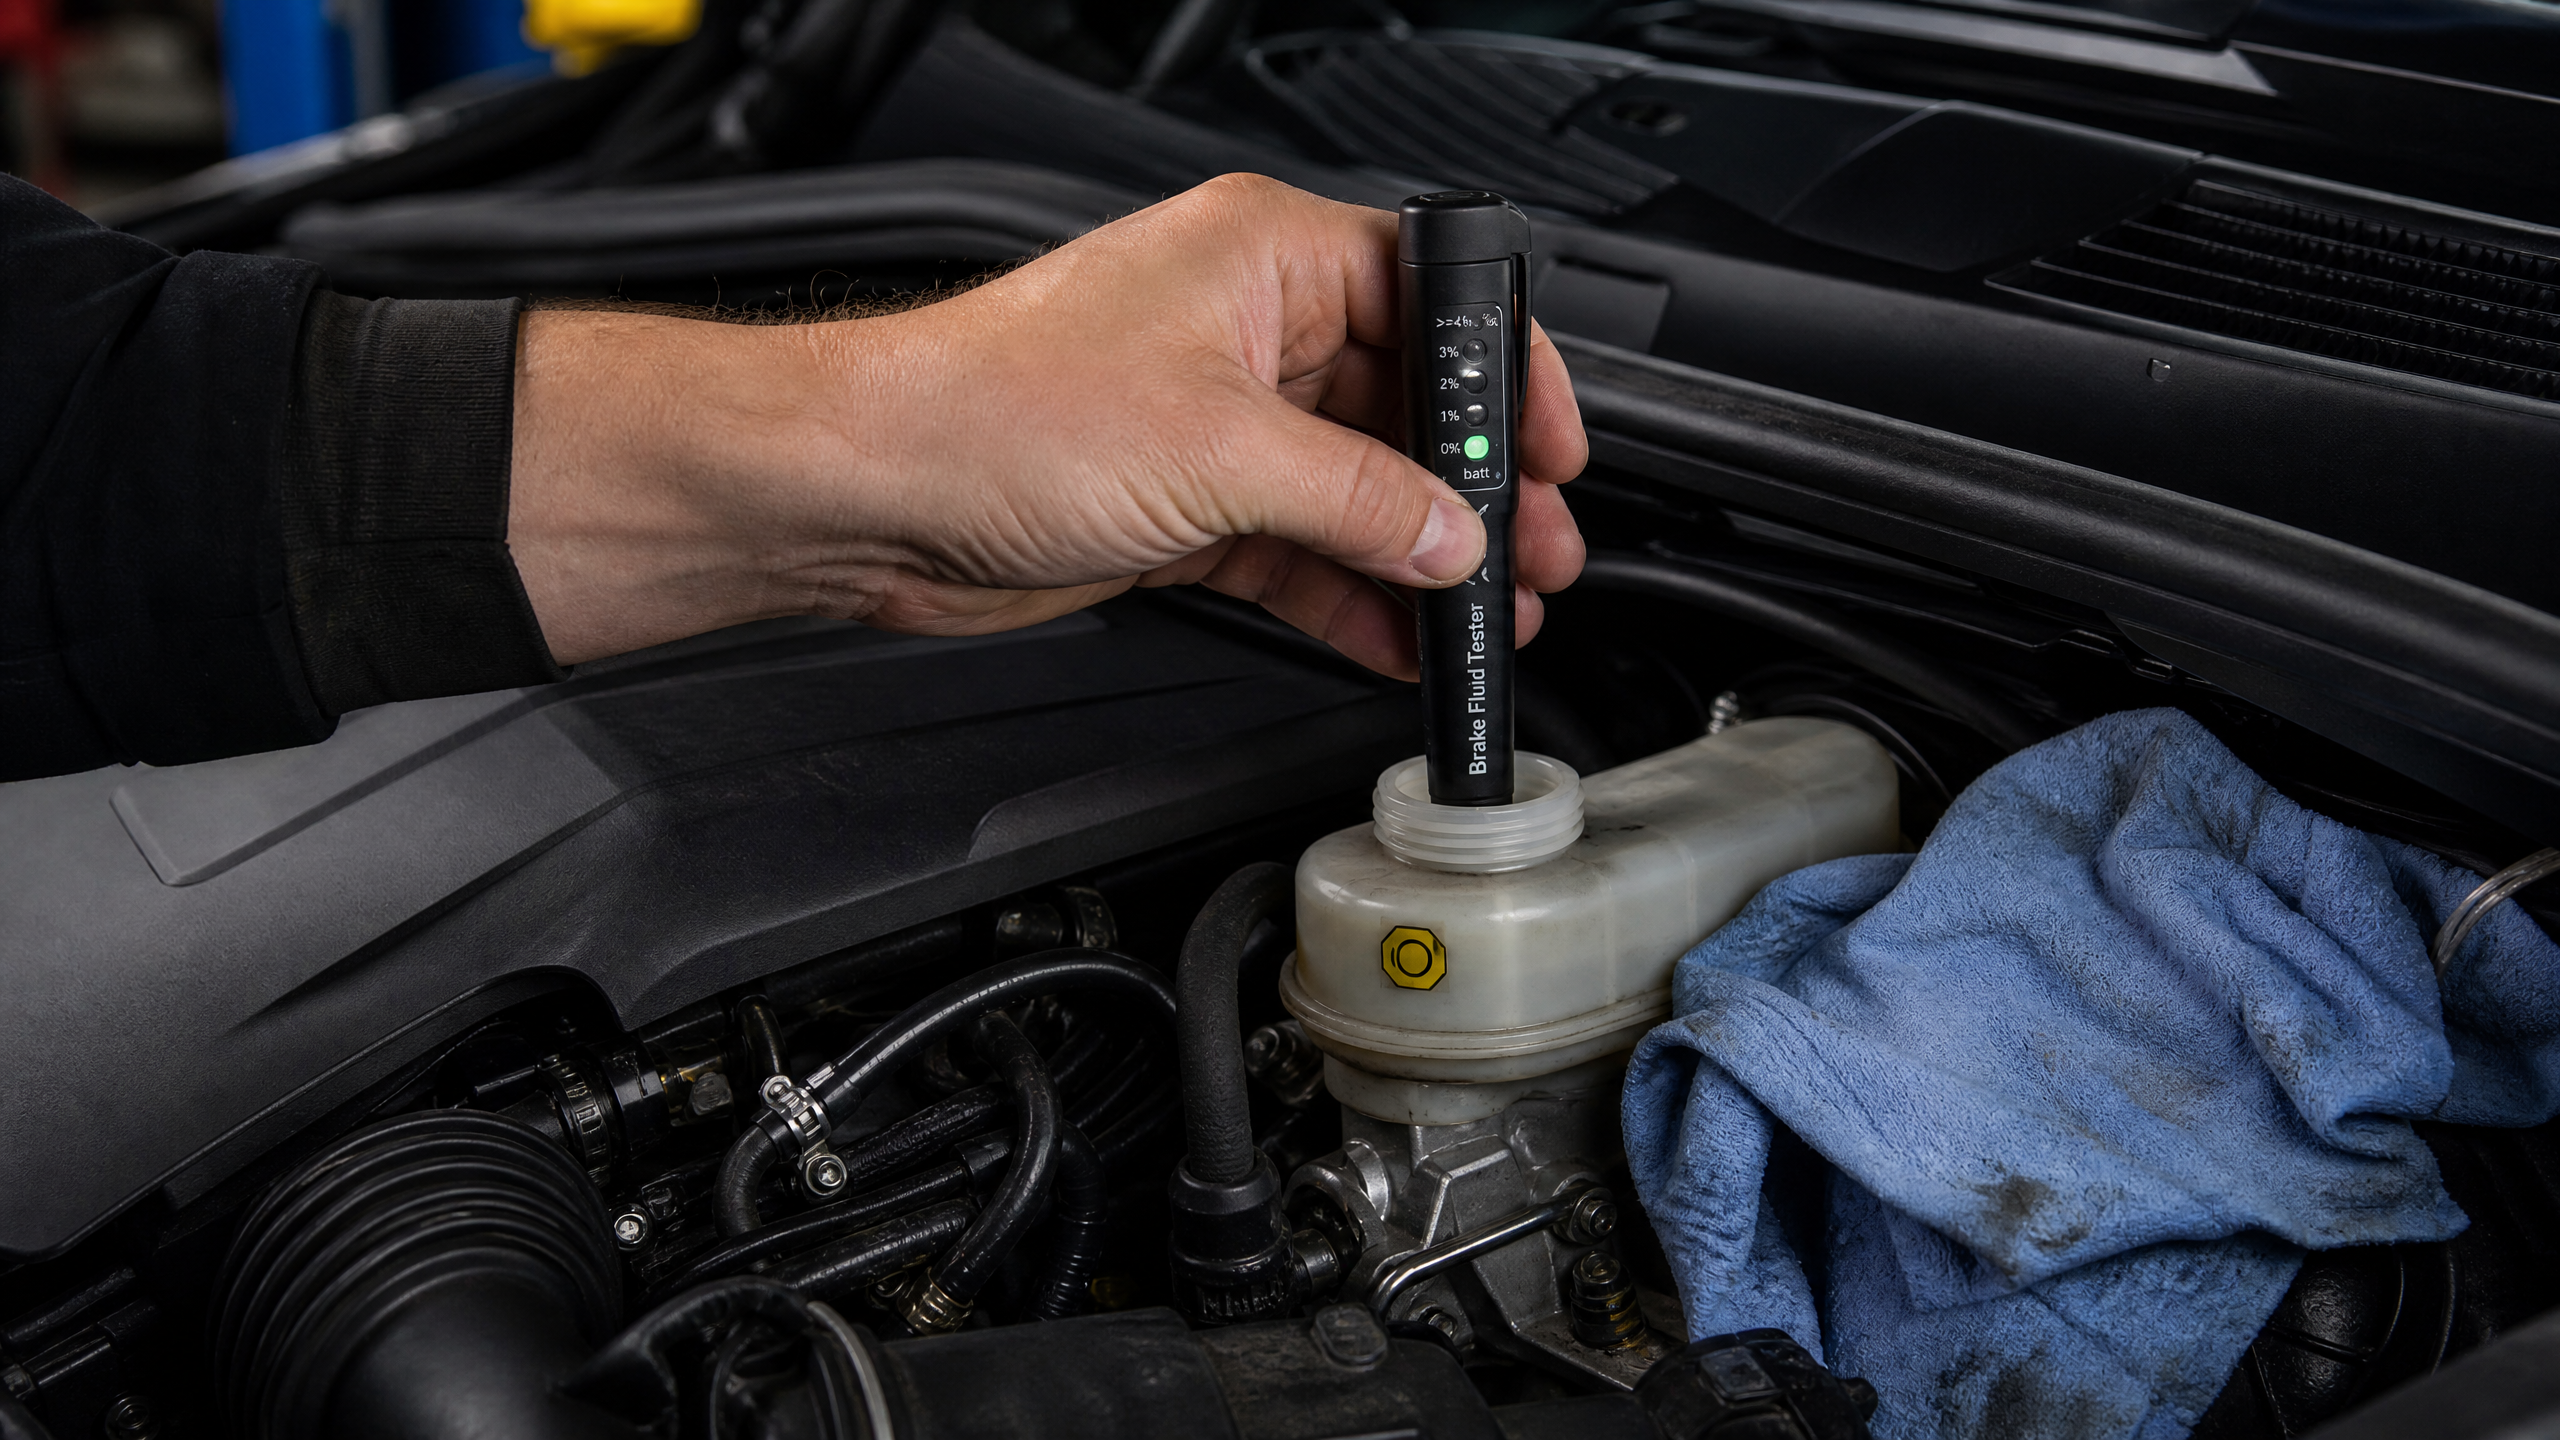
- A refractometer or electronic tester. This is what I use. It reads the actual boiling point left in the fluid.
- Eyes and nose. Dark brown or black fluid, or fluid that smells burnt, is done. Fresh fluid is clear to light amber.
If you tow, drive mountains, or run track days, tighten the schedule to every year or two. Heat is the tax collector on brake fluid.
Flush vs. Bleed vs. Top-Off: Know Which You’re Doing
A top-off just adds fluid to the reservoir. It fixes nothing except the level, and a low level means a leak you should be chasing, not topping off.
A bleed pushes air out of one or more circuits after a repair, like a caliper swap.
A flush pushes old fluid out of the entire system — master, lines, ABS, calipers — and replaces it with new. That’s the maintenance job, and it’s what this article is about.
DIY Flush: The Two-Person Way
You can do this with a helper, a 10mm flare wrench for the bleeder screws, clear vinyl tubing, a catch bottle, and two quarts of the DOT rating your cap calls for.
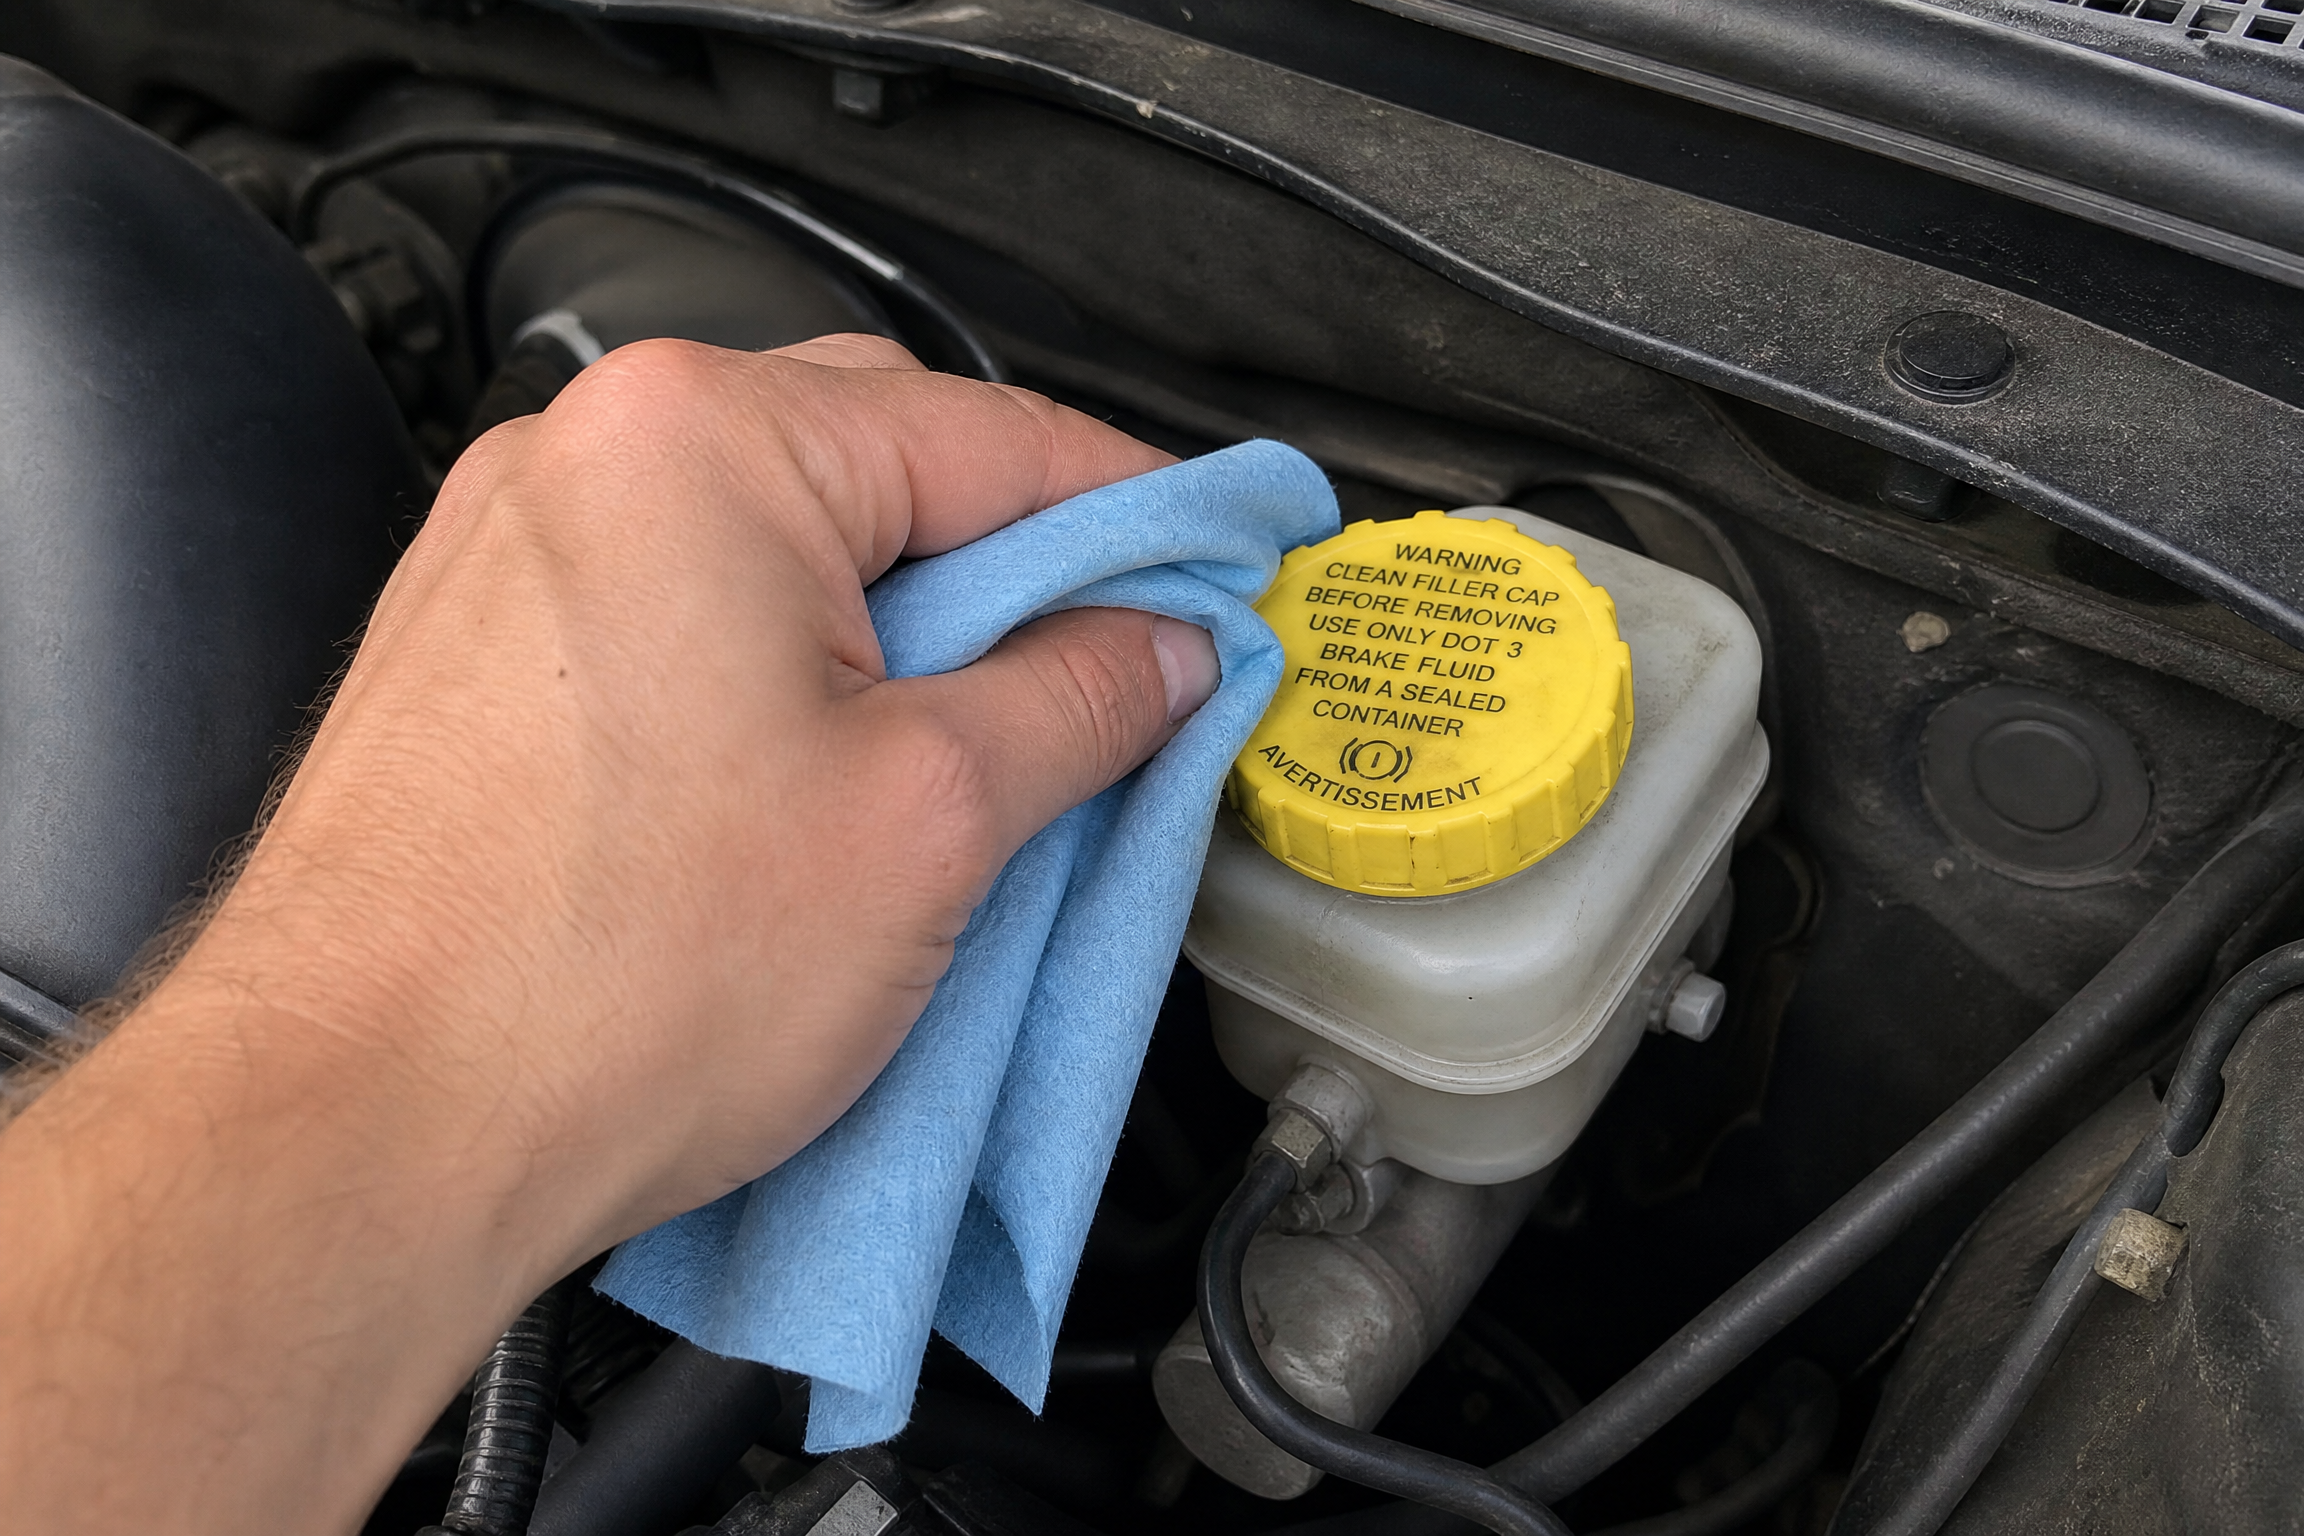
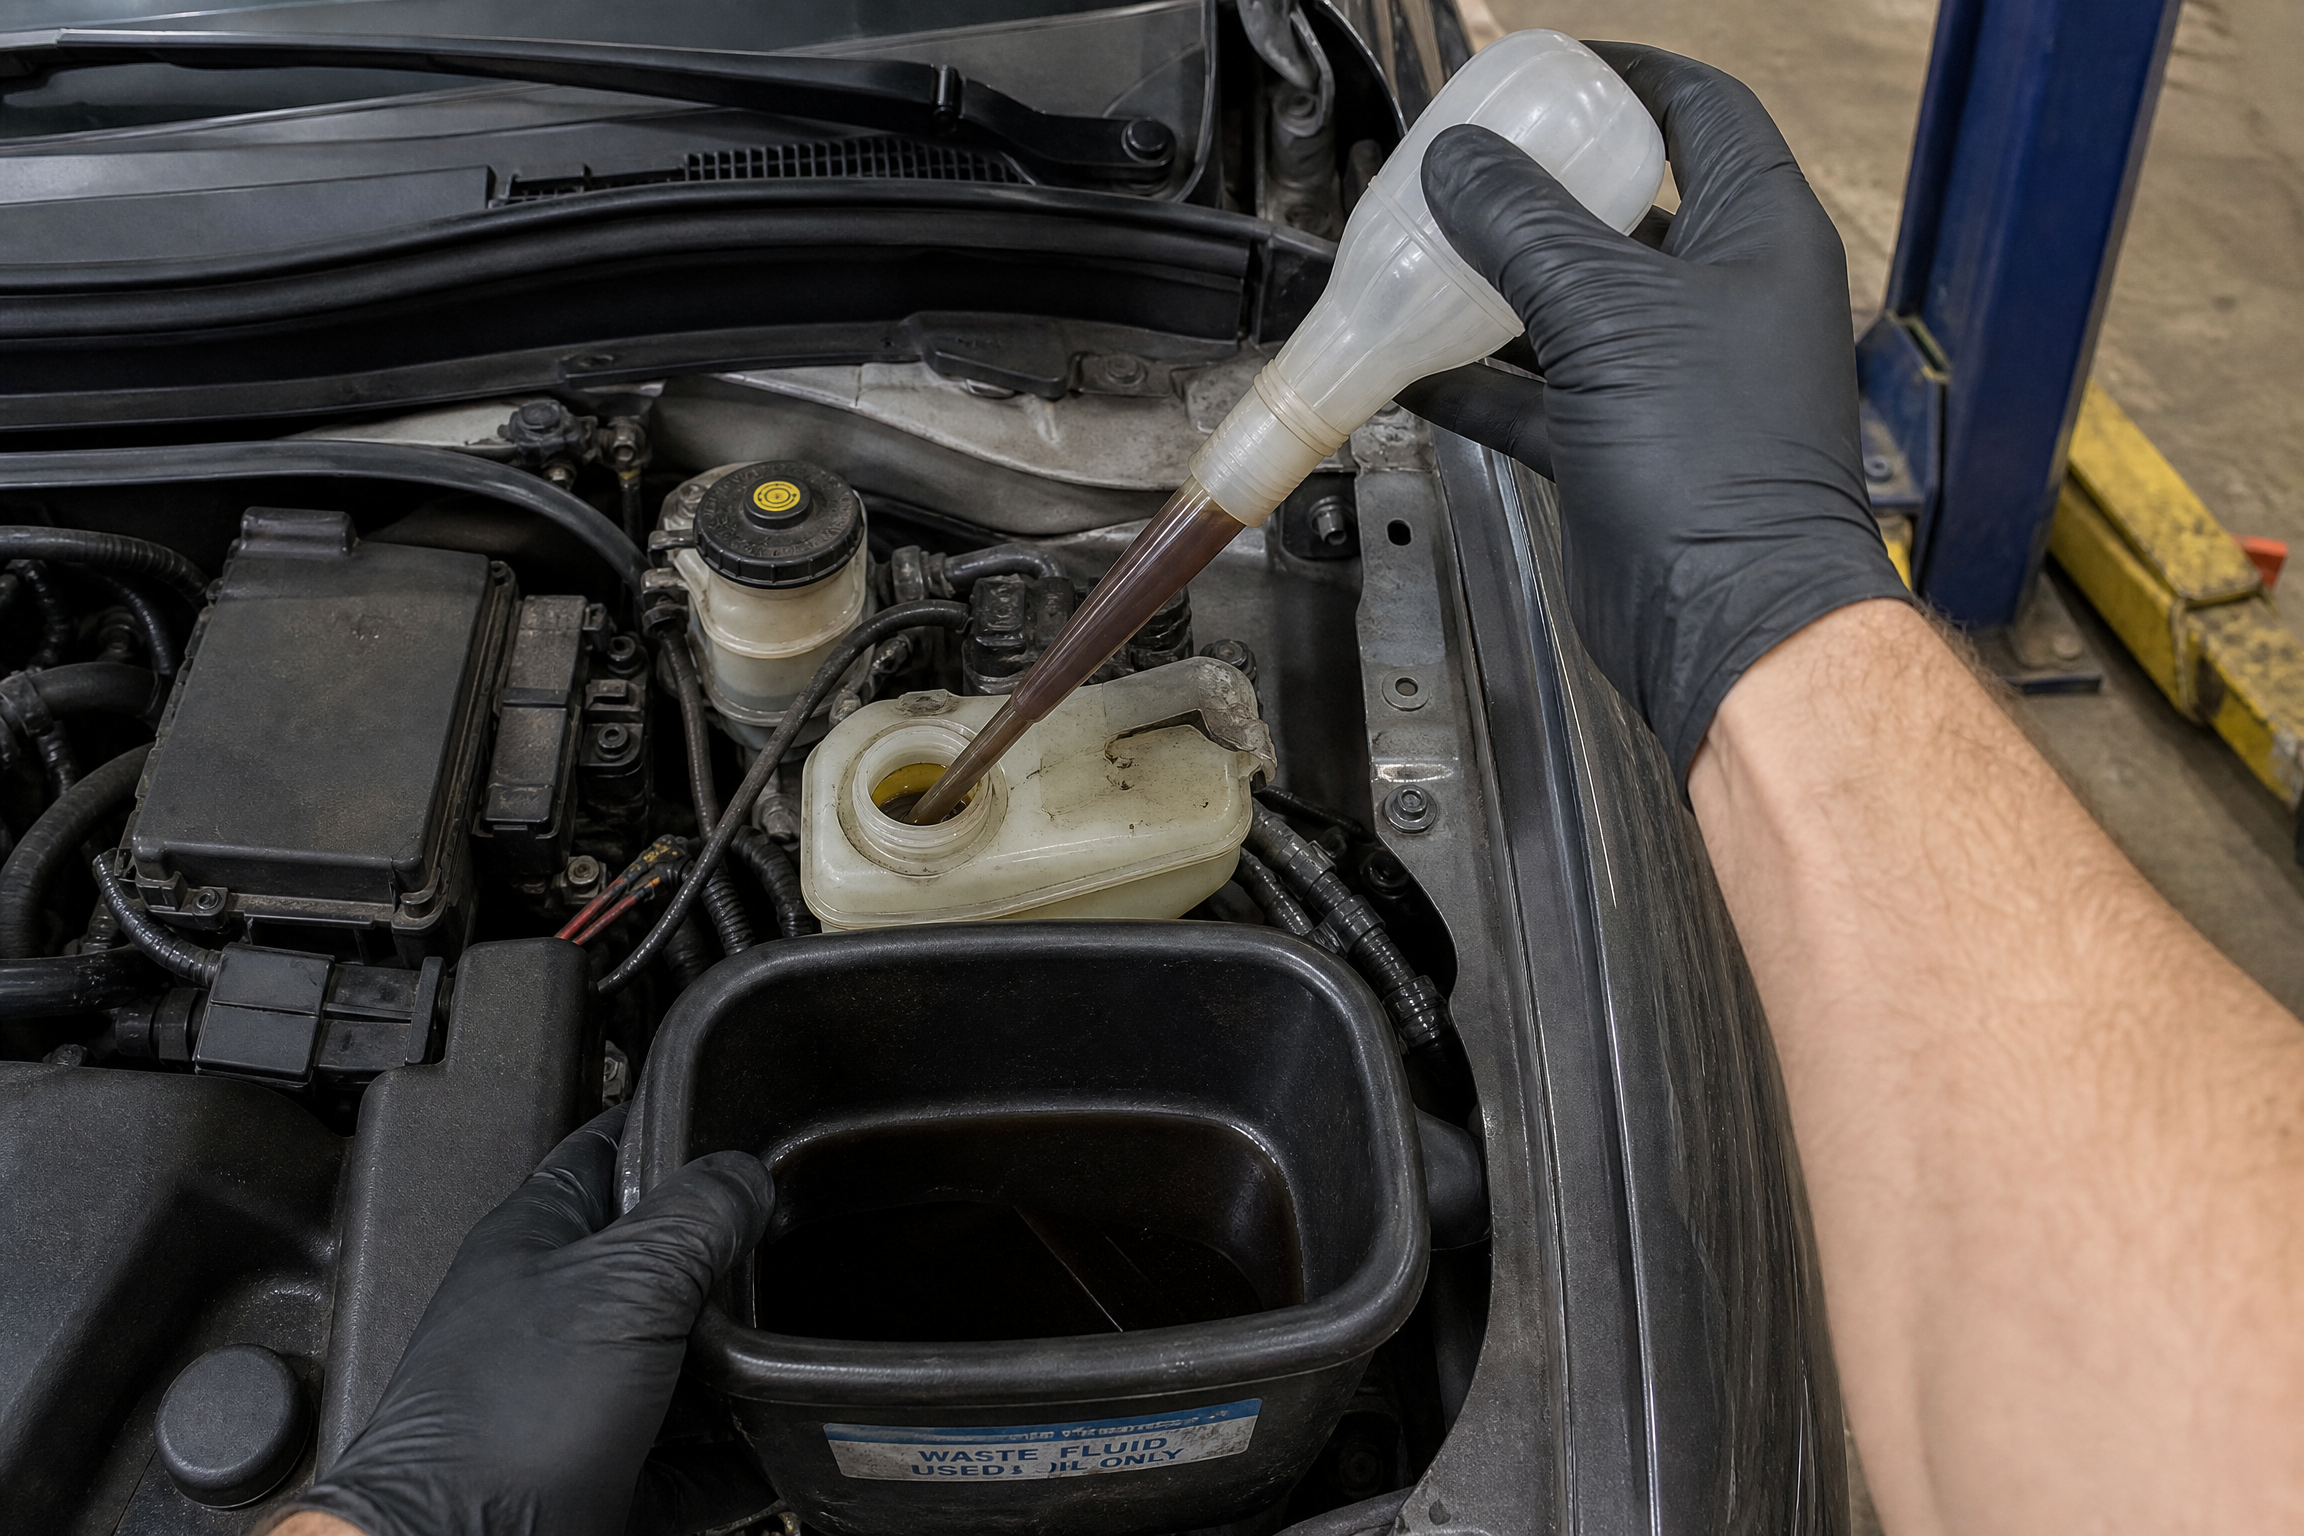
1. Start with a full reservoir. Clean the cap and the area around it before opening. Dirt falling into the master is how ABS valves die. Suck out the old fluid from the reservoir with a turkey baster first, refill with new, and keep it at least half full the entire job. If the master runs dry, you just added air to the whole system.
2. Bleed farthest to nearest. The usual order is right rear, left rear, right front, left front, but your manual’s order wins.
3. At each wheel: slip the tubing over the bleeder, drop the other end in the catch bottle with an inch of fluid in it so air can’t backflow. Have your helper press the pedal down and hold. Crack the bleeder open a quarter turn with the flare wrench. Fluid flows, pedal sinks. Close the bleeder. Helper releases the pedal. Repeat until the tube runs clear new fluid with no bubbles.
4. Watch the reservoir like a hawk between every wheel. Top it off every time.
5. Finish with a pedal check. Engine running, the pedal should feel firm and stay firm under steady pressure. A pedal that slowly sinks means air or an internal leak, and that’s a stop-and-recheck moment.
A vacuum bleeder or a pressure bleeder turns this into a one-person job and is worth the $30 if you’ll ever do it twice.
Rules I Don’t Break
- Brake fluid eats paint. It strips clear coat down to bare metal if it sits. Lay a rag over the fender before opening the reservoir, and rinse any spill with water immediately.
- Use fluid from a sealed container. Fluid left open in a shelf jug for months is already wet. Buy the smallest sealed bottle that does the job.
- Never mix DOT 5 silicone with glycol fluid. DOT 3, 4, and 5.1 mix in a pinch. DOT 5 does not mix with any of them, and a silicone-contaminated system is a full teardown.
- Flare wrench only on bleeders. An open-end wrench rounds the soft brass, and a rounded bleeder is a drilled-out caliper.
- Dispose of old fluid as hazardous waste. Parts stores and county facilities take it. Never the drain, never the trash.
What a Flush Buys You
A firm pedal that stays firm on the third stop down a hill. Lines and ABS valves that live to old age. Calipers that don’t seize at 80,000 miles.
It’s a $25 fluid job that protects a $1,500 hydraulic system. On my own cars it’s the one service I calendar by date, not mileage, because the water accumulates by calendar.
Try It: Is Your Fluid Due?
Answer three questions and get the verdict I’d give you across the bay.
Brake fluid check-up
How long since the last flush?
What does the reservoir look like?
How does the pedal feel?
Wrap-Up
Brake fluid fails quietly, by calendar, in every garage in every climate. The flush is cheap, the test strips are cheaper, and the failure mode is the worst one a car has.
Check the color monthly, test the moisture yearly, and flush every two to three years. Your pedal will tell you thank you on the first hard stop.
Questions about bleeders that won’t crack loose or a pedal that still sinks after the job? Comment with the car and year, and I’ll walk you through it.
Related: Check out our guide on How to Install Apple CarPlay/Android Auto in Any Car.



Leave a Reply