I still remember the first time I ignored a brake squeal for too long. I was driving a 2009 Honda Accord I’d just picked up cheap, and I thought “I’ll check it next weekend.” Three weeks later I was grinding metal-on-metal into a brand new rotor. That repair cost me three times what a simple pad swap would have.
Don’t make that mistake. Brake pads are one of the most straightforward maintenance items on any car — but only if you catch them in time.
Here’s everything you need to know about how long brake pads last, what kills them faster, and exactly when to replace them.
How Long Do Brake Pads Actually Last?
The honest answer: anywhere from 15,000 to 70,000 miles. That’s a wide range, and it’s intentional. Pad life depends heavily on how and where you drive.
A delivery driver doing stop-and-go city routes will burn through pads in 20,000 miles. Someone cruising mostly highway might not need new pads for 60,000+ miles. Same car, completely different wear rates.
Brake Pad Lifespan by Driving Condition
Brake Pad Life Estimator
Estimated pad life based on driving style and conditions
| Driving Style / Condition | Estimated Pad Life | Notes |
| Highway / Gentle driving | 50,000–70,000 miles | Minimal heat cycles, low wear |
| City / Stop-and-go traffic | 25,000–40,000 miles | Frequent braking = faster wear |
| Aggressive / Sport driving | 15,000–25,000 miles | High temps accelerate fade |
| Towing or hauling heavy loads | 20,000–35,000 miles | Extra mass stresses pads hard |
| Mountain / Hilly terrain | 20,000–40,000 miles | Sustained braking causes glazing |
What Makes Brake Pads Wear Out Faster?
There are six main factors that chew through pads ahead of schedule. Knowing them helps you predict your own replacement schedule.
1. Driving Habits
Hard, late braking is the single biggest pad killer. Every time you brake from 60 mph instead of 40 mph, the energy your pads have to absorb roughly doubles. If you’re the type who rolls up close before slowing down, your pads pay for it.
I always coach newer drivers to brake earlier and lighter. Your pads — and your passengers — will thank you.
2. Vehicle Weight
Heavier vehicles need more braking force, which means more heat and more friction material consumed per stop. A loaded F-150 doing the same route as a Civic will need brake service noticeably sooner.
3. Terrain
Mountain driving is brutal on pads. Sustained downhill braking generates sustained heat, and heat is what causes brake fade and accelerated wear. If you live in a hilly area, shorten your inspection intervals.
4. Brake Pad Material
Organic pads are softer and wear faster. Ceramics last longer and stay cleaner. Full metallic pads last the longest but can chew up rotors faster than the others.
See the comparison table below for specifics.
5. Caliper Health
A sticking caliper is a hidden pad-killer. If a piston isn’t retracting fully, it keeps the pad pressed lightly against the rotor even when you’re not braking. I’ve seen pads worn to nothing in under 10,000 miles from a single seized caliper. If one side is wearing dramatically faster than the other, start there.
6. Rotor Condition
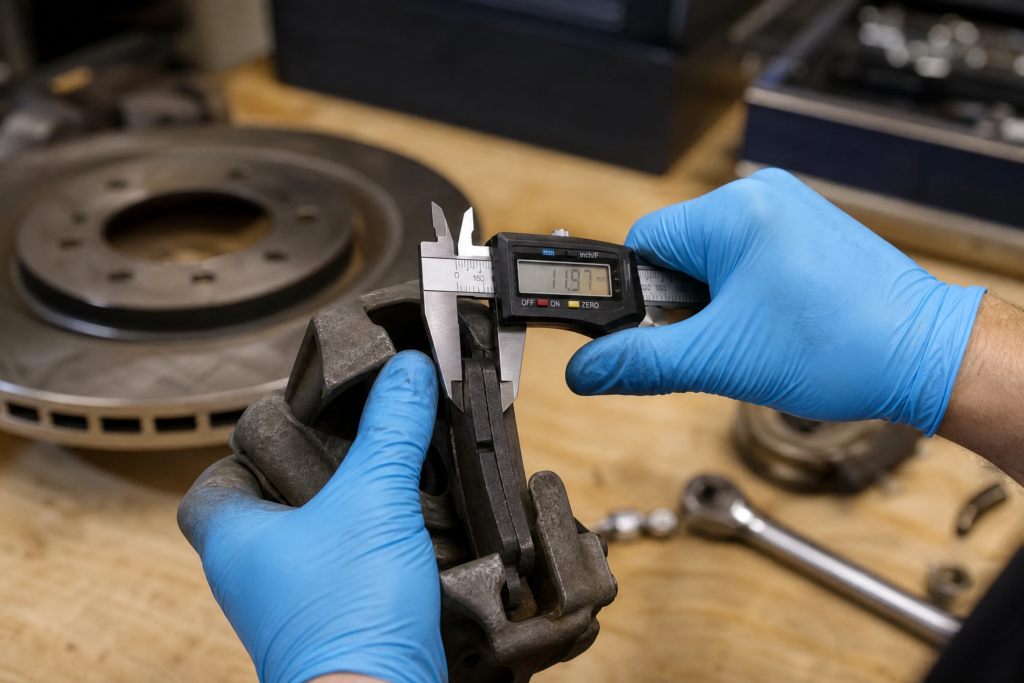
Warped or deeply grooved rotors will chew through new pads faster than smooth ones. Always inspect your rotors when you do pads. A quick pass with a micrometer (check your vehicle’s minimum rotor thickness spec) takes 60 seconds and saves you from doing the job twice.
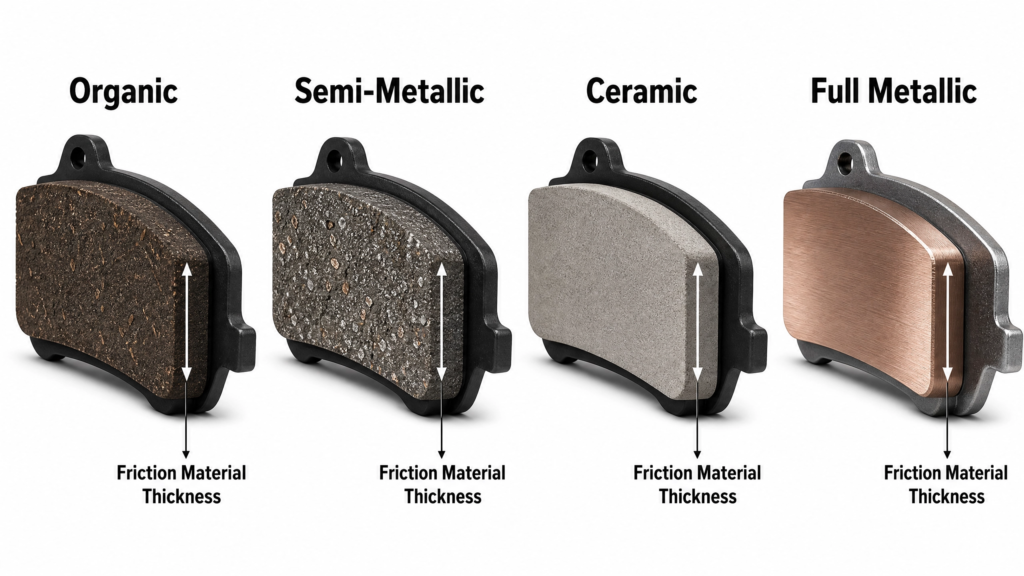
Brake Pad Types: How Long Does Each Last?
Not all brake pads are equal. Here’s how the main types stack up on lifespan and real-world use:
Brake Pad Comparison Guide
A detailed breakdown of performance, longevity, and comfort by material type
| Pad Type | Lifespan | Best For | Dust Level | Noise |
|---|---|---|---|---|
| Organic (NAO) | 30k – 50k miles | Daily commuting, light vehicles, dry climates |
Low
|
Very Low
|
| Semi-Metallic | 30k – 50k miles | Performance driving, heavy loads, cold weather |
High
|
Moderate
|
| Ceramic | 50k – 75k miles | Luxury cars, consistent braking, clean wheels |
Very Low
|
Low
|
| Full Metallic | 70k+ miles | Track racing, extreme heavy-duty, mountain use |
Very High
|
High
|
My daily driver recommendation: ceramic pads. They last longer, keep your wheels cleaner, and run quieter. Yes, they cost a bit more upfront, but the math works out over the long run.
For towing or track use, go semi-metallic or full metallic. The bite is better under sustained heat.
Warning Signs Your Brake Pads Need Replacing
Your car will tell you when the pads are done. You just need to know what to listen and look for.
Sound-Based Warnings
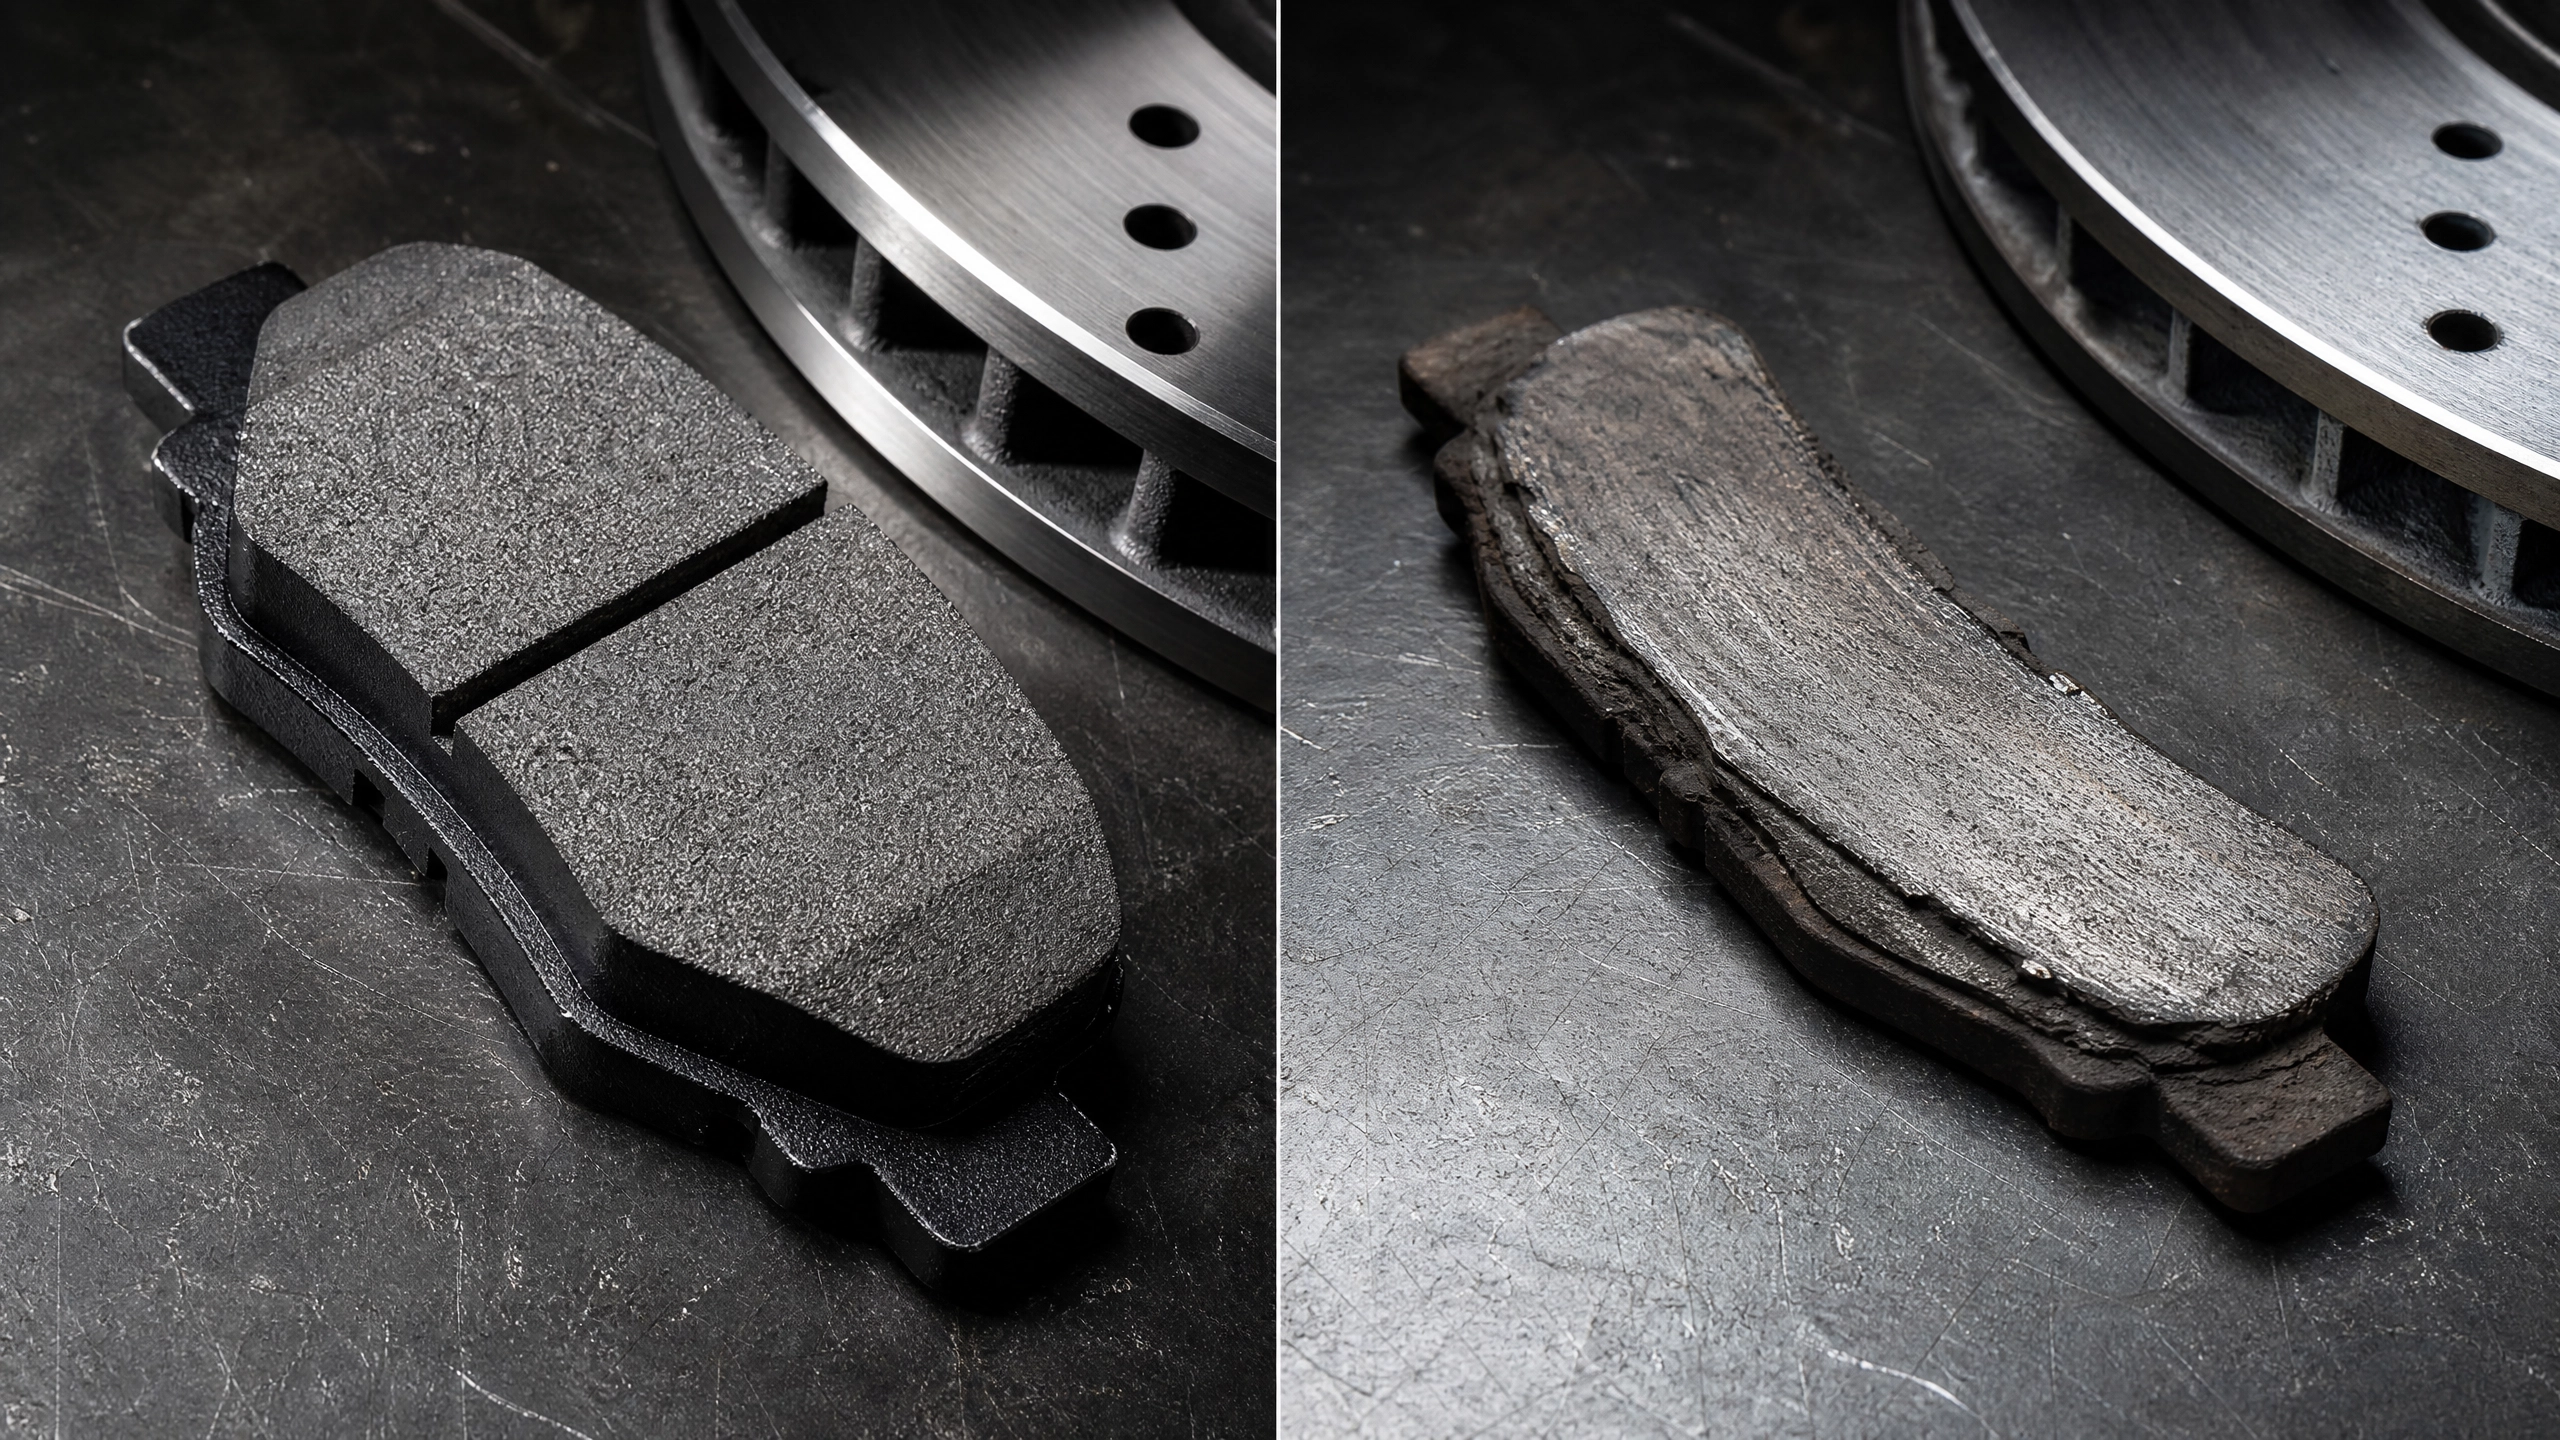
- High-pitched squeal: Most modern pads have a wear indicator — a small metal tab that drags on the rotor when friction material gets thin (usually around 2–3mm). That squeal is intentional. Don’t ignore it.
- Metal grinding: You waited too long. The pad backing plate is now contacting the rotor. Stop driving and get this fixed immediately. You’re damaging the rotor with every foot of travel.
- Scraping when turning: Can indicate a piece of pad has broken off or a stone is lodged in the caliper. Pull the wheel and check.
Feel-Based Warnings
- Longer stopping distance: If your car takes noticeably more distance to stop, pad material is thin or the pads are glazed from heat.
- Vibration under braking: Usually warped rotors, but worn or broken pads can also cause this.
- Pulling to one side: Often means one pad is wearing faster — check for a stuck caliper on that side.
- Soft or spongy pedal: This is more likely a fluid issue, but heavily worn pads combined with low fluid can also produce this.
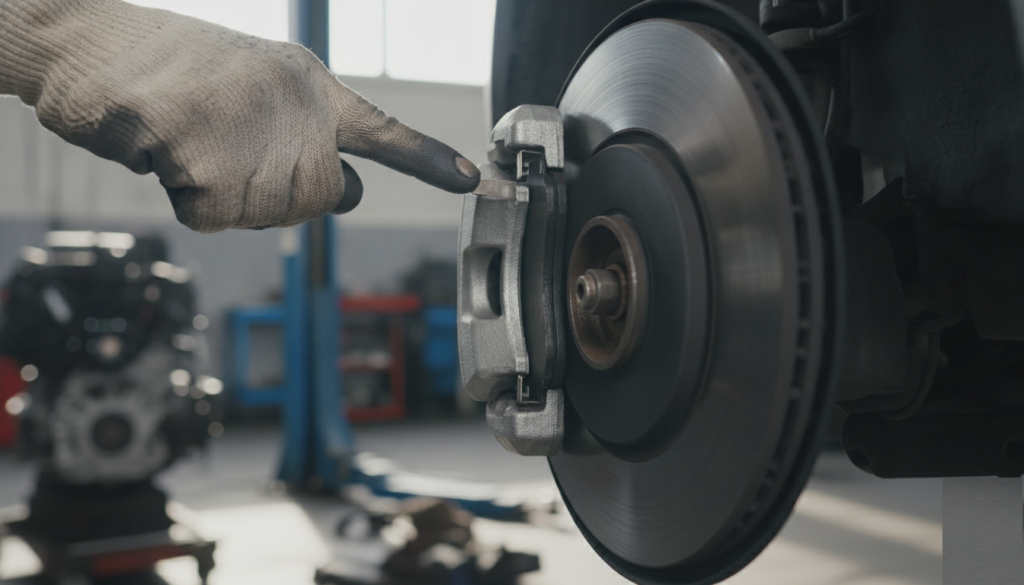
Visual Inspection
The easiest method: look through your wheel spokes at the rotor. You’ll see the caliper clamped around the rotor’s edge. The friction material sits between the caliper and rotor. If it looks thinner than a pencil (roughly 3mm or less), you’re in replacement territory.
For a more accurate measurement, pull the wheel and use a brake pad gauge or simple ruler. I keep a small digital caliper in my toolbox for exactly this purpose.
How to Check Brake Pad Thickness (Step-by-Step)
| ⚠️ Safety First Always chock the opposite wheels before jacking up the car. Use proper jack stands — never work under a car supported only by a floor jack. Let the brakes cool for at least 30 minutes before touching any components. Brake dust is harmful to breathe — use brake cleaner spray and gloves. |
- Park on a flat surface, apply the parking brake, and chock the rear wheels.
- Loosen the lug nuts (don’t remove yet) with a 17mm or 19mm socket — check your specific vehicle.
- Jack up the car at the manufacturer’s designated jack point and place a jack stand under the frame.
- Remove the lug nuts and pull the wheel off.
- Inspect the pad through the caliper: you’ll see the friction material pressed against the rotor. If you have less than 3mm of material, replace immediately.
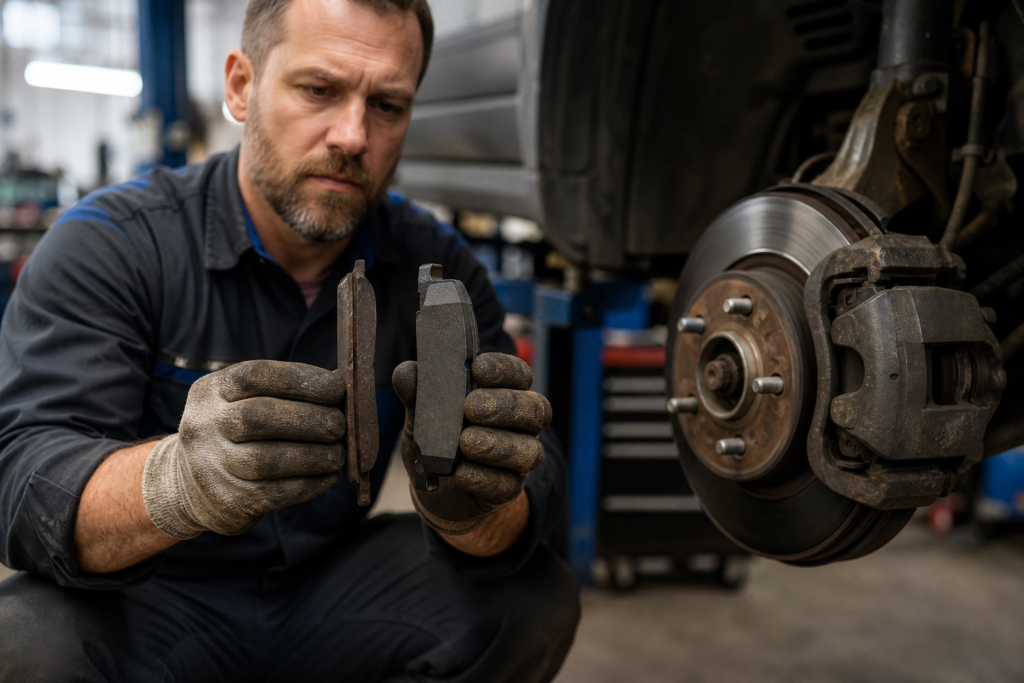
- Check both inner and outer pads — they wear at different rates. If either is at limit, replace the full axle set.
- While you’re there, run a finger across the rotor surface. Deep grooves that catch your fingernail mean the rotor needs replacing too.
- Reinstall the wheel, torque the lug nuts to spec (usually 80–100 ft-lbs on most cars — check your manual), and repeat on the other side.
When Is the Best Time to Replace Brake Pads?
Here’s my rule of thumb after years of working on cars:
| Alex’s Replacement Timing Rules Replace at or below 3mm of friction material — no exceptions. Don’t wait for grinding. Once you hear metal-on-metal, you’re already buying rotors too. Always replace pads in axle pairs (both front or both rear at the same time). If rotors are at or near minimum thickness spec, replace both pads and rotors together. After 60,000 miles on any car, start inspecting every 6 months regardless of symptoms. If you’re buying a used car, inspect pads on day one before anything else. |
Brake jobs come in tiers. A simple pad swap on a regular car takes about 90 minutes in the driveway with basic tools. If you’re also doing rotors, add another 30–45 minutes per axle.
Budget parts-wise: expect $30–$80 for a set of quality pads (like Akebono or Wagner ThermoQuiet), and $40–$120 per rotor if needed.
Don’t Forget These Often-Overlooked Steps
A lot of DIYers change pads but skip steps that cause callbacks and comebacks.
- Compress the caliper piston correctly: Use a C-clamp or proper caliper piston tool. Never use a screwdriver — you’ll damage the dust boot. And before compressing, crack open the bleed valve slightly to release pressure rather than forcing old fluid back up into the ABS modulator.
- Clean the caliper slides and apply brake grease: Dry, corroded slides are a top cause of uneven pad wear. Use a wire brush to clean the slide channels, then apply a thin coat of high-temp brake slide grease. Don’t get grease on the pad friction surface or rotor.
- Clean off rotor surface before installing new pads: Wipe the rotor down with brake cleaner to remove the protective coating from new rotors or contamination from old ones.
| ⚠️ Critical Warning: Brake Fluid on Paint Brake fluid is caustic and will strip car paint down to bare metal in minutes. Keep a rag under any brake line connection you open. If you spill brake fluid on a painted surface, flush immediately with cold water. Never leave an open brake fluid reservoir exposed — it absorbs moisture from the air. Always wipe dirt off ABS sensor caps and bleed valve caps before loosening — pushed-in debris can damage internal valves. |
Brake Pad Replacement Cost: DIY vs. Shop
Brake Repair Cost Comparison
DIY vs Professional Shop Labor + Parts
| Service Type | DIY Cost | Shop Cost (Labor + Parts) |
|---|---|---|
| Front Pads Only | $30–$80 | $150–$350 |
| Rear Pads Only | $30–$80 | $150–$300 |
| Front Pads + Rotors | $80–$200 | $300–$600 |
| Full Brake Job (all 4) | $150–$350 | $500–$1,100 |
Doing it yourself saves real money, especially if you’re comfortable with basic tools. The job genuinely isn’t hard once you’ve done it once.
Interactive Tool: Should You Replace Your Brake Pads?
Use the quiz below to get a personalized recommendation based on your specific situation.
Brake Safety Check
Quickly assess if your brake pads need attention
1. Do you hear a high-pitched squeal when you brake?
2. Do you hear any metal grinding or scraping sound?
3. Does your car take longer to stop than it used to?
4. Have you driven more than 30,000 miles since your last replacement?
5. Does your steering wheel or pedal vibrate when braking?
6. Does the brake pad look thinner than a pencil tip (approx. 3mm)?
Final Thoughts
Brake pads are not a set-it-and-forget-it item. They’re wearing down every single time you slow your car. The good news is they give you plenty of warning if you know what to look for.
Check them visually every time you rotate your tires (every 5,000–7,500 miles). Listen for that high-pitched squeal indicator. And when you’re at 3mm — replace them, full stop.
The $60 you spend on pads today is a lot better than the $400 rotor replacement you’ll face if you wait too long. Trust me, I’ve learned that lesson the hard way so you don’t have to.
Related posts:
 Winter Car Preparation Guide: Essential Cold-Weather Maintenance Tips
 The Ultimate Year-Round Car Maintenance Checklist: Oil, Brakes, Fluids & More
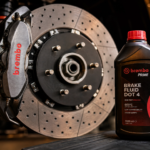 Brake Fluid Breakdown: Understanding DOT Ratings and When to Bleed Your Braking System
 Why Is Your Car Leaking Clear Fluid? (How to Identify 5 Common Leaks)
Leave a Reply