
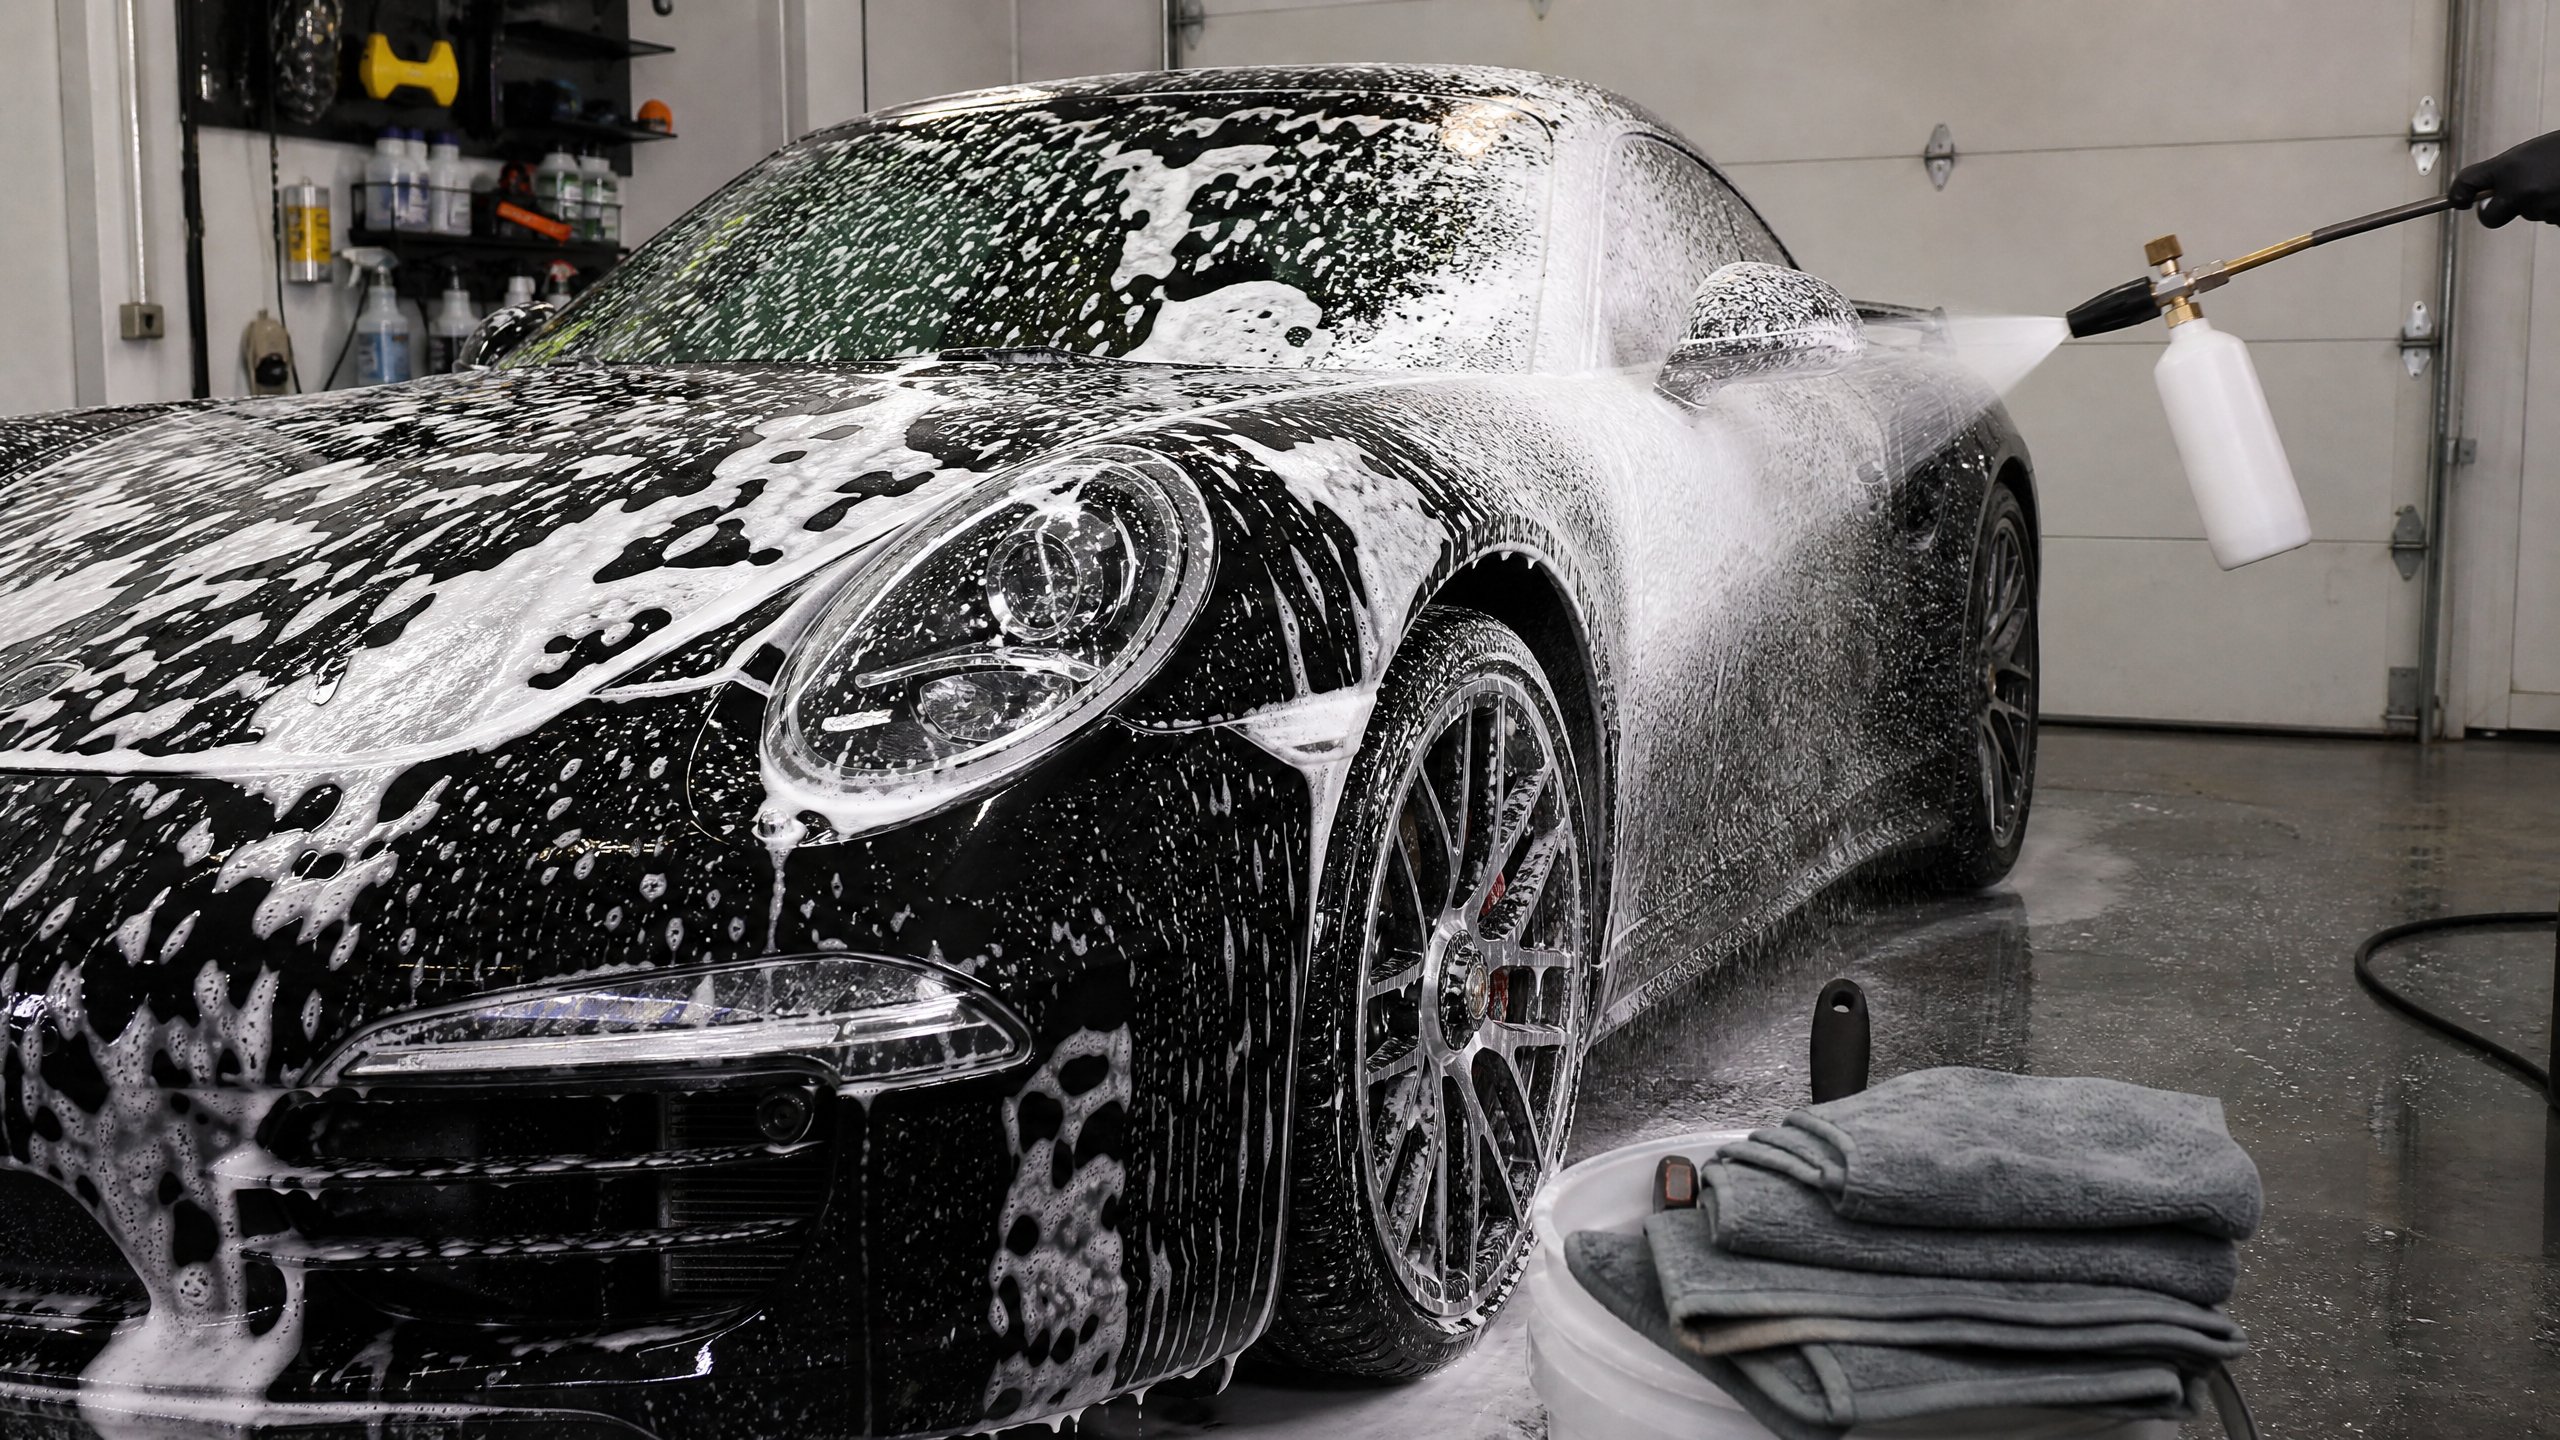
There is a specific kind of satisfaction that comes from stepping back and looking at a car that is so clean it looks like it just rolled off the assembly line. I’ve spent countless Saturdays in my own driveway, armed with buckets, brushes, and a pressure washer, chasing that perfect showroom shine. As a mechanic, I know that detailing isn’t just about vanity—it’s about protecting one of your biggest investments from the elements. Maintaining the exterior is just as important as keeping an eye on your mechanical health.
In this guide, I’m going to share the professional techniques and essential accessories I use to get a high-end finish at home. We aren’t just talking about a quick soap-and-water wash; we’re diving into paint decontamination, machine polishing, and long-term protection. If you’re ready to get your hands dirty to get your car clean, let’s get started.
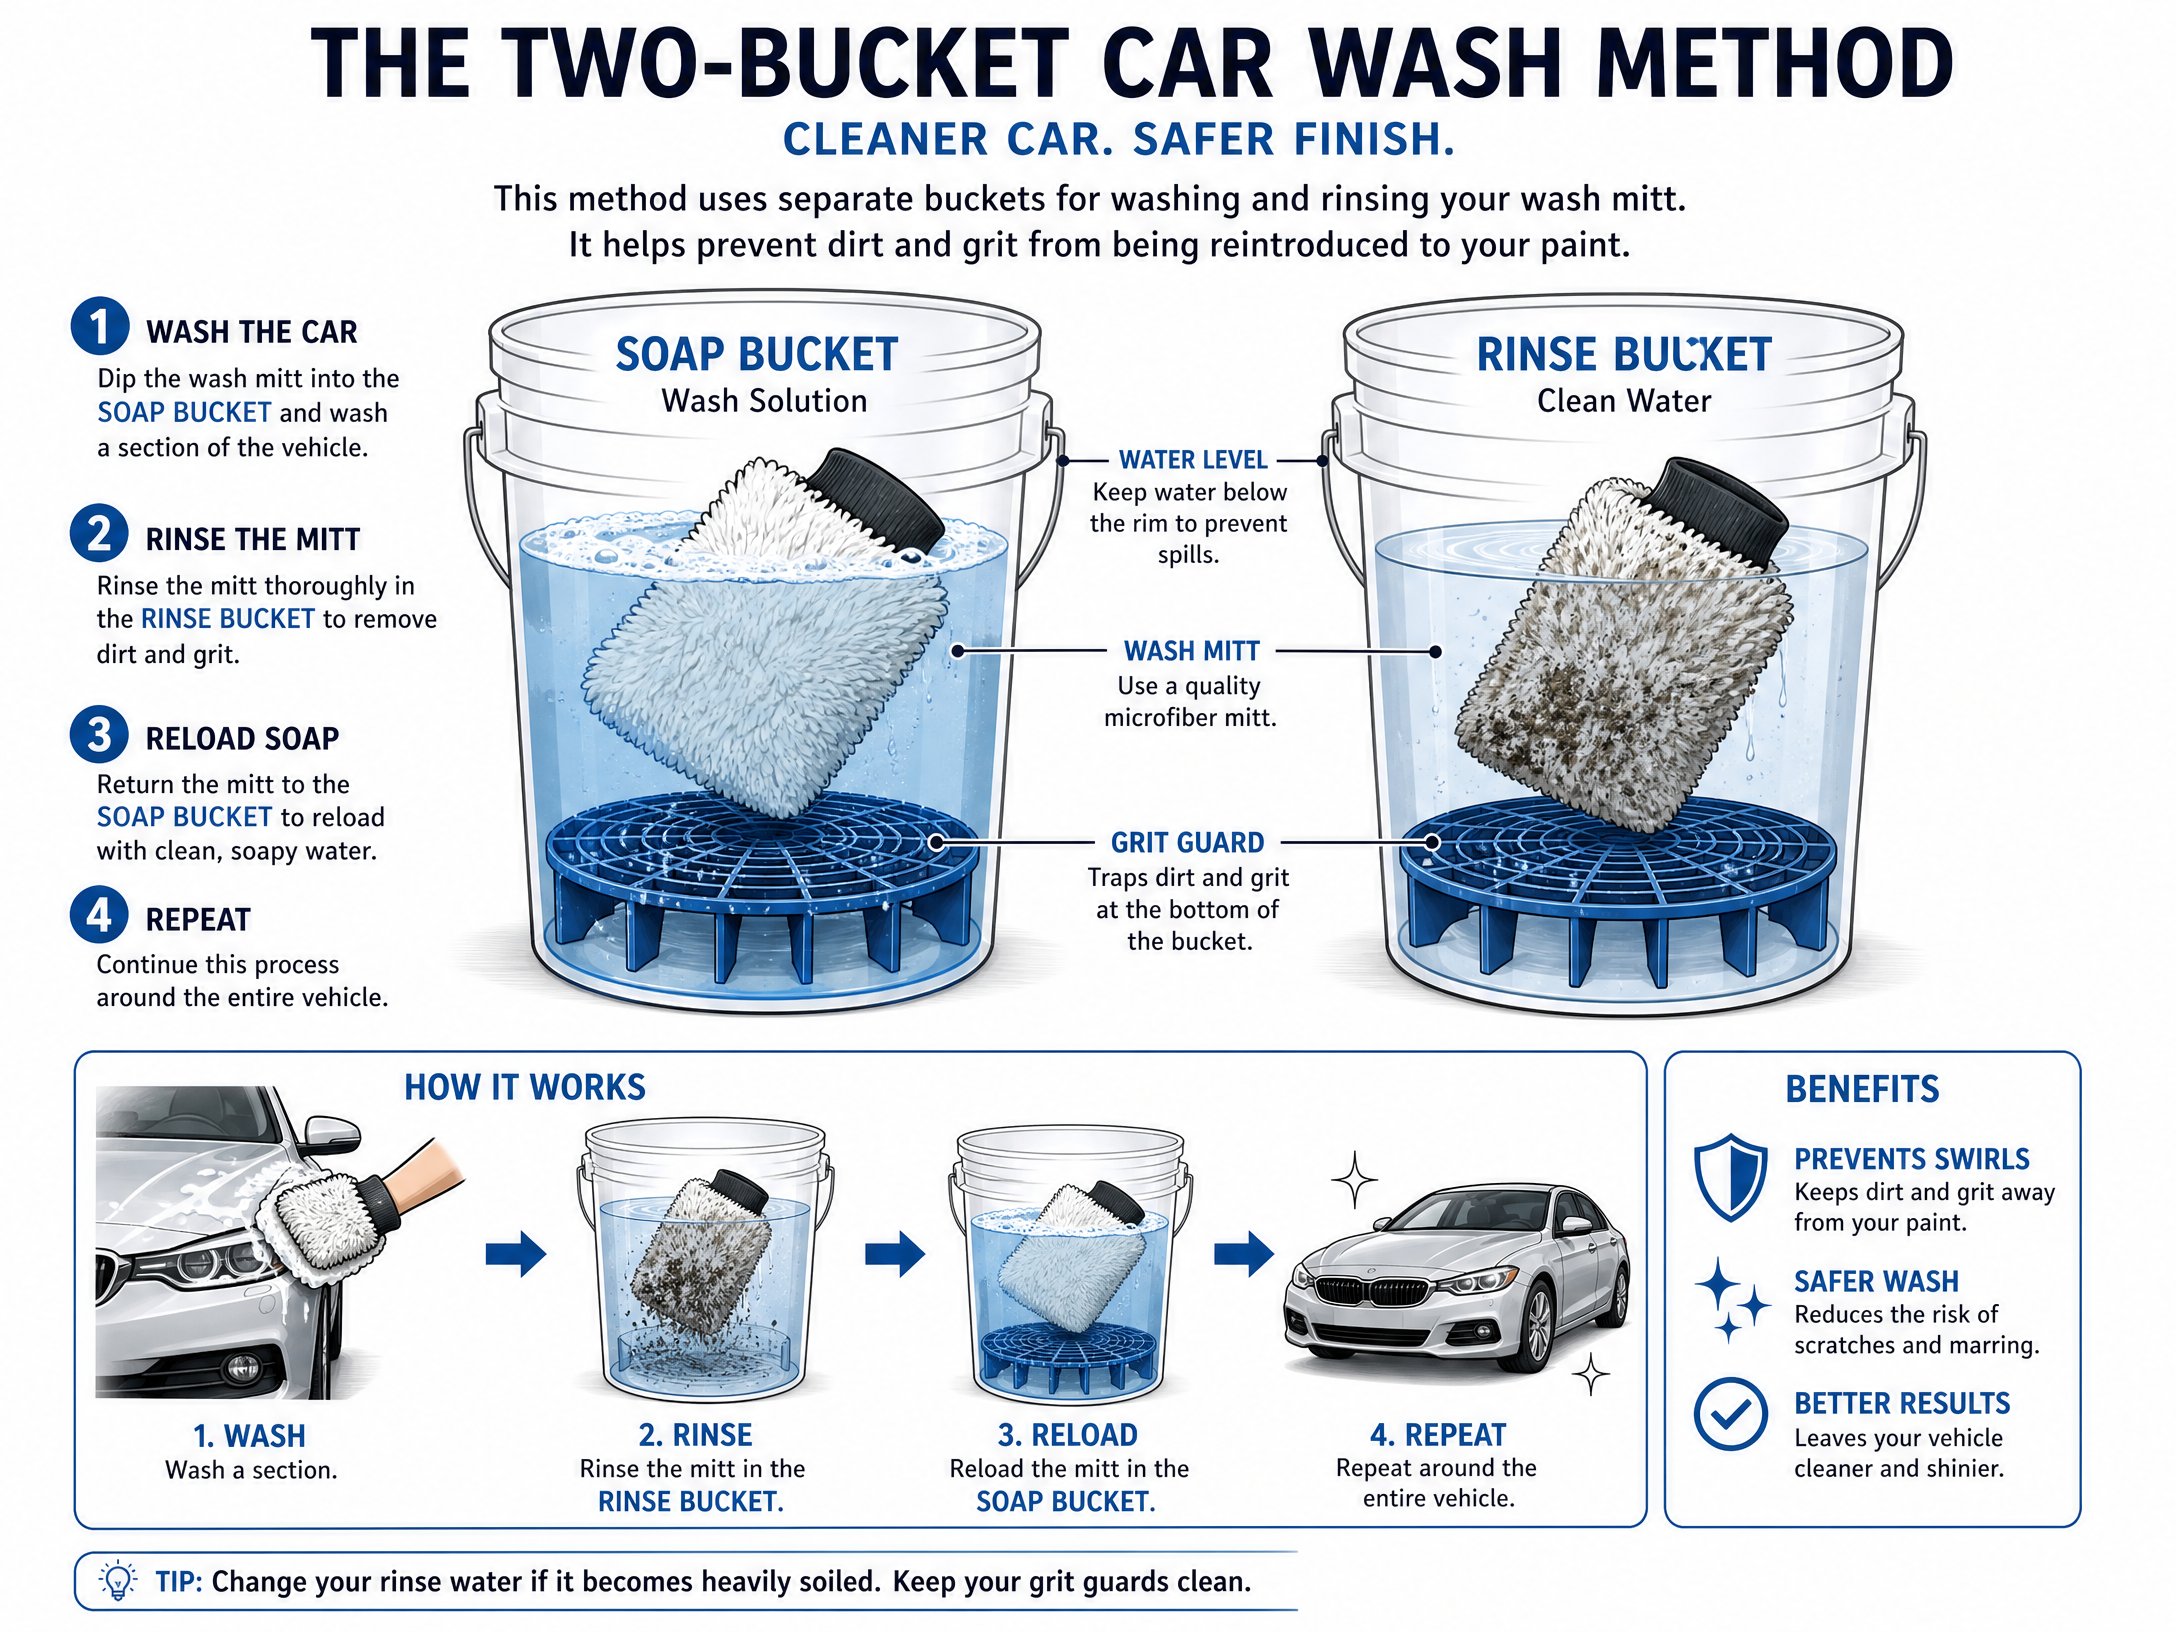
1. The Two-Bucket Method: Preventing Swirl Marks
The biggest mistake I see DIYers make is using a single bucket of soapy water. When you dip your dirty wash mitt back into that same bucket, you’re picking up the grit and sand you just scrubbed off the car. That grit acts like sandpaper, creating those microscopic circular scratches known as “swirl marks.”
The Setup
You need two buckets. One is filled with your pH-neutral car soap and water, and the other is just plain water for rinsing.
After you wipe a panel of the car, dunk your mitt into the rinse bucket first. Agitate it against a grit guard (a plastic insert that sits at the bottom of the bucket) to drop the dirt. Only then should you dip it back into the soap bucket. This simple change in technique will keep your paint looking new for years.
2. Chemical Decontamination: The “Bleeding” Effect
Even after a thorough wash, your paint still isn’t truly clean. If you run your hand over the hood and it feels like fine sandpaper, you have embedded contaminants like iron particles from brake dust and industrial fallout.
Iron Removers
I always use a dedicated iron remover spray. You spray it on the dry paint, and within minutes, you’ll see purple streaks running down the car. This is the chemical reaction of the iron particles dissolving—detailers call it “bleeding.”
Once the reaction is complete, rinse it off thoroughly. This step is crucial because if you try to polish paint with iron particles still embedded in it, you’ll just drag those metal shards across the surface, causing deep scratches.
3. Clay Bar Treatment: The Glass-Smooth Finish
After chemical decontamination, it’s time for the clay bar. A clay bar is exactly what it sounds like—a specialized block of synthetic clay that you glide across the paint using a clay lubricant.
The Technique
Work in small sections. The clay picks up any remaining microscopic debris that the chemicals missed. Keep folding the clay to expose a clean surface. When you’re done, the paint should feel as smooth as a sheet of glass. This is the foundation for a perfect polish.
4. Machine Polishing: Restoring the Depth
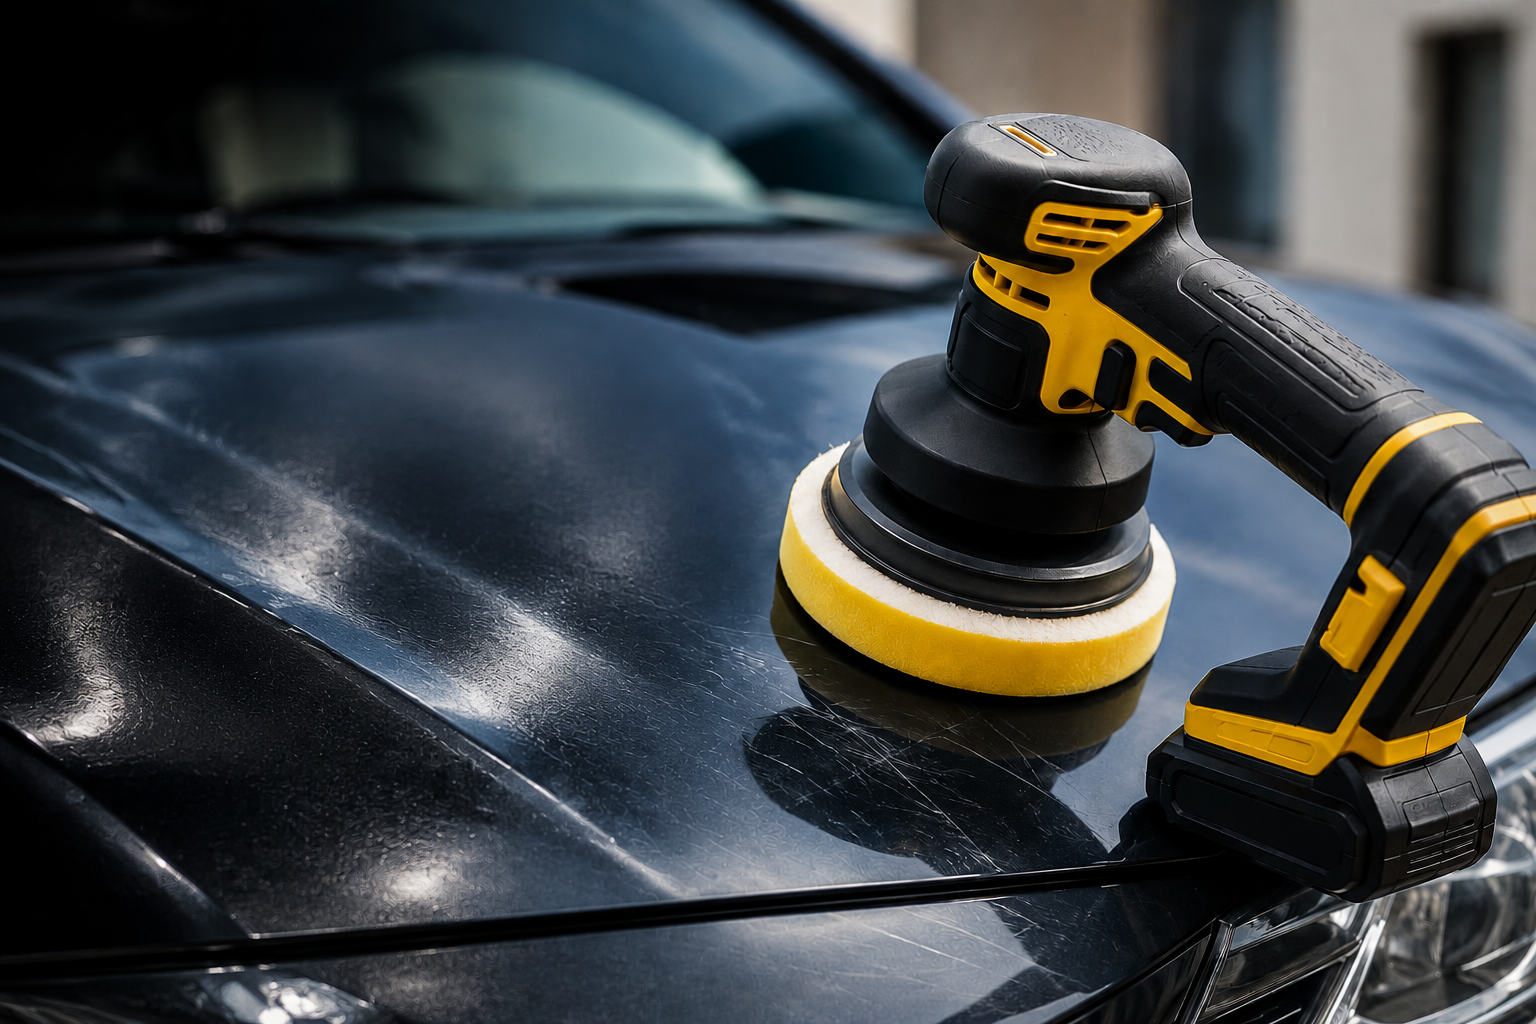
This is where the magic happens. If your paint looks dull or has light scratches, you need to polish it. I recommend a Dual Action (DA) Polisher for beginners. Unlike a rotary polisher, a DA polisher is much safer and won’t burn through your clear coat if you stay in one spot too long.
Choosing the Right Pad and Compound
Start with the least aggressive combination. Use a medium-cut foam pad and a fine finishing polish. Apply four pea-sized drops to the pad, work in a 2×2 foot section, and use slow, overlapping passes. Wipe away the residue with a clean microfiber towel and inspect your work. You’ll see the color depth return and the reflections become sharp.
| Tool/Accessory | Purpose | Alex’s Pro Tip |
|---|---|---|
| Grit Guard | Traps dirt at the bottom of the bucket | Use two in each bucket for extra safety. |
| Foam Cannon | Provides thick pre-wash lubrication | Let the foam dwell for 5 mins before rinsing. |
| Microfiber Towels | Scratch-free drying and buffing | Always remove the tags before use. |
| DA Polisher | Removes swirls and restores shine | Keep the pad flat to the surface at all times. |
—
5. Protecting the Work: Wax vs. Sealant vs. Ceramic
All that hard work will go to waste if you don’t seal the paint. You have three main options:
- Carnauba Wax: Gives a deep, warm glow but only lasts about 4-6 weeks.
- Synthetic Sealants: Easier to apply and provides 4-6 months of protection.
- Ceramic Coatings: The gold standard. It creates a semi-permanent hard layer that repels water and dirt for years.
For most DIYers, a high-quality ceramic spray sealant is the best balance of ease and durability. It provides incredible water beading and makes your next wash much easier.
6. Interior Detailing: The Driver’s Sanctuary
We spend all our time inside the car, so don’t ignore the cabin. I start by blowing out the cracks and crevices with compressed air before vacuuming.
Cleaning Surfaces
Use a dedicated interior detailer and a soft brush for the dashboard and door panels. For leather seats, use a pH-balanced leather cleaner and follow up with a conditioner to keep the hide from cracking in the sun. Pro tip: Use a small detailing brush to get the dust out of the air vents and around the gear shifter.
7. The “Is Your Car Truly Clean?” Quiz
Think you’ve mastered the art of detailing? Take this quick quiz to see if you’re a driveway amateur or a detailing pro.
Alex’s Detailing Pro Quiz
Question 1: What is the first step you should take before touching the paint with a wash mitt?
8. Final Touches: Glass and Tires
Nothing ruins a detail like streaky glass or brown tires. Use a waffle-weave microfiber and an ammonia-free glass cleaner for the windows. For the tires, apply a water-based tire dressing. Avoid the cheap silicone-based sprays; they tend to sling oil onto your clean paint as soon as you drive away.
Detailing is a labor of love. It takes time, but the results are worth every minute. Your car will look better, stay protected longer, and you’ll feel that pride of ownership every time you see your reflection in the fender.
Keep it clean, and keep those buckets full. A clean car also allows you to spot leaks or worn suspension parts more easily.
— Alex



Leave a Reply