
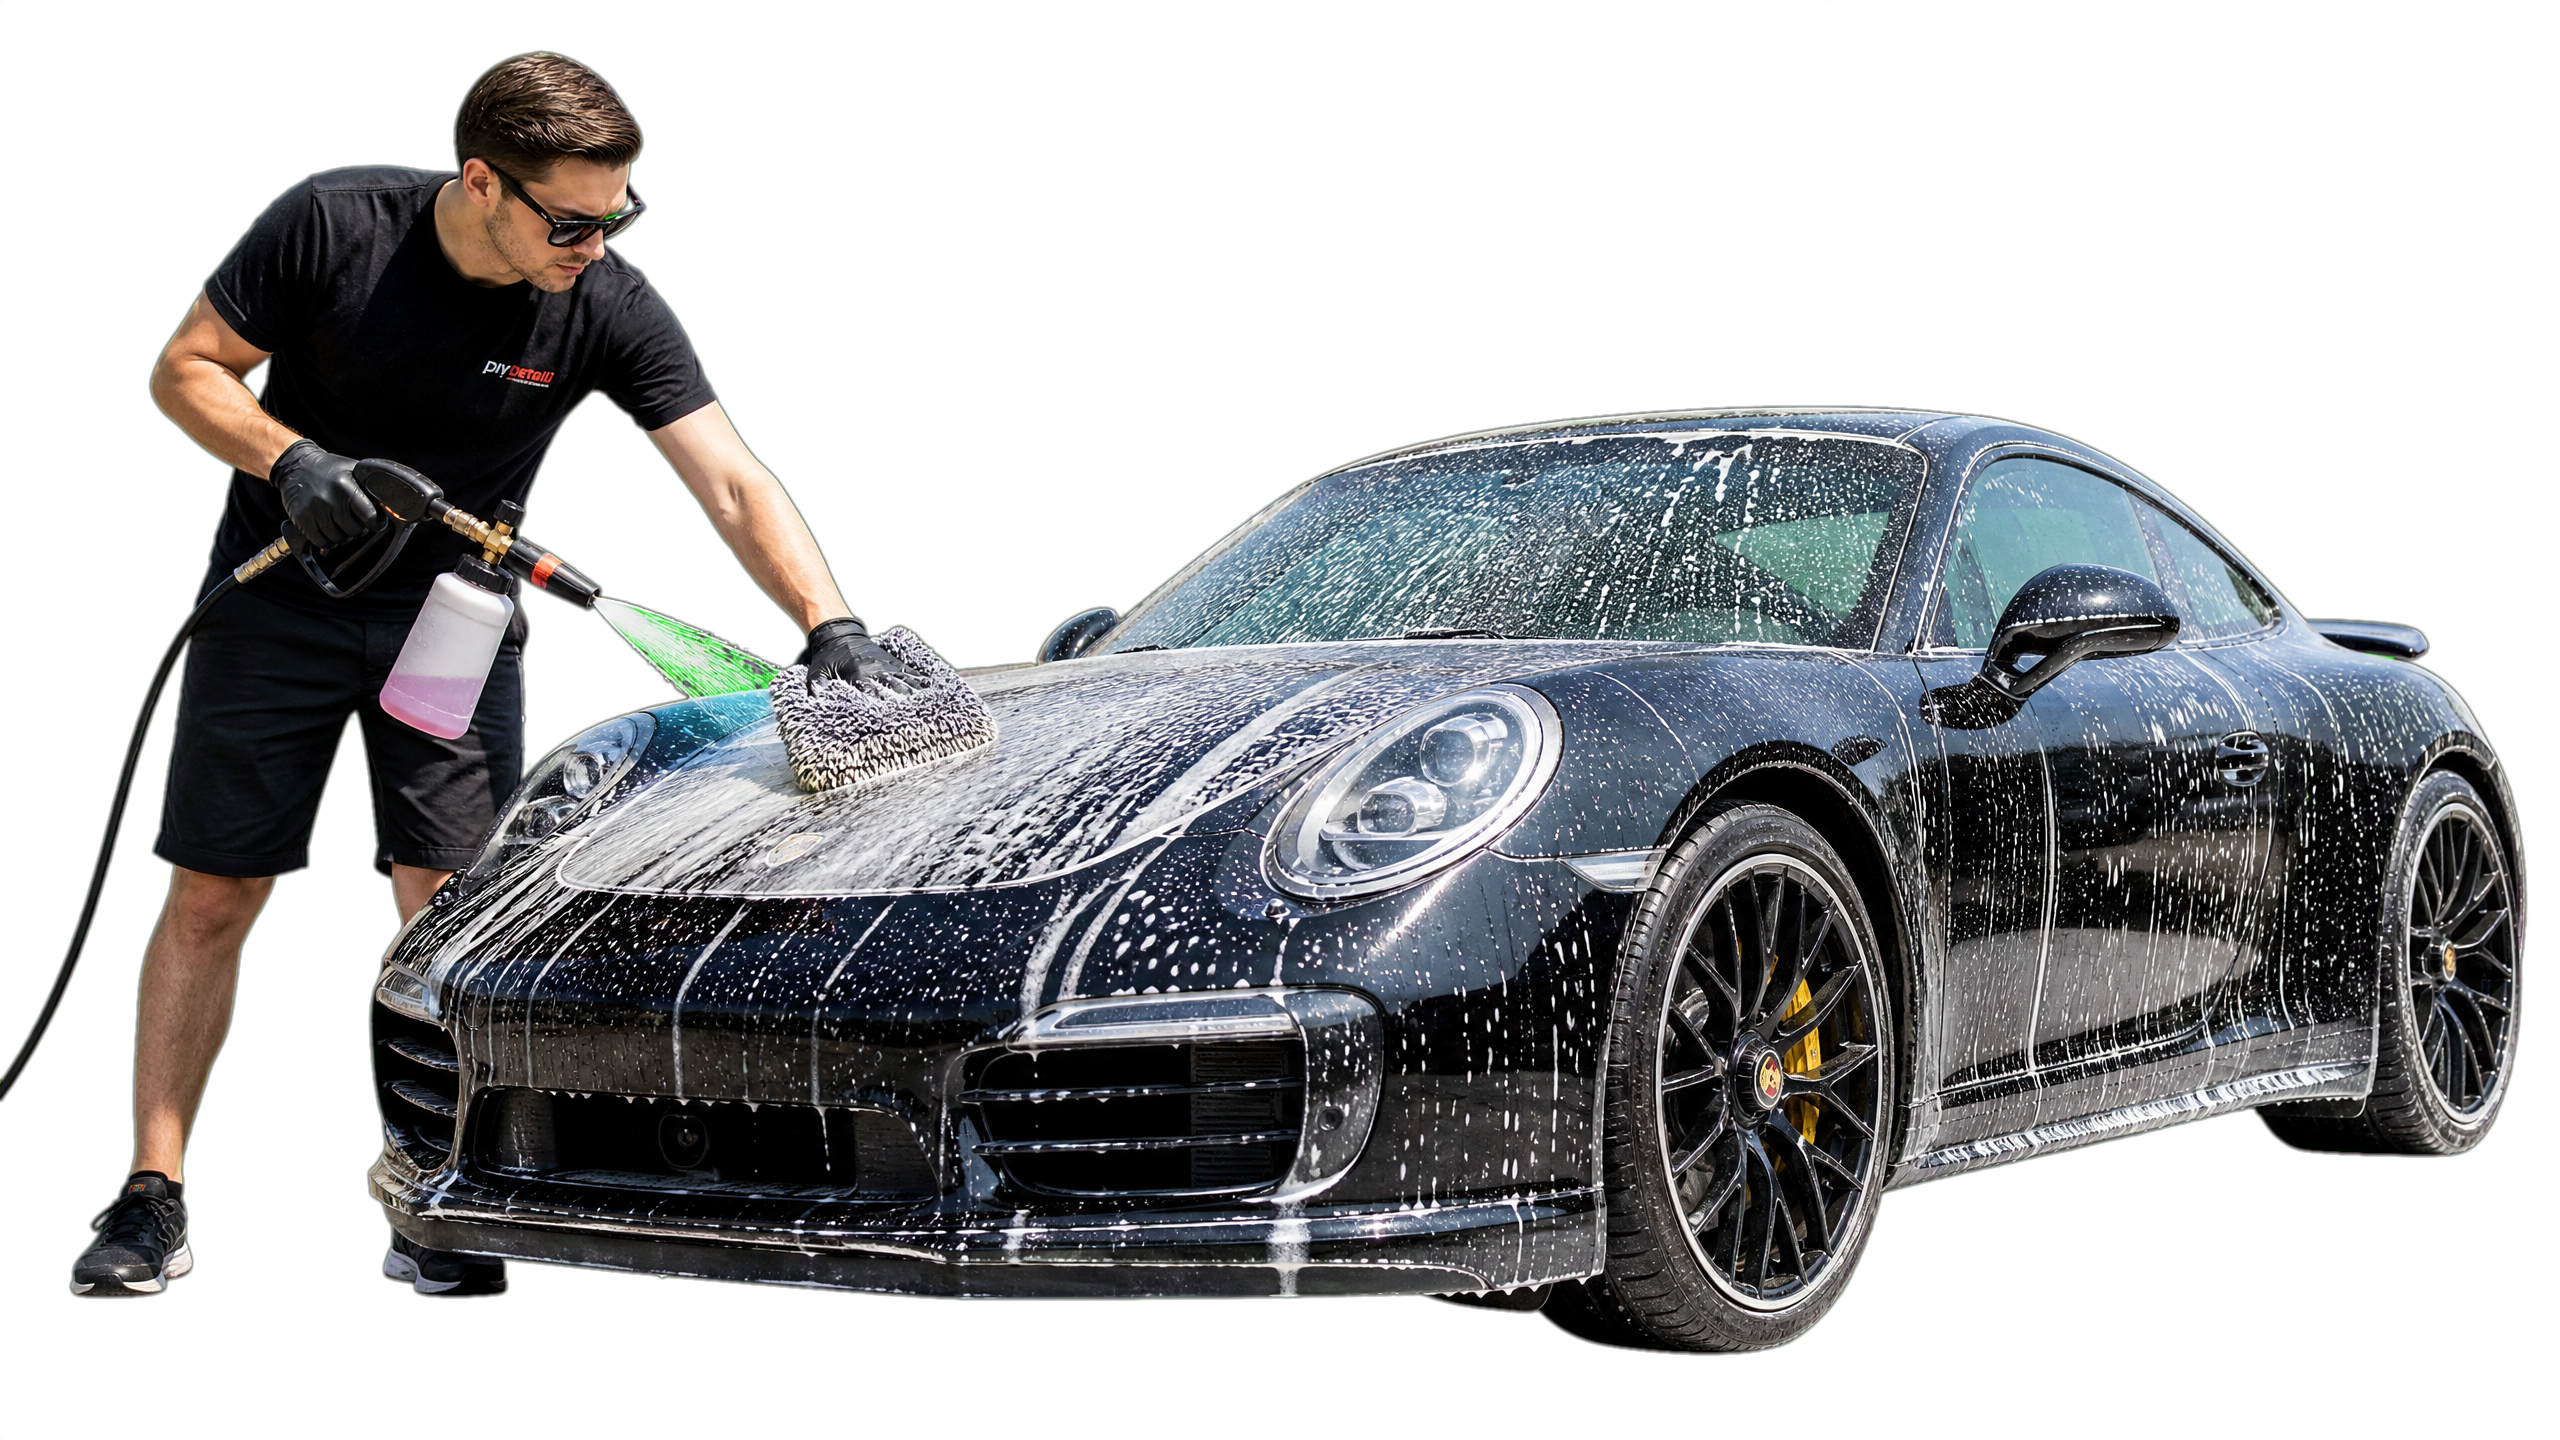
A neighbor asked me last Saturday why his black truck looked like someone had scrubbed it with a scouring pad. He’d just washed it. The problem was his “one bucket and a sponge” method — the most efficient way to turn road grit into a sandpaper finish.
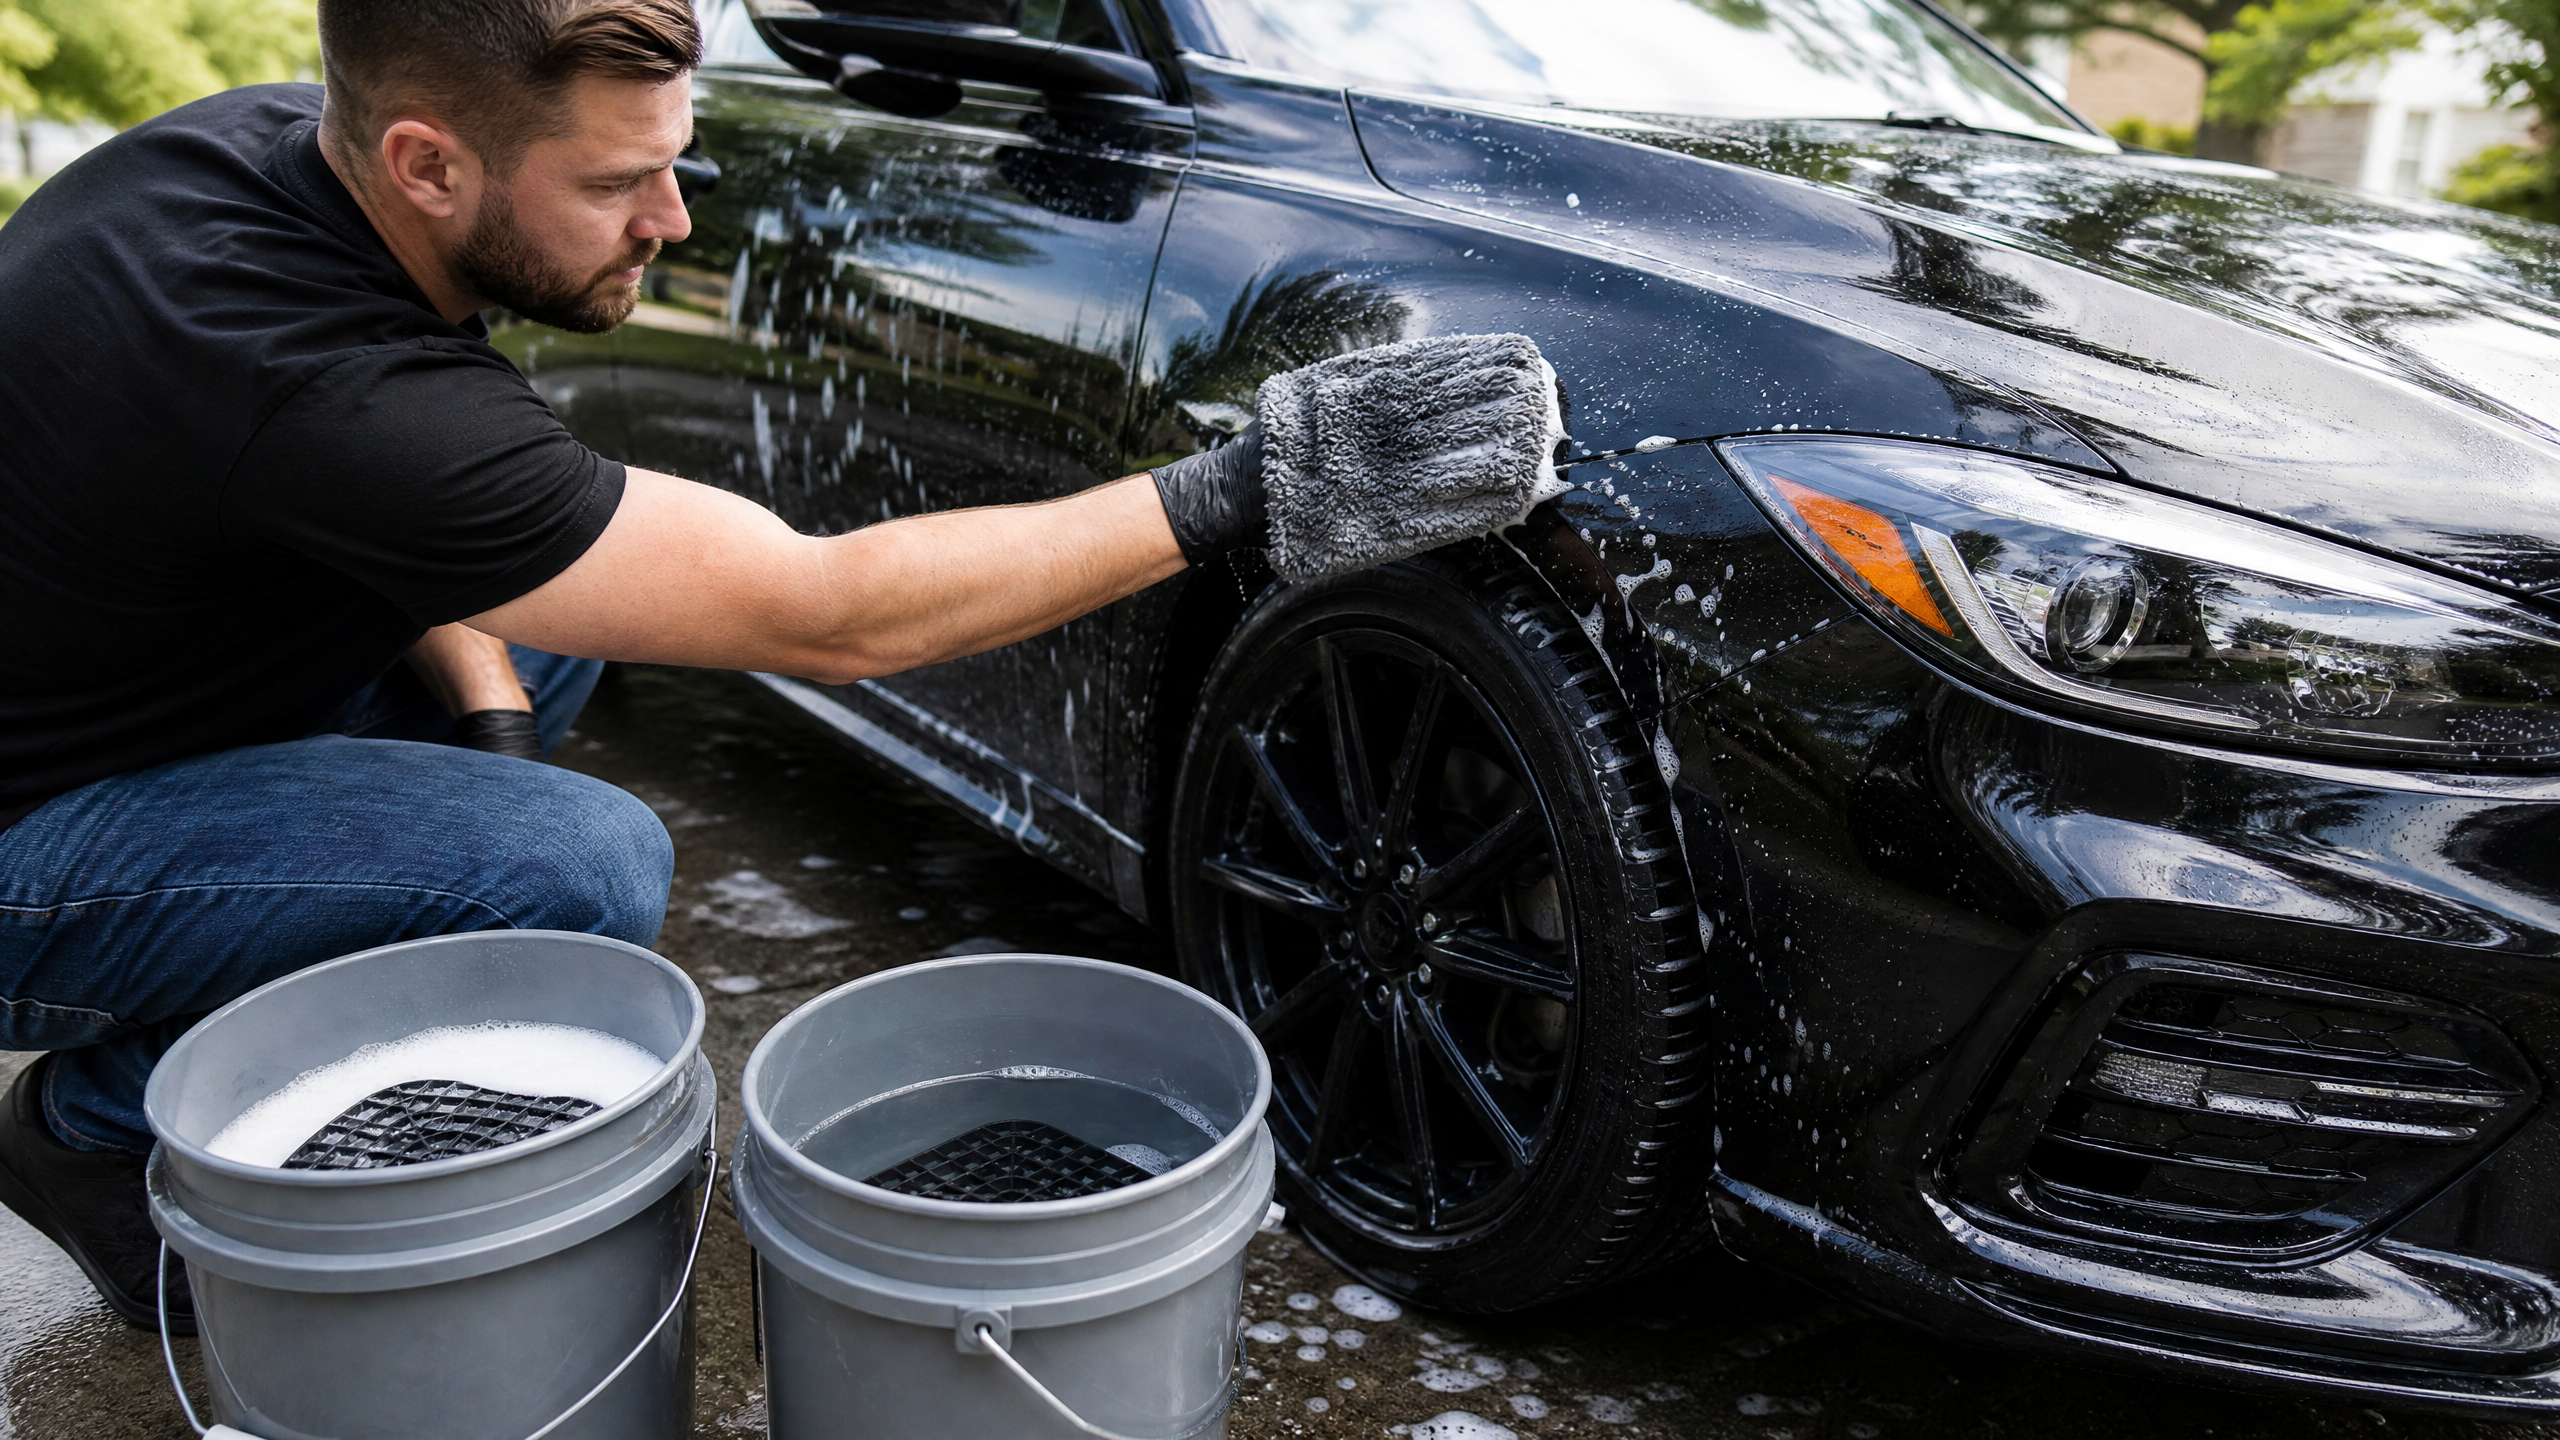
Washing a car isn’t about moving dirt; it’s about removing it safely. Every scratch you add is a permanent subtraction from the paint’s gloss. Here’s how I wash without adding a single swirl, using the tools that actually protect the finish.
The Enemy: Swirl Marks
Swirl marks are thousands of tiny, circular scratches that catch the sun and make paint look dull. They aren’t from the road; they’re from improper washing and drying.
When you use a sponge and one bucket, the sponge traps grit against the paint, and you grind it in with every stroke. The goal of a pro wash is to lift the grit and keep it away from the surface until it’s rinsed off.
The Essential Tool Kit
- Two 5-gallon buckets. One for soap, one for rinsing the mitt.
- Two Grit Guards. Plastic inserts that sit at the bottom of the buckets to trap dirt so it doesn’t reload onto your mitt.
- A Microfiber Wash Mitt. Sponges trap grit on the surface; microfiber pulls it deep into the pile, away from the paint.
- Dedicated Wheel Tools. A separate bucket and brush just for wheels. Never use your paint mitt on wheels.
- PH-Neutral Car Soap. Dish soap is a degreaser; it strips wax and dries out rubber seals. Use real car soap.
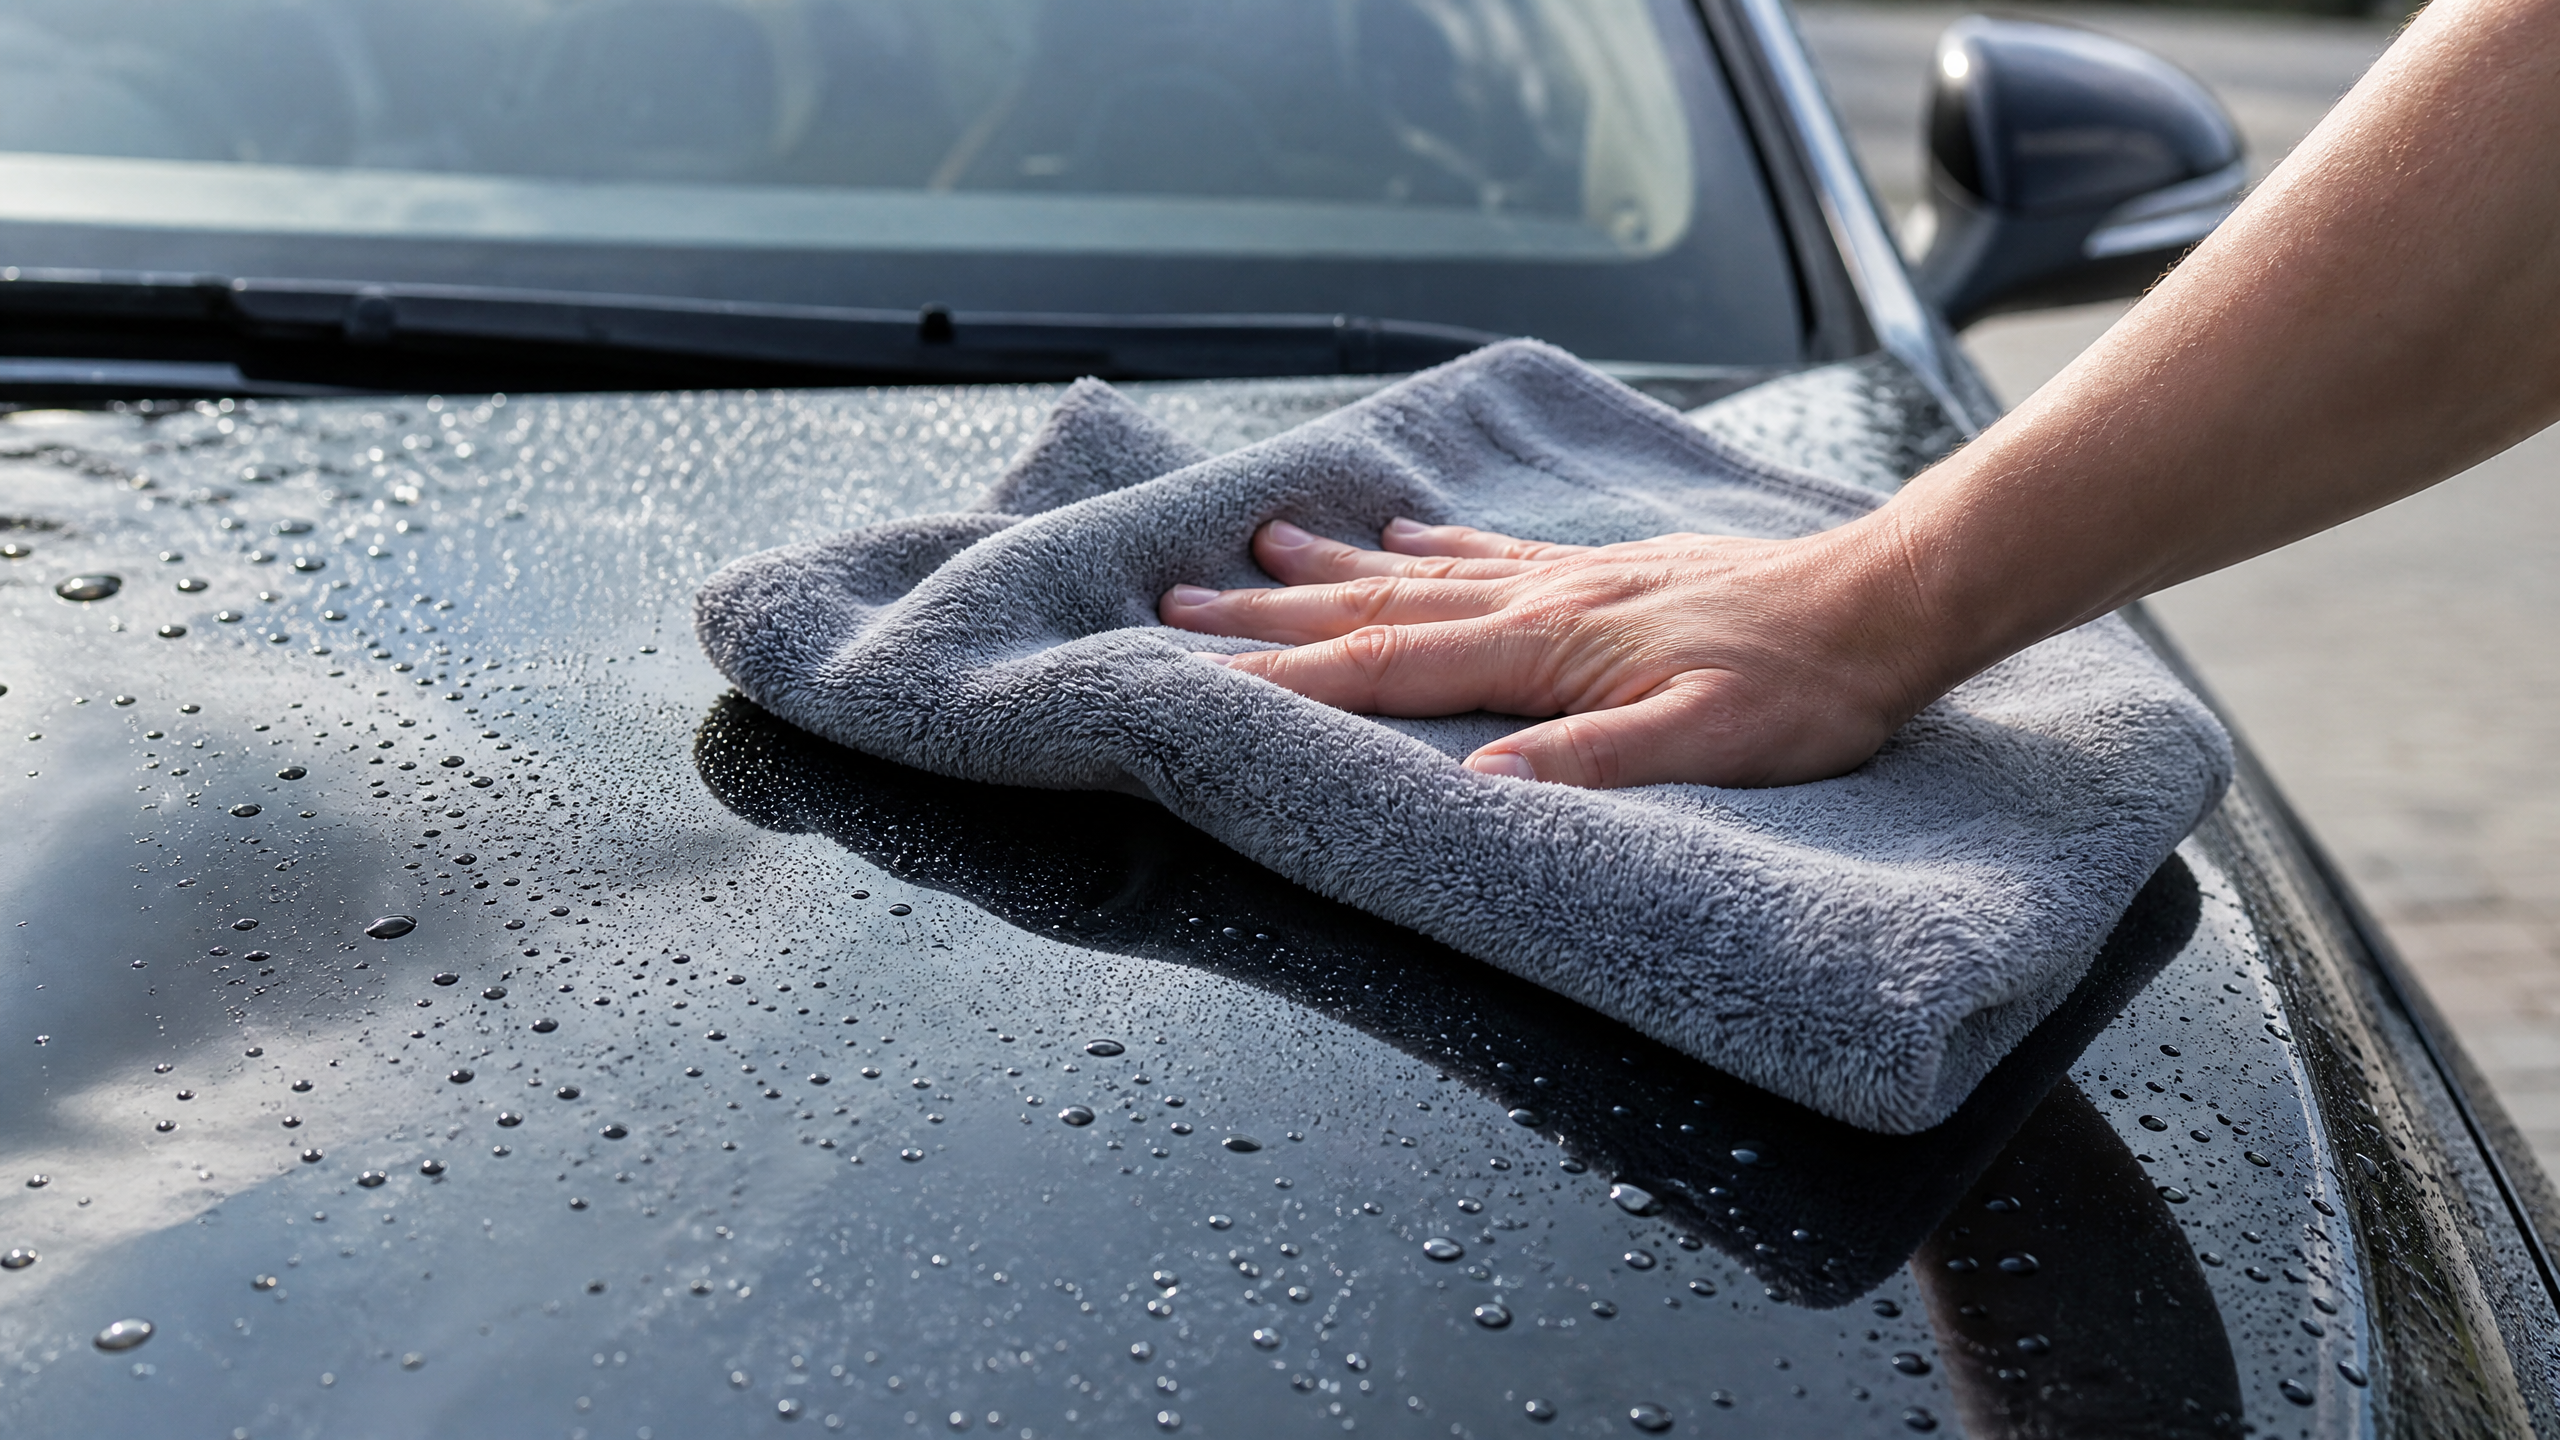
- Waffle-Weave Microfiber Drying Towels. Chamois and bath towels are scratch machines. Waffle-weave towels drink water and glide over paint.
Step 1: Wheels First
Wheels are the filthiest part of the car. If you wash them last, the brake dust and grit will splash onto your clean paint. If you wash them first, you get the heavy lifting out of the way before the paint is even wet.
Use a separate bucket and mitt for wheels. Brake dust is essentially tiny shards of metal; you do not want it on your paint mitt.
Step 2: The Pre-Rinse
Never touch dry paint with a mitt. Rinse the car thoroughly with a hose or pressure washer to knock off the loose dust and heavy mud. The more you remove with water, the less you have to move with the mitt.
If you have a foam cannon, this is the time to use it. A thick layer of foam lubricates the dirt and lets it slide off the paint before you ever touch it.
Step 3: The Two-Bucket Method
This is the golden rule of detailing:
1. Fill Bucket A with soap and water. 2. Fill Bucket B with clean water. 3. Dunk the mitt in the soap (Bucket A), wash one panel. 4. Rinse the dirty mitt in the clean water (Bucket B). Scrub it against the grit guard to release the dirt. 5. Wring it out and return to the soap (Bucket A).
By the time you’re done, the rinse water will be brown and the soap water will still be clean. That brown water is the grit that didn’t end up scratched into your hood.
Step 4: Top to Bottom, Straight Lines
Start at the roof and work your way down. The lower panels are the dirtiest, so save them for last to keep your mitt cleaner longer.
Wash in straight lines, not circles. If you do catch a piece of grit, a straight-line scratch is much easier to polish out and less visible than a circular swirl.
Step 5: The Sheeting Rinse
Take the nozzle off the hose and let a gentle stream of water flow over the car. This is called “sheeting.” The water will bond to itself and pull most of the droplets off the paint as it flows down, leaving very little for the towel to do.
Step 6: Safe Drying
Never “scrub” the car dry. Lay the waffle-weave towel flat on the panel and pull it toward you, or pat the surface to soak up the water.
If you have a leaf blower or a dedicated car dryer, use it to blow water out of the mirrors, grilles, and lug nuts. This prevents the “drip marks” that appear ten minutes after you think you’re done.
The “Never” List
- Never wash in direct sun. Heat dries the soap and water into spots before you can rinse them, which can etch the paint.
- Never use a sponge. They have no place for grit to go but against the surface.
- Never use dish soap. It’s a chemical peel for your car’s protection.
- Never drop your mitt. If the mitt hits the ground, it’s done for the day. It has now collected rocks from the driveway. Grab a fresh one.
The Three Most Common Mistakes
- Household sponges and dish soap. Covered above; they’re a paint diet plan.
- Gas-station “free” towels and old shop rags with history.
- Dry wiping. Never wipe dust off dry paint. That’s sandblasting with a towel.
After the Wash: Two Minutes of Protection
While the car is clean and dry, a spray sealant wiped on and buffed off adds months of slickness and makes the next wash easier. Modern spray sealants with SiO2 chemistry are the best value in car care right now.
Protection isn’t shine candy. It’s a sacrificial layer taking the UV and the acid so your clear coat doesn’t.
Mistakes I Keep Seeing
One bucket, one sponge. Every dip reloads grit and repaints it across the next panel.
Washing in sun on hot paint. Spots etch in before the towel comes out.
Same mitt for wheels and paint. Brake grit is a paint file.
Circling strokes. Straight lines, top to bottom; let the pattern work for you.
Try It: Wash Day Planner
Tell me the car and the Saturday, and I’ll hand you the right routine.
Plan my wash
Paint color
Time you have
Paint feels gritty after washing?
Wrap-Up
A scratch-free wash is not talent. It’s shade, two buckets with guards, a mitt that reloads clean, wheels on separate tools, and straight lines top to bottom.
Do that and the drive-thru can keep its brushes. Your paint will still read wet on its tenth birthday.
Swirls already there? Comment with the color and the year and I’ll tell you what a polish will and won’t erase.


Leave a Reply