
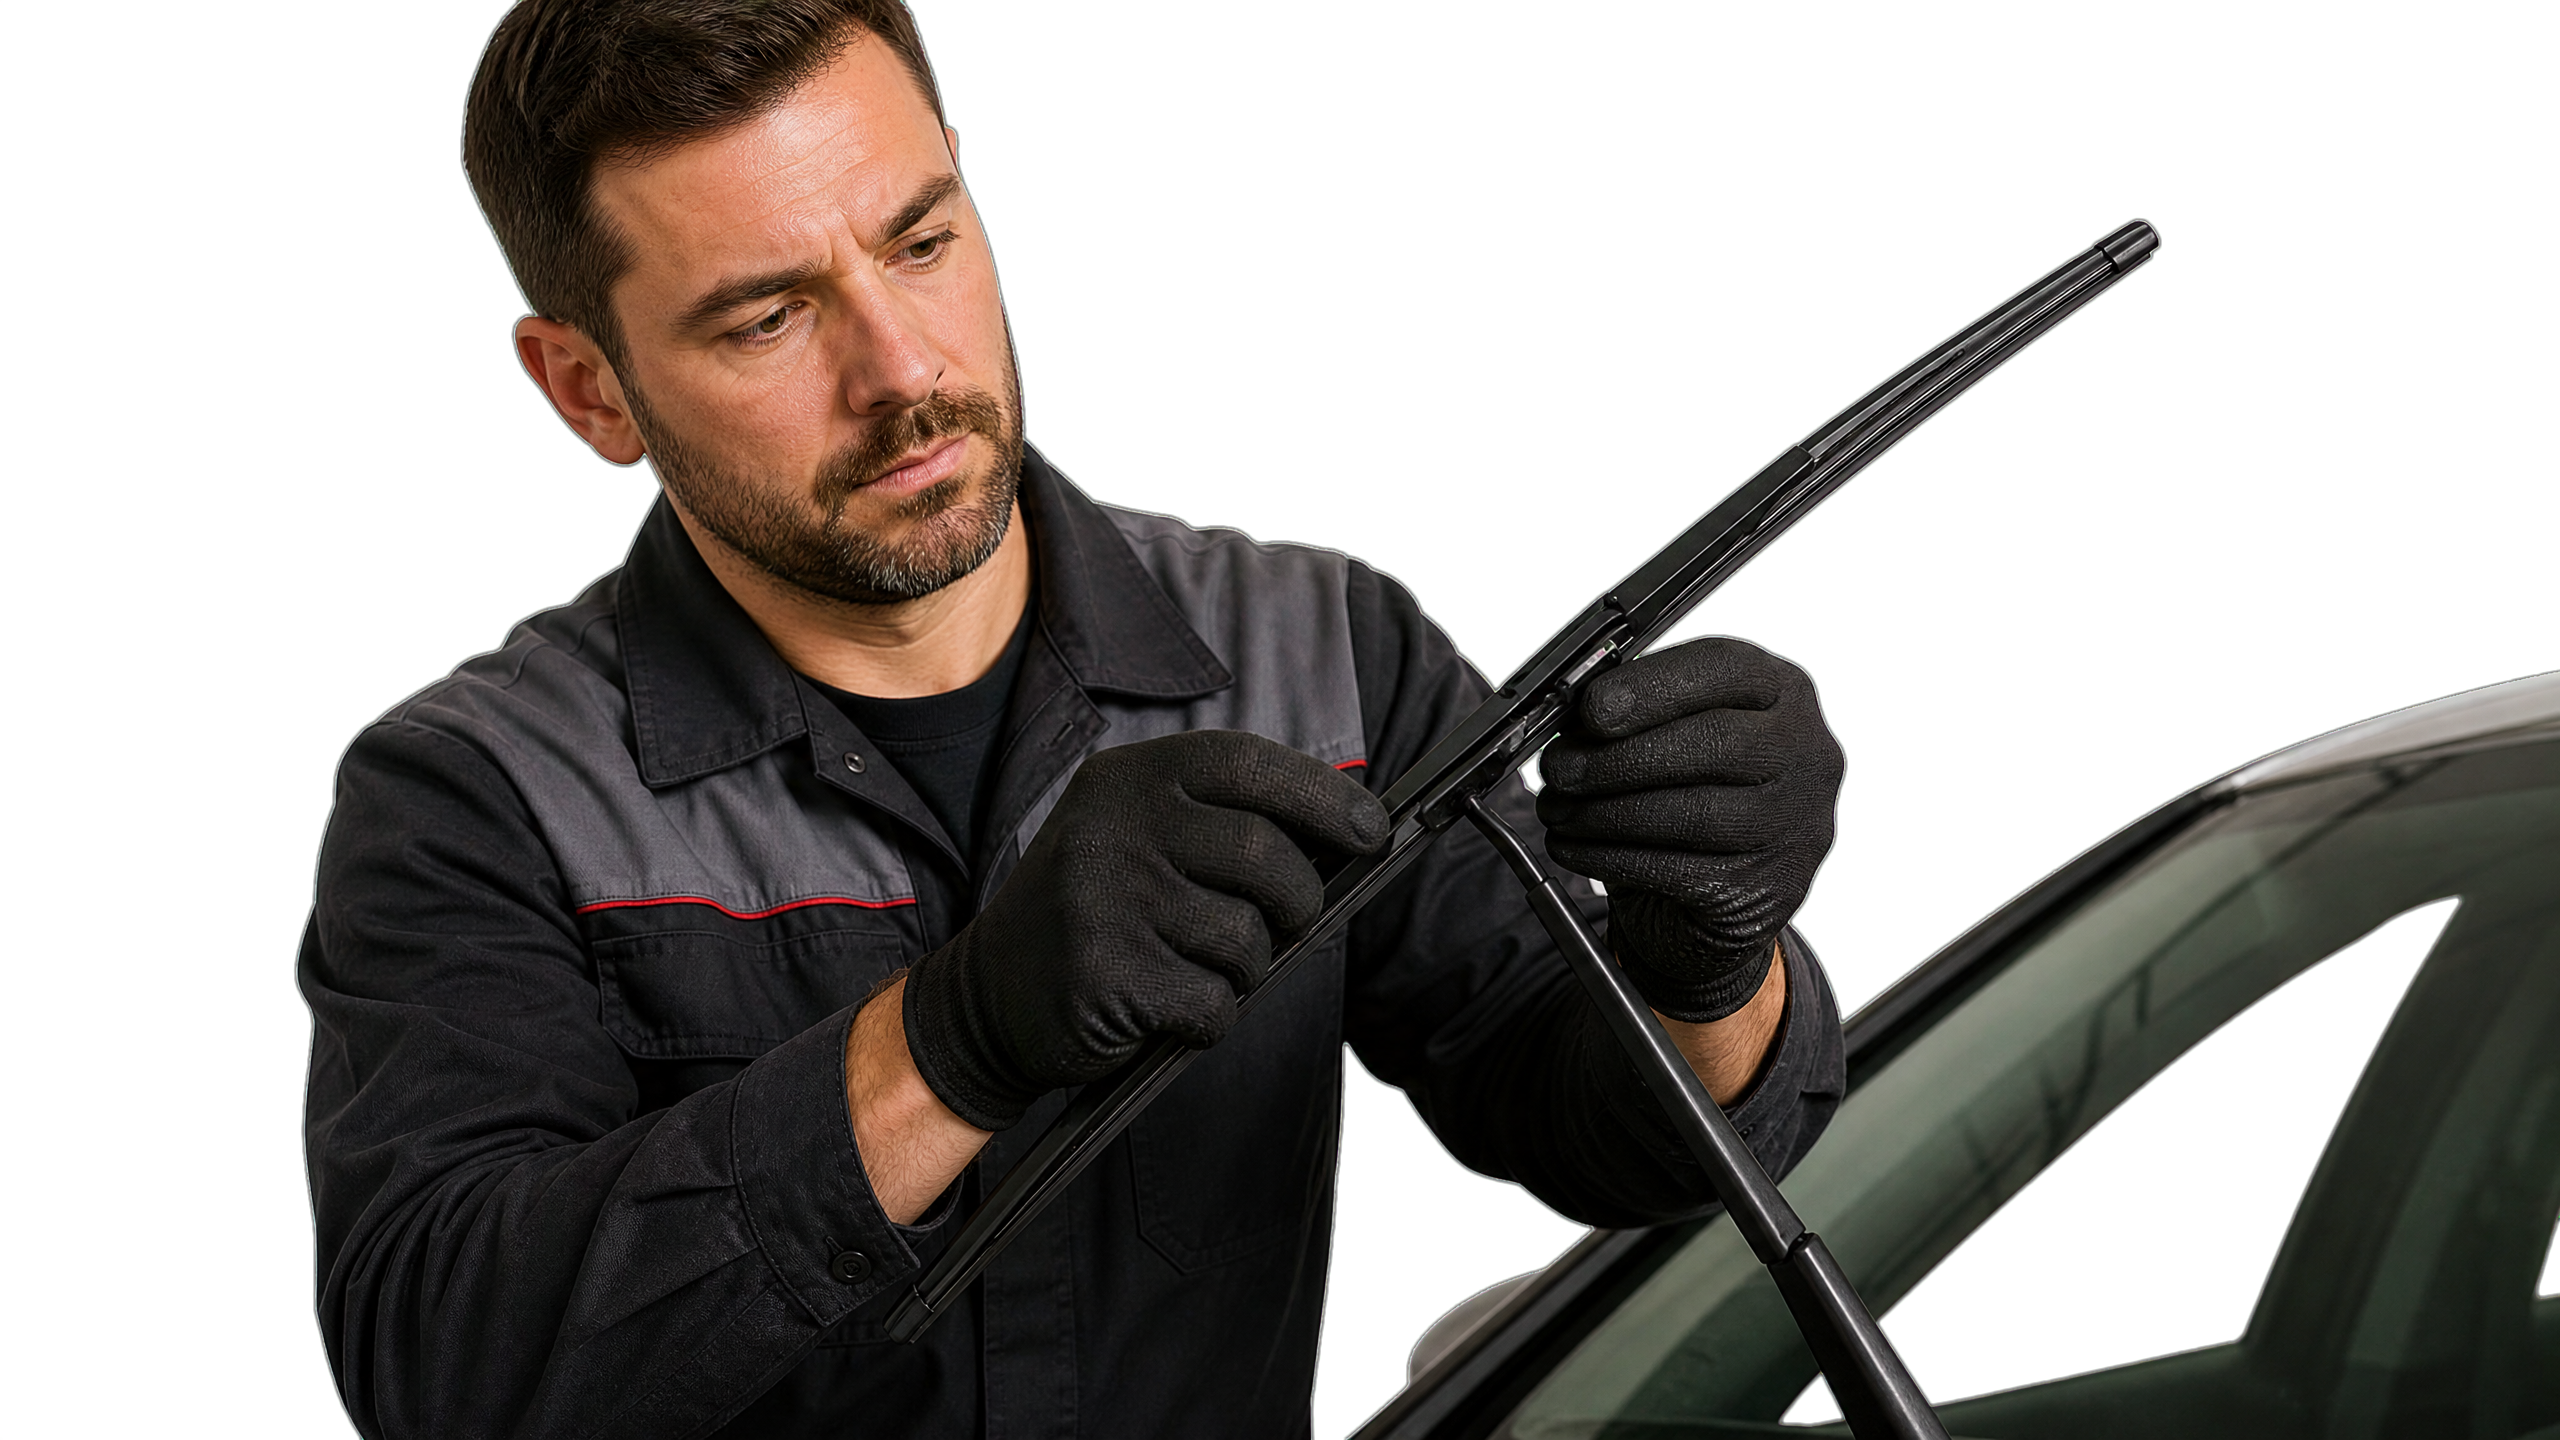
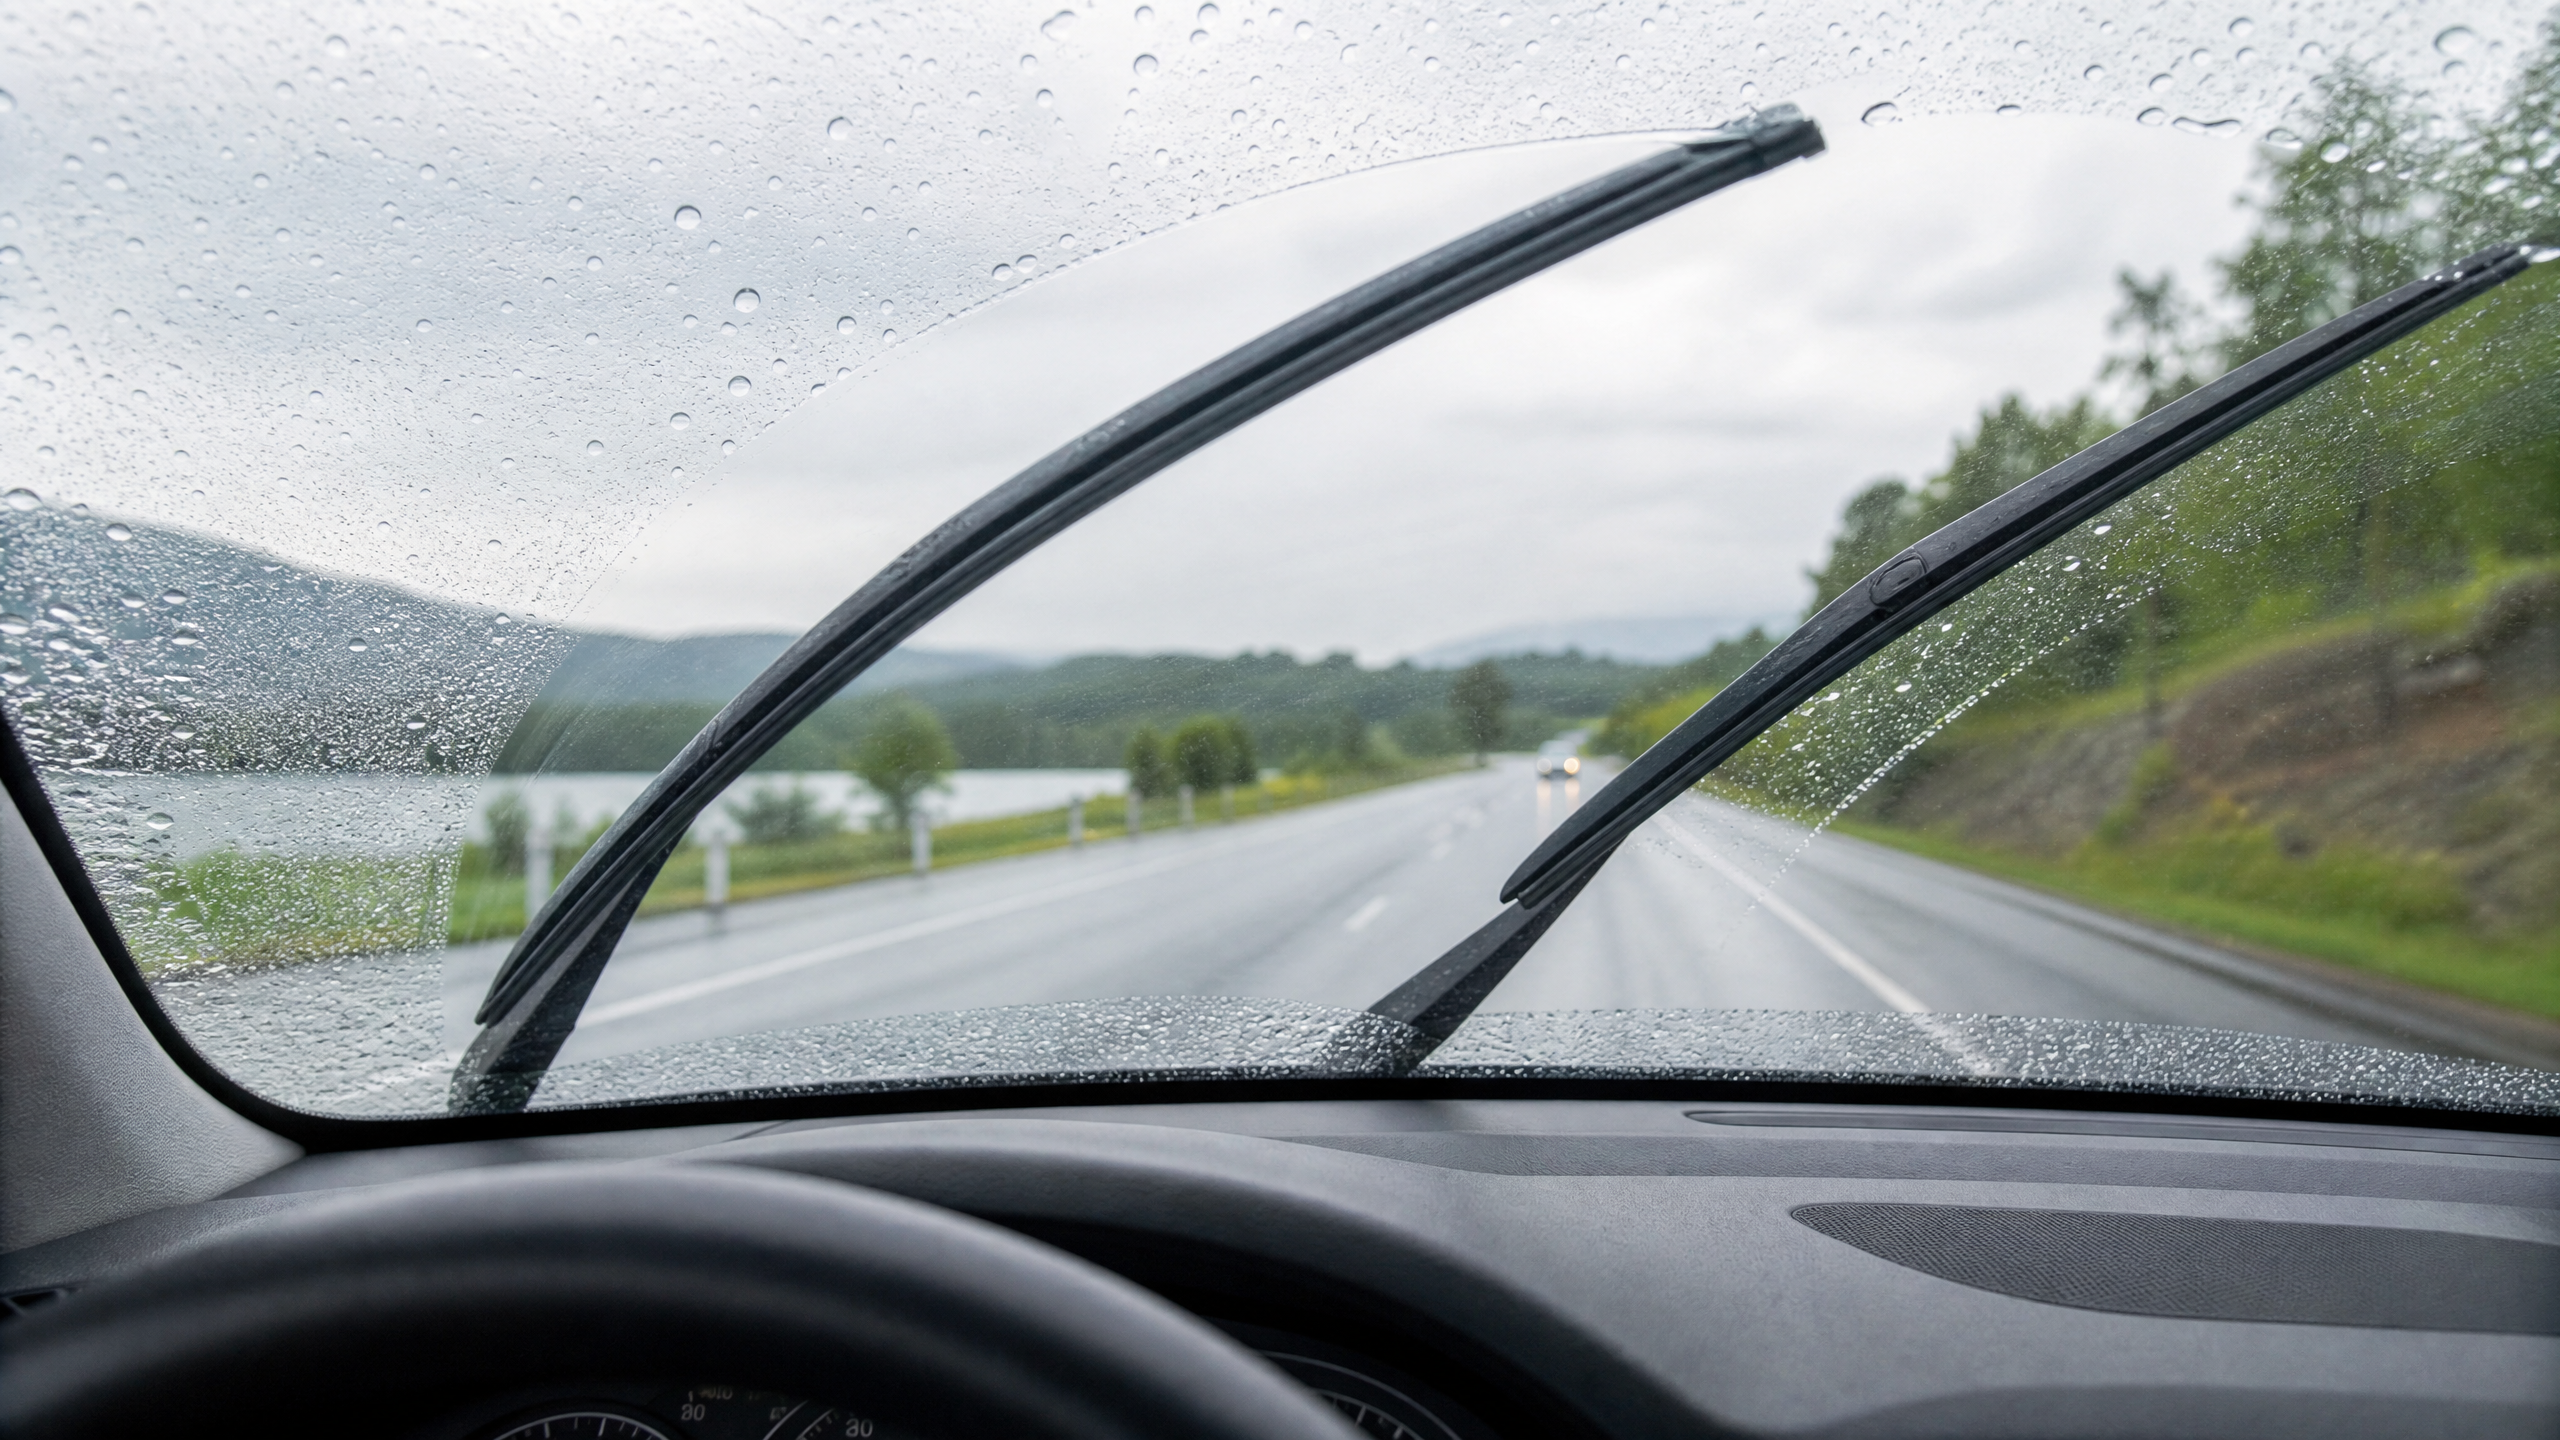
The worst night drive of my life cost zero dollars to prevent. A customer’s wipers were so cooked that oncoming headlights turned his windshield into a glowing fog of smeared light. He was driving by memory and prayer at 55 mph in the rain.
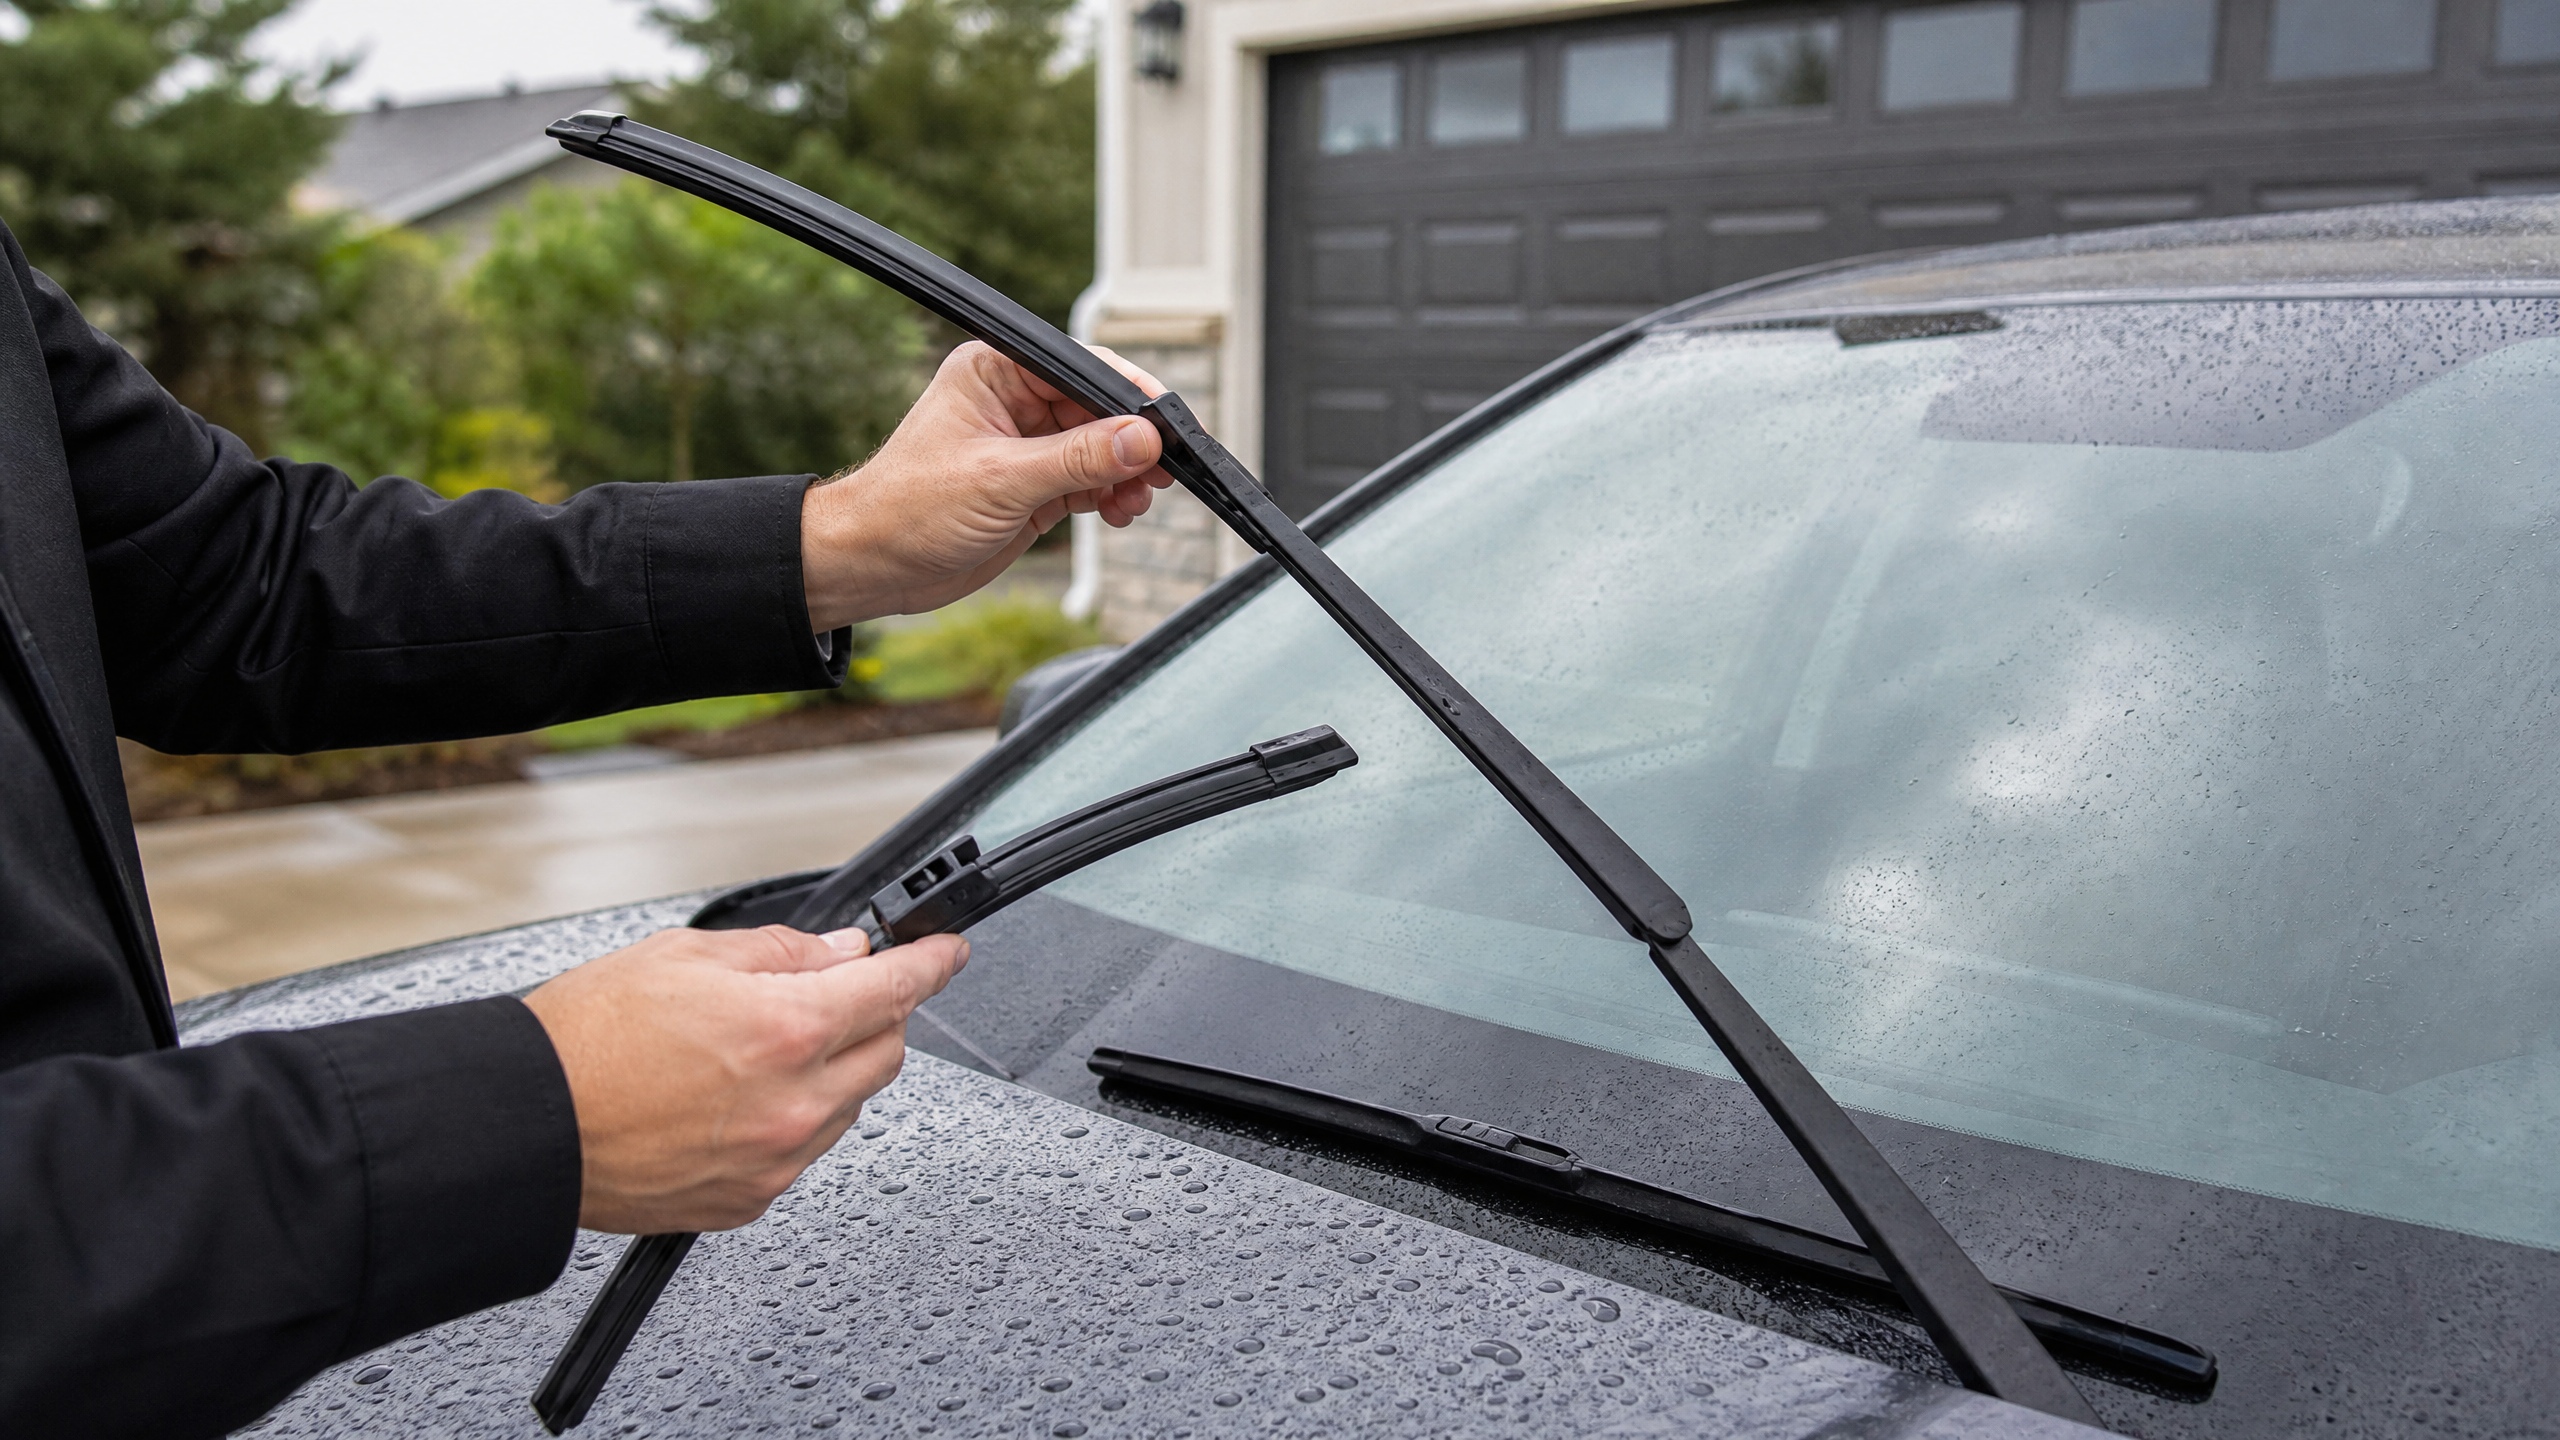
A $24 pair of blades and five minutes in a parking lot would have fixed it. Instead he found out the hard way, white-knuckled, with a semi going the other direction.
Wipers are the cheapest safety part on the car and the most ignored until a storm audits them. Here’s how I judge a blade, pick the right one, and swap them without cracking anything.
Why Blades Die So Fast
That rubber edge lives outside, where UV light, ozone, and heat cook it all summer. Rubber doesn’t need use to fail — it needs time and sunlight. A blade can be “low mileage” and still be garbage.
Heat cracks the edge. Cold sets the rubber hard. Ice bonds the blade to the glass and tears the edge loose when someone runs them frozen. By fall, most blades are rounding the corner whether you drove or not.
My rule: new blades every 6 to 12 months, and always before the season that needs them most — fall for rain, and winter blades or a fresh set for snow country.
The Signs a Blade Is Done
- Streaking: thin lines or a film left behind, meaning the edge no longer meets the glass in one continuous line.
- Chattering or skipping: the blade hops instead of glides, usually a hardened or bent edge.
- Split or missing rubber: look at the squeegee edge. Cracks, nicks, or chunks mean it’s over.
- A bent frame: if the metal or plastic spine is twisted, the blade can’t load evenly, and no new rubber will fix a crooked skeleton.
- One worn spot: a blade that wipes the top and bottom but misses an arc in the middle has lost its spring tension.
Run your finger along the edge of a dead blade and you’ll feel nicks and hard spots. A healthy edge feels like one smooth, soft line.
Sizes, Styles, and Finding Your Numbers
Most cars run two different lengths, like a 26-inch driver side and a 16-inch passenger. The auto parts store has a fitment chart by year, make, and model, and the blade boxes list applications. You can also measure the old blades tip to tip, or check the sticker some cars put in the door jamb or manual.
Three styles exist:
- Conventional (frame) blades: the classic bracketed blade. Cheap, fine for most cars, but the frame can ice up in winter.
- Beam blades: one curved piece of spring steel under a rubber shell. They hug curved glass better, shed ice, and last longer in my experience. My default.
- Hybrid: a beam inside a light aero shell. A good middle choice.
Match the style to your climate more than your budget. Snow country wants beams. A garage-kept commuter can run conventional and be happy.
The Connector Zoo
The end that clicks onto the wiper arm comes in several flavors. The J-hook is the old faithful: a hooked arm that the blade clips onto, held by a little tab. Most trucks and older cars use it.
Newer cars may use a side pin, a top lock, a pinch tab, or a side lock. Quality blade boxes include adapters for several of these, and the package insert shows which adapter fits which arm. Look at your old blade’s connector before you buy, not after.
Tools: Almost None
You need a flathead screwdriver for stubborn tabs, a shop towel or old blanket, and maybe gloves. That’s it. This is a no-jack, no-chemicals job.
The towel matters more than people think. When a wiper arm snaps back with no blade on it, the bare metal arm can crack the windshield or gouge it. I lay the towel across the glass under the arm the whole time the blade is off. Cheap insurance against a $400 windshield.
Swapping J-Hook Blades, Step by Step
1. Lift the arm. Pull the wiper arm up until it stands away from the glass. On some cars the arm only lifts partway — don’t force it, or you’ll bend the spring.
2. Lay the towel. Drape it over the glass under the raised arm before anything else.
3. Find the tab. Where the blade meets the hook, there’s a small squeeze tab or clip. Press it.
4. Slide the blade off. Push the blade toward the hook’s open end and it slides off the J. If it’s stuck, wiggle gently; corrosion and old rubber glue them together.
5. Clean the arm hook. Wipe the hook with the towel. Grit there transfers to the new blade’s connector.
6. Slide the new blade on. Feed the adapter onto the hook until you feel and hear the click of the tab locking. Tug on it. If it moves, it’s not locked, and an unlocked blade leaves at highway speed.
7. Lower it gently. Peel the towel, ease the arm down, don’t let it slam.
8. Repeat the other side, then test with washer fluid, not dry.
Other Connectors, Quick Version
Side pin and top lock blades release with a small button or a twist of a collar. Pinch tab types want you to pinch two tabs and slide. The new blade’s insert shows the motion in three pictures; follow the pictures, not force.
If the new blade came with a row of adapters, fit the adapter to the blade before you go to the arm. Trying to juggle adapter, blade, and spring-loaded arm in the wind is how adapters end up in the storm drain.
Making New Blades Last
- Never run them dry. Rubber on dry glass is sandpaper on rubber. Washer fluid first, always.
- Clear ice and snow off the glass first. Wipers are not ice scrapers. Running them over a frozen windshield tears the edge and can burn out the wiper motor.
- Clean the edge monthly. Wipe the rubber with a rag dampened with washer fluid or isopropyl alcohol. The black gunk that comes off is exactly what was streaking your glass.
- Lift them in freezing rain if you’re parked outside and ice is coming — but only overnight, and gently. Years of standing lifted can weaken the arm spring, so don’t make it permanent.
- Use real washer fluid, winter-rated below freezing. Water freezes in the lines and grows algae in the reservoir.
Rear Wipers and Washer Jets
The rear blade dies just as hard and gets checked half as often. It’s usually a smaller, sometimes model-specific blade. Swap it with the fronts or it’ll surprise you in the first downpour you check a mirror in.
If the spray pattern misses the blade’s sweep or shoots over the roof, the nozzles are clogged or misaimed. A sewing pin in each nozzle hole clears the gunk, and the pin also nudges the aim. You want the spray landing mid-glass on each side, not at the roofline.
When the Blade Isn’t the Problem
If new blades still streak, look at the glass. A film of road tar and exhaust builds up and needs a glass polish or a scrub with rubbing alcohol, not just soap.
If the blade skips only at speed, the arm’s spring tension may be weak or the arm bent. Compare both arms’ pressure by hand. A floppy arm gets replaced — they’re cheap and bolt on with one nut under a plastic cap.
Mistakes I Keep Seeing
Buying by price, not fit. A blade that needs an adapter you don’t have is a paperweight.
Forgetting the towel. One snapped arm, one cracked windshield, one very bad day.
Running them frozen. Torn rubber and a fried motor from impatience.
Replacing only one side. Mismatched blades wipe mismatched, and your eyes fight the difference all night.
Try It: Wiper Verdict
Tell me what they’re doing and I’ll tell you clean, fix, or replace.
What are the wipers doing?
On the glass they…
The rubber edge looks…
Age of the blades?
Wrap-Up
Clear glass at night is not luck. It’s fresh rubber, clean glass, aimed nozzles, and a towel under the arm while you swap.
Do both sides plus the rear, write the date on the blade’s spine with a marker, and next fall you’ll know exactly how old they are without guessing.
Wipers chattering after a fresh set, or an arm that won’t lift? Comment with the car and year and I’ll walk you through it.
Related: Check out our guide on High-Performance Brake Upgrades: Big Brake Kits & Better Stopping.



Leave a Reply