
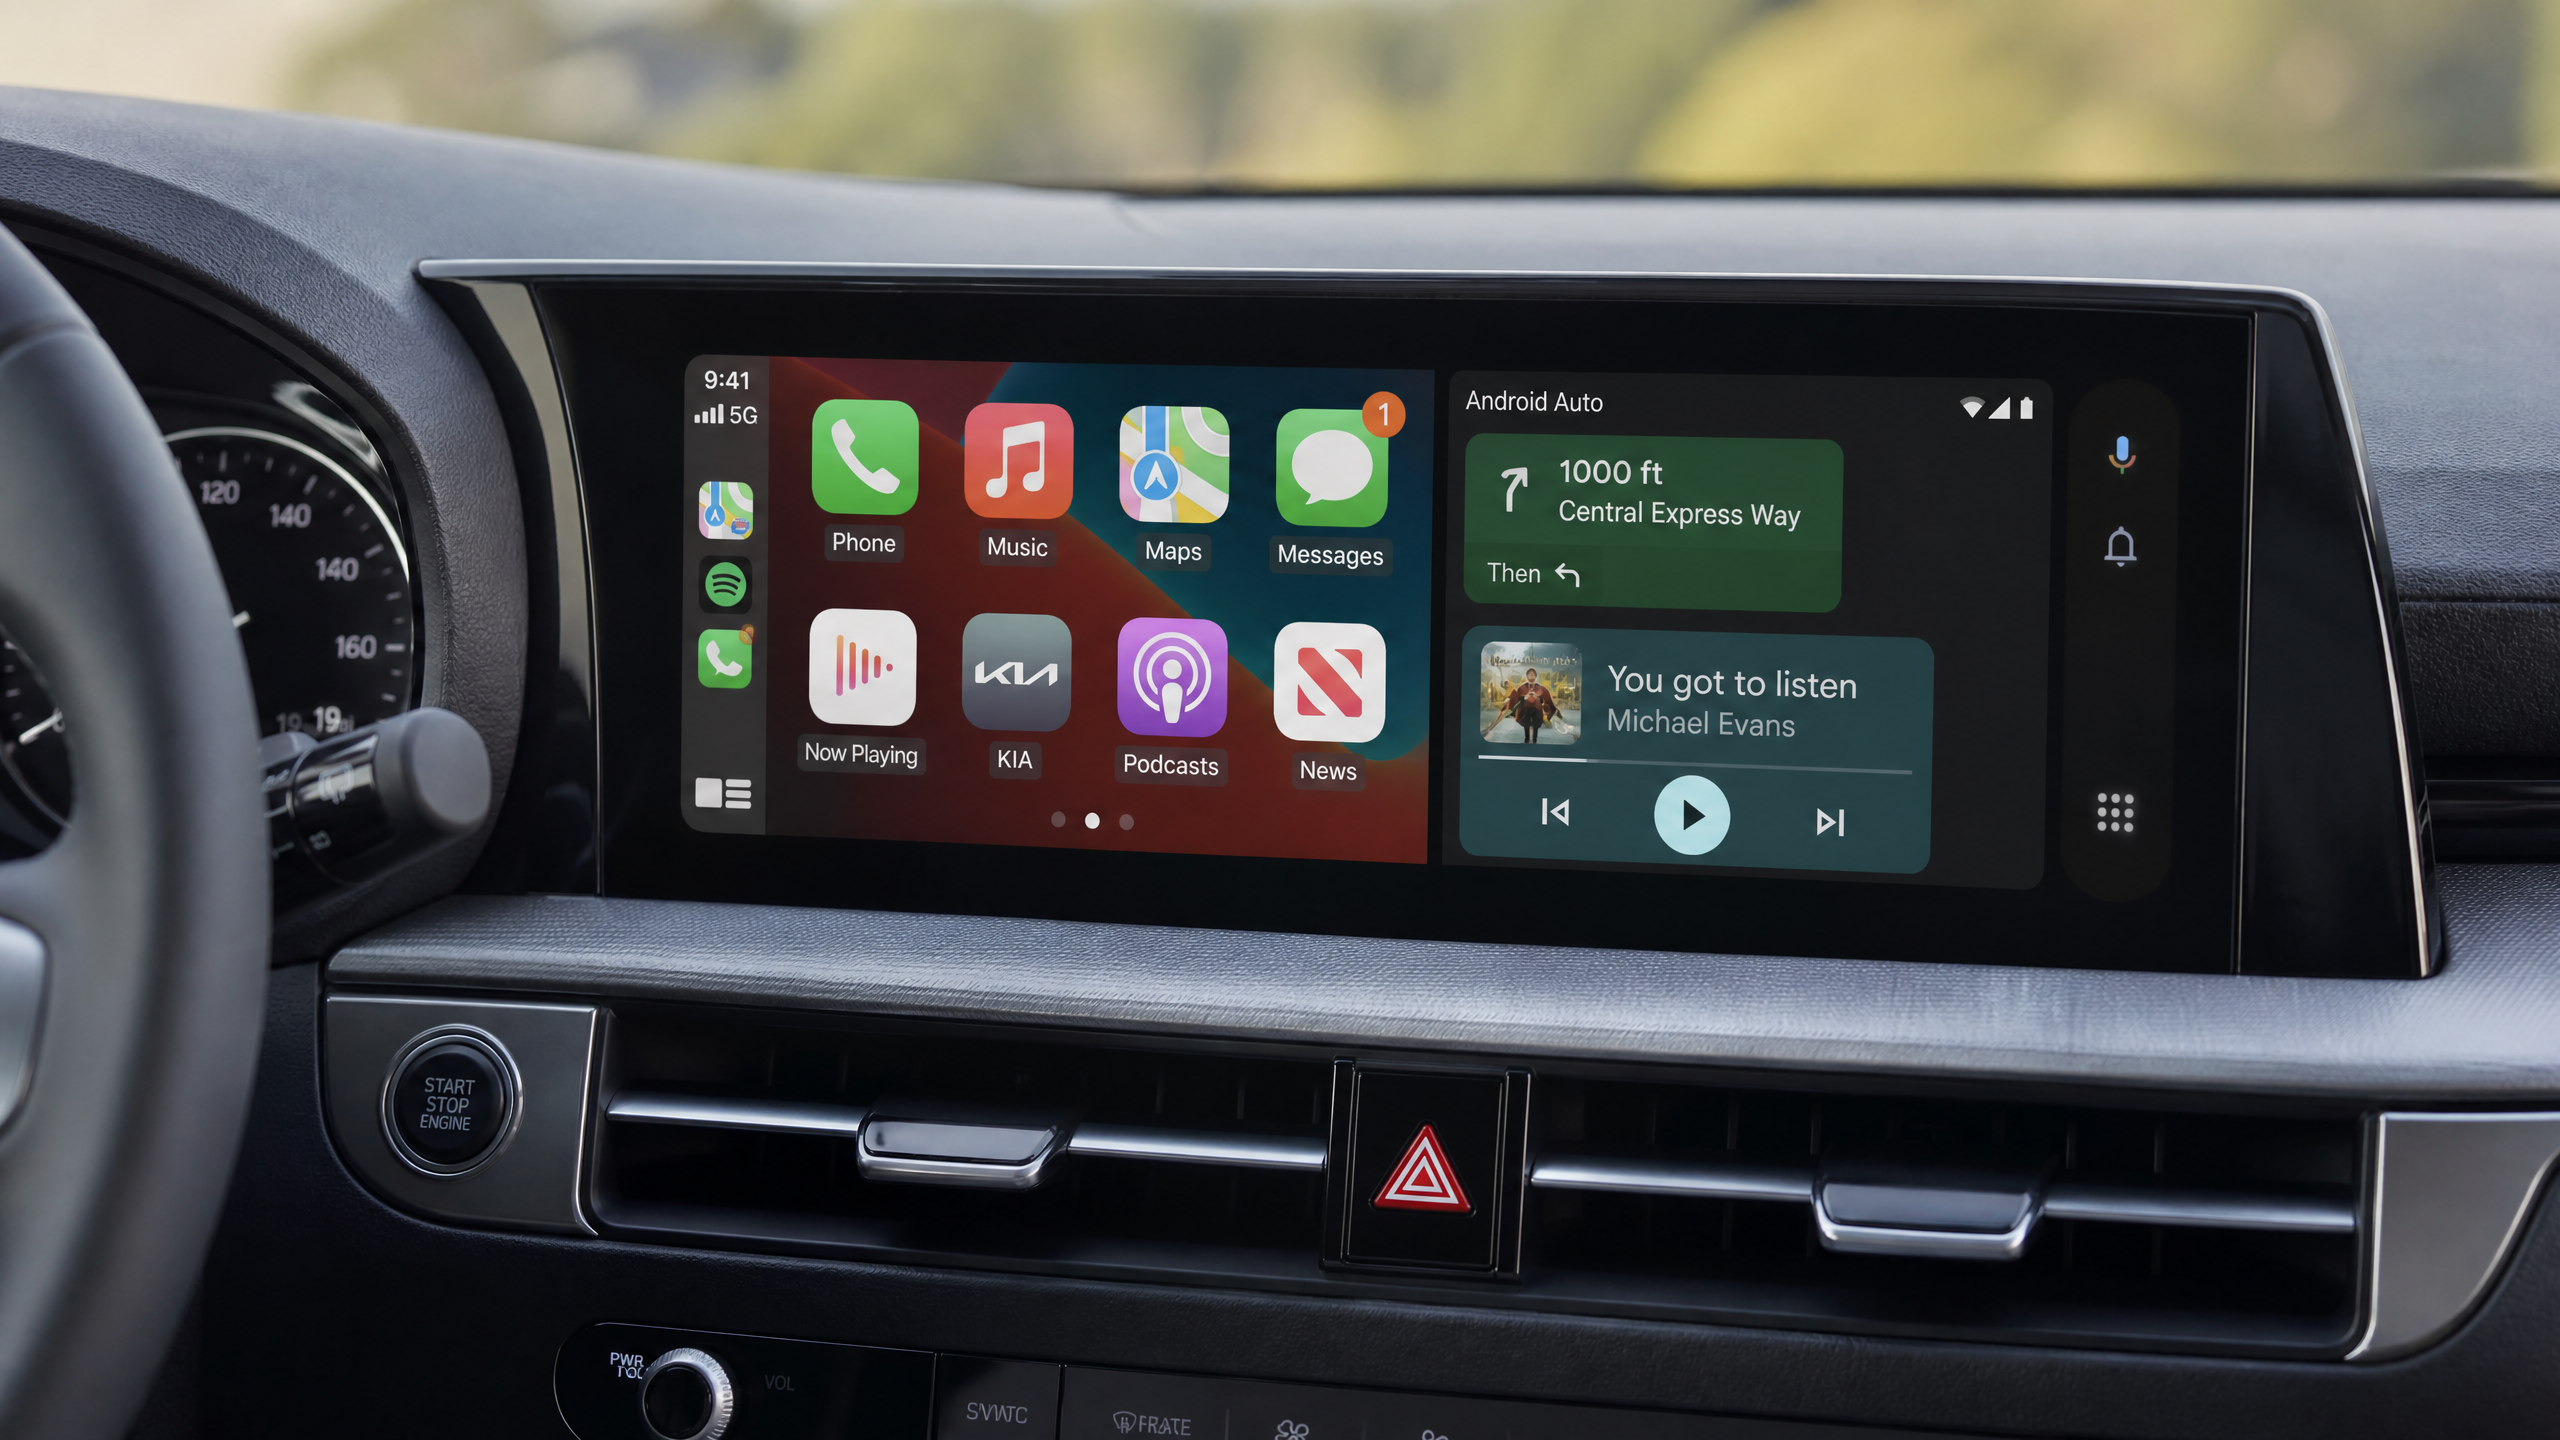
There’s nothing that makes a car feel dated faster than a clunky, low-resolution infotainment screen—or worse, a basic radio with a tiny monochrome display. We live in an era where our smartphones are the hub of our lives, and being able to safely access your navigation, music, and messages while driving is a massive upgrade.
I’ve performed dozens of head unit swaps, and I’m here to tell you that you don’t need to buy a 2025 model to get Apple CarPlay or Android Auto. You just need a Saturday afternoon and a few basic tools.
Whether you’re driving a classic 90s sedan or a mid-2010s SUV, there’s a solution for you. In this guide, we’re going to walk through the process of selecting the right hardware, navigating the maze of wiring harnesses, and performing a clean installation that looks like it came from the factory. Let’s dive into the world of modern infotainment.
Choosing Your Hardware: Single-DIN vs. Double-DIN
The first step is figuring out what fits in your dashboard. Most cars use one of two standard sizes: Single-DIN (2 inches tall) or Double-DIN (4 inches tall). If you have a Double-DIN slot, you have a world of touchscreen options available. If you’re stuck with a Single-DIN slot, don’t worry—there are now “floating” screens that mount into a Single-DIN chassis but provide a full 7-inch or 9-inch display.
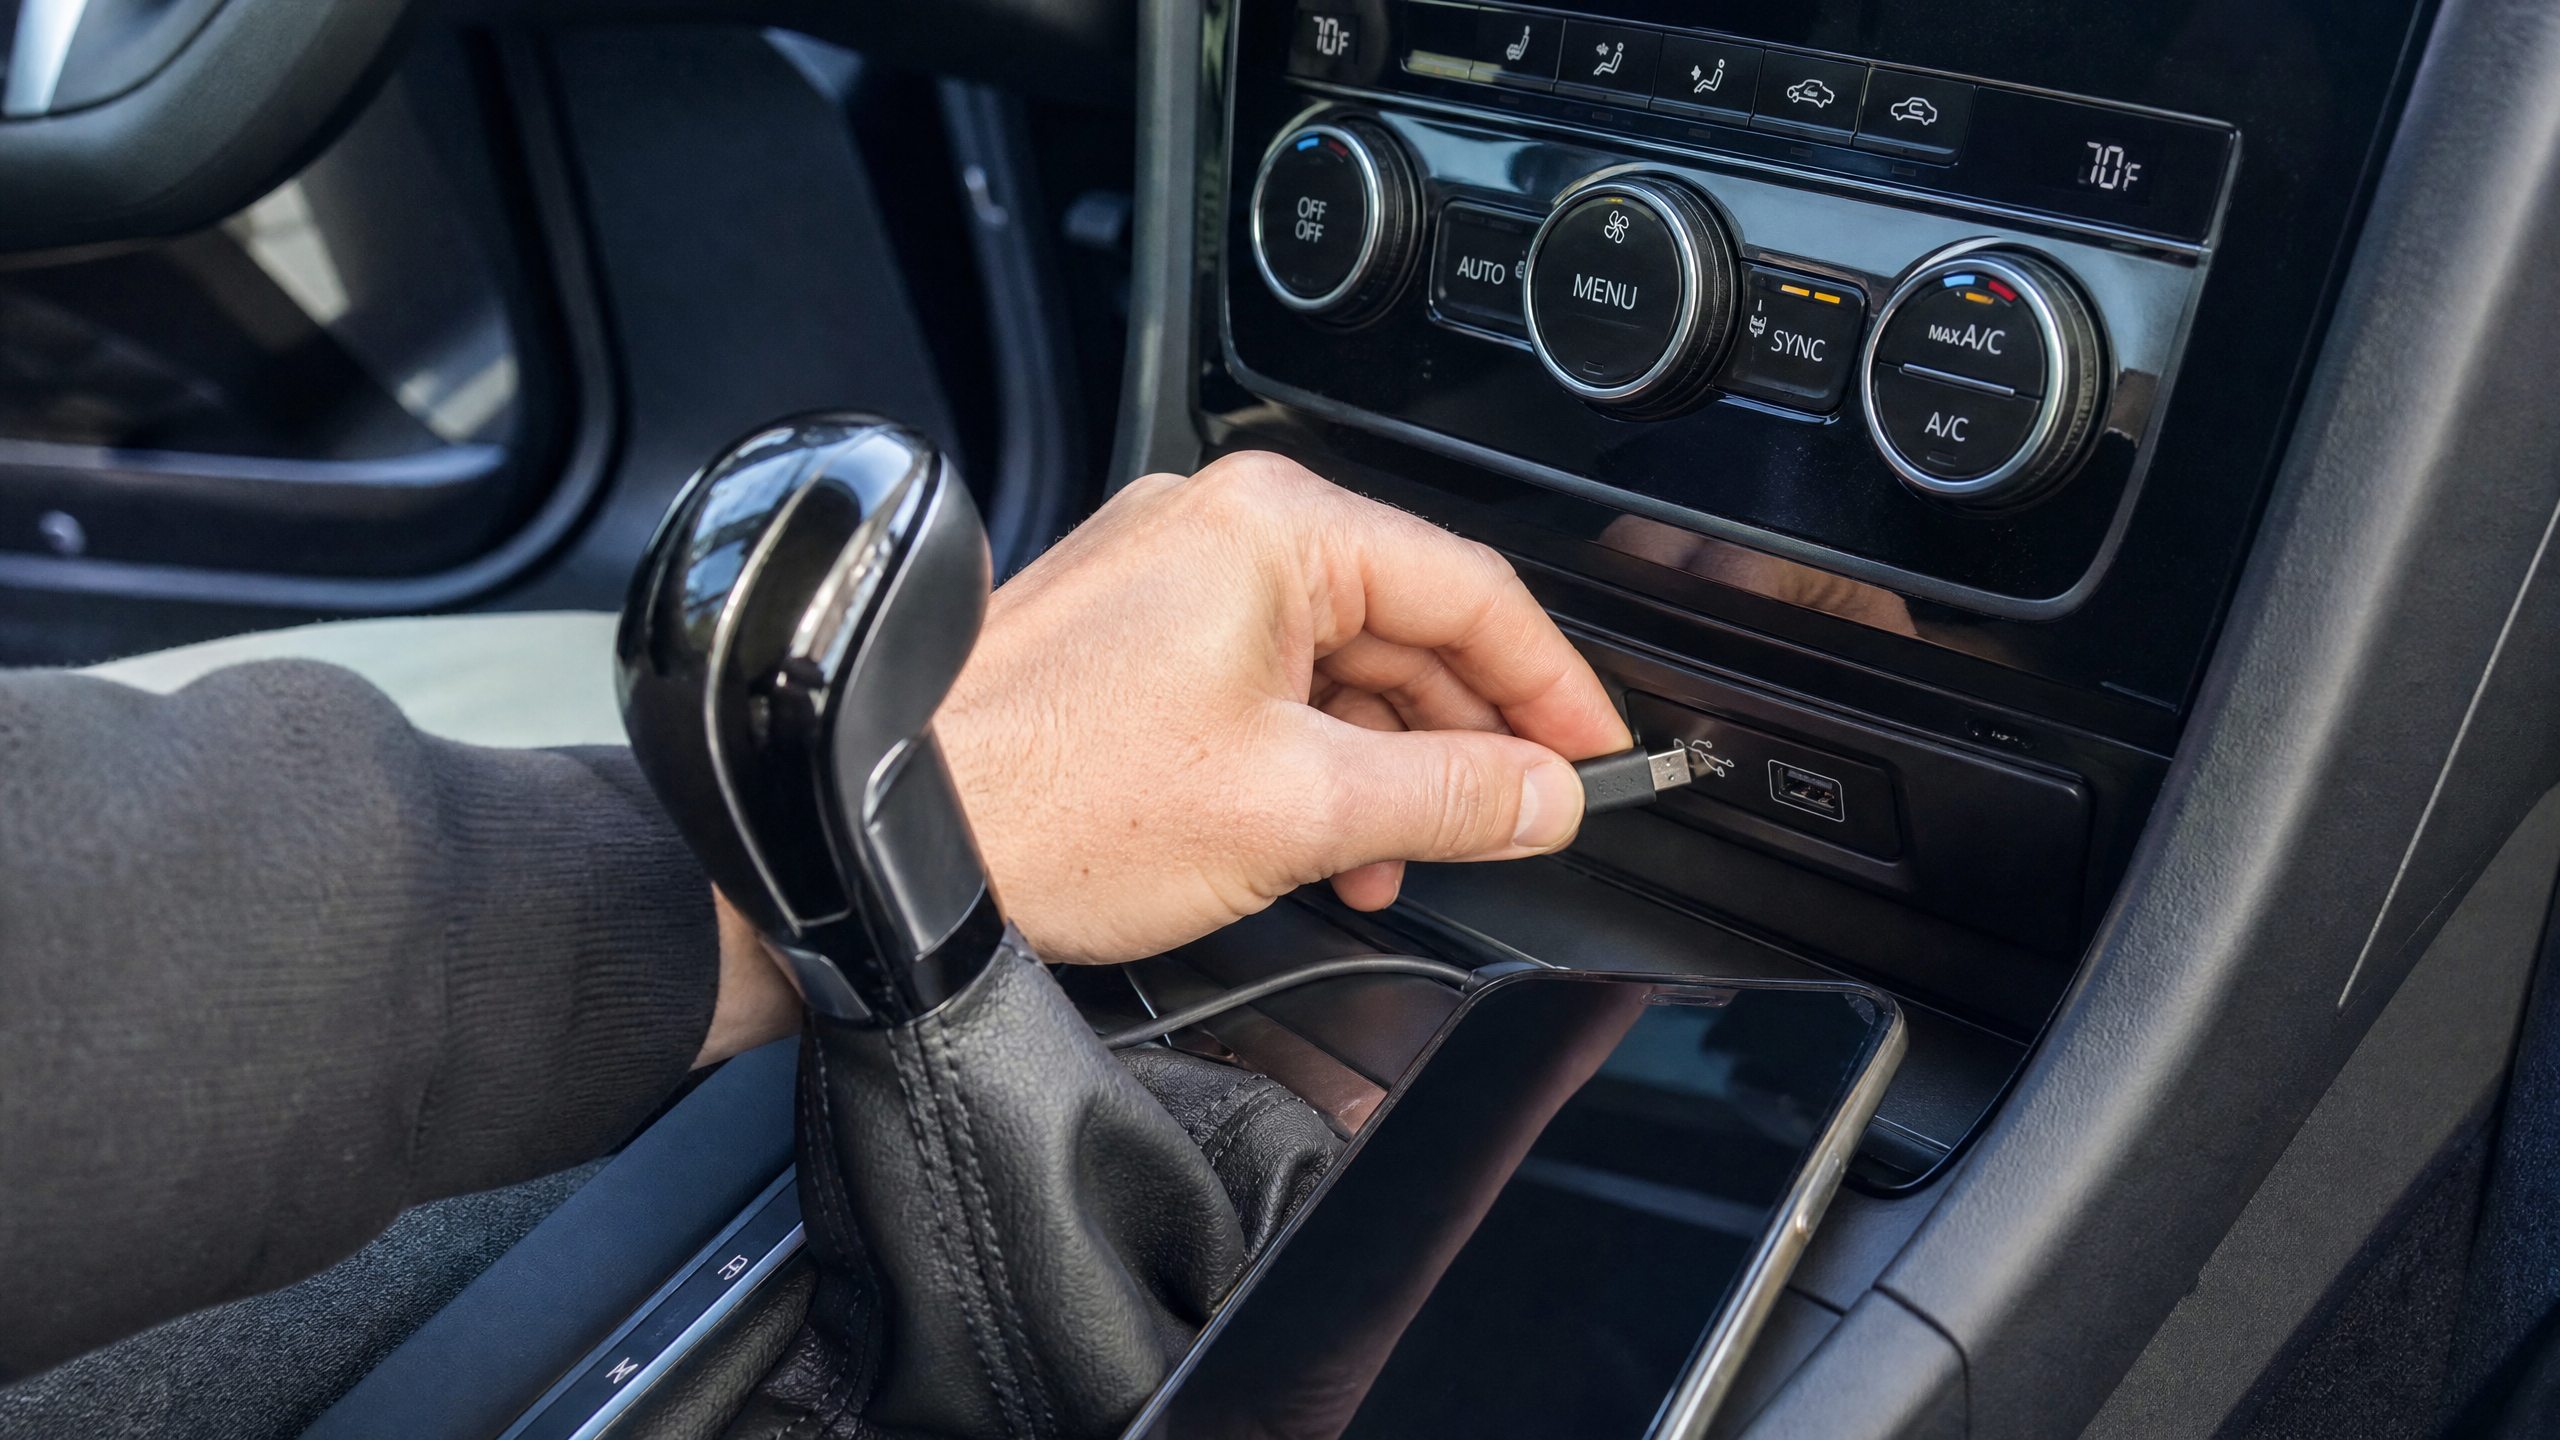
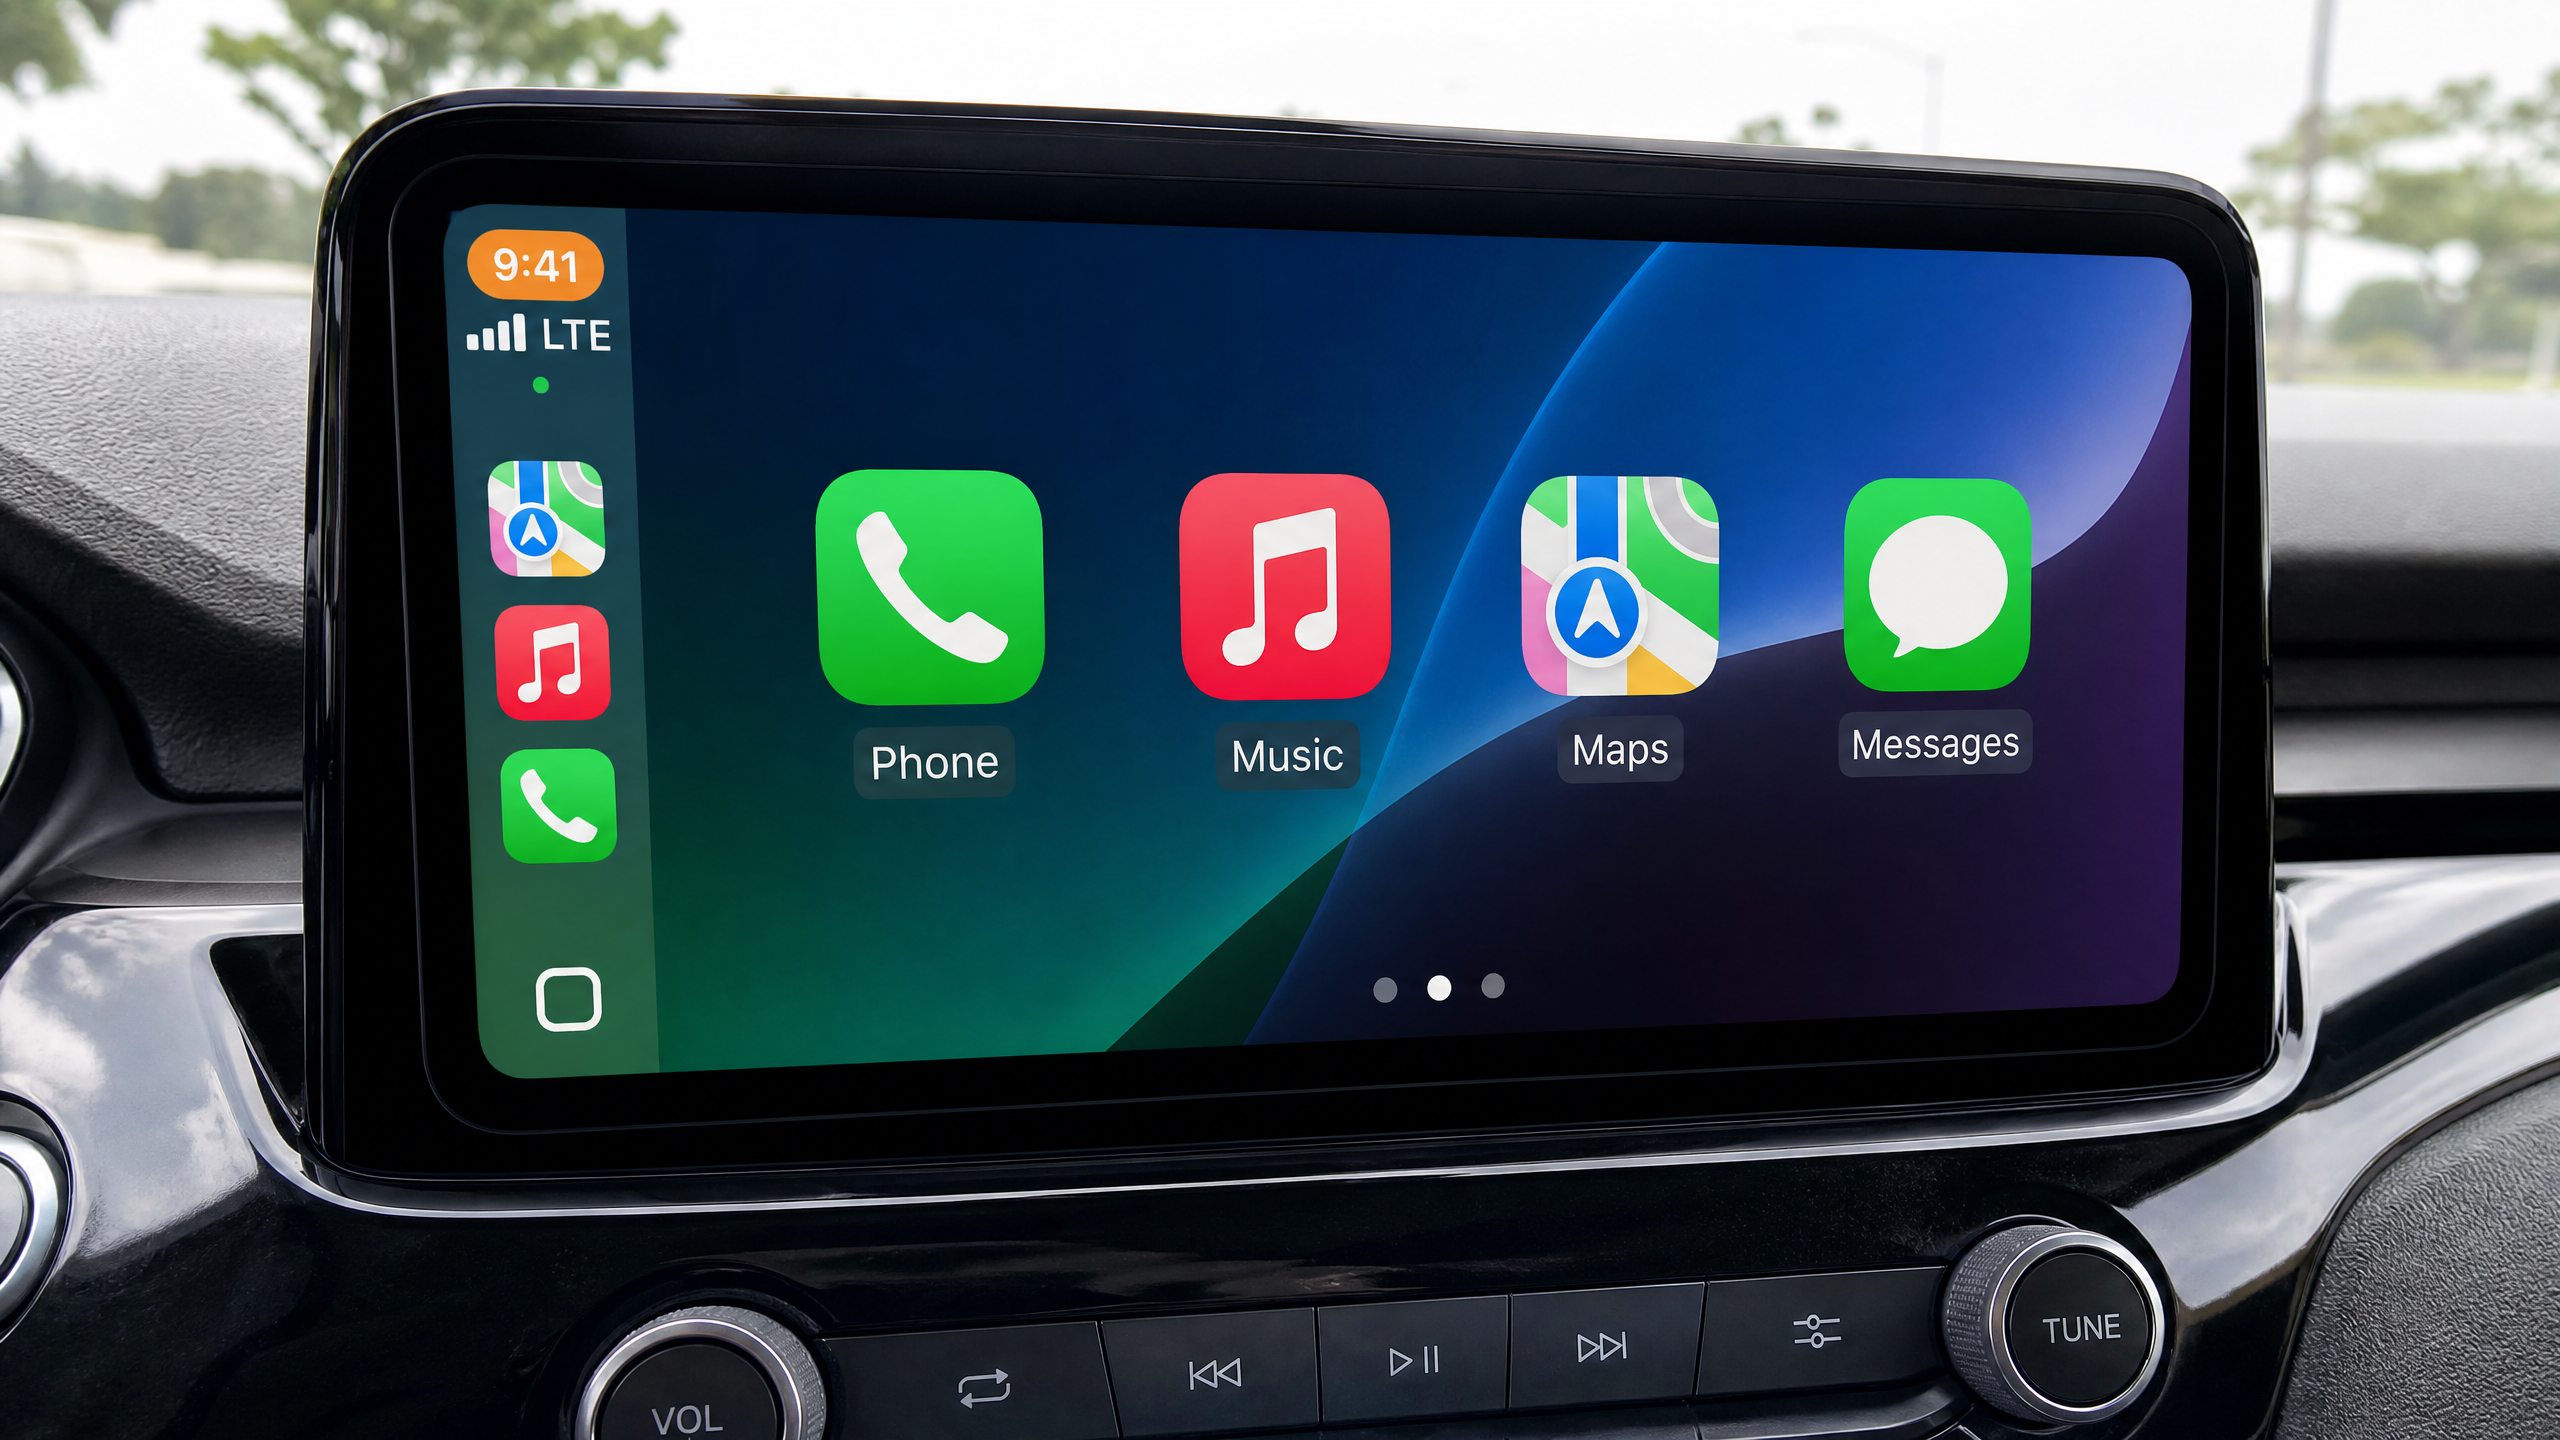
When shopping, I always look for units that support wireless CarPlay and Android Auto. Having to plug in your phone every time you get in the car is a minor annoyance that adds up over time. Also, pay attention to the screen type. Capacitive touchscreens (like your phone) are much more responsive than the older resistive screens. I’ve found that spending an extra fifty bucks on a reputable brand like Sony, Pioneer, or Alpine pays off in long-term reliability and sound quality.
The Wiring Maze: Harnesses and Adapters
The most intimidating part for most DIYers is the wiring. But here’s a secret: you should almost never be cutting your car’s factory wires. I always use a vehicle-specific wiring harness adapter. This allows you to solder or crimp the new radio’s wires to the adapter on your workbench, and then simply plug the adapter into your car’s factory plug. It’s cleaner, safer, and makes it easy to reinstall the original radio if you ever sell the car.
Don’t forget about your steering wheel controls! If you want your volume and track buttons to keep working, you’ll need a steering wheel control (SWC) interface. Some modern head units have this built-in, but most require a separate module like those from Axxess or iDatalink.
Step-by-Step Installation Guide
Step 1: Disconnect the Battery
I can’t stress this enough. You’re working with live electrical circuits. Disconnect the negative terminal of your battery to prevent any accidental shorts that could blow fuses or damage your car’s electronics.
Step 2: Remove the Dashboard Trim
Use plastic trim removal tools rather than a screwdriver. Screwdrivers will mar and scratch your dash plastics. Take your time and locate all the hidden screws—they’re often behind small plastic covers or inside the glovebox area. If a piece of trim isn’t budging, don’t force it. There’s probably a screw you missed.
Step 3: Remove the Old Head Unit
Once the trim is off, the radio is usually held in by four bolts. Unscrew them, pull the unit forward, and disconnect the wiring plugs and the antenna cable. If your car has a separate factory amplifier, you’ll need to account for that in your wiring harness choice.
Step 4: Prep the New Harness
This is best done at a table, not in the car. Match the colors from your new radio’s harness to the adapter harness. In the car audio world, colors are standardized (e.g., yellow is constant power, red is switched power, black is ground). Use heat-shrink tubing or crimp connectors for a secure connection. Avoid electrical tape—it gets gooey and fails over time in the heat of a car interior.
Step 5: Install the Microphone and GPS Antenna
For clear hands-free calls, mount the microphone near the rearview mirror or on top of the steering column. Route the wire behind the dash panels. If your unit has a separate GPS antenna, place it on top of the dashboard or tucked just underneath the plastic dash top for the best signal.
Step 6: Test Before You Reassemble
Plug everything in, reconnect the battery, and turn the key. Check that the unit powers on, the speakers all work, the steering wheel controls respond, and the microphone picks up your voice. It’s much easier to fix a loose wire now than after you’ve snapped all the trim back into place.
The “No-Install” Alternative: Portable Units
If you’re leasing your car or just don’t want to tear into the dashboard, there’s a third option: portable CarPlay/Android Auto displays. These mount to your dashboard or windshield like a traditional GPS and connect to your car’s existing stereo via FM transmission or an AUX cable. They’re a great “plug-and-play” solution, though they don’t look as clean as a built-in unit.
Cost Snapshot
| Component | Estimated Cost |
|---|---|
| Quality Head Unit (Sony/Pioneer) | $250 – $600 |
| Wiring Harness & Dash Kit | $40 – $100 |
| Steering Wheel Interface | $50 – $80 |
| Trim Removal Tool Set | $15 – $25 |
| Total DIY Cost | $355 – $805 |
Compared to the $1,500+ a dealership might charge for a factory navigation upgrade (if it’s even available), doing it yourself is a huge bargain. Plus, you get a much better interface and more features.
Final Thoughts
Upgrading your car’s tech is one of the most satisfying projects you can do. It makes every commute more enjoyable and safer. Take your time, follow the wiring diagrams, and don’t be afraid to ask for help on car-specific forums if you get stuck. Your older car still has plenty of life in it—it just needs a little digital refresh.
Quiz: Is a Head Unit Upgrade Right for You?
1. How do you currently handle navigation and music in your car?
2. Are you comfortable removing plastic panels and connecting wires?
3. How long do you plan on keeping your current car?
Related: Check out our guide on Exhaust System Upgrades: From Mufflers to Cat-Back Systems.





Leave a Reply