
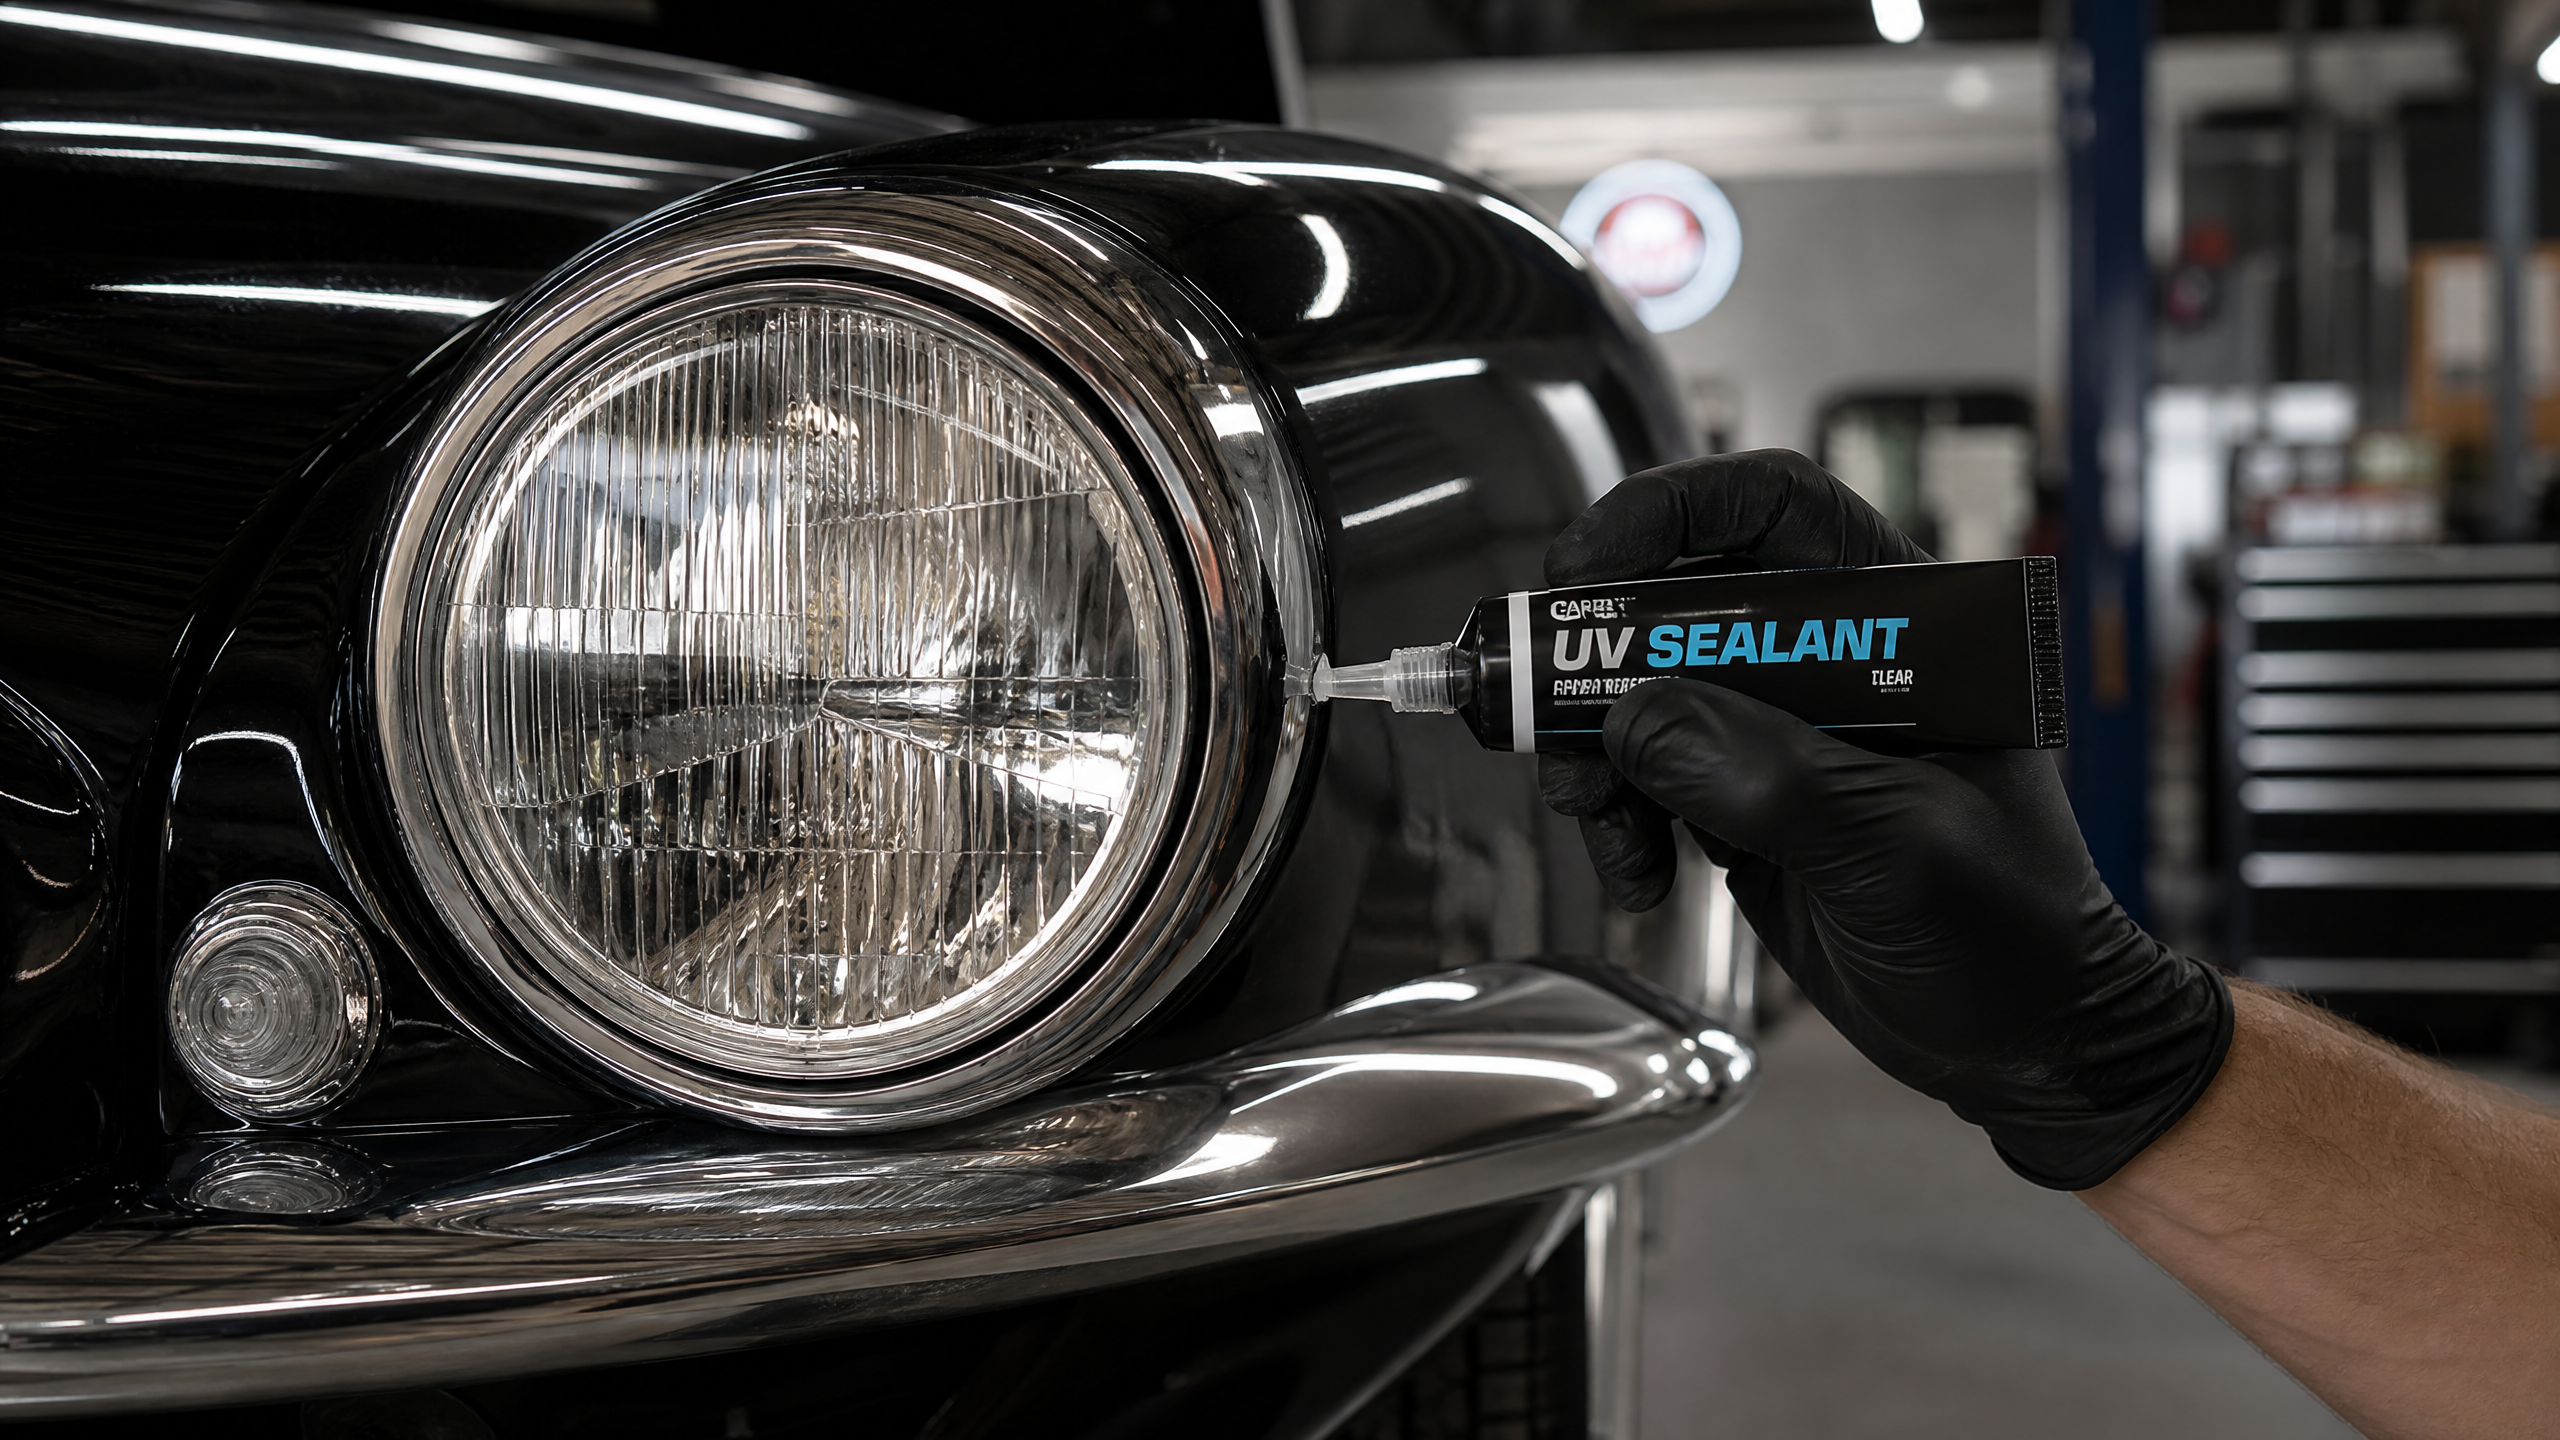
Driving down a dark, unlit country road at night with foggy, yellowed headlights feels a lot like navigating through a heavy fog bank with a pair of dying flashlights. Over years of exposure to relentless UV radiation, acid rain, and high-speed road debris, factory polycarbonate headlight lenses lose their crystal-clear transparency. The hard factory UV-resistant coating breaks down, oxidizing into a cloudy, yellow crust that severely compromises your nighttime visibility and safety.
When customers bring their cars into my shop complaining about poor night vision, the first thing I check isn’t the headlight bulbs—it’s the exterior lens surface. Replacing OEM headlight assemblies can easily cost upwards of $400 to $1,000 per side, especially on modern vehicles equipped with LED projectors and complex sensors. Fortunately, with a little elbow grease, some automotive sandpaper, and a proper UV sealant, you can restore foggy lenses to optical clarity in less than an hour for under $30.
Throughout this comprehensive guide, we will explore the engineering reasons behind headlight yellowing, examine why quick-fix wipes fail after a single rainstorm, review the essential grit progression table for wet sanding, walk through a meticulous step-by-step restoration checklist, and test your knowledge with our interactive garage quiz.
The Anatomy of Headlight Oxidation: Why Lenses Turn Yellow
Back in the days of classic muscle cars, automotive headlamps were made of genuine glass housed in chrome buckets. Glass is virtually impervious to UV degradation and pitting, but modern government safety regulations and aerodynamic design requirements changed everything. Today’s vehicles use tough, lightweight polycarbonate plastic that can absorb high-speed impacts without shattering into dangerous shards.
The Achilles’ heel of polycarbonate is its vulnerability to solar ultraviolet rays. To protect the raw plastic, manufacturers bake a thin UV-blocking clear coat onto the exterior surface during production. Once that sacrificial protective layer wears away after five to seven years, the underlying polycarbonate begins to oxidize, yellow, and pit. The surface turns microscopically rough, scattering oncoming light beams in every direction instead of projecting them forward down the highway.
Simply wiping a temporary 5-minute restoration gel over the lens will make it look clear for a few days, but the rain and sun will wash it right off, leaving you back in the fog. To achieve professional-grade results, you have to physically sand away the dead, oxidized layer of plastic down to fresh, virgin material and seal it against future UV damage.
Internal moisture and bulb heat also contribute to optical degradation over time. If a headlight housing’s rear dust cap is left loose or a waterproof seal fails, condensation builds up inside the lens, leaving mineral deposits on the interior surface. While exterior sanding fixes the yellowish haze caused by UV rays, interior condensation requires removing the headlight assembly entirely, drying it out, and cleaning the inside glass or plastic.
Road pitting is another major issue. As you cruise down the highway at 70 miles per hour, tiny sand particles, road salt, and gravel act like miniature sandblasters against your headlight lenses. These impacts create microscopic craters in the polycarbonate. Over time, these craters fill with road grime and oxidation, creating a stubborn white speckling effect that only deep mechanical sanding can remove.
Modern projector optics and LED headlight arrays have also introduced new sensitivities. Because high-intensity LED chips emit targeted thermal energy and focused UV rays from within the housing, failing to seal a restored lens properly can accelerate internal yellowing and housing degradation. Understanding how optical housings interact with both internal lighting elements and external solar radiation ensures your restoration lasts for years.
Maintaining clear optical lenses also prevents the accumulation of stubborn insect splatter and tar during summer road trips. Because oxidized polycarbonate has microscopic porous pits, dead bugs bond aggressively to the plastic surface, requiring harsh scrubbing that causes further scratching. Restoring a smooth, glossy surface prevents organic matter from gripping the lens, making routine maintenance washing effortless.
Furthermore, we must consider the environmental impact of discarded headlight assemblies. Every year, millions of pounds of non-recyclable polycarbonate and complex electronic components end up in landfills simply because the exterior lens became hazy. By choosing to restore your lenses instead of replacing them, you are performing a sustainable act of automotive preservation that saves both your wallet and the planet.
Many drivers also underestimate the legal implications of foggy headlights. In many jurisdictions, driving with obscured lighting is a citable offense that can lead to heavy fines. More importantly, in the event of a nighttime collision, insurance adjusters may investigate the condition of your vehicle’s safety equipment. Having crystal-clear, properly functioning headlights is your first line of defense both on the road and in the courtroom.
Tools, Supplies, and Grit Progression
Tackling headlight restoration requires a methodical approach to wet sanding. Skipping grit stages or failing to tape off your surrounding paintwork is the fastest way to turn a simple DIY fix into an expensive body shop repair bill.
| Sandpaper Grit | Primary Objective | Pro Tip for Best Results |
|---|---|---|
| 1,000 Grit | Slice through heavy yellow oxidation and pitting | Keep the surface soaked with soapy water spray |
| 2,000 Grit | Smooth out deep scratches left by 1,000 grit | Sands horizontally across previous scratch lines |
| 3,000 Grit | Refine the lens into a fine, hazy matte finish | Use a foam backing pad to distribute pressure evenly |
| Compound & Polish | Restore crystal-clear optical transparency | Buff with a microfiber pad or polishing cone |
When you look at the progression table, notice how each successive grit step refines the scratch pattern down to a microscopic level. If you jump straight from 1,000 grit to polishing compound, you will never buff out those deep initial scratches. Patience and thorough rinsing between grit stages are the true secrets of professional detailers.
Water management is critical during wet sanding. Keep a spray bottle filled with water and a few drops of car wash soap handy to lubricate the sandpaper constantly. As you sand, wipe away the slurry with a clean microfiber towel to inspect your progress. If you still see yellowish streaks or deep pitting, stay on that coarse grit until the entire lens exhibits a uniform matte white finish.
Power tools can speed up the process significantly, but they require caution. You can mount sanding discs and foam polishing pads onto a standard household electric drill or a dual-action polisher. However, high-speed rotary tools generate intense friction heat that can literally melt or deform polycarbonate plastic. Always keep your drill speeds moderate and keep the pad moving across the lens at all times.
Thermal management is especially important when using synthetic wool or microfiber cutting pads with heavy-cut rubbing compounds. If you stay stationary on one spot of the headlight for more than a few seconds, the frictional heat buildup can cause the plastic to distort, creating wavy optical distortions that distort your headlight beam pattern. Always keep your hand resting on the back of the headlight housing to monitor surface temperature.
Choosing the right sanding motion is another detail that separates amateurs from experts. Always sand in straight lines, never in circles. Circular sanding creates “pigtail” scratches that are notoriously difficult to remove in the later stages. By alternating your direction between grit levels—horizontal for 1,000, vertical for 2,000—you can easily see when the previous set of scratches has been completely replaced by the finer ones.
Proper workspace lighting is also essential. Trying to restore headlights in a dim garage is a recipe for missed spots. Use a high-lumen handheld detailing light or move the car into direct sunlight to inspect the lens from multiple angles. You are looking for a perfectly uniform, hazy finish before moving to the polishing stage. Any remaining shiny spots indicate that the oxidation hasn’t been fully removed.
Step-by-Step Checklist: Restoring Headlight Clarity
If you are ready to tackle your foggy headlights this weekend, follow this exact step-by-step checklist to ensure professional results without damaging your car’s exterior trim.
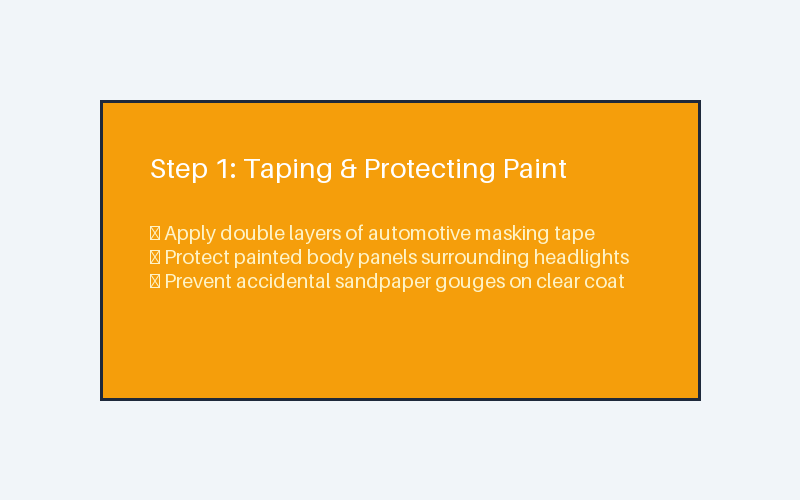
- Wash and Tape Off: Wash the front end thoroughly, dry the lenses, and apply two layers of high-quality automotive masking tape around the painted body panels immediately bordering the headlight assembly.
- Initial Heavy Sanding (1,000 Grit): Soak your 1,000-grit wet/dry sandpaper and the headlight in soapy water. Sand firmly in side-to-side horizontal strokes until the runoff water turns yellowish-brown.
- Refining the Surface (2,000 & 3,000 Grit): Switch to 2,000 grit and sand in perpendicular vertical strokes to erase the 1,000-grit marks. Repeat the process with 3,000 grit until the lens feels satin-smooth.
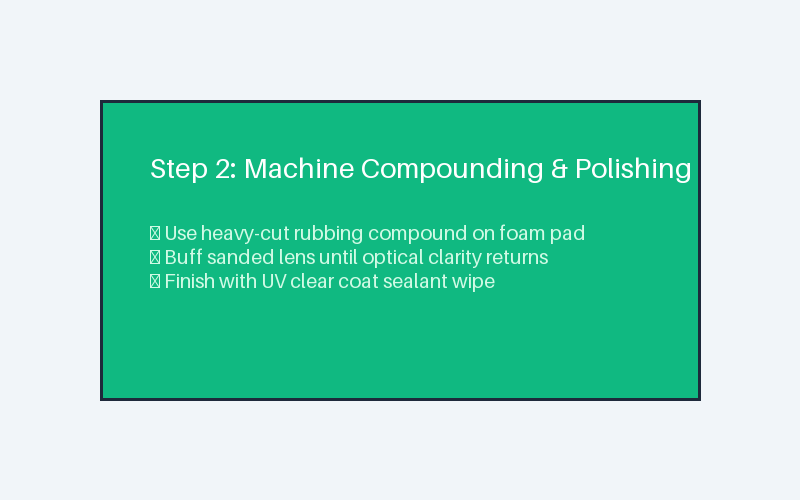
- Machine Compounding: Apply a heavy-cut rubbing compound to a foam polishing pad on a drill or dual-action polisher and buff the lens until crystal clarity reappears.
- Apply UV Clear Coat Sealant: Clean the lens with rubbing alcohol, then apply a dedicated UV-blocking clear coat wipe or ceramic sealant to lock in clarity and prevent future yellowing.
Once your headlights are sparkling clear, proper aftercare will keep them that way for years to come. Whenever you wash and wax your car, make it a habit to apply a coat of synthetic paint sealant or ceramic coating directly onto the headlight lenses. This sacrificial barrier absorbs UV rays and prevents oxygen from attacking the bare polycarbonate plastic.
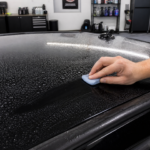
If you ever notice slight hazing returning after a couple of years, you won’t need to repeat the heavy 1,000-grit sanding stage. A simple chemical polish with a hand-held microfiber applicator pad and finishing compound will quickly strip away surface oxidation and restore showroom clarity in under ten minutes.
Taking care of your lighting system is not just about aesthetics; it is a fundamental safety responsibility. Properly restored headlights illuminate road signs, wildlife, and hazards hundreds of feet earlier, giving you vital reaction time during nighttime driving emergencies.
Many state vehicle inspection programs and Department of Transportation guidelines specifically test headlight light output and clarity during annual safety inspections. Severely oxidized lenses scatter light beams upward into the eyes of oncoming drivers while failing to illuminate the road ahead, resulting in an automatic inspection failure. Restoring your lenses yourself ensures you pass inspection with flying colors while dramatically improving your night driving confidence.
When it comes to the final sealing stage, many advanced DIYers prefer using a two-part 2K aerosol clear coat instead of simple wipe-on UV sealants. A 2K clear coat creates a hard, permanent catalyzed chemical layer over the polycarbonate that mirrors factory protection, lasting five to ten years without yellowing. However, it requires extensive masking of the entire front end of the car to protect against overspray drift.
In addition to exterior restoration, while you have your hood open and your tools out, take a moment to inspect your headlight bulbs. Halogen bulbs dim significantly over their lifespan before burning out entirely. Upgrading to high-performance halogen bulbs or carefully matching road-legal LED replacement bulbs while your lenses are crystal clear will transform your nighttime driving visibility to a whole new level.
Furthermore, don’t forget to check the aim of your headlights once the lenses are clear. Over time, vibrations from the road can cause the adjustment screws to drift, leading to beams that are pointed too high or too low. With clear lenses, you can easily see the beam pattern against a garage wall, allowing you to fine-tune the alignment for maximum road coverage without blinding other drivers.
The psychology of a clean car also plays a role. Driving a vehicle with clear, bright headlights makes the entire car feel newer and better maintained. It reflects a level of care and attention to detail that enhances your pride of ownership. Whether you are planning to keep the car for another decade or getting it ready for sale, headlight restoration is the single most effective aesthetic and functional upgrade you can perform for the price of a few pizzas.
Ultimately, taking the time to restore your headlights is one of the most rewarding DIY projects you can perform in your driveway. The immediate visual transformation combined with the massive safety upgrade makes it an essential skill for any car enthusiast who takes pride in maintaining their vehicle to the highest professional standard.
By following these meticulous steps, respecting grit progressions, managing sanding heat, and applying durable UV protection, your headlights will remain crystal clear through scorching summer heat and freezing winter storms, ensuring safe nighttime navigation for thousands of miles ahead.
Interactive Maintenance Quiz & Knowledge Check
Before you start sanding down your headlights, test your knowledge with this quick interactive quiz to ensure you avoid costly mistakes:
Headlight Restoration Quiz
1. Why is applying a UV sealant or clear coat mandatory after sanding headlights?
A) To make the plastic smell better.
B) Without UV protection, raw polycarbonate will rapidly oxidize and turn yellow again within weeks.
2. Should you sand in circular motions or straight horizontal/vertical strokes?
A) Straight strokes perpendicular to the previous grit to ensure even scratch removal.
B) Circular motions to blend the edges.
Correct Answers: 1 is B (UV sealant is essential), 2 is A (straight strokes ensure uniform refinement).
Restoring your headlights is one of the most rewarding DIY projects you can tackle in your driveway. Not only does it make your car look years younger, but more importantly, it restores the nighttime visibility you need to keep your family safe on the road.
To keep your vehicle looking and performing its absolute best, be sure to explore our related guides on ceramic coating vs. wax and home car detailing.


Leave a Reply