
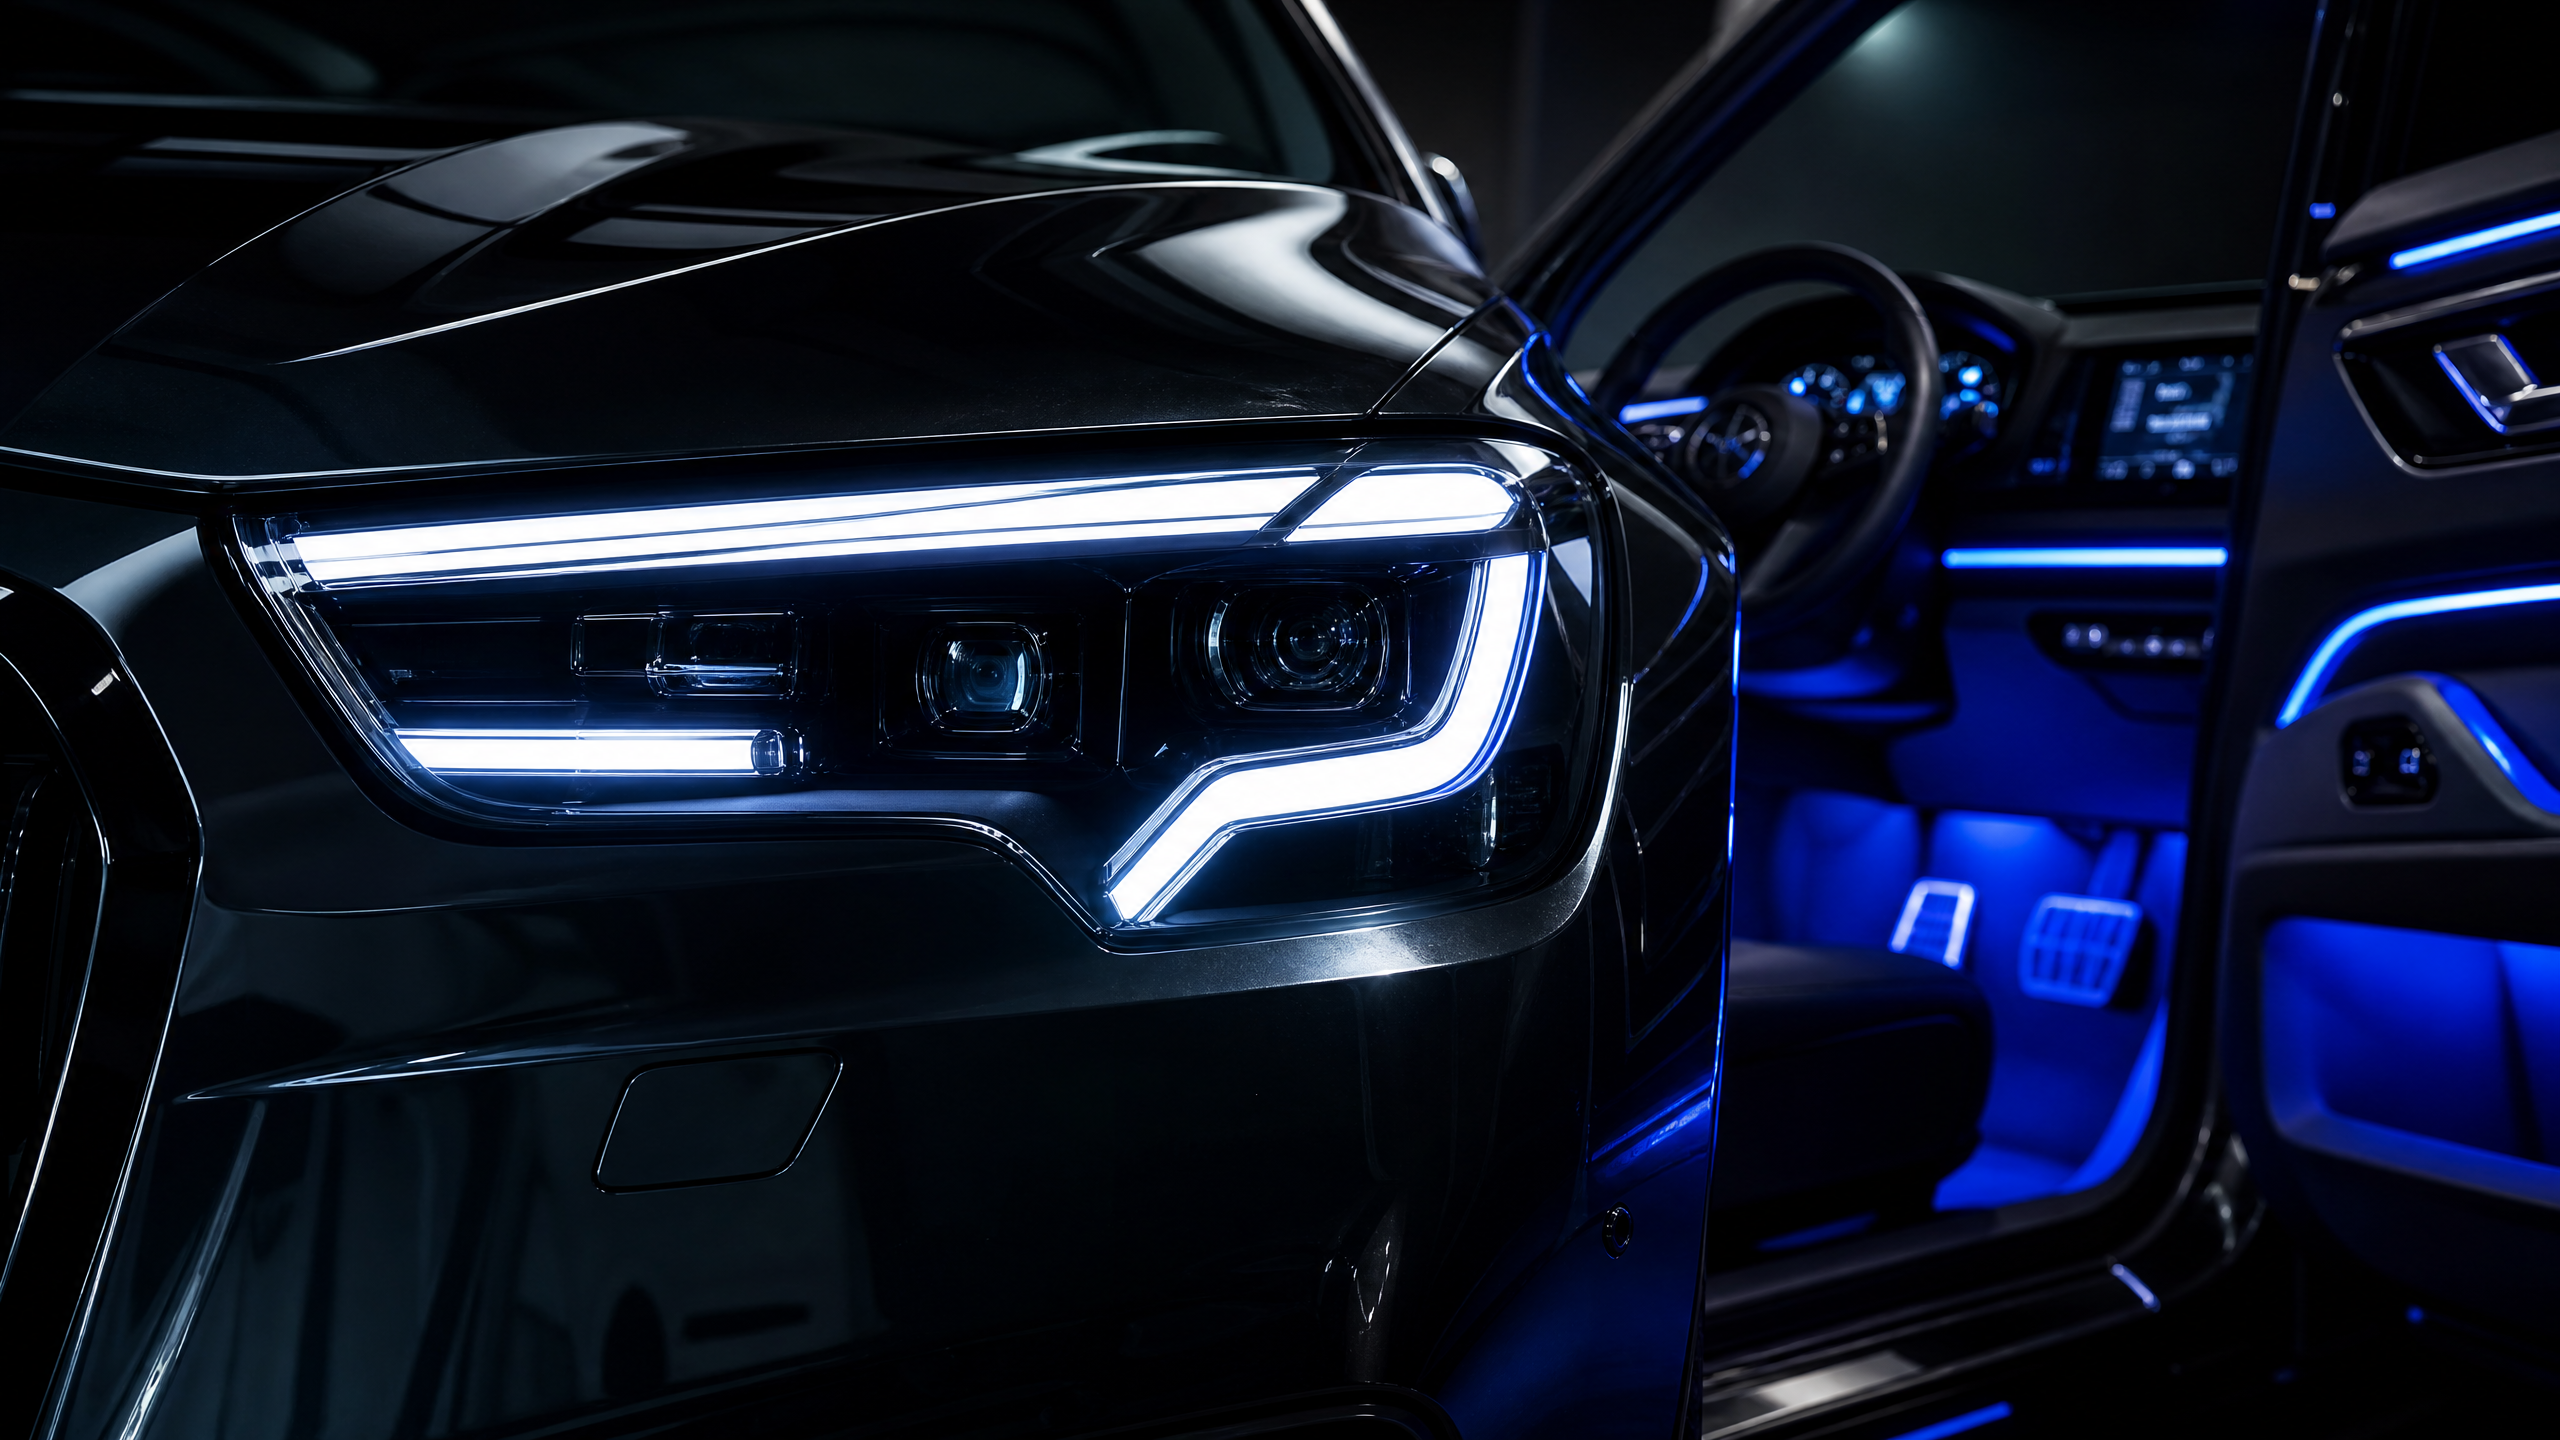
Custom Car Lighting: Install LED Interior & Accent Lights
The first LED strip I ever installed was under the dash of my own truck, back when I was still turning wrenches part-time at a friend’s shop on weekends. I ran the wire straight off the cigarette lighter fuse, no relay, no fuse tap, just twisted the leads together and wrapped them in electrical tape like a caveman. Two weeks later the strip died, the fuse for my radio started blowing, and I spent an entire Saturday afternoon tracing the problem with a multimeter instead of just doing it right the first time.
That’s really the whole story with LED lighting mods. The parts are cheap, the install looks easy on YouTube, and it’s one of the most satisfying upgrades you can do in an afternoon. But the wiring is where people get sloppy, and sloppy 12V wiring is how you end up with a dead battery, a melted connector, or a dash full of flickering lights that drive you nuts on every night drive.
I’m going to walk you through this the way I’d walk a friend through it in my own garage — interior lighting first, then exterior accent lighting, with the wiring safety stuff built in instead of tacked on at the end.
Why LEDs Beat Old-School Interior Bulbs
Factory interior lighting is usually a handful of dim incandescent bulbs — dome light, map lights, maybe a trunk bulb — running off a couple hundred milliamps each. They get the job done, barely. LEDs pull a fraction of the current, throw a much whiter or more customizable light, and they’ll outlast the car itself if you don’t fry them with bad wiring.
| Feature | Incandescent (Halogen) | LED |
|---|---|---|
| Typical draw | 0.5–1.5A per bulb | 0.05–0.3A per bulb |
| Lifespan | 1,000–2,000 hrs | 25,000–50,000 hrs |
| Heat output | High — can discolor plastic lenses | Low — safe near trim |
| Color options | Warm yellow-white only | Any color, RGB with app control |
| Install difficulty | Plug and play | Usually needs polarity check |
What You’ll Actually Need
Don’t run out and buy a $150 kit before you’ve got the basics. Most interior and accent light jobs use the same handful of tools.
Tool & Material List
- Trim removal tool (plastic pry set) — keeps you from cracking dash or door panel clips
- Wire strippers/crimpers — the combo tool, not a pocketknife
- Butt connectors and heat shrink tubing — skip the twist-and-tape method
- Digital multimeter — for finding a good ground and testing polarity before final install
- Add-a-circuit fuse tap matched to your fuse box style (mini, low-profile, or Micro2)
- Zip ties and split-loom tubing — protects wire runs from chafing on metal edges
- 10mm socket — most interior panel bolts and seat bracket covers use this size
- Panel scraper or plastic putty knife — for peeling up carpet edges without tearing them
- Butt connectors rated for the gauge wire you’re using (18-20 AWG is standard for LED strips)
Installing Interior LED Lighting
Start inside the cabin. It’s lower stakes than exterior work, and it teaches you the wiring habits you’ll use everywhere else in the car.
1. Swap the dome and map light bulbs
Pop the lens cover with a trim tool, not a screwdriver — screwdrivers slip and scratch the headliner. Most dome bulbs are a festoon or wedge base. Check your bulb size against the owner’s manual before you order anything; getting a bulb one size off means it either won’t seat or won’t make contact.
2. Run footwell and underglow strips
- Peel back the kick panel and lower dash trim using the trim tool, working around the clips slowly so you don’t snap a tab.
- Route the LED strip along the factory wiring harness using zip ties every 6–8 inches. Never let a wire dangle where a pedal or seat rail can pinch it.
- Tap power from a switched fuse slot (one that only has power with the key on), not a constant-hot slot — otherwise your lights stay on and drain the battery overnight.
- Ground the black lead to a factory ground point or a bare metal bolt under the dash. Scrape off any paint or coating first — paint acts as an insulator and gives you a flaky, flickering connection.
- Reassemble the trim and test before you fully button everything up.
Installing Exterior Accent Lighting
Wheel well lights, underglow kits, and grille accents live in a rougher environment — water, road salt, heat off the exhaust, and constant vibration. That changes how you wire and mount them.
Exterior Install Checklist
- Use waterproof (IP65 or higher) LED strips rated for exterior duty — interior-only strips will corrode within a season.
- Run wiring through existing factory grommets where it passes through the firewall or wheel well liner. If you’re drilling a new hole, deburr it and install a rubber grommet to stop the wire from getting sawed through by vibration.
- Keep every wire at least a few inches from the exhaust manifold, catalytic converter, and any moving suspension component.
- Use a relay for any accent kit pulling more than about 3 amps combined, wired straight to the battery with an inline fuse close to the battery terminal — not just at the light end.
- Zip-tie wiring to existing brake lines or frame rails, never to fuel lines, brake lines under tension, or moving CV axles.
Fuse & Wire Gauge Calculator
Here’s a quick tool for sizing your circuit. Punch in the total amp draw of your lights (check the packaging or add up each strip’s rated amperage) and how long your wire run is, and it’ll spit out a safe starting point for fuse size and wire gauge. Always round up, never down, if you land between two standard sizes.
LED Circuit Sizing Tool
Mistakes I See All the Time
- Flickering lights — almost always a bad or corroded ground, not a bad LED strip. Check the ground before you return the product.
- Melted or crispy connectors — usually cheap crimp connectors that weren’t fully seated, or a wire gauge too thin for the load. Heat shrink over a solid crimp, every time.
- Dead battery after a weekend parked — the light was wired to a constant-hot circuit instead of a switched one, or there’s no relay and the switch itself is carrying more current than it’s rated for.
- Lights that won’t turn on at all — nine times out of ten it’s reversed polarity on the strip. LEDs are one-directional; swap the red and black leads and try again.
Quick Knowledge Check
See how much stuck. No pressure — this is just to catch anything worth double-checking before you start cutting wire.
Maintenance and Troubleshooting Down the Road
LEDs themselves rarely fail outright. What fails is the wiring around them — connectors corrode, zip ties snap and let wires droop into hot or moving parts, and grounds work loose from vibration over a few thousand miles. Once a year, or any time a light starts acting up, pop the panel and give the connections a visual check. A dab of dielectric grease on exterior connectors goes a long way toward keeping corrosion out.
If a strip starts dimming instead of flickering, that’s usually a voltage drop somewhere in the circuit — a loose connector, a ground with too much resistance, or a wire gauge that was too thin for the run in the first place. Pull out the multimeter, check voltage at the strip with the circuit under load, and compare it to what you’re reading right at the battery. More than half a volt of difference means something in between is robbing your power.
This guide covers common DIY 12V lighting installs. If you’re not comfortable working near the battery or fuse box, or your vehicle has a complex CAN bus lighting system, it’s worth having a shop with automotive electrical experience take a look first.
Related posts:
 Brake Fluid Breakdown: Understanding DOT Ratings and When to Bleed Your Braking System
  Rainy Season Car Care: Essential Tips for Safe Wet-Weather Driving
  The Science of Suspension: Choosing the Right Car Parts for Enhanced Performance and Comfort
  Cooling System Maintenance: Prevent Your Engine from Overheating
Leave a Reply