
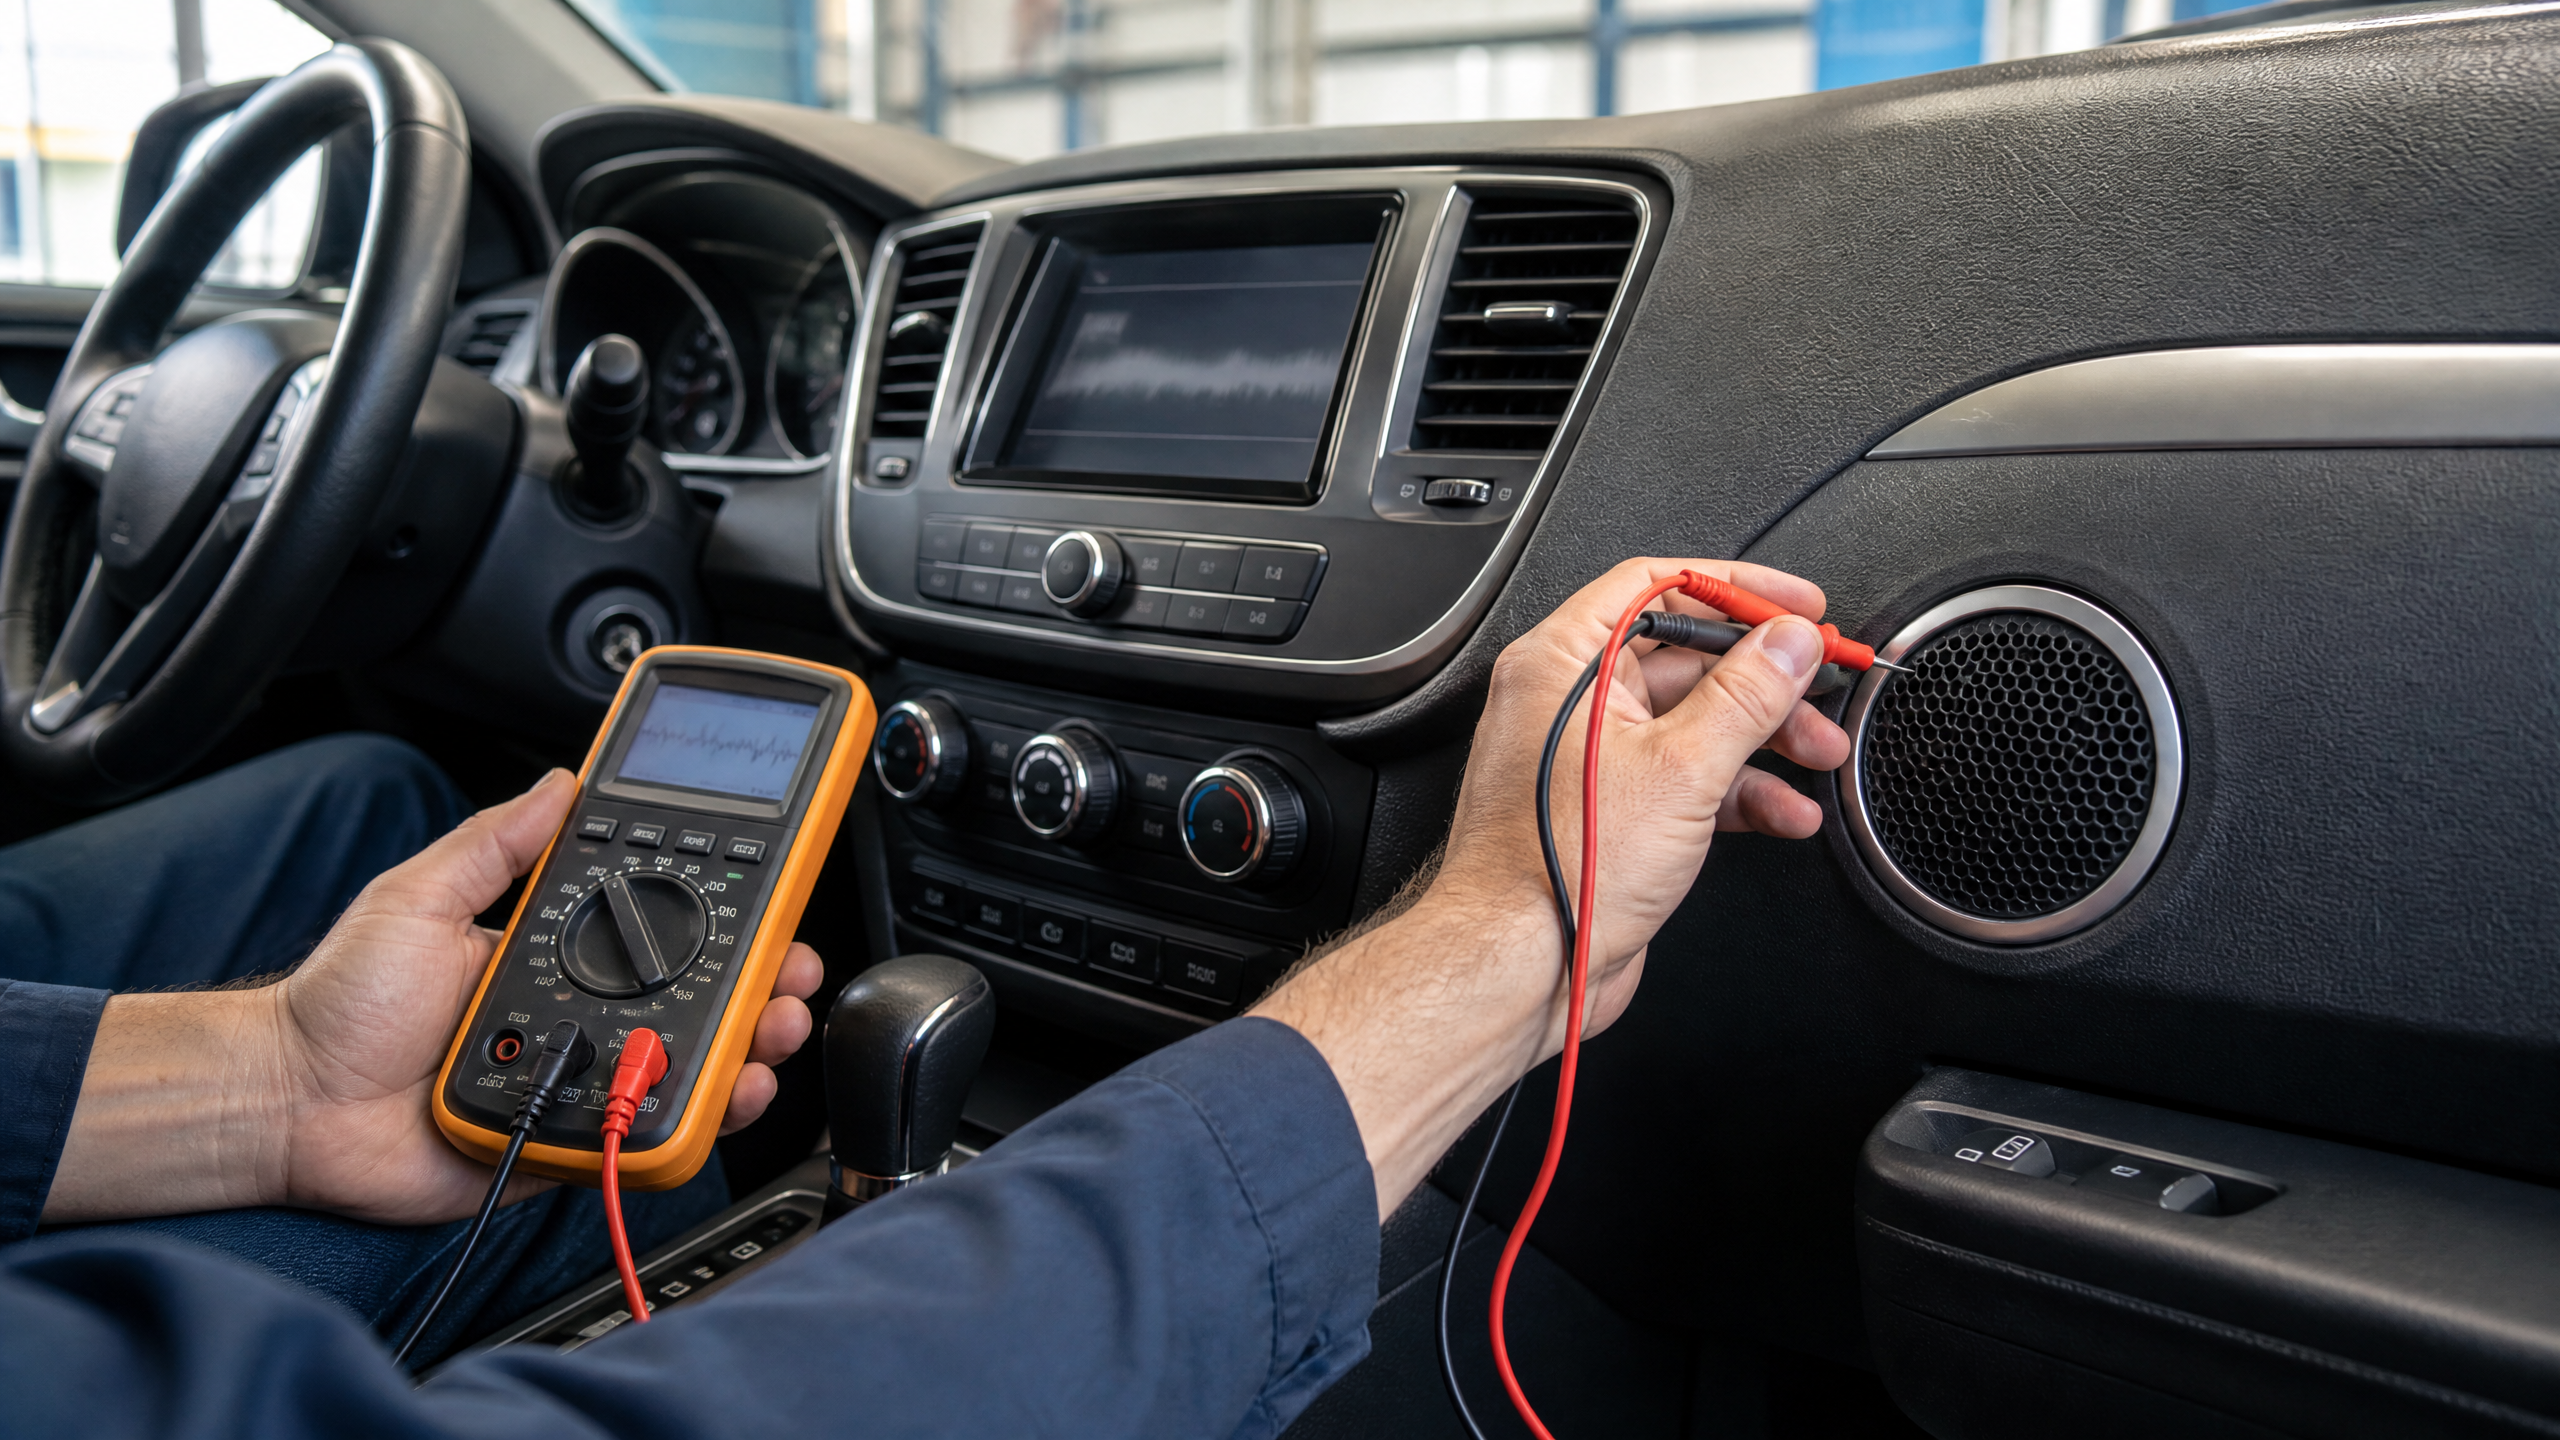
Last Tuesday my buddy Mark backed his F-150 into my shop complaining that the stereo “sounds like a beehive living in the dash.” Ten minutes with a multimeter and a flashlight later, the culprit was a ground screw biting into painted metal instead of bare steel. One star washer and a sanded spot of paint later, his truck sounded brand new.
That’s car audio repair in a nutshell. The scary symptoms almost always trace back to a short list of repeat offenders, and you can find them with cheap tools if you follow a method.
I’ve been installing and fixing car stereos for going on twenty years, first at a small audio shop and now in my own two-post garage. Below is the exact diagnostic order I use on customer cars, written so you can do it in your driveway.
Know the Five Links in the Chain
Every car stereo, from a ’90s cassette deck to a 2026 touchscreen, is just five links: the head unit, amplification (inside the unit or a separate amp), the speakers, power wiring, and ground.
Sound dies when one link fails, and the symptom tells you which link to grab. Dead faceplate? Power link. Lights on but silent? Amp link. Fuzzy sound? Speaker link. That mental map saves you from parts-swapping roulette.
Tools I Keep on the Seat Next to Me
You don’t need a lab. You need a short list:
- Digital multimeter — a cheap one works. You’ll use DC volts and ohms.
- Test light, fused type if you can find one, so a slipped probe doesn’t smoke a circuit.
- Nylon trim tool set — a flathead screwdriver leaves scars on door panels. Ask my old Civic.
- 10mm socket and driver, because half the auto industry is held together by 10mm bolts.
- Fuse puller or needle-nose pliers.
- Radio removal keys for factory units. Coat hangers work about as well as you’d expect, which is to say they don’t.
- Wire strippers/crimpers and heat-shrink butt splices. Twisted-and-taped wires always come back to haunt you.
- One AA battery. Yes, really. You’ll see why in the speaker section.
- Flashlight, shop rags, masking tape and a marker for labeling connectors.
Safety, Without the Lecture
- Pop the hood and drop the negative battery terminal with a 10mm wrench before you splice wires or unplug harnesses. Tape the terminal aside so it can’t spring back.
- If your car has side airbags in the doors or seats, wait about 10 minutes after disconnecting before touching those connectors. That gives the backup capacitor time to discharge.
- Never probe a yellow airbag connector. Leave those alone entirely.
- Door skins have razor-sharp edges inside. A folded shop rag or a cheap glove saves your knuckles.
- Don’t run self-tapping screws into a door or kick panel without knowing what’s behind the metal. Window regulators and glass travel through there.
Do the 60-Second “Silly Stuff” Check First
I owe you some honesty: I’ve collected diagnostic fees on cars where the “broken” stereo was muted, paused, or panned hard to one side. Before you pull a single panel, check the free stuff.
- Confirm the source — Bluetooth, AUX, or AM/FM. Phones love hijacking Bluetooth and pausing it.
- Check the mute button and center the balance/fader.
- If streaming, check the phone’s volume, not just the dash knob.
- Look for odd factory settings like speed-sensitive volume or valet mode.
Settings good and the system still acting up? Match your symptom to a section below.
Symptom 1: The Head Unit Is Completely Dead
A dead faceplate is almost always a power problem, and power problems are fuse problems until proven otherwise.
Step 1 — Pull the fuse. The panel lid or owner’s manual maps the radio fuse, usually a 10A, 15A, or 20A. Pull it and hold it to the sky or a light. A broken filament or dark smear means it’s done. Replace it with the same amperage. A 20 doing a 15’s job can cook the harness, and I’ve smelled that smell more than once.
Step 2 — Test both sides of the fuse. Meter on DC volts, black lead on a known ground, red probe on each test point atop the fuse. Key on, both points should read near 12.6 volts. One side dead means the fuse blew or the feed is gone.
Step 3 — Pull the unit and read the harness. Connector unplugged, key on: yellow should read 12V at all times, red should read 12V with the key on, and black should read near zero ohms to chassis ground. Missing constant 12V? Walk back to the fuse box. Missing switched 12V? Chase the ignition feed.
Not every dead radio is a fuse, though. On an old Mercedes I keep as a parts car, the culprit was a corroded fuse contact. A spray of contact cleaner and plugging the fuse in and out a few times fixed it for free.<!– MEDIA LIBRARY: download and upload as “multimeter-battery-voltage-check.jpg”, then swap the src below –>
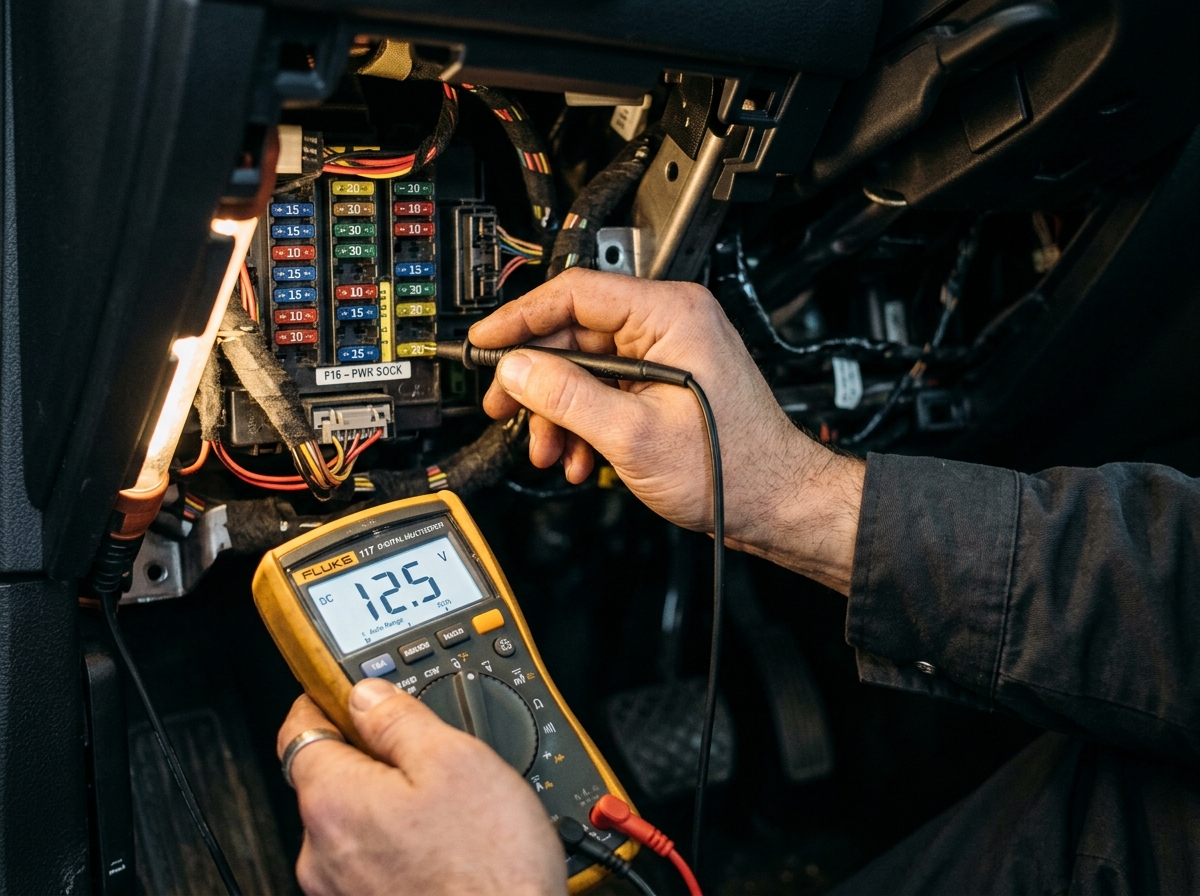
A $20 multimeter reading battery voltage is where half my “dead stereo” diagnoses start. If you don’t see roughly 12.6 volts at the fuse, nothing downstream works.
Symptom 2: Unit Lights Up, No Sound (Aftermarket Amp)
When the head unit is alive and the speakers are silent, I walk the amp’s three wires.
- Power terminal: should read battery voltage at all times. If not, check the big fuse in the holder on the power wire, which should live within 18 inches of the battery.
- Remote turn-on (blue/white): should read 12V with the head unit on. This little lead carries maybe 300 milliamps, so one bad crimp kills the whole system.
- Ground: meter between the amp’s ground terminal and battery negative while music plays. Anything over 0.5 volts and your ground is the problem.
About grounds: paint does not conduct. I sand to bright metal, stack a star washer, and torque the bolt snug. A ground screwed into paint is the number one install mistake I get paid to undo.
Symptom 3: A Whine That Follows Engine RPM
Start the car, play music, blip the throttle. If the whine’s pitch climbs with RPM, you have alternator whine — charging noise riding in on a bad ground or a lazy signal cable run.
Here’s my fix order:
- Redo the amp ground first. Short, thick, bare metal.
- Reroute the RCA cables. Power on one side of the car, signal on the other, and never parallel in the same loom.
- Check that the head unit and amp aren’t grounded at two different rusty spots. That’s a ground loop.
- In a pinch, a ground loop isolator in the RCA line quiets things down. It’s a band-aid and it can soften bass a touch, but it gets you home.
I once chased a whine for the better part of an hour before lifting the trunk liner and finding the RCA zip-tied to the power wire for the full length of the car. Whoever did it saved thirty seconds and cost the owner three years of whine.
Symptom 4: Rattles, Crackles, or “Fuzzy” Sound
One bad speaker can make a whole system sound broken, so test speakers one at a time.
The ohms test: unplug the speaker and put your meter on ohms at the terminals. A healthy 4-ohm speaker reads about 3.2 to 3.8 ohms. A reading of OL (open line) means the voice coil snapped — speaker done. A reading near zero means a short, usually in the wire, not the speaker.
The hand test: press the cone gently and evenly with two fingers. A gritty, grinding feel means the coil rubs the magnet. Toast.
If the rattle only shows up on big bass notes, suspect the door before the speaker. Loose panel screws, dead plastic clips, and flimsy cheap adapter rings all buzz. A sheet of sound-deadening mat and a solid adapter ring turn most of those cars into a different vehicle.
And if it’s clean at low volume but crackly when cranked, your amp gain is set too hot and the amp is clipping. Gain is not a volume knob. Turn it down until the crackle quits, then leave it alone.<!– MEDIA LIBRARY: download and upload as “car-door-interior-speaker-harness.jpg”, then swap the src below –>
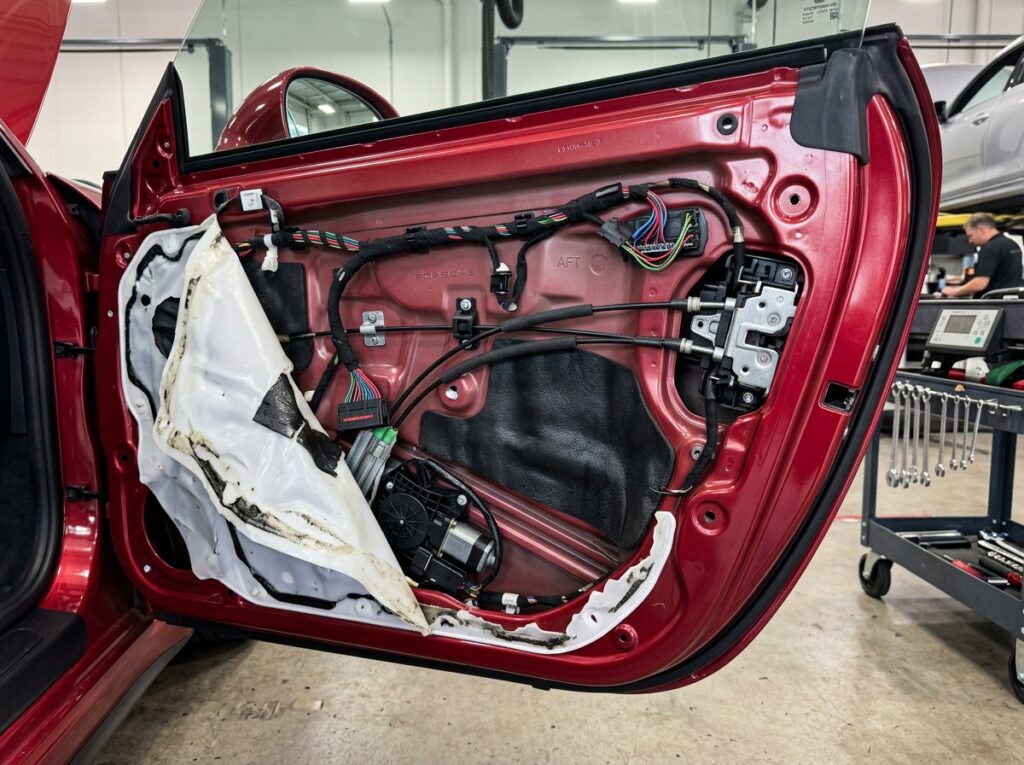
Door panels hide the truth. Behind this skin lives the speaker, the harness, and about a dozen places for a rattle to start.
Symptom 5: Sound Cuts In and Out
Intermittents are annoying, but they follow rules.
- Hot amp, then silence: that’s protect mode, usually thermal or a short. Feel the amp case. Let it cool, then hunt for a speaker wire pinched in a door hinge boot or stabbed by a panel screw. That pinch is my most common find on cut-out systems.
- Crackle when you wiggle: music playing, wiggle the harness at the head unit, the amp, and each speaker plug. Crackle means a bad crimp or a cold solder joint. Older head units grow these like weeds, and sometimes reflowing the board solder is cheaper than a new unit.
- Dies only on bumps: chase the ground first. Grounds cause more intermittent gremlins than everything else on this list combined.
Symptom 6: Thin Bass or Sound That Feels “Off”
If the system plays but bass feels hollow and the image doesn’t sit right, suspect phase. When one speaker’s wires get swapped, its cone pulls in while its neighbor pushes out, and the two cancel the bass.
The fix is a parlor trick I show every apprentice: the AA battery test. Disconnect the speaker, tap a 1.5V AA across the terminals, and watch the cone. It pops outward when battery plus meets speaker plus. It dips inward when reversed. Mark the wires, reconnect, done.
Also check the phase switch on the sub amp and any “imaging” settings in the head unit. I rewired a buddy’s new door speakers last spring and his bass basically doubled with zero new parts. He was not amused that the fix was free.
Headlights Dim When the Bass Hits?
That one isn’t an audio problem. It’s a charging system problem wearing an audio costume.
Clean the battery posts with a wire brush, tighten the engine-to-body ground strap, and if you’re running a big amp, look up the “big three” wiring upgrade. Skip the stiff capacitor until the basics check out — crusty terminals cause nine of ten dimming complaints I see.
Factory System Gotchas Worth Knowing
Late-model cars complicate things on purpose.
- Factory amps (Bose, Harman Kardon, B&O) often need a data adapter when you swap the head unit.
- Some European cars run a MOST fiber-optic loop. Break that loop without the right module and you get a bright new screen with zero sound.
- Many Fords and Chryslers run chimes and anti-theft through the radio circuit, so a retention module keeps the car happy.
If you’re feeding a factory amp from a new head unit, keep the unit’s volume under about 80 percent so you never send a clipped signal downstream.
When to Wave the White Flag
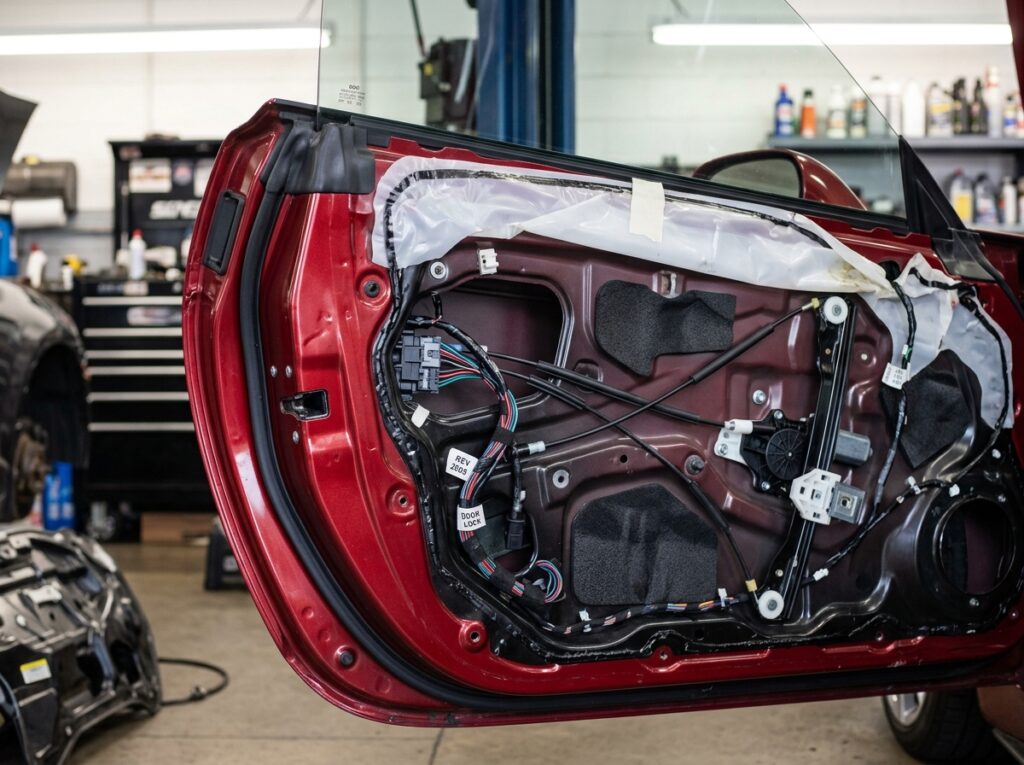
A few jobs belong on a pro’s bench, and knowing them saves money and skin.
- Burnt insulation smell or melted harness: stop. That’s fire territory.
- Flood car with green crust on connectors: corrosion lives everywhere at once. A shop with wiring diagrams beats guesswork.
- CAN-bus errors, dead chimes, or a no-start after a radio swap: you need the right retention module and maybe a dealer-level scan tool.
Quick-Reference Chart
| Symptom | Likely culprit | First move |
|---|---|---|
| Dead faceplate | Blown fuse / lost 12V | Pull and test the radio fuse |
| Lights on, no sound | Remote wire or amp ground | Read 12V at the amp remote terminal |
| Whine with RPM | Ground loop / RCA routing | Redo amp ground to bare metal |
| Rattle on bass | Door hardware / adapter ring | Press-test cone, then panel |
| Fuzzy at any volume | Blown speaker | Ohms test: expect ~3.2–3.8 Ω |
| Cuts out when hot | Protect mode / pinched wire | Check door hinge boots |
| Thin, hollow bass | Reversed polarity | AA battery cone test |
| Lights dim on bass | Weak charging side | Wire-brush posts, check grounds |
Try It: The 60-Second Symptom Checker
Tap the symptom your system is throwing and I’ll tell you exactly where I’d start.
Pick your symptom
Wrap-Up
Label every connector as you pull it, bag the screws per panel, and tape the bags to the panel. Future you says thanks.
Keep a fuse assortment and that AA battery in the glovebox. Half of car audio repair is refusing to skip steps, and the other half is remembering which screw came from which door.
Got a gremlin this list didn’t catch? Drop the symptom, the car, and what you’ve already tested in the comments. I read all of them, usually with a multimeter in hand.
Related posts:
 The Ultimate Year-Round Car Maintenance Checklist: Oil, Brakes, Fluids & More
  Decoding Engine Codes: A Mechanic’s Practical Guide to Common OBD-II Faults
  The Science of Suspension: Choosing the Right Car Parts for Enhanced Performance and Comfort
  How to Change Your Car Battery at Home: Step-by-Step DIY Guide
Leave a Reply