
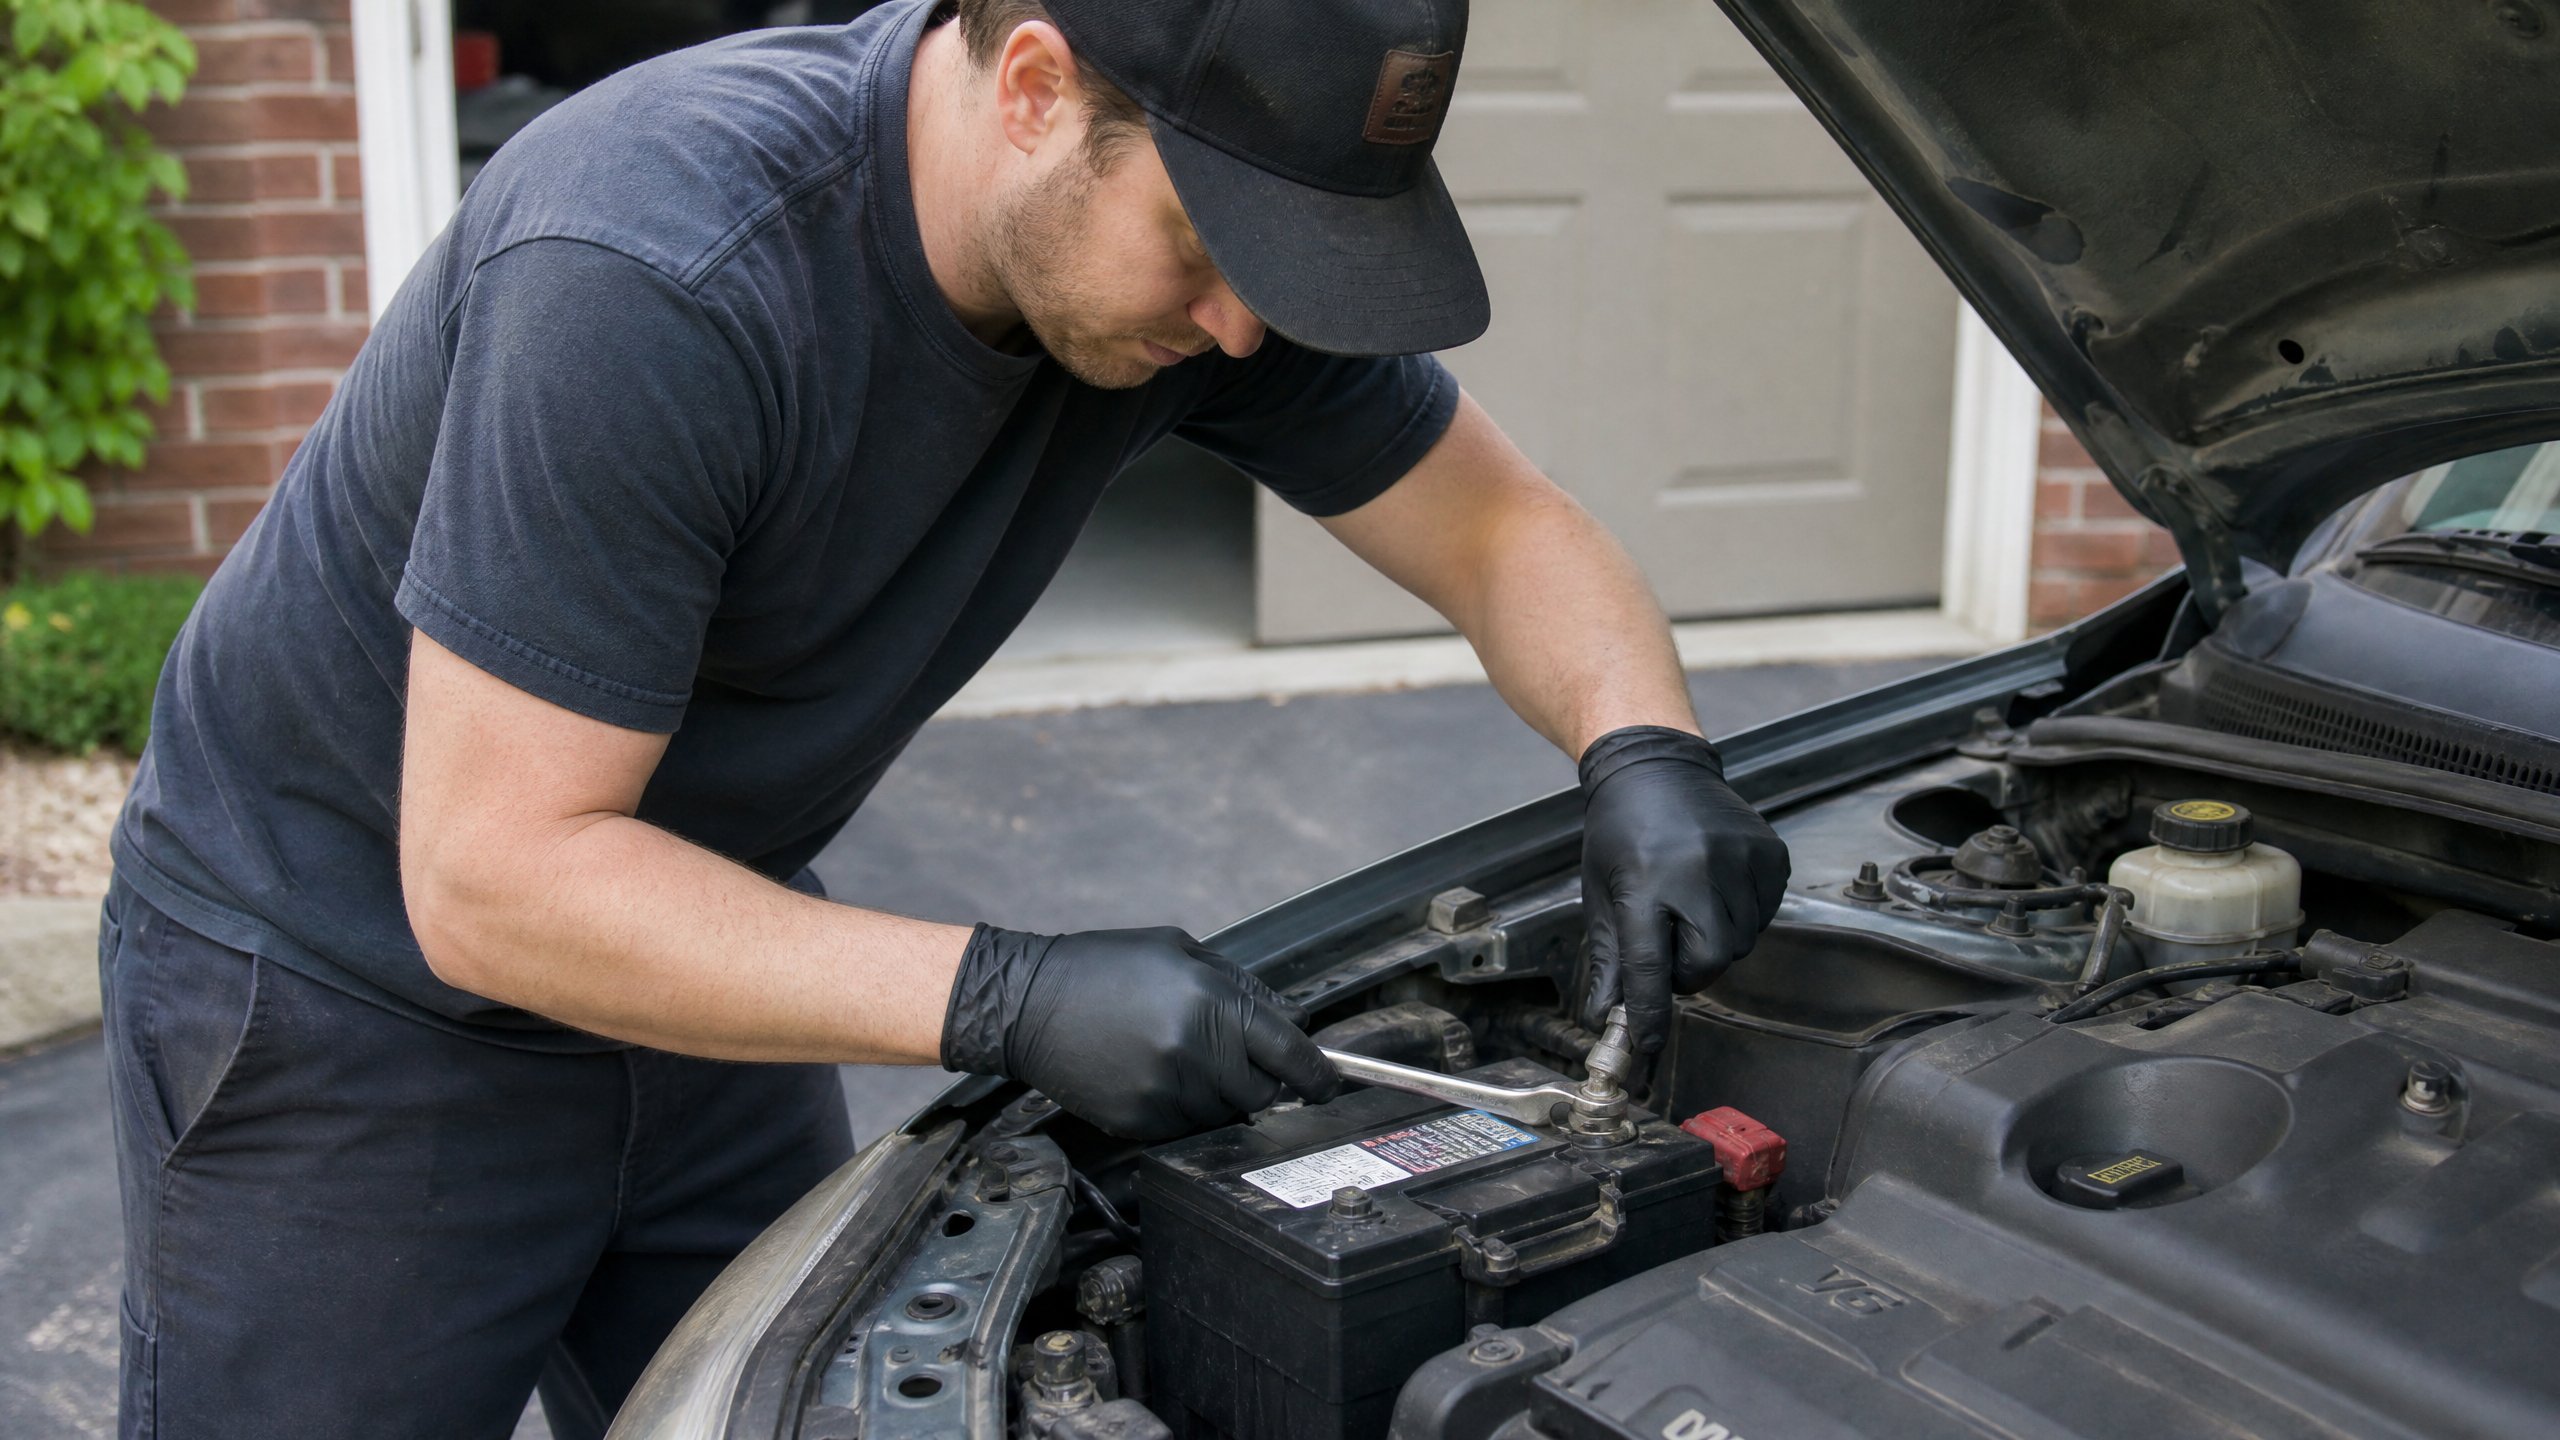
There is nothing quite like the sinking feeling of turning your key on a cold morning and hearing nothing but a pathetic “click-click-click.” Including a battery check in your spring maintenance is always a smart move. I’ve been there, and I’ve helped hundreds of stranded drivers who were in the same boat. The good news? Changing a car battery is one of the easiest DIY jobs you can do. You don’t need a degree in engineering—just a couple of simple tools and about 20 minutes of your time.
As Alex Mercer, I’m here to walk you through this process step-by-step. I’ll show you how to do it safely, how to avoid common mistakes that can fry your car’s electronics. Batteries work harder in wet weather due to headlights and wipers, and how to make sure your new battery lasts as long as possible. Let’s get your hands a little dirty and save you a $100 service fee at the dealership.
1. Safety First: The Golden Rule
Before we even touch a tool, we need to talk about safety. Car batteries contain sulfuric acid and can produce explosive hydrogen gas.
Eye Protection and Gloves
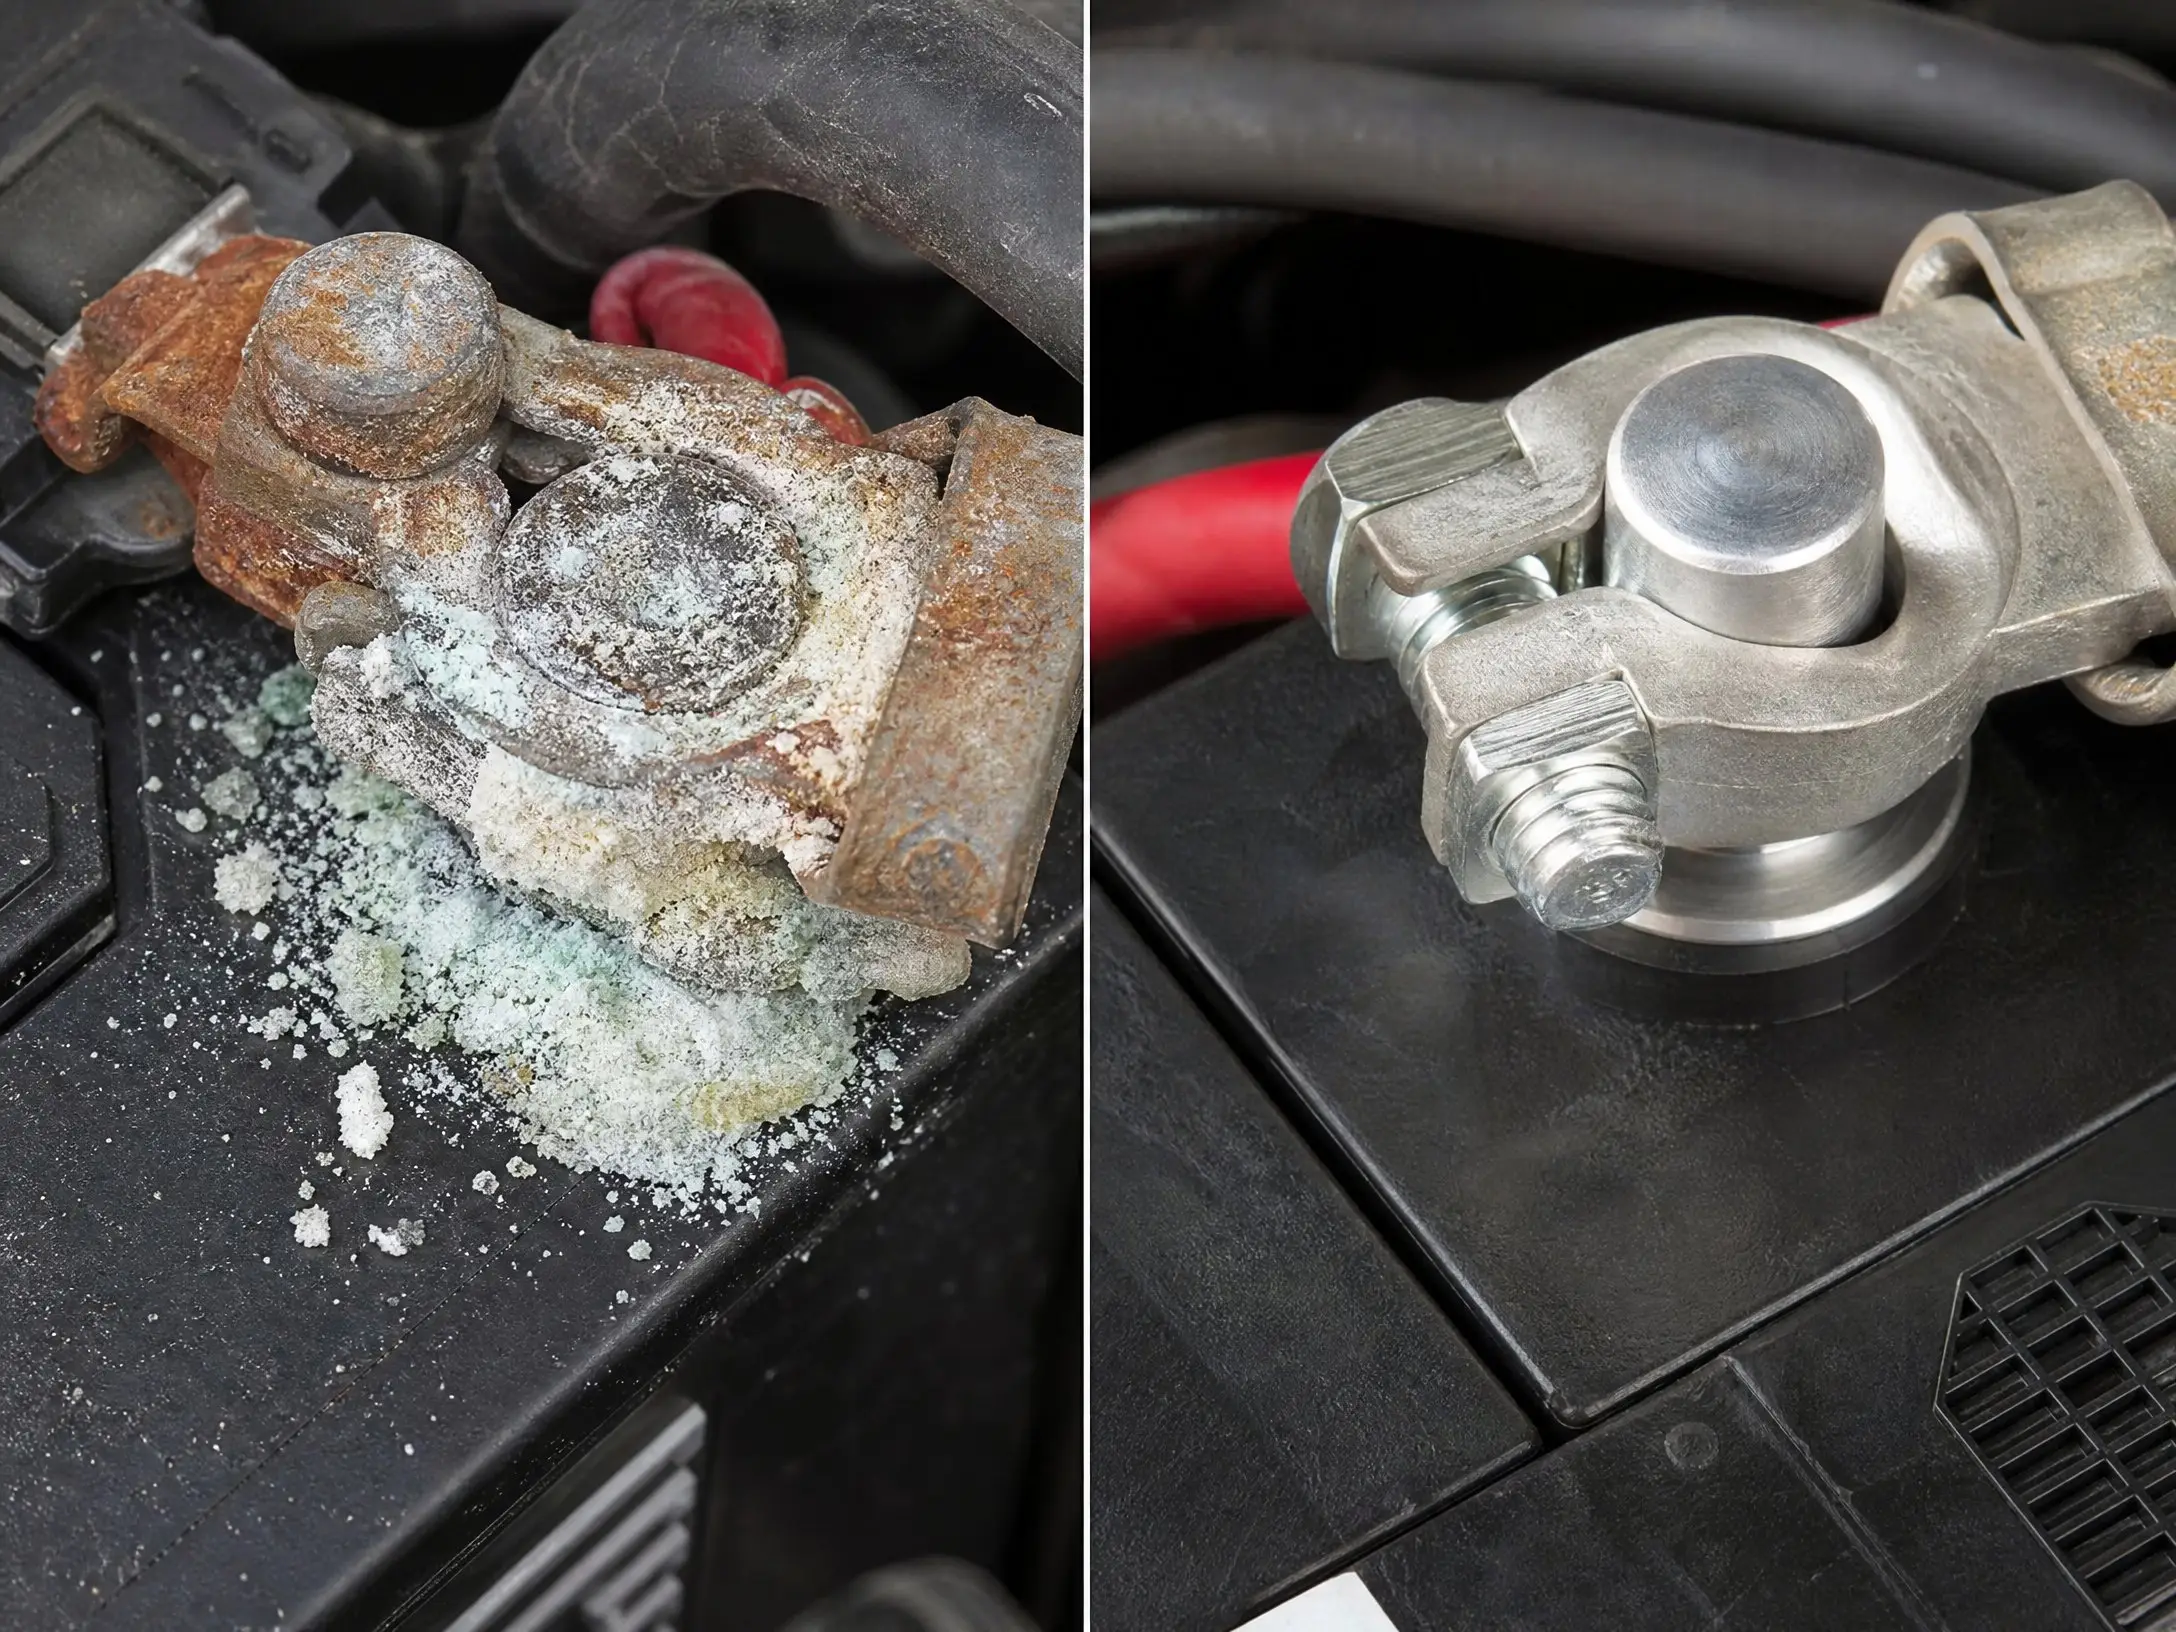
I never work on a battery without safety glasses. If a spark causes the battery to vent, you don’t want acid in your eyes. Also, wear nitrile or work gloves. The white powdery stuff you see on old terminals is lead sulfate, and you don’t want that on your skin.
The Order of Operations
This is the most important part of the whole job: Always disconnect the negative (black) terminal first and reconnect it last. If your wrench touches the car’s metal frame while you’re loosening the positive terminal, and the negative is still connected, you’ll create a massive short circuit. I’ve seen wrenches weld themselves to the frame in a shower of sparks. Don’t be that guy.

2. Tools You’ll Need
You don’t need a fancy toolbox for this. In most cars, you only need two things:
- A 10mm socket or wrench (this fits almost every battery terminal in existence).
- A battery terminal brush (or a piece of sandpaper).
I also like to have some shop rags handy to wipe down the battery tray and a small can of terminal protector spray to prevent future corrosion.
3. Step-by-Step Replacement Guide
Follow these steps exactly, and you’ll be back on the road in no time.
Step 1: Remove the Old Battery
- Turn off the engine and make sure the car is in Park with the emergency brake on.
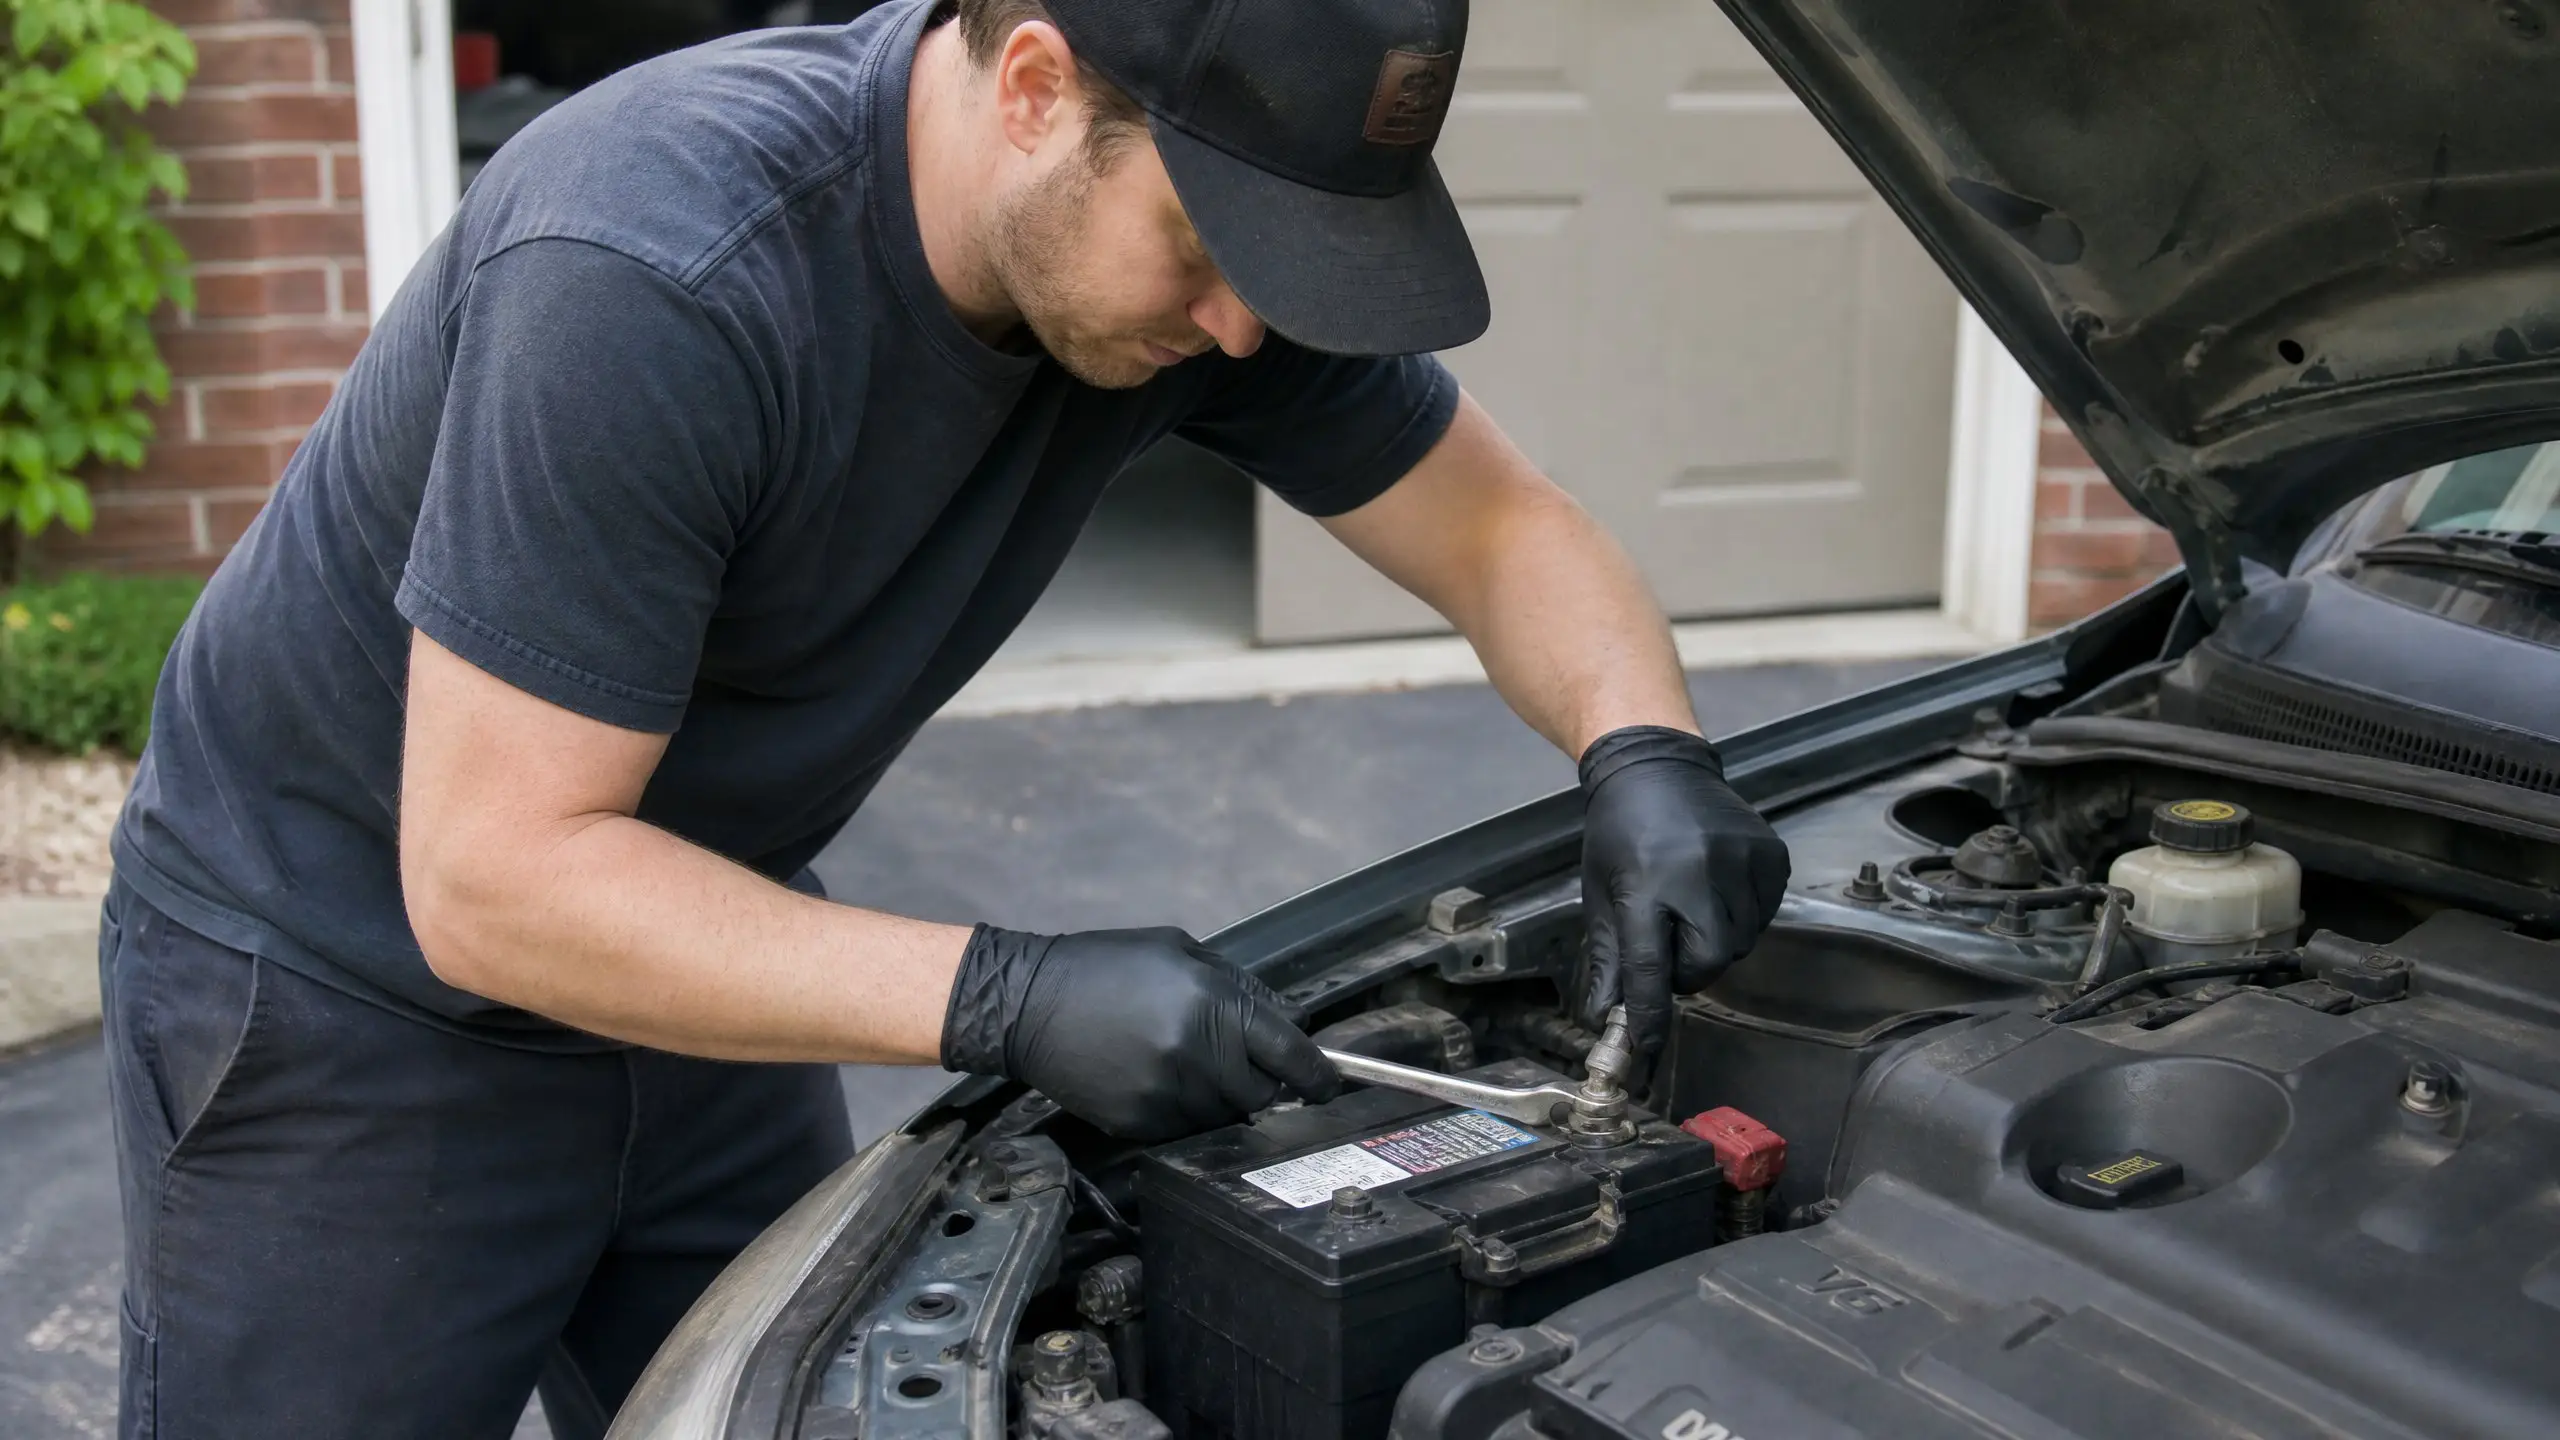
- Loosen the nut on the negative (-) terminal and wiggle the cable off. Tuck it to the side so it can’t spring back and touch the post.
- Repeat the process for the positive (+) terminal.
- Remove the battery hold-down bracket. This is usually a long bolt with a plastic or metal strap across the top of the battery.
- Carefully lift the battery out. Be warned: batteries are heavy! Use the handle if it has one.
Step 2: Clean the Tray and Cables
Before you put the new battery in, take a look at the tray. If it’s covered in acid or dirt, wipe it out. Use your terminal brush to clean the inside of the cable connectors until they’re shiny metal. A clean connection is the difference between a car that starts every time and one that leaves you stranded.
Step 3: Install the New Battery
- Place the new battery into the tray, making sure the positive and negative posts are in the correct orientation.
- Reinstall the hold-down bracket and tighten it until the battery doesn’t move when you shake it.
- Connect the positive (+) cable first. Tighten the nut until the connector is snug and won’t rotate on the post.
- Finally, connect the negative (-) cable. You might see a small spark—don’t panic, that’s just the car’s electronics waking up.
- Spray a light coat of terminal protector over the connections.
4. Pro Tips for Battery Longevity
A new battery should last you 3 to 5 years. Here’s how to make sure you get the most out of it:
- Keep it tight: Vibration is a battery killer. Make sure that hold-down bracket is always secure.
- Drive it: If you only take short 5-minute trips, your alternator never has time to fully recharge the battery. Take the car for a 20-minute highway drive once a week.
- Check the terminals: Every time you change your oil, take a quick look at the battery. If you see white fuzz starting to grow, clean it off immediately.
| Action | Why it Matters | Alex’s Pro Tip |
|---|---|---|
| Negative First | Prevents electrical shorts | Use a rag to wrap the cable end so it doesn’t touch anything. |
| Clean Terminals | Ensures maximum power flow | A mix of baking soda and water neutralizes acid buildup. |
| Check Hold-down | Stops internal plate damage | If the bolt is rusted, spray it with WD-40 before loosening. |
| Re-code Radio | Some cars need a code after power loss | Check your owner’s manual for the radio security code first! |
—
5. The “Can You Change It?” Quiz
Think you’ve mastered the art of the battery swap? Test your knowledge before you grab the wrench.
Alex’s Battery Mastery Quiz
Question 1: Which terminal should you ALWAYS disconnect first to stay safe?
6. Final Thoughts
Changing your own battery is a great “gateway” DIY job. It builds confidence and saves you money. Just remember to recycle your old battery. Most auto parts stores will take it back and even give you a “core charge” refund of $15 or $20.
I’ve seen too many old batteries sitting in garages leaking acid onto the floor. Do the right thing for your wallet and the environment—take it back to the store.
If you ran into any issues or your car has a complex “battery registration” system (common on newer BMWs and Audis), don’t hesitate to reach out. But for 90% of you, this guide is all you need.
Stay charged, and I’ll see you on the road.
— Alex
Related posts:
 Brake Fluid Breakdown: Understanding DOT Ratings and When to Bleed Your Braking System
  Why Is Your Car Leaking Clear Fluid? (How to Identify 5 Common Leaks)
  Spring Car Maintenance Checklist: Post-Winter Tune-Up for Peak Performance
  DIY Car Detailing: Essential Accessories and Techniques for a Showroom Finish at Home
Leave a Reply