If you own a car, the serpentine belt quietly keeps a lot of systems running: alternator, power steering, air conditioning, and sometimes the water pump. When the belt fails, those systems can stop without warning. That can strand you or cause engine damage. The good news is you can learn to spot common problems early—especially dry rot and cracks—so you can replace the belt before it breaks.
This guide shows belt anatomy, a safe inspection routine you can do with the engine off, how to read crack patterns, what to check around the tensioner and pulleys, and how to decide when to replace the belt or call a pro.
Belt anatomy in plain words
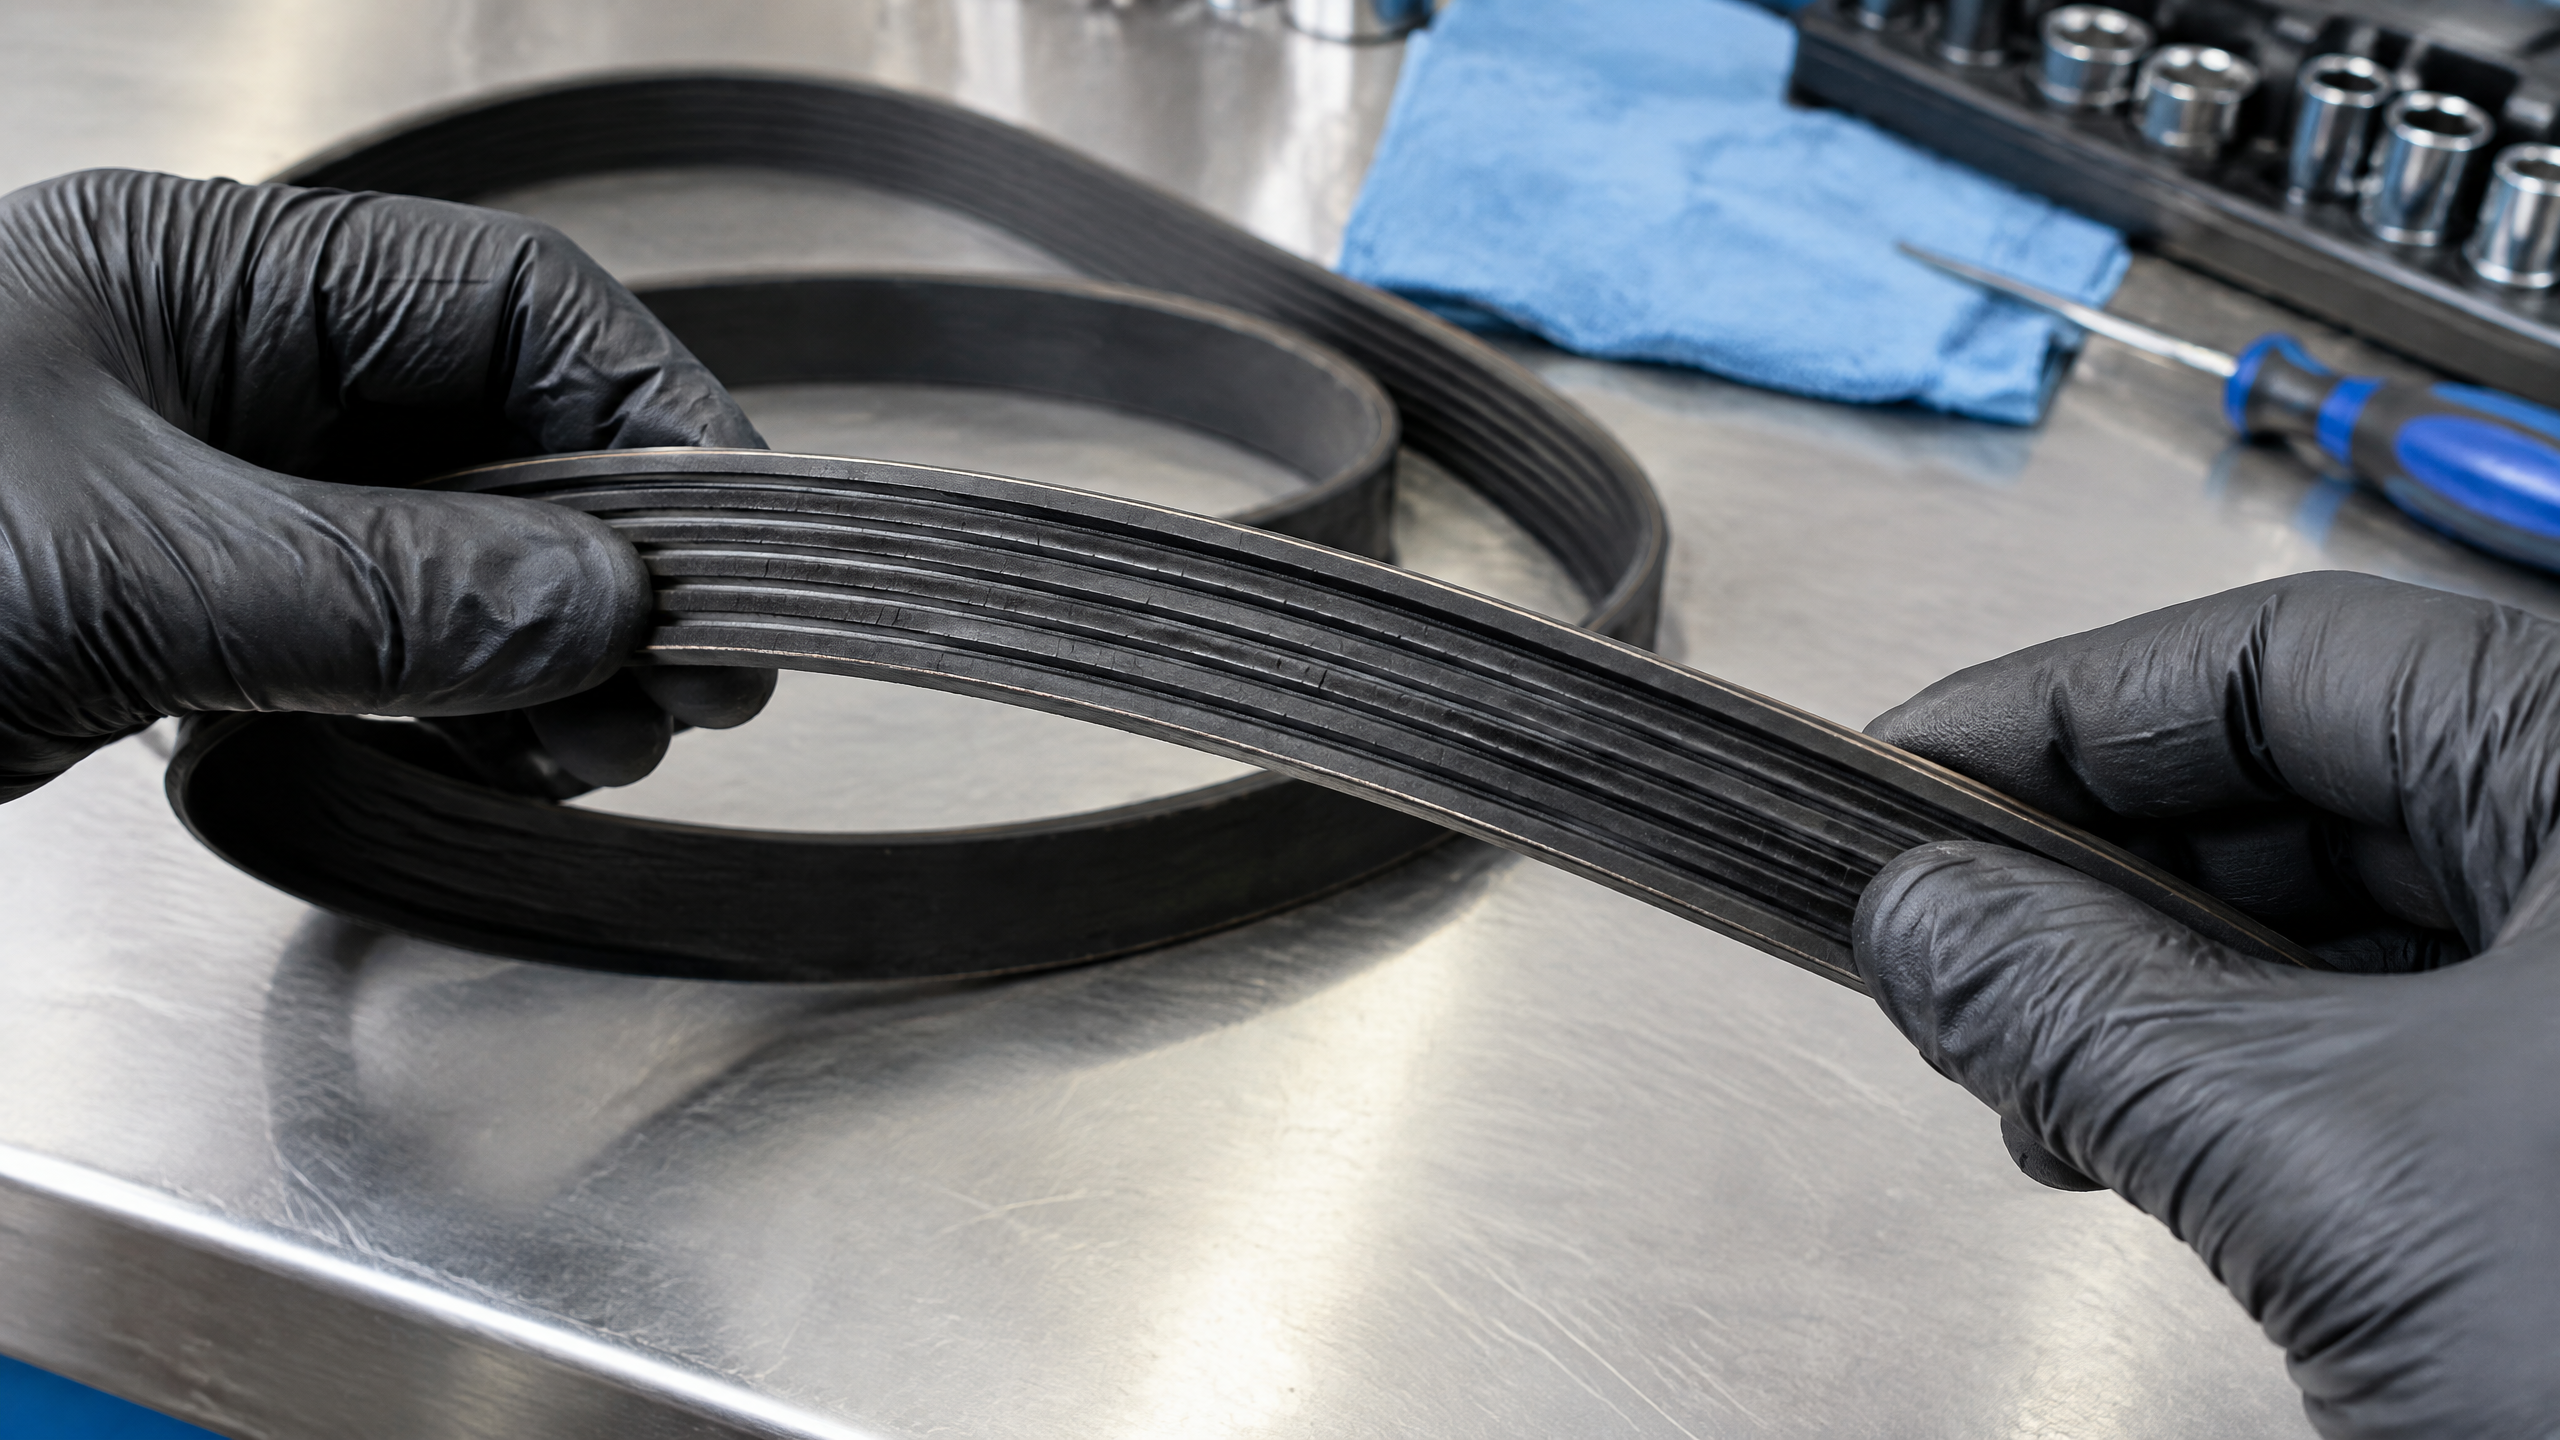
Understanding the basic parts of a serpentine belt helps you know where to look and what problems mean.
- Ribs (grooved side): The ribbed side sits against the pulley. Those ribs transmit power and must stay intact; surface cracks on the ribs affect grip.
- Backside: The smooth side runs on some pulleys or tensioners. Damage here shows different stresses.
- Tensile cords: Inside the belt are strong cords that resist stretching. If cords are exposed or broken, the belt must be replaced right away.
- Edges: Frayed or rounded edges can be a sign of misaligned pulleys or rubbing against a housing.
- Material: Belts are usually made of rubber compounds reinforced with fabric and cords. Heat, oil, and age wear that material down.
Why belts crack or dry-rot
Belts age and break down from heat, ozone, oil contamination, and mechanical stress. “Dry rot” is a common description for the brittle, crisscross cracking that shows the rubber has lost flexibility. Small surface cracks that run across the ribs can be normal on older belts, but deep or numerous cracks mean the belt is weak and can fail.
Other causes include worn tensioners or idler pulleys putting uneven pressure on the belt, pulleys that are misaligned or have damaged grooves, and oil leaks that soften the rubber.
Safety first: safe engine-off checks
Always inspect the belt with the engine off and cool. Hot components and spinning parts are the main sources of injury.
- Park on level ground and set the parking brake.
- Turn the ignition off and remove the key. If your car has a push-button start, make sure the system is fully off and the engine cannot crank.
- Allow the engine to cool for at least 15–30 minutes if it was running.
- Wear gloves and eye protection. Remove jewelry that could catch on parts.
- If you need to move the belt for a better look, only do so with the engine stopped and your hands clear of pulleys.
- If a cover or splash shield blocks access, consult your owner’s manual before removing it. Know where your battery disconnect is if you plan to do anything more than a visual check.
If you feel unsure at any point, stop and seek professional help. A mechanic can inspect areas you can’t reach safely and check tensioner operation under load.
Tools you’ll need
For a basic visual inspection, you need just a few simple items:
- Flashlight or LED inspection light
- Small mirror (hand mirror on an extendable stick helps reach tight spots)
- Gloves and safety glasses
- Clean rag to wipe grime
- Owner’s manual or belt routing diagram for the vehicle
Step-by-step inspection procedure
Follow these steps in order. Keep steps short and methodical.
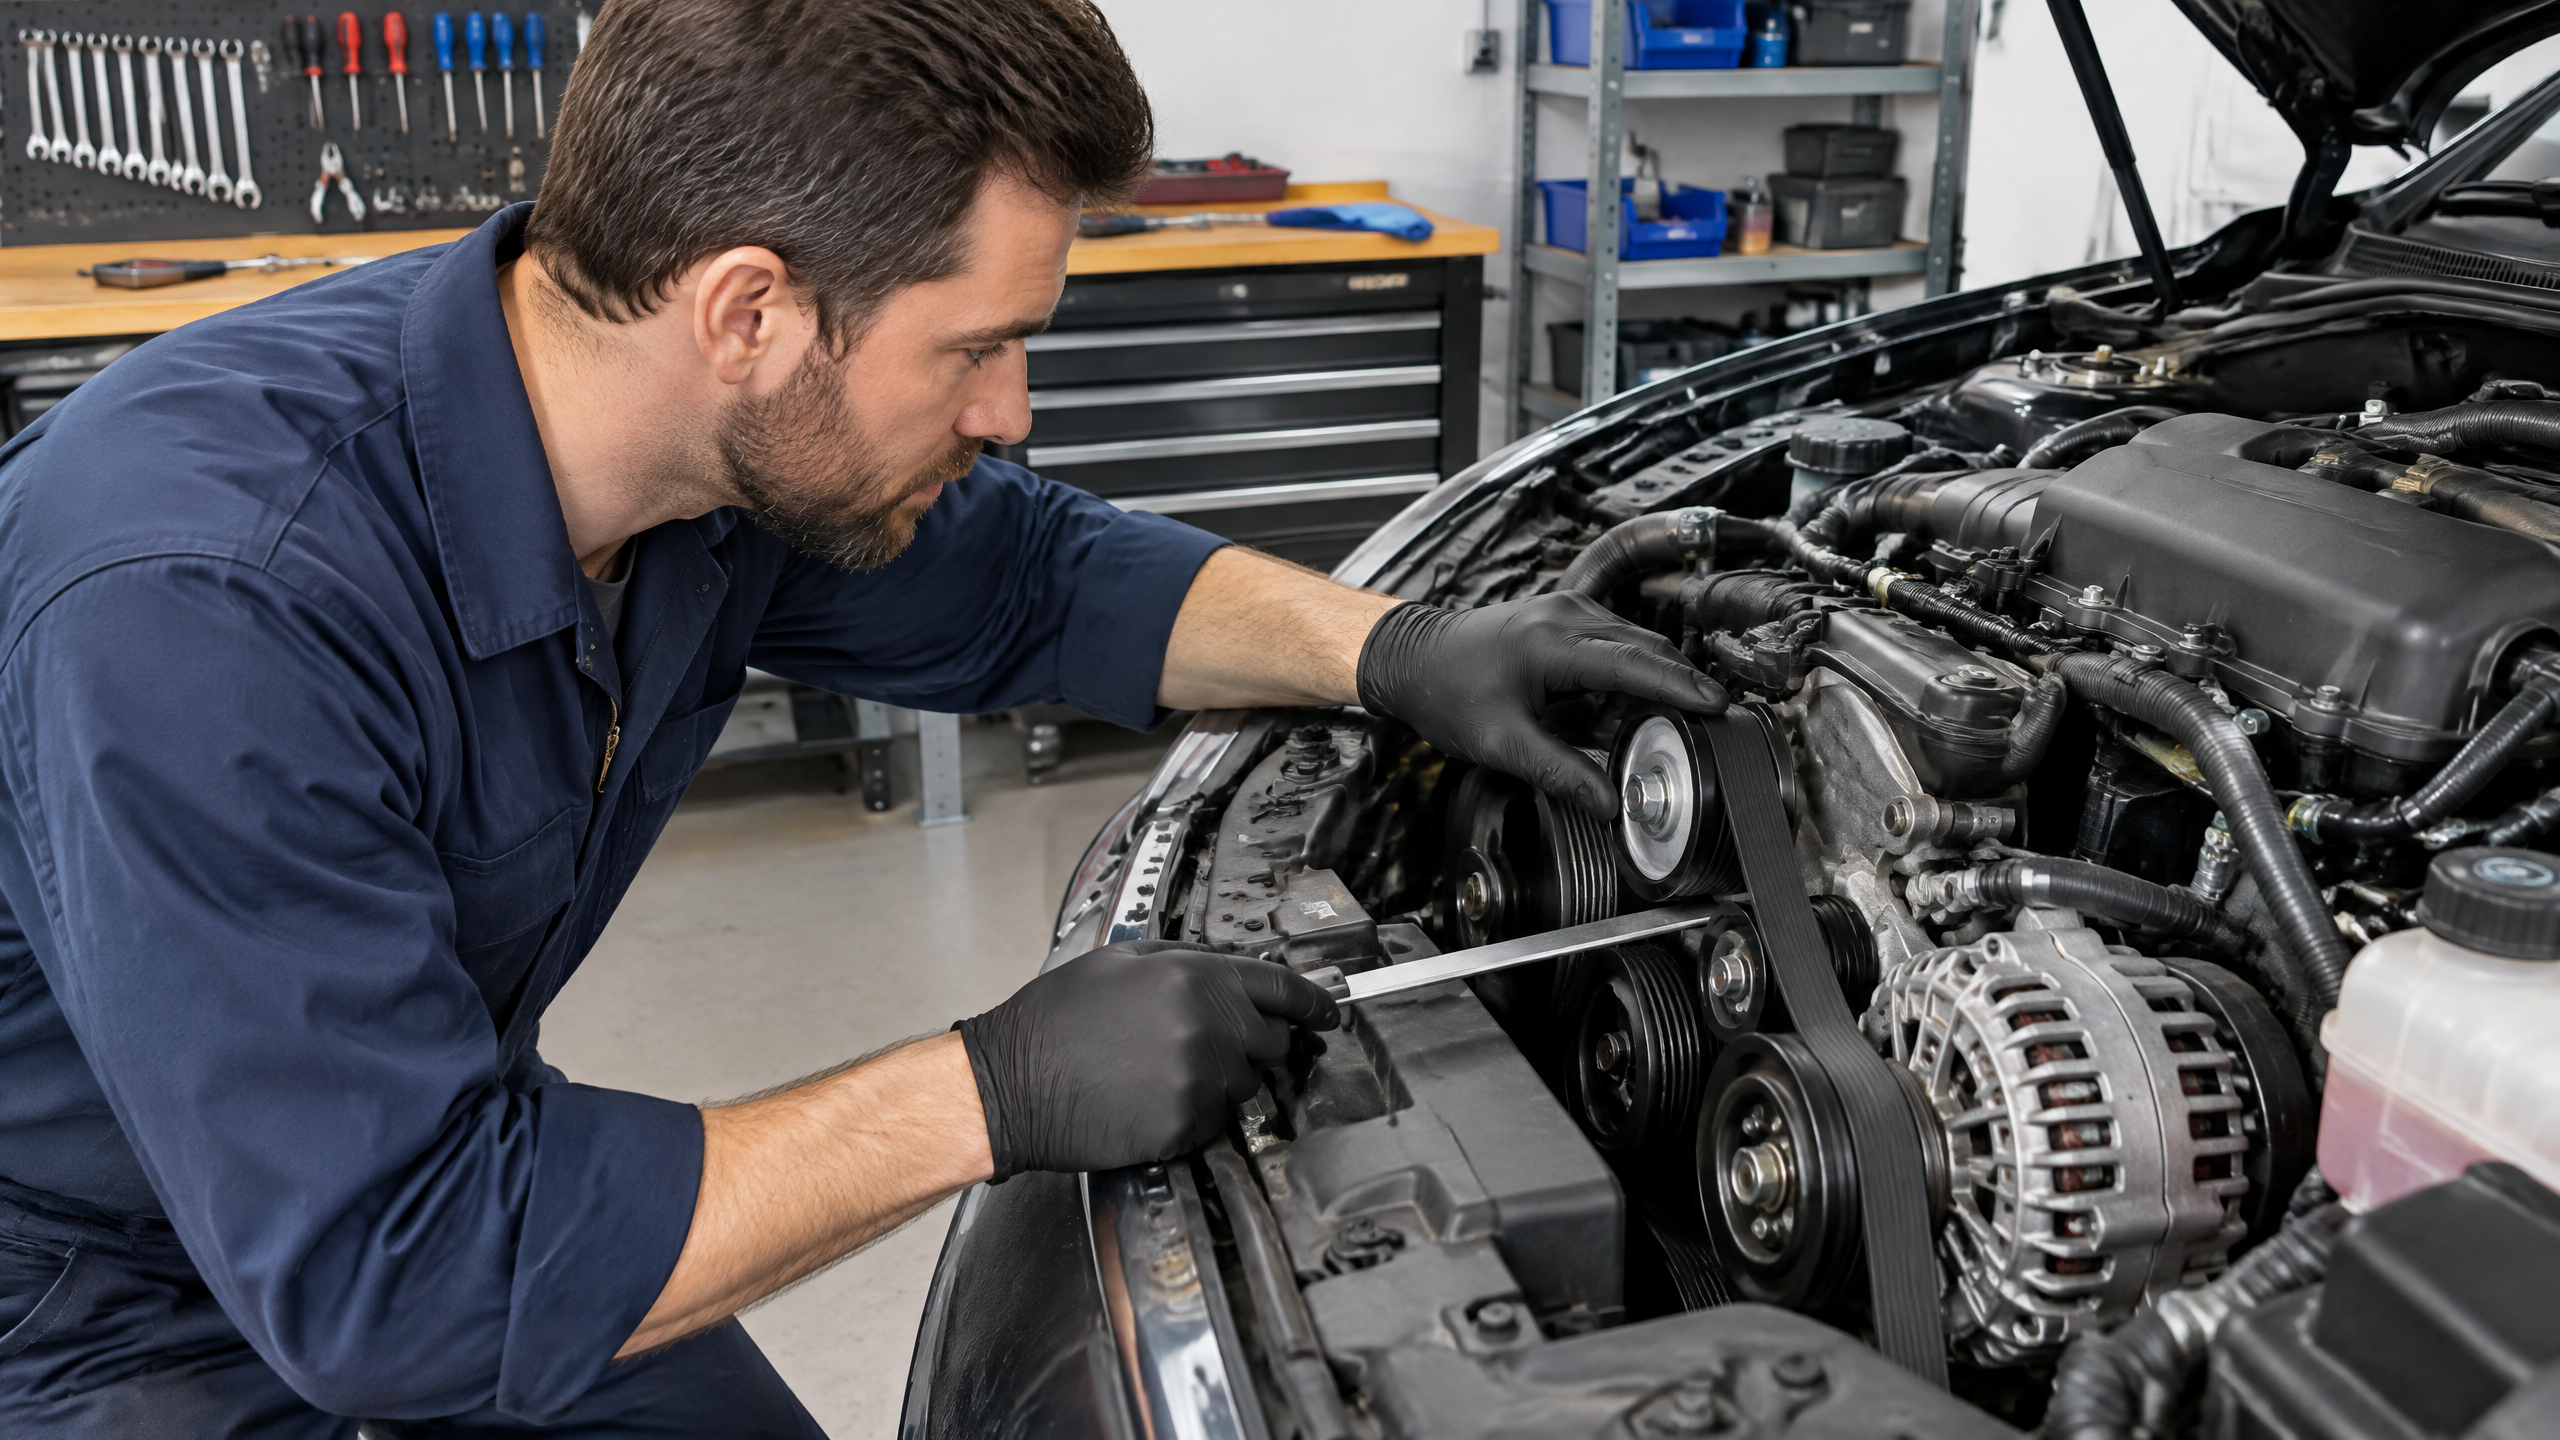
- Locate the belt and study the routing. Check the diagram under the hood or in the owner’s manual so you know which way the belt runs and where tensioners and accessories sit.
- Wipe visible grime. Use a rag to clear heavy dirt from the belt so you can see cracks or glazing. Avoid using solvents unless the manual allows them—some chemicals can damage rubber.
- Inspect the ribbed side. Shine the light across the ribs. Look for cracks running across the ribs (transverse) and any missing pieces or chunking.
- Inspect the backside and edges. Look for fraying, rounded edges, or exposed cords. Check for shiny or glassy spots (glazing) that indicate slipping.
- Look for embedded debris. Stones or metal shards can cut into the belt and create weak spots.
- Check belt tension visually. A properly tensioned belt should not look excessively loose or sag between pulleys. For modern cars with automatic tensioners, the tensioner should sit near its middle travel; for manual tensioners, consult the manual for deflection specs or look for even, firm tension.
- Rotate the engine by hand if needed. If you can safely access the crank pulley bolt and have the right tools, one full rotation brings all belt surfaces into view. Only do this if you’re confident and the engine is cold and off.
Reading crack patterns and what they mean
Not every crack means instant failure. Pattern, depth, and location tell the story.
| Pattern | What it looks like | What it usually means |
|---|---|---|
| Fine, shallow transverse hairline cracks | Small lines across the ribs, surface-only | Normal wear if few and shallow; monitor closely and plan replacement at the next service interval |
| Deep transverse cracks | Lines that penetrate and you can feel with a fingernail | Belt is weakened; replace soon to avoid breakage |
| Longitudinal cracks or splits along ribs | Cracks that run lengthwise with the belt | Often sign of misalignment or repeated edge rubbing; inspect pulleys and replace belt |
| Chunking or missing sections | Pieces of ribs are gone or ragged areas | High risk of failure; replace immediately |
| Exposed or broken cords | White or fibrous cords visible in the rubber | Immediate replacement required |
| Glazing (shiny surface) | Smooth, glossy ribs | Slipping under load; check tensioner and pulley condition |
| Oil contamination | Oily, soft-looking rubber | Damaging to the rubber; find and fix the leak and replace the belt |
Check the tensioner and idler pulleys
The belt only lasts as long as the parts it runs on. A worn tensioner or pulley bearing can cause premature belt failure.
- Look for pulley wobble. While the engine is off, try to move pulleys by hand. They should be tight with no roughness. Small play or rough spinning means the bearing may be bad.
- Listen for noise. If a pulley made a growling or grinding sound when the engine was running, the bearing is likely failing.
- Inspect tensioner travel. Many automatic tensioners have an obvious arm position. If the arm is all the way to one end of its travel or the spring feels weak, the tensioner may be past its useful life.
- Check for score marks. Grooves or sharp edges on pulleys can cut into the belt edge and cause fraying.
If a tensioner or pulley shows wear, replace it when you replace the belt. That prevents premature failure of the new belt.
Replacement timing: general guidance
Manufacturers list recommended replacement intervals in the owner or service manual. Typical guidelines for many belts fall between 60,000 and 100,000 miles, but that range varies by material and vehicle. Heat, driving conditions, and contaminants can shorten the belt life.
Replace the belt immediately if you find deep cracks, missing chunks, exposed cords, oil damage, or belt slipping. If the belt shows only small hairline cracks but the car is near the recommended replacement mileage, replace it at the scheduled service.
When replacing the belt, consider replacing the tensioner and idler pulleys at the same time if they show any wear or if the vehicle maker recommends it. A new belt on worn pulleys shortens its life.
Troubleshooting common symptoms
If your vehicle shows any of these signs, inspect the belt and related parts right away.
- Squealing or chirping noise: Could be slipping or misalignment. Check belt condition and tension.
- Battery warning light: A slipping or broken belt can stop the alternator charging the battery.
- Power steering feels heavy: Belt slipping or a broken belt can make the steering pump stop working.
- Air conditioning stops cooling: Belt problem can stop the A/C compressor.
- Engine overheating: If the belt drives the water pump, loss of belt function can cause overheating quickly.
When to stop and seek a professional
Do not try to repair or adjust anything beyond a visual inspection unless you have the right tools and experience. Stop and get a technician’s help if:
- You see exposed or broken cords, missing sections, or severe chunking.
- Oil contamination is present and you can’t find the leak or it’s inside the engine bay in a hard-to-access spot.
- The tensioner or pulley bearings are noisy, stuck, or show play.
- You’re not sure about belt routing or how to reinstall the belt properly.
- The vehicle needs a pulley or water pump replaced as part of belt service.
Those issues often require disassembly, special tools, or torque specs found in factory manuals. A professional can also check accessories under load to confirm a diagnosis.
Quick inspection checklist
| Check | What to look for | Action |
|---|---|---|
| Visual ribs | Transverse hairline cracks or glazing | If small, plan replacement; if deep, replace now |
| Edges | Fraying, rounded, or sharp wear | Check pulley alignment; replace belt and correct cause |
| Cords | White or fibrous material visible | Stop; immediate replacement required |
| Oil contamination | Oily, soft rubber | Find and fix leak; replace belt |
| Tensioner/pulleys | Noise, play, or pulley wobble | Replace worn parts with belt change |
| Routing | Wrong or twisted belt | Stop; re-route or call a pro if unsure |
| Safety boundary: If you encounter exposed cords, severe chunking, oil contamination, or broken pulleys, do not drive the vehicle. Tow or have a mechanic complete the repair. | ||
Tips for buying and installing a new belt
When it’s time to replace the belt, follow these pointers:
- Buy the right belt. Use the part number in the owner’s manual or from the old belt. Different engines use belts with specific lengths and rib patterns.
- Choose quality. OEM or high-quality aftermarket belts last longer. Very cheap belts may save money upfront but wear faster.
- Replace related parts as needed. Consider a new tensioner and idler pulleys if they show wear or if the manual recommends it.
- Follow the routing diagram. Some cars have multiple belt paths. Follow the diagram under the hood or in the manual to avoid misrouting.
- Double-check tension. After installation, run the engine briefly and check that the belt runs smoothly without noise. Re-check tension after a short test drive.
If you plan to replace the belt yourself, read the service manual procedures for your vehicle. There are steps and torque values specific to each car that you should follow.
What belt wear can tell you
A belt with ribs that are glossy, frayed, or unevenly polished may be slipping or running out of line. Oil and coolant can soften the rubber and make the belt swell. A belt that is wet with fluid is not fixed by wiping it clean; the leak must be repaired and the belt may need replacement. Listen for chirping, squealing, or a rhythmic slapping noise, but remember that a quiet belt can still be damaged.
Compare the belt’s path with the routing diagram before removing anything. Some engines use an automatic tensioner, while others have a separate adjustment method. Take a photo before disassembly. If the belt has jumped off, do not simply reinstall it and drive away. Check why it left the pulleys, because a seized accessory or failing tensioner can throw a new belt too.
After replacement
Confirm that every rib sits fully in the matching pulley grooves and that the smooth side contacts only the pulleys designed for it. Rotate the engine by hand only when the manual gives a safe method and the ignition is disabled. Keep fingers, sleeves, and tools away from the belt path. Never inspect a moving belt by touching it.
Start the engine only after tools are clear and the belt path is visible from a safe position. Watch for wandering, wobble, or a pulley that runs out of line. Shut the engine off if the belt walks sideways or a pulley makes a grinding sound. A tensioner, idler, or accessory bearing may need service along with the belt.
Final thoughts
Regular visual checks are an easy way to reduce the risk of a sudden belt failure. Get into the habit of scanning the belt at oil changes or every few months. Catching dry rot, deep cracks, or pulley problems early keeps you safer on the road and can save on repair bills later.
When in doubt, stop and seek help from a qualified technician. They can confirm whether a belt is safe, test components under load, and make sure any replacements are installed correctly.