
- Why my old halogens weren’t cutting it anymore
- Bulb types: LED, halogen, and why HID is fading out
- Checking compatibility before you buy
- Tools and parts I use
- Step-by-step install
- Aiming your new headlights correctly
- Problems I’ve run into (and the fix)
- Quiz: pick the right color temperature
- Buying reference
Why my old halogens weren’t cutting it anymore
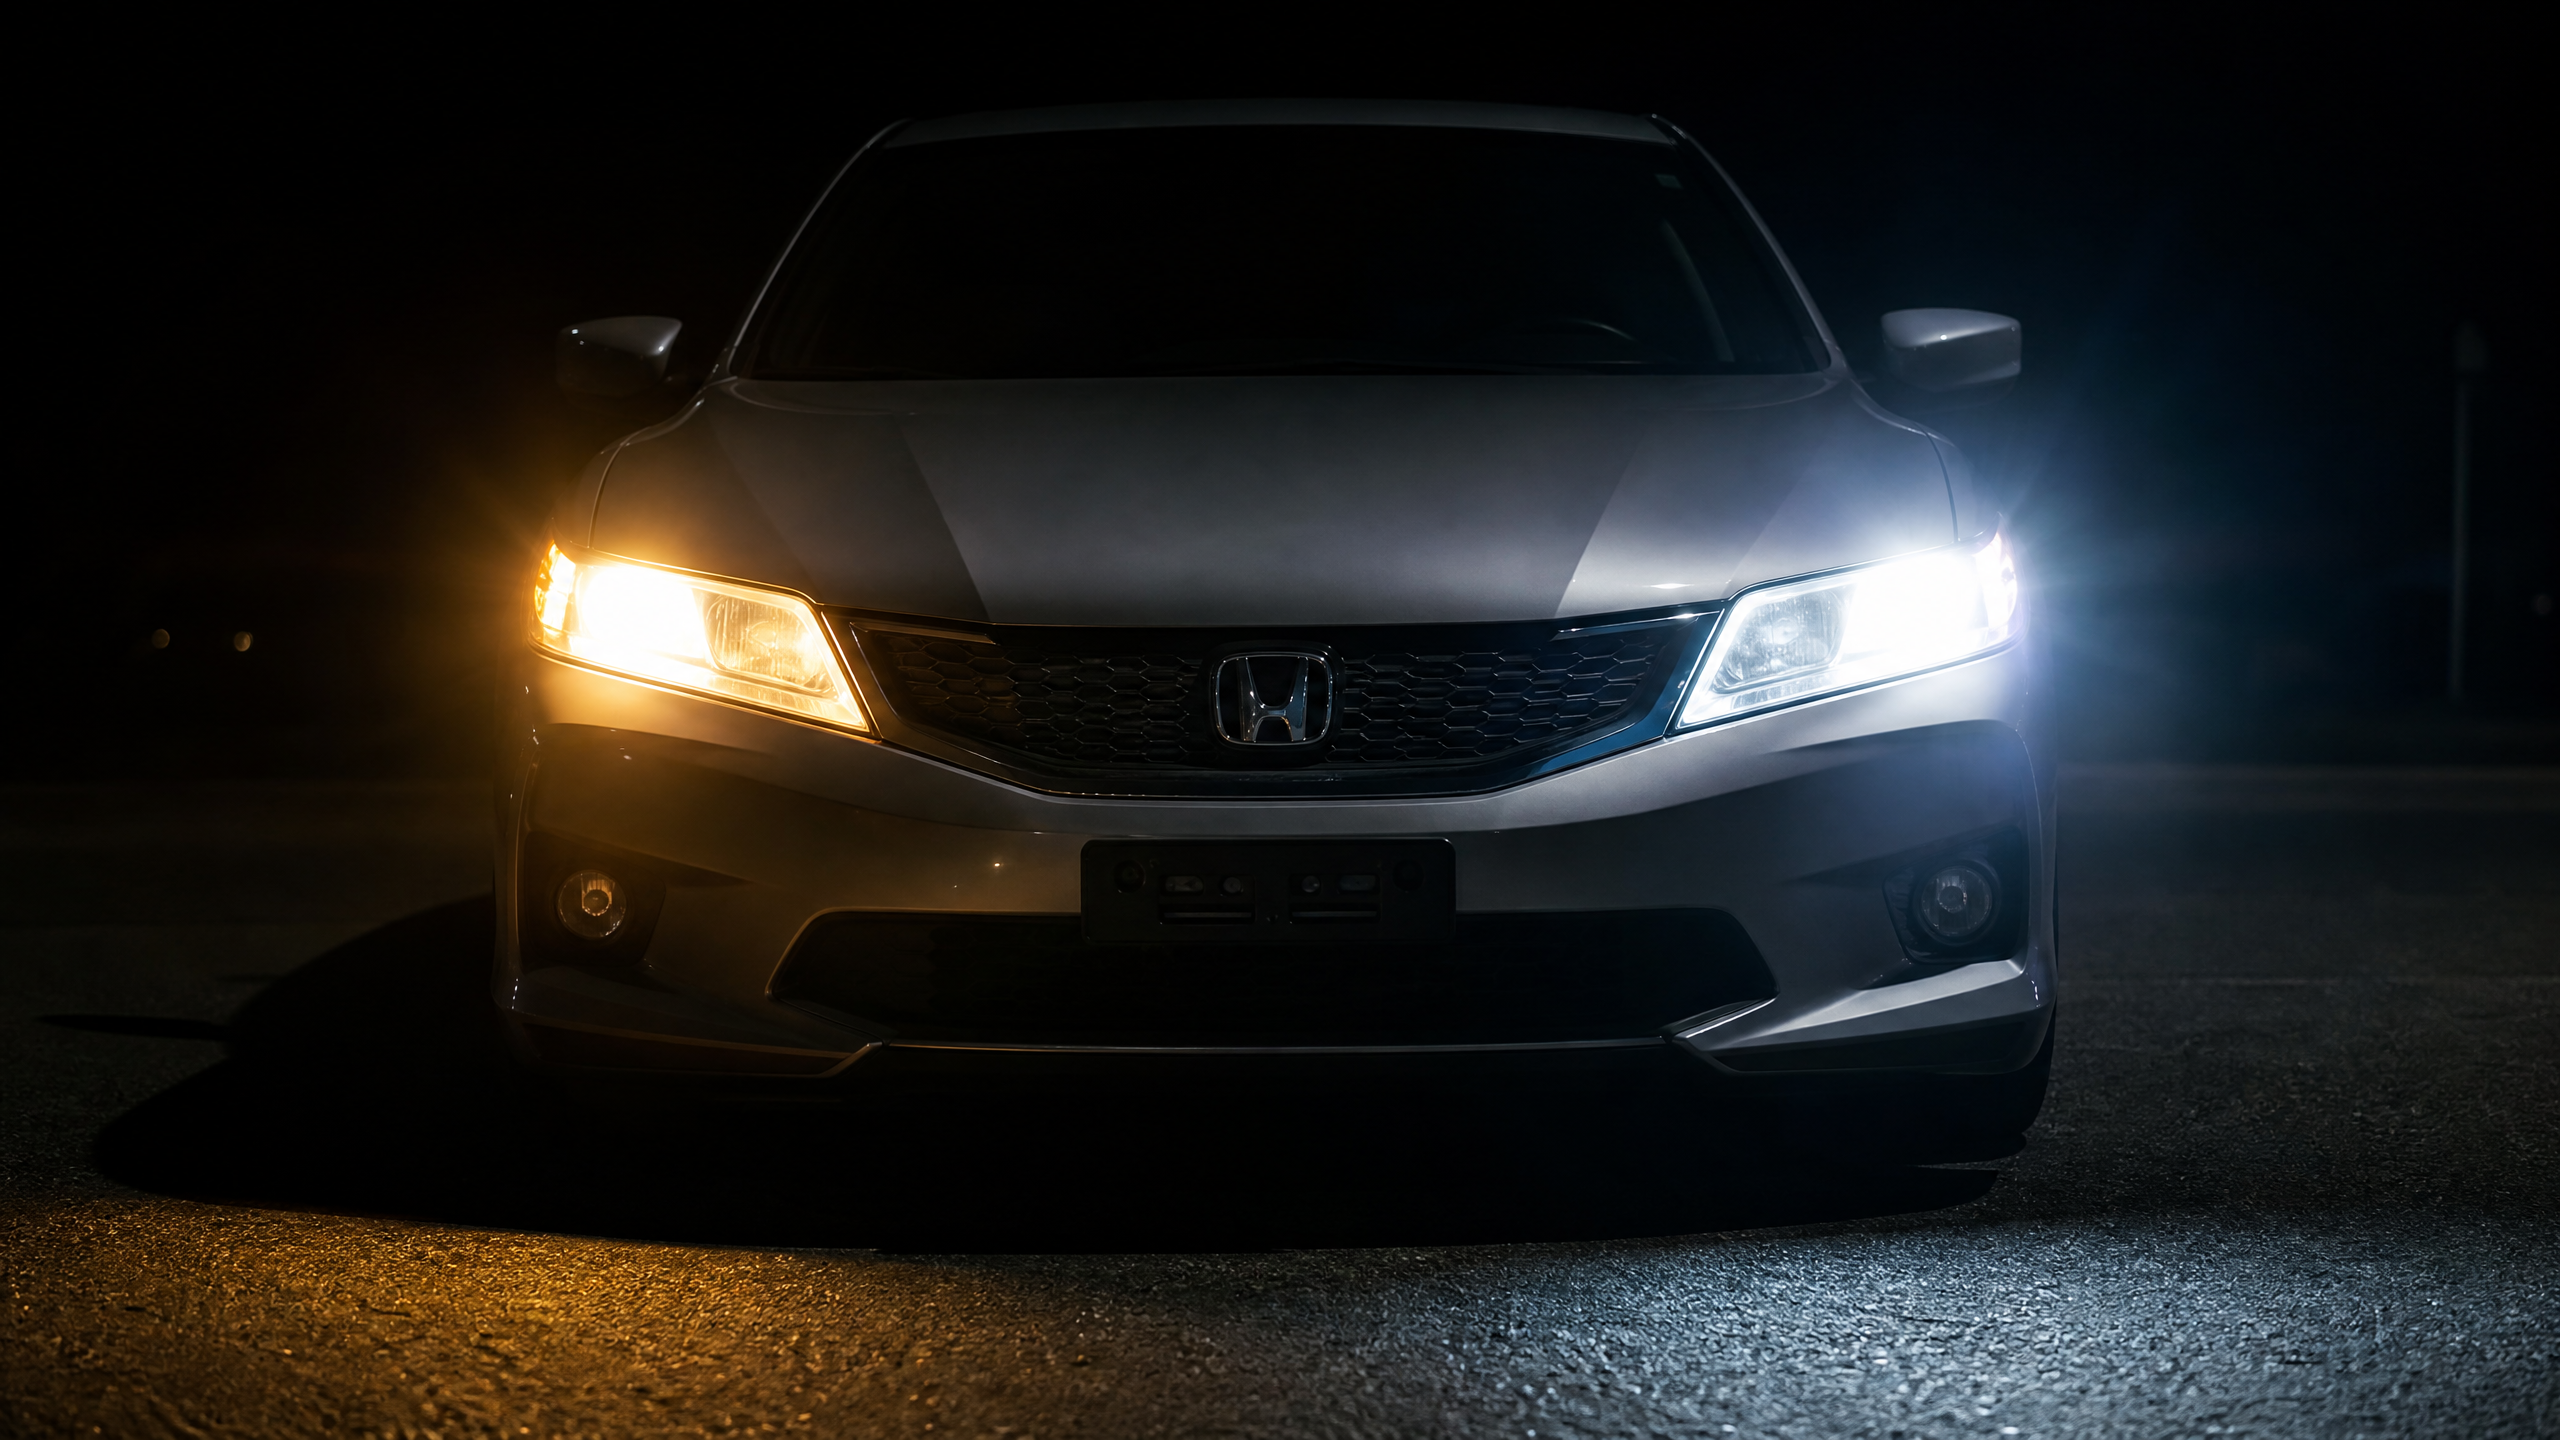
I noticed it on a back road with no streetlights — my high beams were lighting up maybe sixty, seventy feet ahead, and everything past that was just a dim yellow smear. Factory halogen bulbs put out a warm, weak light compared to what’s standard now, and they only get worse as the bulb ages.
I swapped to a quality LED bulb kit in about twenty minutes per side, on a truck that has to be one of the easier headlight housings to access I’ve worked on. Even on tighter engine bays, this is usually a sub-hour job with basic tools.
The difference at night was immediate. Whiter, further-reaching light, better contrast on road signs and lane markings, and headlights that finally looked like they belonged on a modern vehicle instead of a decade-old fog lamp.
Bulb types: LED, halogen, and why HID is fading out
Halogen
The factory standard on most vehicles for decades. Cheap, reliable, but the dimmest and warmest-colored of the three, and the filament degrades over time, dimming further before it eventually burns out.
HID / Xenon
Bright, efficient, but needs a ballast to strike the arc, has a slight warm-up delay, and installation is more involved. HID retrofit kits have mostly fallen out of favor as LED technology caught up in brightness without the ballast complexity or the flicker some cheap HID kits are known for.
LED
The current sweet spot for most DIY upgrades — instant full brightness, no warm-up lag, long bulb life, and most quality kits are a direct swap into your existing halogen housing with no ballast needed. This is what I recommend for the vast majority of daily drivers.
Checking compatibility before you buy
- Find your factory bulb size — usually printed on the old bulb itself (H11, H7, 9005, 9006, etc.) or listed in your owner’s manual under exterior lighting.
- Confirm your headlight housing type. Reflector housings (an open bowl-shaped reflector behind the bulb) generally handle LED upgrades well. Projector housings (a small lens element in front of the bulb) are pickier — the LED’s light source needs to sit at almost exactly the same focal point as the original halogen filament, or you get a scattered, unfocused beam pattern that can blind oncoming drivers.
- Check for DOT/SAE compliance markings on the bulb packaging. Compliant bulbs are designed to keep the beam pattern legal and controlled; uncompliant “off-road only” bulbs are a common cause of the harsh glare complaints you see on cheap marketplace listings.
- Read real buyer reviews for your specific housing type, not just star ratings — projector-housing owners will often call out beam pattern issues in the reviews that a reflector-housing owner would never notice.
Tools and parts I use
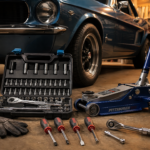
Tools
- Nitrile gloves (never touch a halogen bulb’s glass with bare fingers — skin oil creates a hot spot that can cause premature failure; this matters less for LED but it’s a good habit)
- Trim removal tool, if your headlight housing is behind an engine bay cover
- Phillips screwdriver or socket set for the headlight housing retaining clips, if applicable
- Flashlight or headlamp for engine bay visibility
- Shop rag
Parts
- LED bulb kit matched to your exact bulb size and housing type
- Canbus decoder/resistor, if your vehicle throws a bulb-out warning with LEDs installed (common on European makes and newer domestic vehicles with bulb-monitoring systems)
Step-by-step install
- Pop the hood and locate the back of the headlight housing. Most bulbs are accessed from behind, sometimes through a round rubber dust cover you twist off.
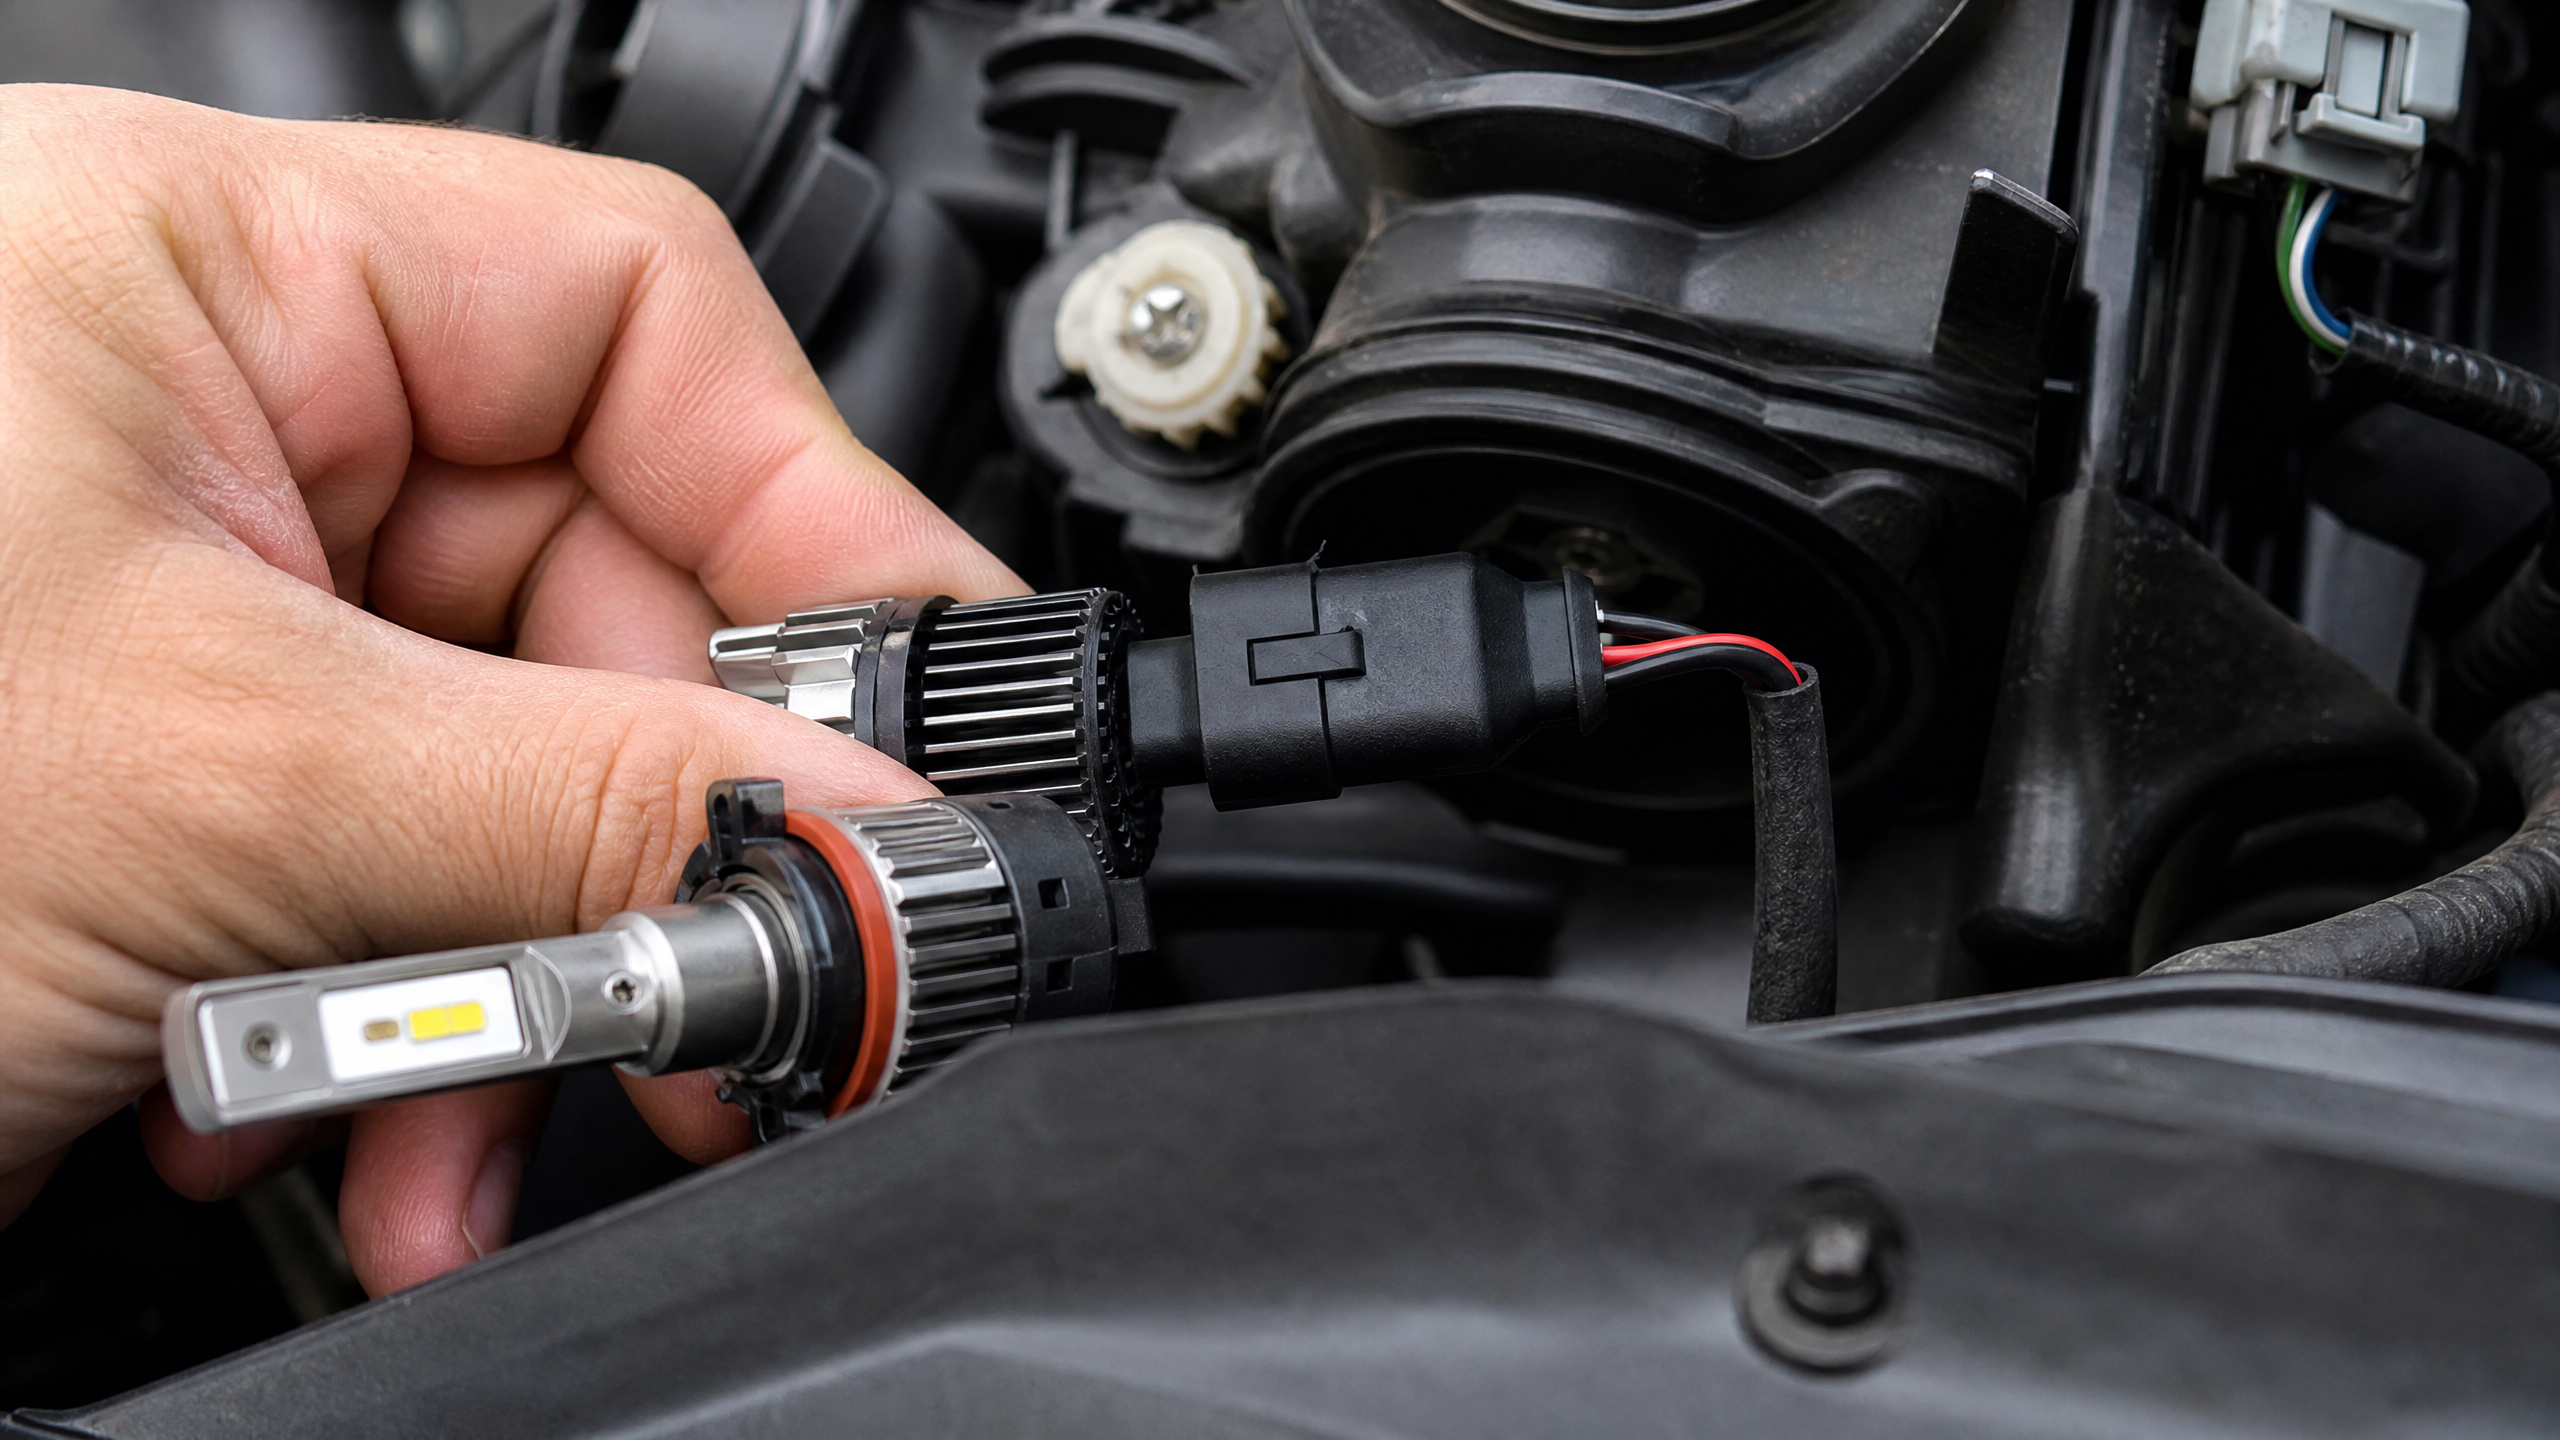
- Disconnect the factory bulb’s electrical connector by squeezing the release tab and pulling it straight back.
- Remove the factory bulb — usually a quarter-turn counterclockwise release, then pull straight out.
- Compare the new LED bulb’s base to the old one before installing, to confirm you bought the correct size.
- Insert the LED bulb into the housing, matching the same orientation as the factory bulb, and twist to lock it in place.
- Connect the LED driver/connector to the factory harness plug.
- Mount the LED driver unit (the small cylindrical module some kits have) securely away from any moving parts, hot exhaust components, or the drive belt.
- Reinstall the dust cover and confirm it’s fully seated — a gap here lets moisture into the housing.
- Repeat on the other side and test both headlights with the engine running before closing the hood.
- Check for any dash warning lights related to bulb-out detection, and install a canbus decoder if one comes on.
Aiming your new headlights correctly
A lot of people skip this step entirely, but a beam pattern that’s a little high or crooked from a bulb swap is exactly what causes the “aftermarket LEDs are blinding” complaints you see online — most of the time it’s an aiming issue, not the bulb itself.
- Park facing a garage door or flat wall about ten feet away, on level ground.
- Mark the center of each low beam’s brightest spot on the wall with painter’s tape, with the headlights on and the car unloaded (no extra cargo weight throwing off the ride height).
- Back the car up to roughly 25 feet and check that the bright spot sits slightly below the height it was marked at, and not aimed up into oncoming eye level.
- Locate the headlight aiming adjustment screws — usually accessible from the back or top of the headlight housing in the engine bay — and adjust in small increments, rechecking after each turn.
Problems I’ve run into (and the fix)
Dash shows a “bulb out” warning after the swap
Your vehicle’s computer is reading the LED’s lower current draw as a burnt-out bulb. Install a canbus decoder/load resistor inline with the LED connector — it simulates the resistance the factory computer expects to see.
Flickering or strobing at idle
Usually a driver unit that’s not fully seated in its ground connection, or a cheap driver that’s sensitive to your alternator’s voltage ripple at idle. Reseat the ground first; if it persists, it’s often a sign of a lower-quality driver unit worth replacing.
Beam pattern looks scattered or hazy compared to the old halogen
This points to a focal point mismatch in a projector housing, discussed above. Confirm your bulb kit is actually rated for projector housings, not just “universal fit.”
One side is noticeably dimmer than the other
Check the connector seating on the dimmer side first — a loose or partially connected plug causes voltage drop. If both are seated properly, swap the bulbs side to side; if the dim spot follows the bulb, you’ve got a defective unit to send back under warranty.
Don’t forget your fog lights and reverse lights
Most people stop at the headlights and never touch the fog lights, but a mismatched warm-yellow fog light sitting under a bright white LED headlight looks unfinished, and it’s an easy fix while you’ve already got the tools out.
Fog lights use a different bulb size than your headlights, so check the housing for the size stamped near the socket, or pull the old bulb and match it directly rather than guessing off your headlight’s bulb size.
Same goes for reverse lights — swapping those to LED is one of the cheapest, fastest upgrades in this whole guide, and it pairs nicely if you’re also installing a backup camera, since a brighter reverse light means your camera picks up more detail in a dark driveway.
Quiz: pick the right color temperature
Color temperature scale — brighter white, best road visibility, typically sits in the 5000K–6000K range. Anything past 8000K trades usable light output for a blue tint that actually performs worse in rain and fog.
60-Second Fit Check
Answer three quick questions and I’ll point you to the right color temperature and housing considerations.
1. Do you know if your headlights are reflector or projector style?
2. What matters most to you in the new light?
3. Do you drive a lot in rain or fog?
Buying reference
| Color temp | Look | Best for |
|---|---|---|
| 4300K | Warm white, closest to factory halogen tone | Drivers who want brightness without a stark white look |
| 5000K–6000K | Crisp daylight white | Best all-around visibility, my go-to recommendation |
| 8000K+ | Blue-tinted white | Style preference only — actually reduces usable lumens in rain and fog |
Grab the parts I actually use
I keep an updated list of the LED bulb kits and canbus decoders I trust for this exact job.
Check LED Headlight Kits on Amazon →Final word from the garage
This is about as close as car upgrades get to a pure win — cheap, fast, and something you notice literally every time you drive after dark. Just don’t skip the housing compatibility check or the aiming step. A great bulb aimed wrong is worse than doing nothing at all, both for you and for the driver coming the other way.
Get it right and you’ll wonder why you drove around with those dim factory bulbs for as long as you did.

Leave a Reply