
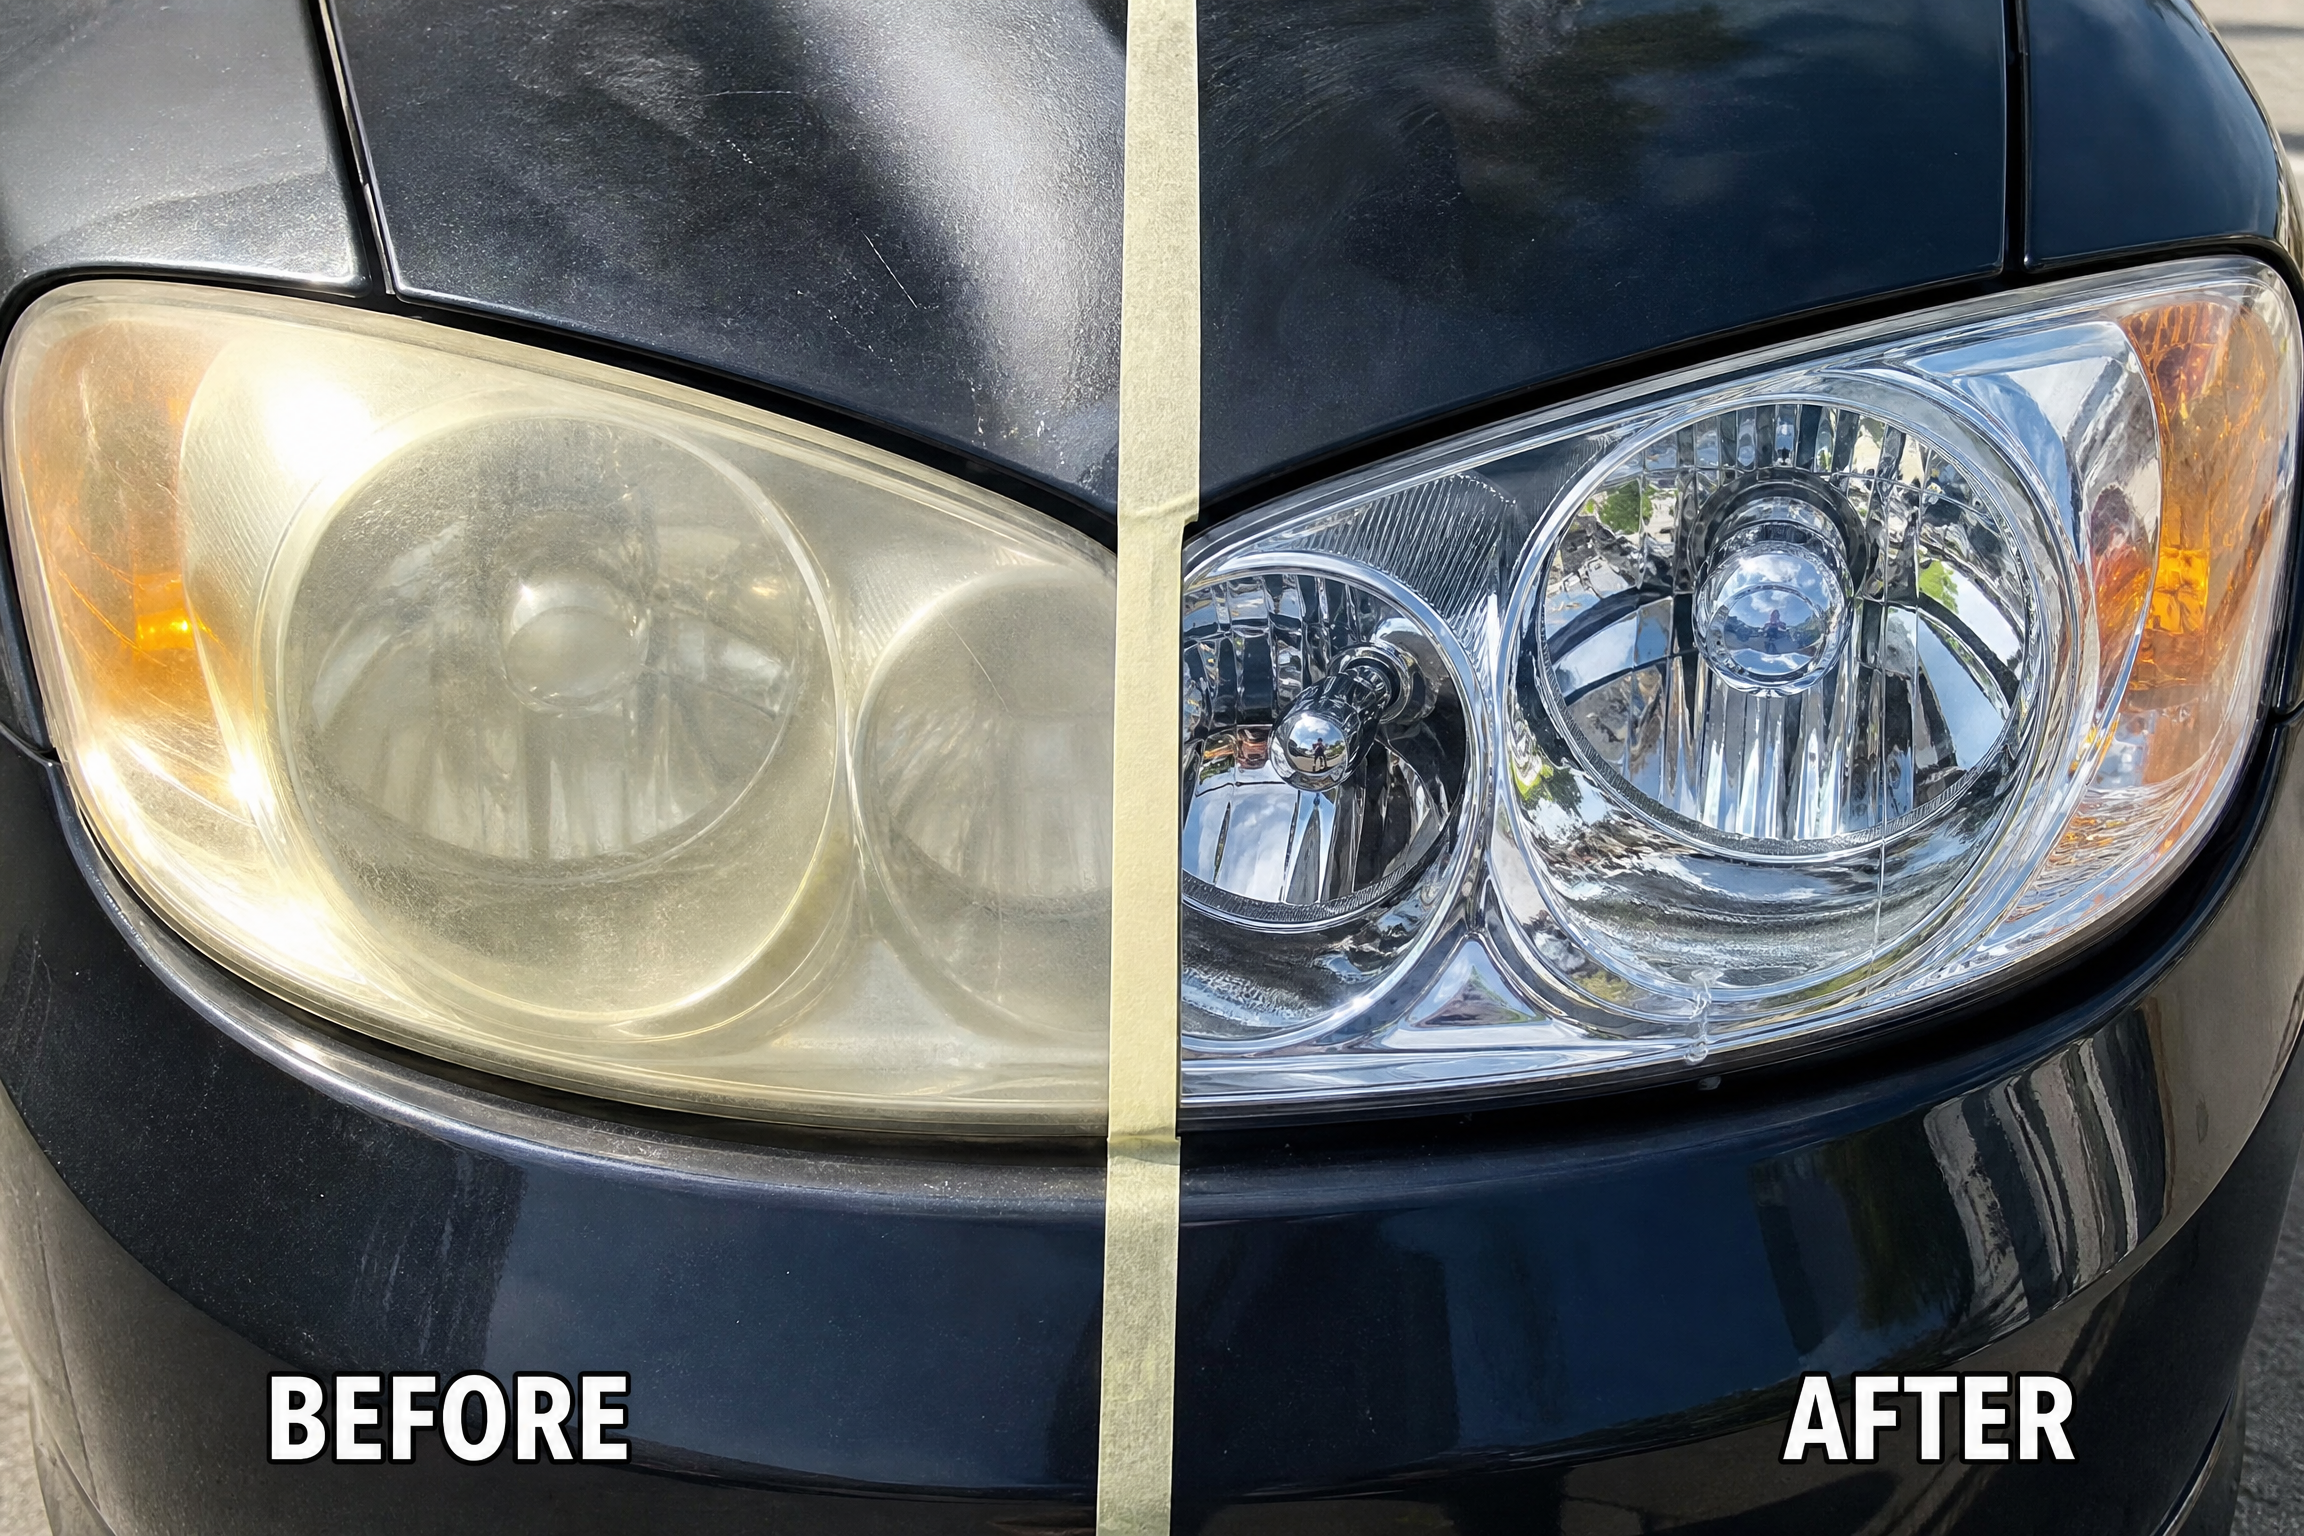
I nearly rear-ended a horse trailer on a county road a few winters ago, and the ugly truth was that my headlights were the problem, not my attention. The lenses had gone milky over two summers of outside parking, and my “high beams” were throwing maybe half their light onto the first ten feet of asphalt.
A Saturday morning with a $25 restoration kit fixed what a $600 pair of new housings would have also fixed. Here’s how lenses die, how to grade yours, and how to bring them back so night driving stops being a guessing game.
Why Plastic Lenses Haze
Headlight lenses are polycarbonate plastic, and they’re factory-sealed with a UV-hard coat. That coat is why new lenses stay clear for years.
Sun, stone chips, and harsh car-wash chemicals wear that coat away. Once it’s gone, UV light oxidizes the plastic itself. The surface turns yellow, then white, then peels, and every layer of oxidation scatters your light beam in every direction except down the road.
AAA’s research found badly yellowed lenses can cut light output by up to 80 percent. You’re not driving with dim bulbs. You’re driving with a blindfold made of your own headlights.
Grade Your Lenses First
Stand in front of the car and look honestly.
Stage 1, light yellowing:a faint tea color, still see-through. Restores fast, often with polish alone.
Stage 2, white haze:a milky film you can’t see through at the edges. Needs wet sanding plus polish.
Stage 3, peeling and flaking:the UV coat is coming off in patches like sunburned skin. Full sanding progression.
Stage 4, cracks or moisture inside:if you see drops or fog insidethe lens, the seal is gone. Restoration won’t fix a leaking housing — that’s replacement territory.
The Kit and the Extras
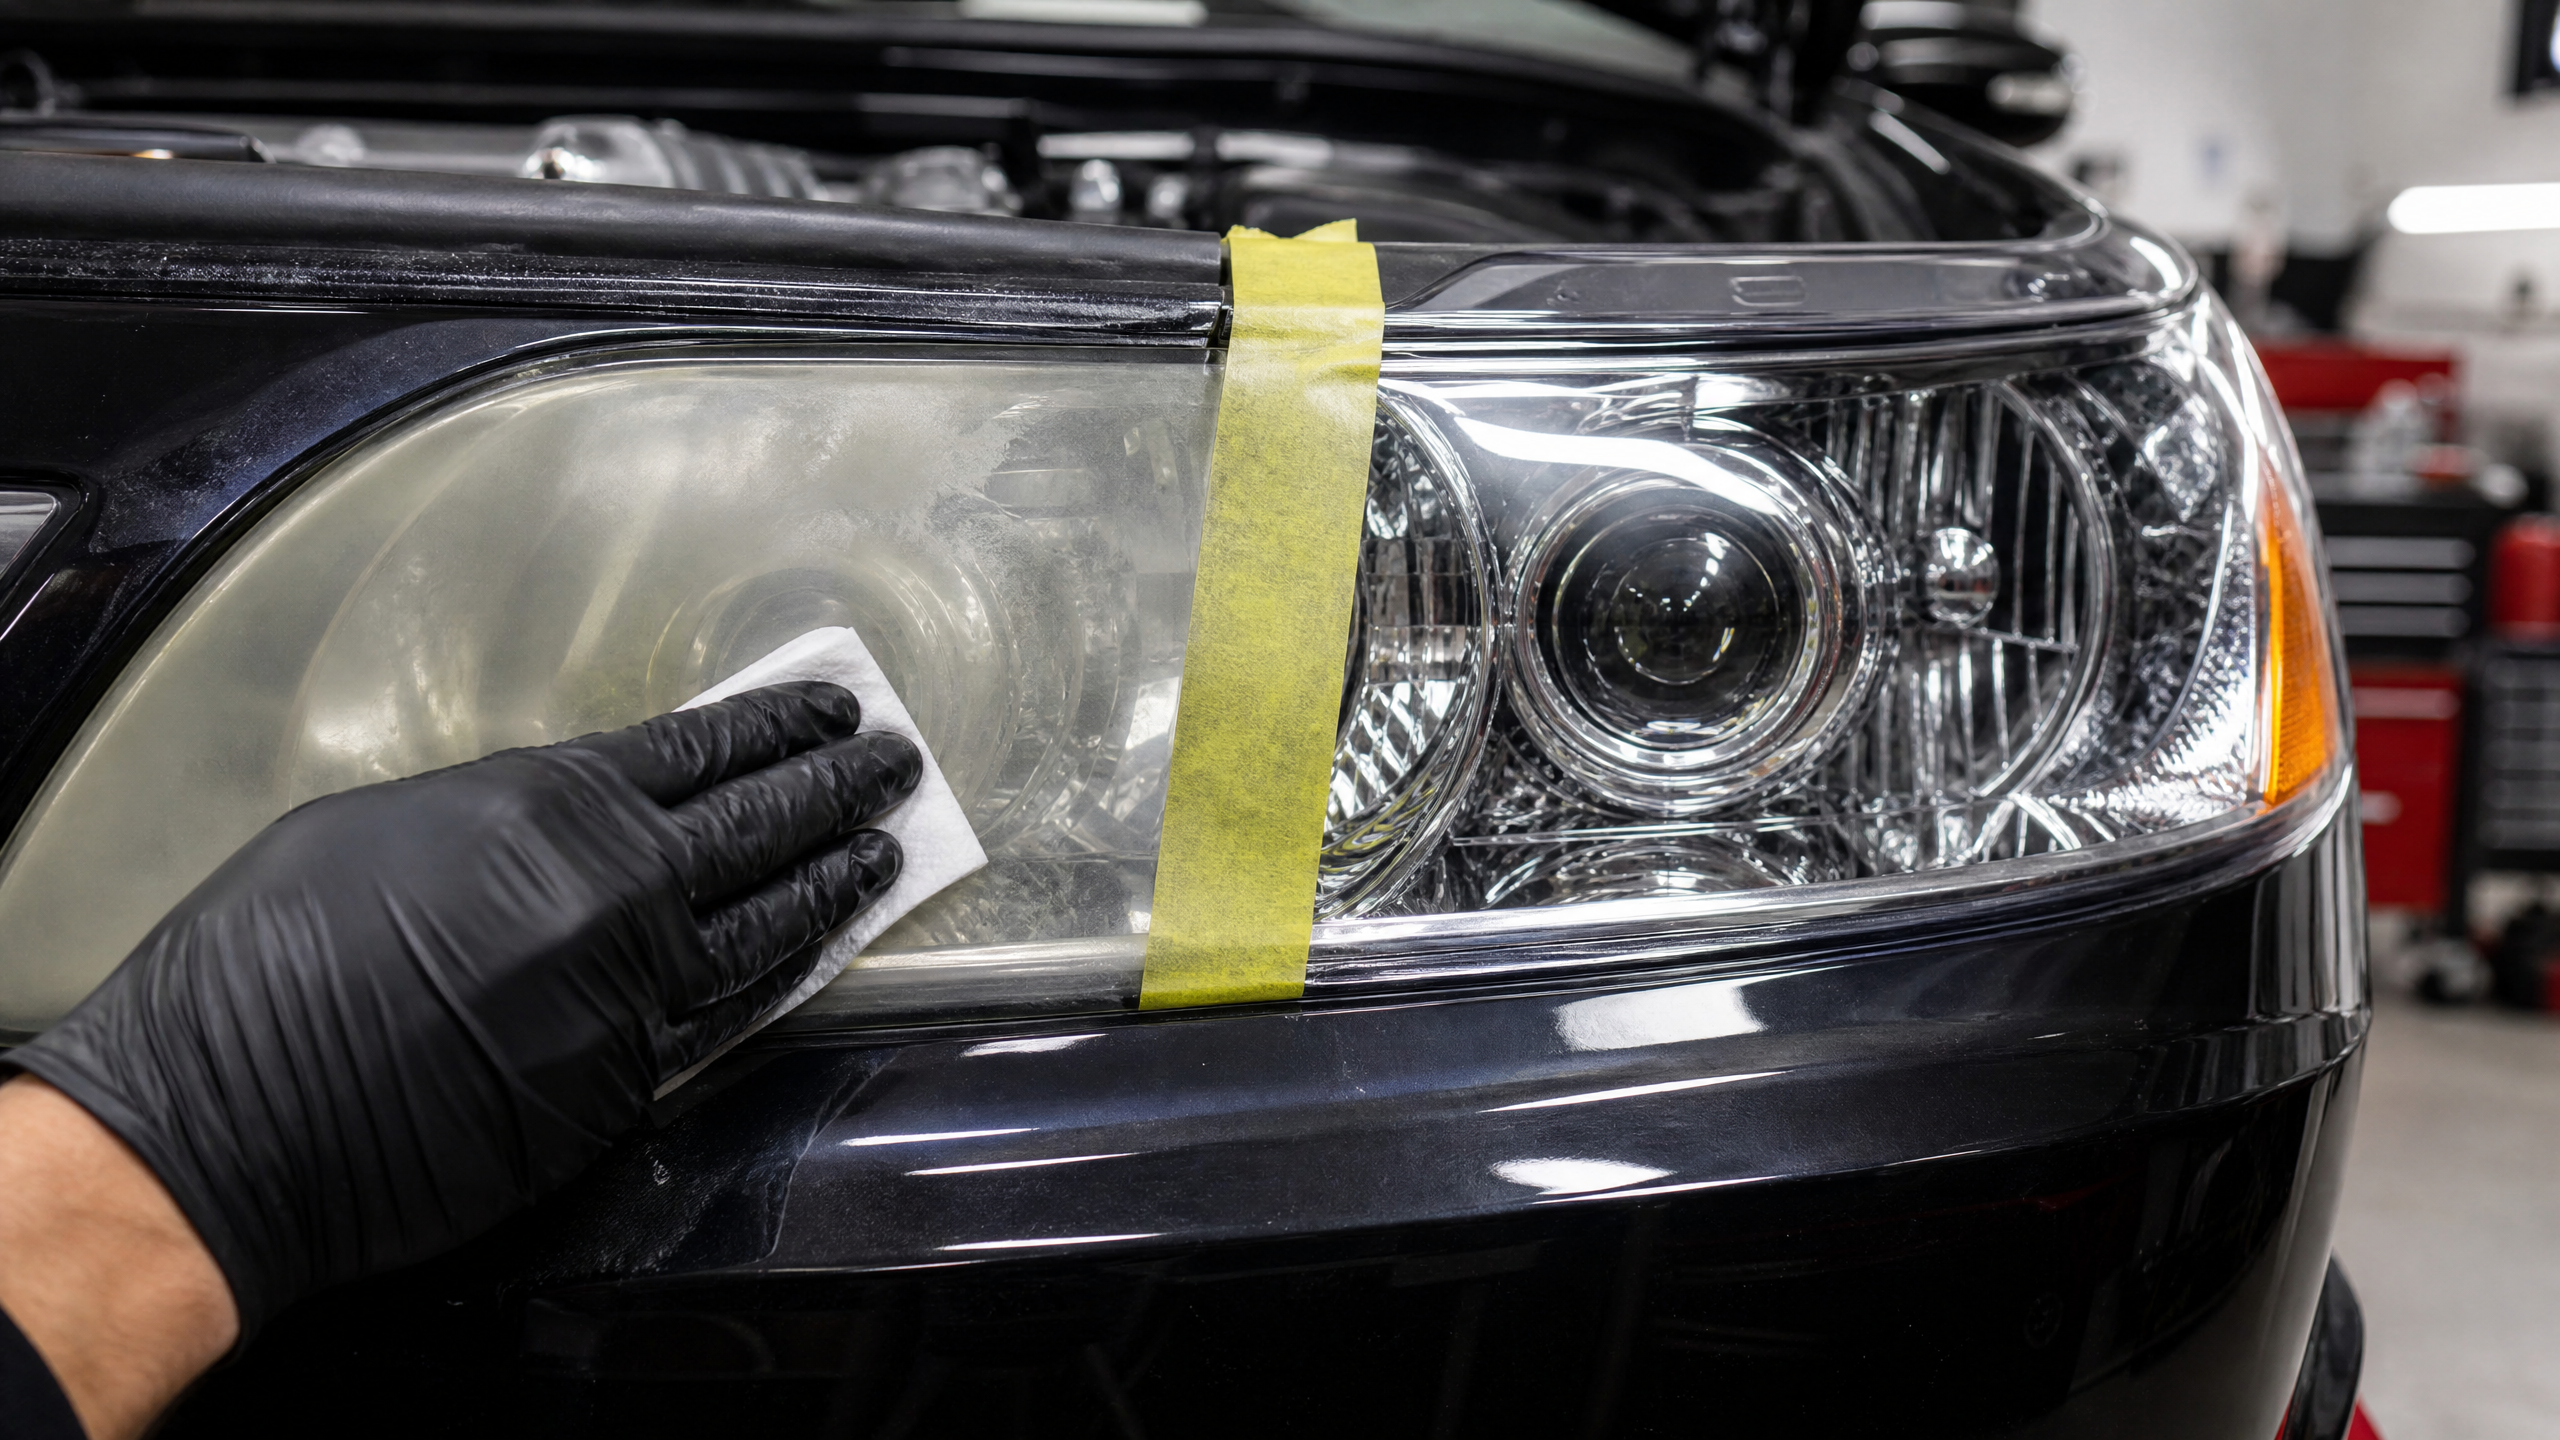
- Painter’s tape, two inches wide, plenty of it.
- Wet sandpaperin a progression: 1000, 2000, and 3000 grit, and 800on hand for stage-3 lenses.
- A spray bottle of waterwith a drop of car shampoo for sanding lube.
- Rubbing compoundand a foam pad, by hand or on a drill buffer with a soft setting.
- Machine polish and a finishing padif you have one; by-hand works with patience.
- A UV sealant or headlight coatingfor the last step. This is the step kits skip and lenses regret.
- Microfiber towels and a bucket.
Prep: Tape Like a Surgeon Drape
Wash and dry the front end. Then tape off every millimeter of paint and rubberaround each lens, leaving a half-inch margin of tape on the body. Sandpaper does not negotiate with clear coat.
Work in shade. Hot plastic and drying lube are the enemies of an even cut.
Fill the spray bottle, crack the papers open, and plan on 45 to 90 minutes per lensthe first time. Rushing is how people sand through edges.
Wet Sanding, the Honest Way
Sanding is just leveling: you’re shaving the oxidized plastic down to fresh, clear material underneath.
1. Soak the papers.Five minutes in the bucket before you start. Wet paper cuts smoother and lives longer.
2. Start at the right grit.Stage 2 lenses start at 1000. Stage 3 starts at 800. Light yellowing can sometimes skip sanding entirely and go straight to compound.
3. Keep it wet.Spray the lens and the paper constantly. The moment it drags dry, stop and spray. Dry sanding gouges and heats.
4. Use a pattern.Sand in straight horizontal passeswith light, even pressure, covering the whole lens, then switch to vertical passeswith the next grit. The crosshatch tells you when the old grit’s scratches are fully gone.
5. Wipe and read.After each grit, wipe the lens with a wet towel. You want a uniform frosty dullnessedge to edge. Any shiny or darker patches mean that spot hasn’t been cut yet — keep going before moving up.
6. Climb the ladder.1000 to 2000 to 3000, each finer grit erasing the previous grit’s scratches. By 3000 the lens looks like smooth frosted glass.
Take your time on the edges and corners. The lens curves away there, and aggressive sanding can burn through the thin plastic. Light pressure, more passes.
Polishing: From Frosted to Clear
Sanding left the surface level but microscopically scratched. Polishing shrinks those scratches until light passes straight through.
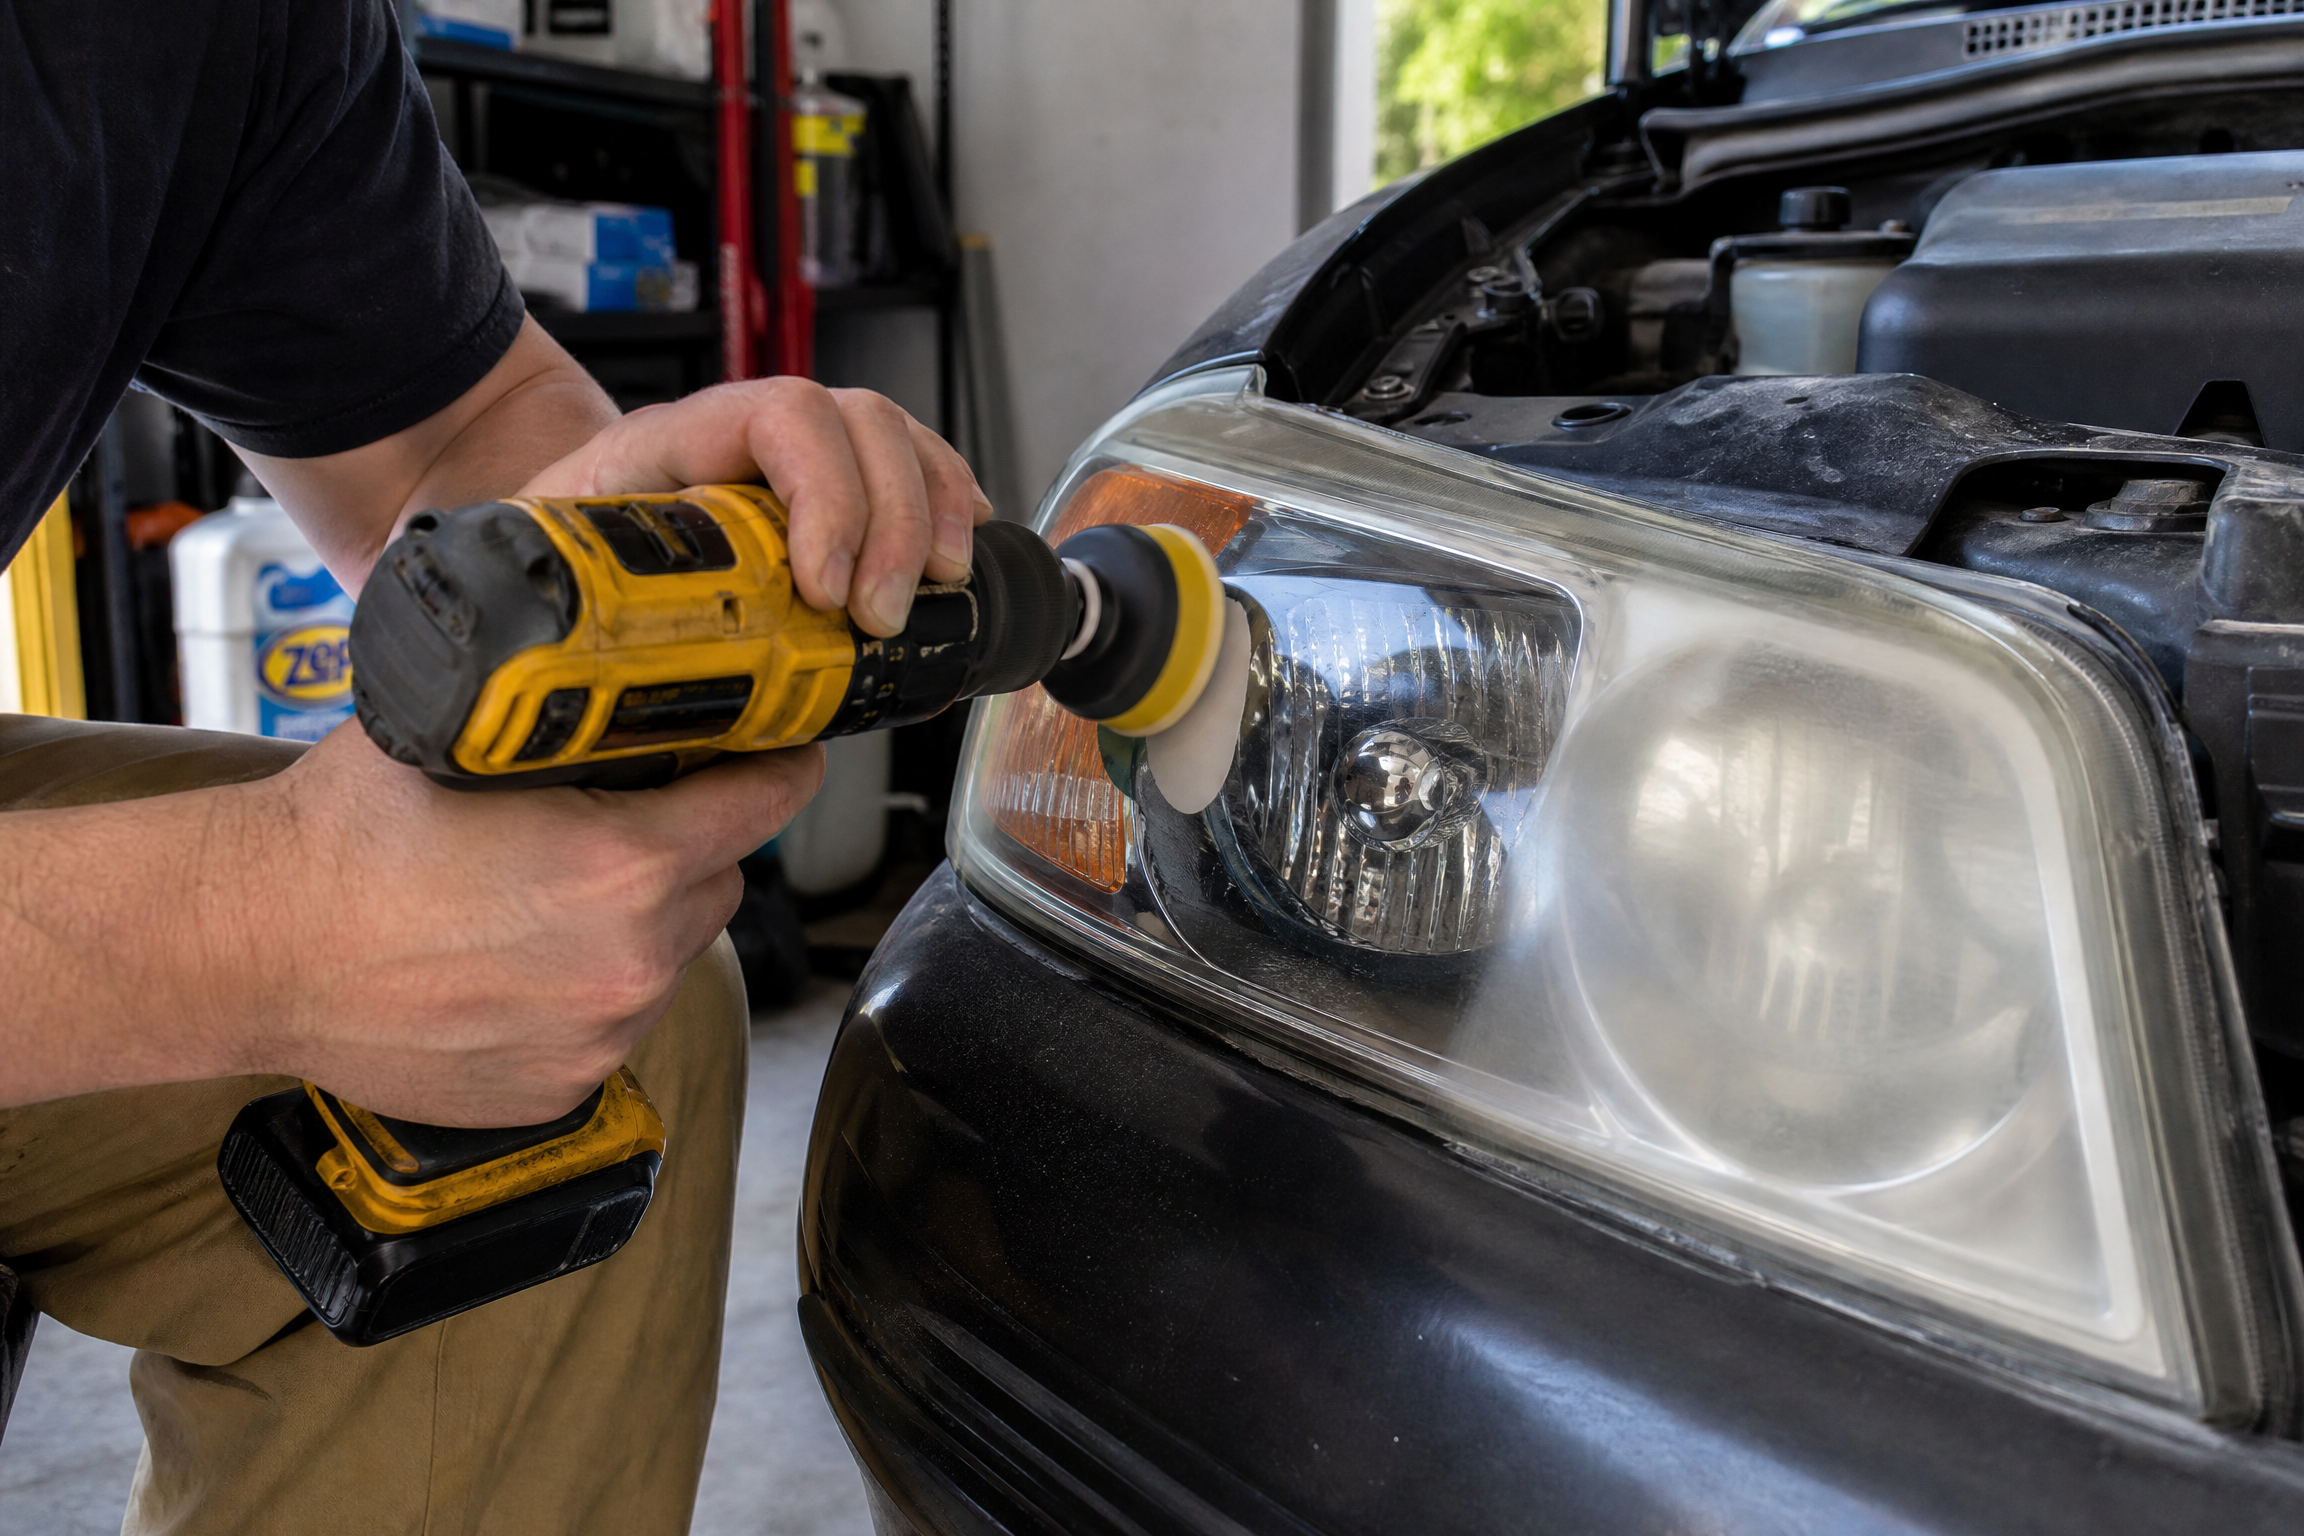
By machine:foam pad, rubbing compound, medium speed, slow overlapping passes until the frost turns to gloss. Then a finishing polish on a soft pad for the last haze.
By hand:it works, it just costs you sweat. Wrap the pad, work compound in small circles with real pressure for several minutes per section, wipe, inspect, repeat. A drill with a soft backing pad at low speed is a fair middle path.
The lens should now read like glass with maybe a faint warmth left. That warmth is what the final polish and the sealant finish off.
The Step Everyone Skips: UV Seal
You just sanded off the factory UV coat. If you stop now, the fresh plastic will oxidize faster than it did the first time, and the haze returns in weeks. I’ve seen skipped-sealant lenses go milky again in a month.
Apply a headlight UV sealant or wipe-on coatingper the bottle: wipe on thin, let it flash, buff gently. Some kits include a sealant wipe; standalone UV sprays at the parts store work too.
This one step is the difference between a restoration that lasts two to three yearsand one that lasts a season.
Mild Haze: The One-Step Shortcut
Stage 1 lenses often clean up with compound and polish alone, no sanding. Twenty minutes per lens, seal, done.
And no, toothpaste is not a shortcut. It’s a mild abrasive with no plan — it’ll shine a small spot for a photo and leave the rest of the lens tired. Use real compound.
When Restoration Is the Wrong Job
Moisture inside the lensmeans a failed seal. You can restore the outside and it’ll still fog from within. Vents and seals or a new housing is the fix.
Deep cracksare structural and they’ll grow. Replace.
Severe pitting from a decade of gravel roadsmay sand out, but if the plastic is thin and chalky, replacement housings are the safer spend. Used OEM housings from a recycler are a honest middle price.
Keeping Them Clear After
- Park in shade or use a coverwhen you can. UV is the whole enemy.
- Re-apply a UV sprayonce or twice a year on restored lenses.
- Skip harsh cleanerson the lenses; shampoo and water is plenty.
- Check your aimafter any restoration. Park 25 feet from a wall and confirm the cutoff sits low and level, so your new light helps you instead of blinding oncoming drivers.
Kit vs. Pro vs. New Housings
A DIY kitruns $20–$40 and an afternoon. A pro restorationruns $75–$150 per pair and includes the sealant and usually a warranty. New housingsrun hundreds but solve seals, cracks, and reflector wear in one move.
My rule: restore stages 1–3 yourself, pay a pro when your Saturday is spoken for, and replace only when the housing is cracked, leaking, or the reflector inside is burnt.
Mistakes I Keep Seeing
Sanding dry.Gouges, heat, and a lens that polishes out hazy.Skipping grits.Jumping 1000 to 3000 leaves deep scratches that polish can’t erase.No sealant.A restored lens with no UV coat is a restoration with an expiration date.Thin tape lines.One slip of the paper edge and you’re compounding a scratch into the fender.Polishing a leaking housing. Fog inside doesn’t polish out. It means replace.
Try It: Haze Severity Picker
Tell me what you see and get the exact route.
What do the lenses look like?
Wrap-Up
Clear headlights are the cheapest safety upgrade on the car: a kit, a tape roll, a spray bottle, and an afternoon.
Grade the lens honestly, sand it wet, polish it out, and seal it like you mean it. Then take the long way home that night just to enjoy the road lighting up the way it did in the brochure.
Lens sanded hazy or sealant streaked? Comment with the kit you used and I’ll walk you through the recovery pass.
Related: Check out our guide on Vinyl Car Wrap vs. Paint: Which is Better for Your Vehicle?.



Leave a Reply