
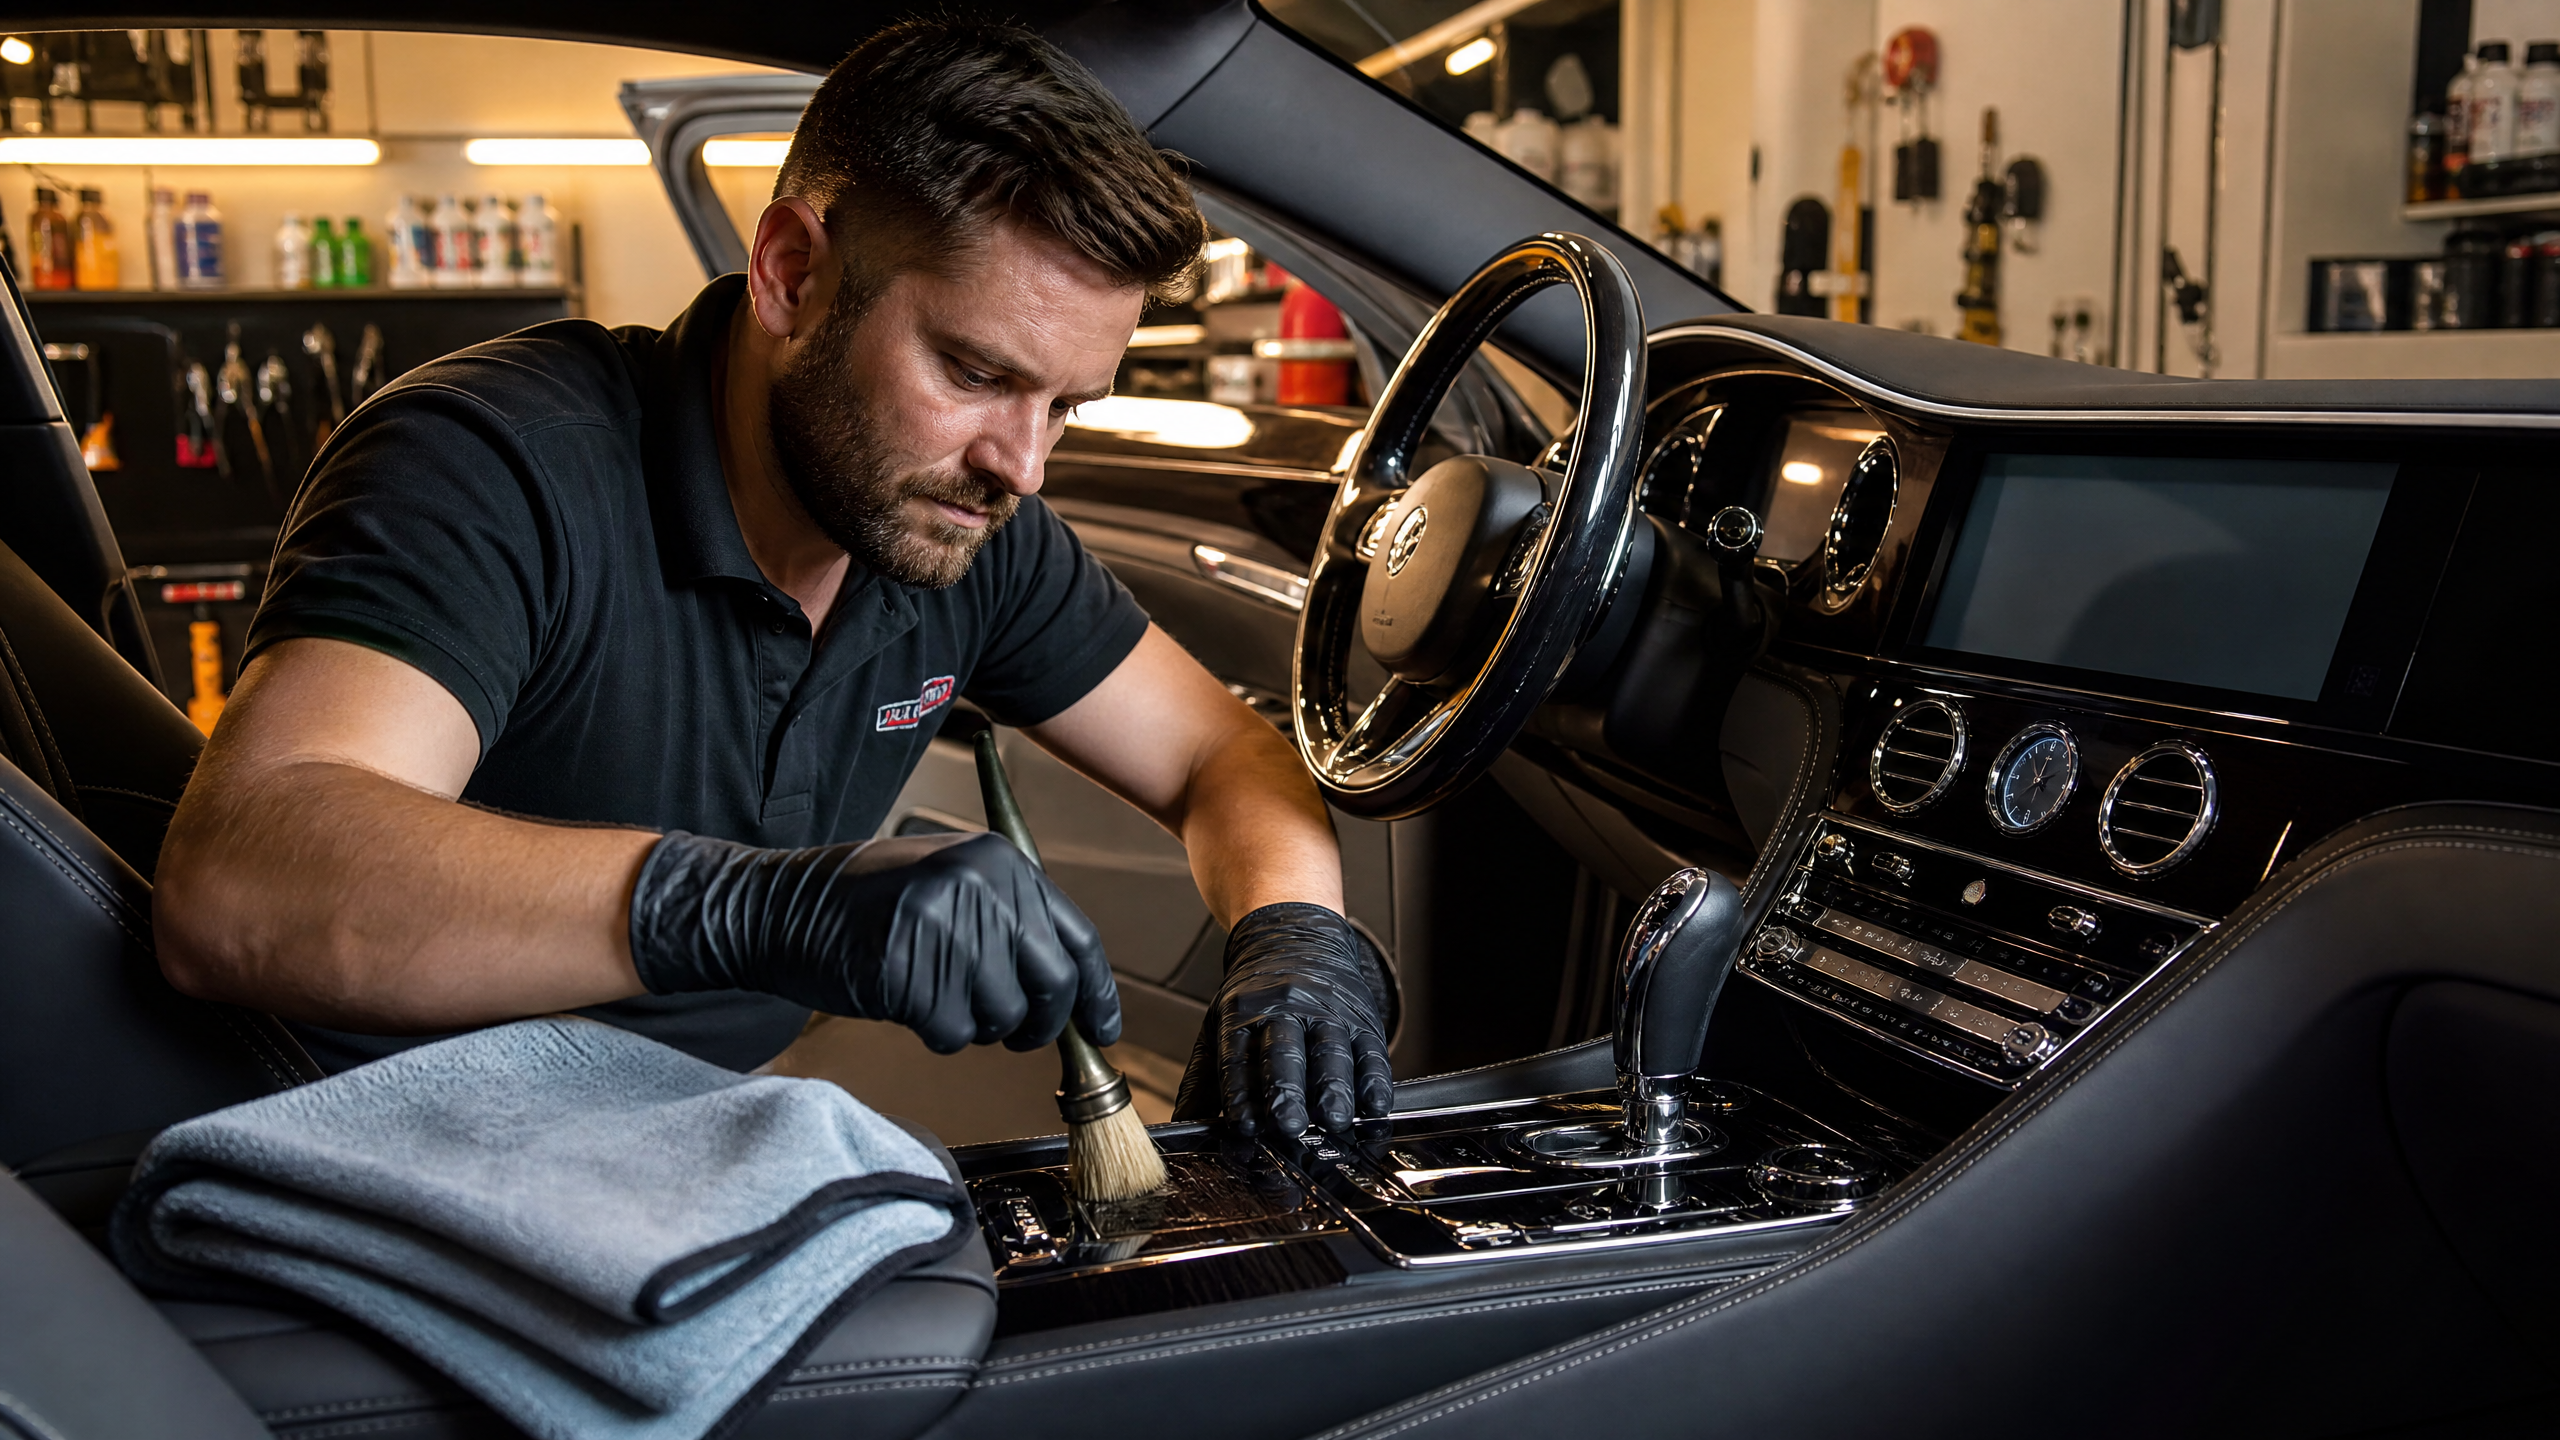
A customer brought in a sedan last week that looked fine from ten feet away, but inside, it smelled like a gym bag and the leather seats had the texture of cardboard. He’d been “cleaning” it for years with household Windex and a dirty kitchen sponge.
Interior detailing isn’t about the smell of the spray; it’s about extracting the history of the car. You aren’t just wiping surfaces; you’re removing the oils, skin cells, and road dust that have bonded to your cabin. Here’s my workflow for a factory-fresh interior without the $200 pro price tag.
The Detailer’s Arsenal
- A Shop Vac or powerful vacuum. With the crevice tool and a brush attachment.
- All-Purpose Cleaner (APC). Dilutable is better; you want 10:1 for dash and 4:1 for stains.
- Microfiber Towels. At least ten. One dirty towel just moves the mess.
- Boar’s Hair or Soft Synthetic Brushes. For agitating cleaner in vents, seams, and leather.
- Drill Brushes. Stiff bristles that click into a cordless drill for carpet heavy lifting.
- Leather Cleaner and Conditioner. Two-step is better than all-in-one.
- Glass Cleaner. Ammonia-free, so you don’t kill your window tint.
Step 1: The Dry Extraction (Vacuuming)
Never start with liquids. If you spray cleaner on a dusty carpet, you’ve just made mud.
Pull the mats and vacuum them outside the car. Use the drill brush to agitate the carpet fibers, bringing the sand and grit to the surface. Vacuum the seats, the seams where the back meets the bottom, and the tracks where the seats slide. If you don’t get the dry grit out now, it will wick back to the surface as a stain later.
Step 2: The Dash and Trim
Spray your APC (diluted 10:1) onto the towel, not the dash. This prevents “overspray” from landing on your clean glass.
Wipe the surfaces, then use a detail brush to get into the air vents, buttons, and cup holders. Follow up with a dry microfiber to buff away any streaks. Finish with a matte-finish UV protectant. Avoid the high-gloss “greasy” sprays; they create glare on the windshield and attract dust like a magnet.
Step 3: Deep Carpet and Cloth Cleaning
For stains and ground-in dirt:
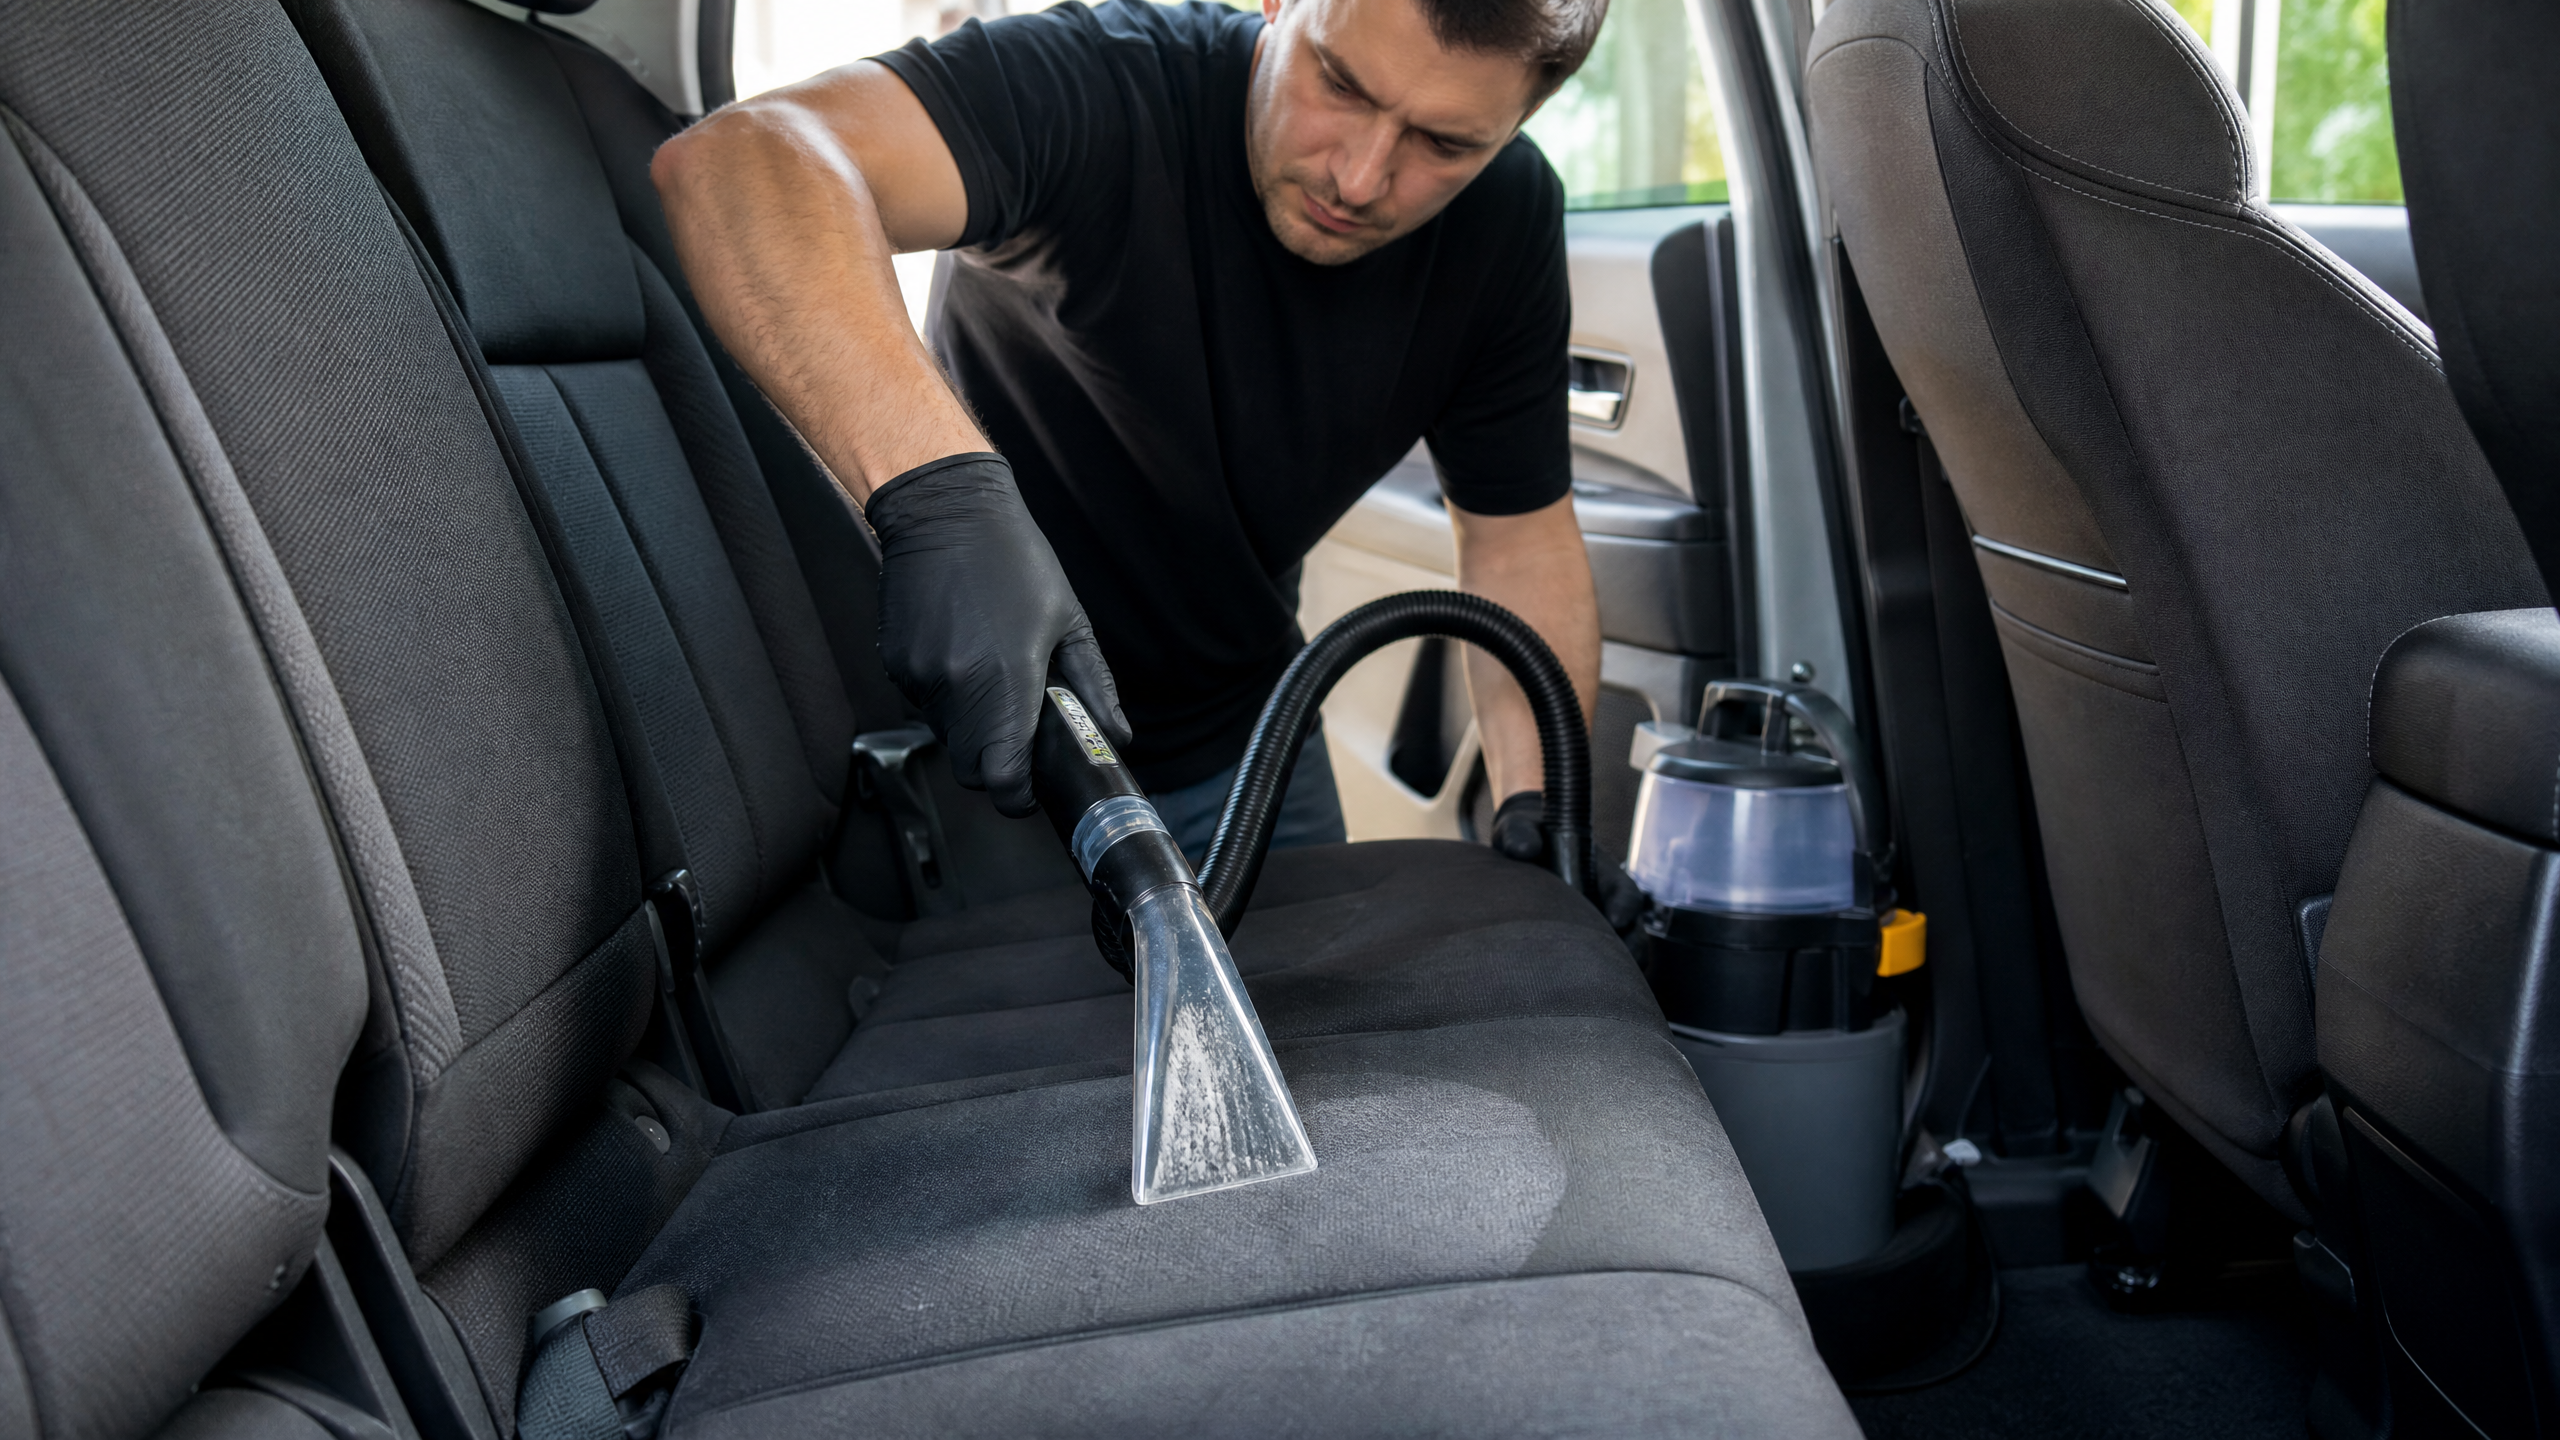
1. Mist the area with APC (4:1). Let it dwell for two minutes. 2. Agitate with the drill brush. The mechanical action breaks the bond between the dirt and the fiber. 3. The Extraction. Press a clean, dry microfiber towel firmly into the wet spot to soak up the dirty liquid. Repeat until the towel comes up clean.
If you have a wet-dry vac, use it to pull the liquid out. The goal is to get the carpet as dry as possible, as fast as possible, to prevent mold.
Step 4: Leather Care (The Two-Step)
Leather isn’t plastic; it’s skin. It needs to be cleaned and then fed.
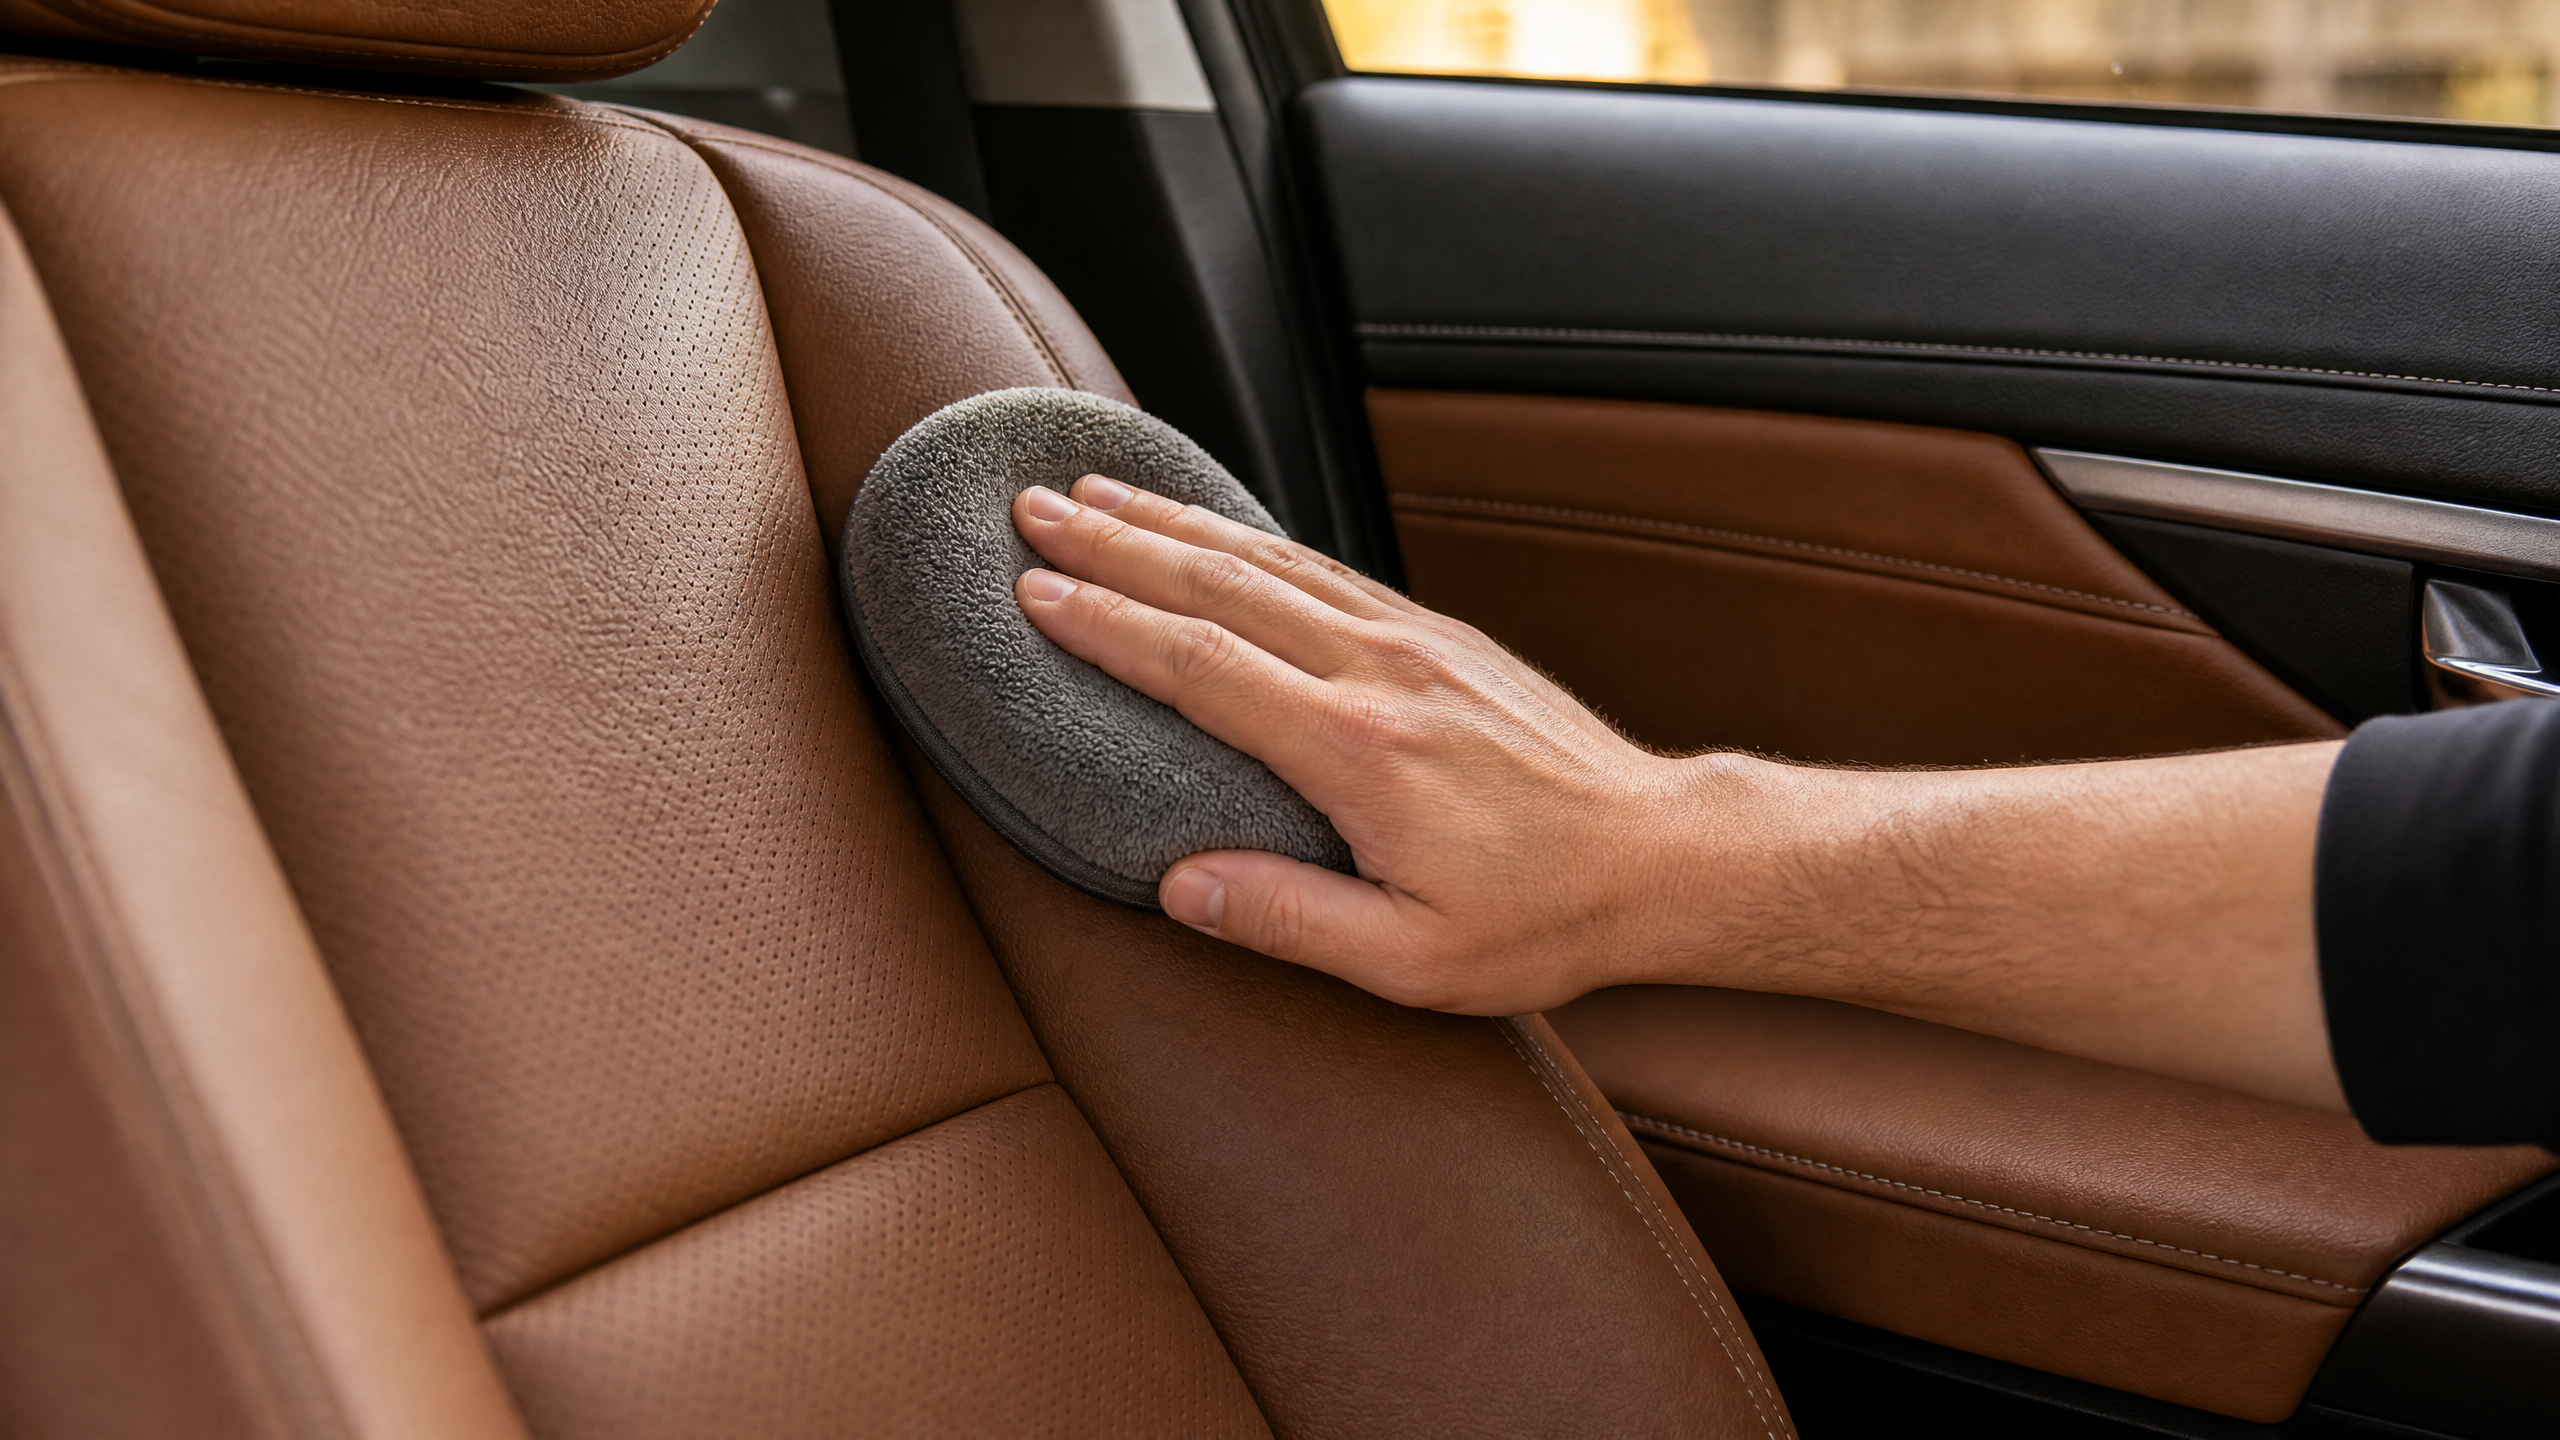
Cleaning: Use a dedicated leather cleaner and a soft brush. Work in circles to create a lather that pulls dirt out of the grain. Wipe clean with a damp towel. Conditioning: Apply a thin layer of conditioner. Let it sit for ten minutes, then buff it dry. If the leather feels greasy when you’re done, you used too much. It should feel soft and look matte, not shiny.
Step 5: Glass is Last
Everything you’ve done so far has probably put some dust or spray on the glass. Use two towels for the windows: one for the initial wipe with cleaner, and a second dry towel for the final buff. This is the secret to a streak-free finish.
The Odor That Won’t Die
If the interior still smells after cleaning, the source is still in there: a soaked pad under the carpet, a dead mouse under a seat, a clogged A/C evaporator drain.
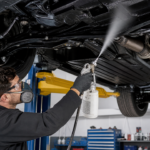
Enzyme cleaners eat organic smells at the source where sprays just perfume them. For the truly haunted, an ozone treatment works, run per the machine’s rules with no people, pets, or plants inside.
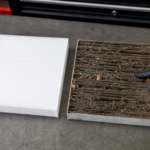
And swap the cabin air filter — a musty filter re-perfumes every drive.
Mistakes I Keep Seeing
Full-strength APC on everything. It strips coatings, leaves streaks, and can bleach trim. Dilute: 10:1 for dust, 4:1 for grime, stronger only for carpet.
Soaking the headliner. Sagging fabric, one way, expensive fix.
Shiny dressing on the dash. Glare at night, dust by noon.
Wet work before vacuum. You’re not cleaning; you’re making adobe.
Try It: Interior Triage
Pick the surface and the problem, get the product and the move.
What are we fighting?
Surface
Problem
Wrap-Up
A pro interior is just order of operations and grit control: vacuum like you care, dry before wet, brush before soak, condition after clean, glass last.
One Saturday, forty dollars of chemistry, and the car smells and reads newer than the odometer says.
Got a stain that survived round one? Comment with what spilled and on what fabric, and I’ll give you the next move.


Leave a Reply