
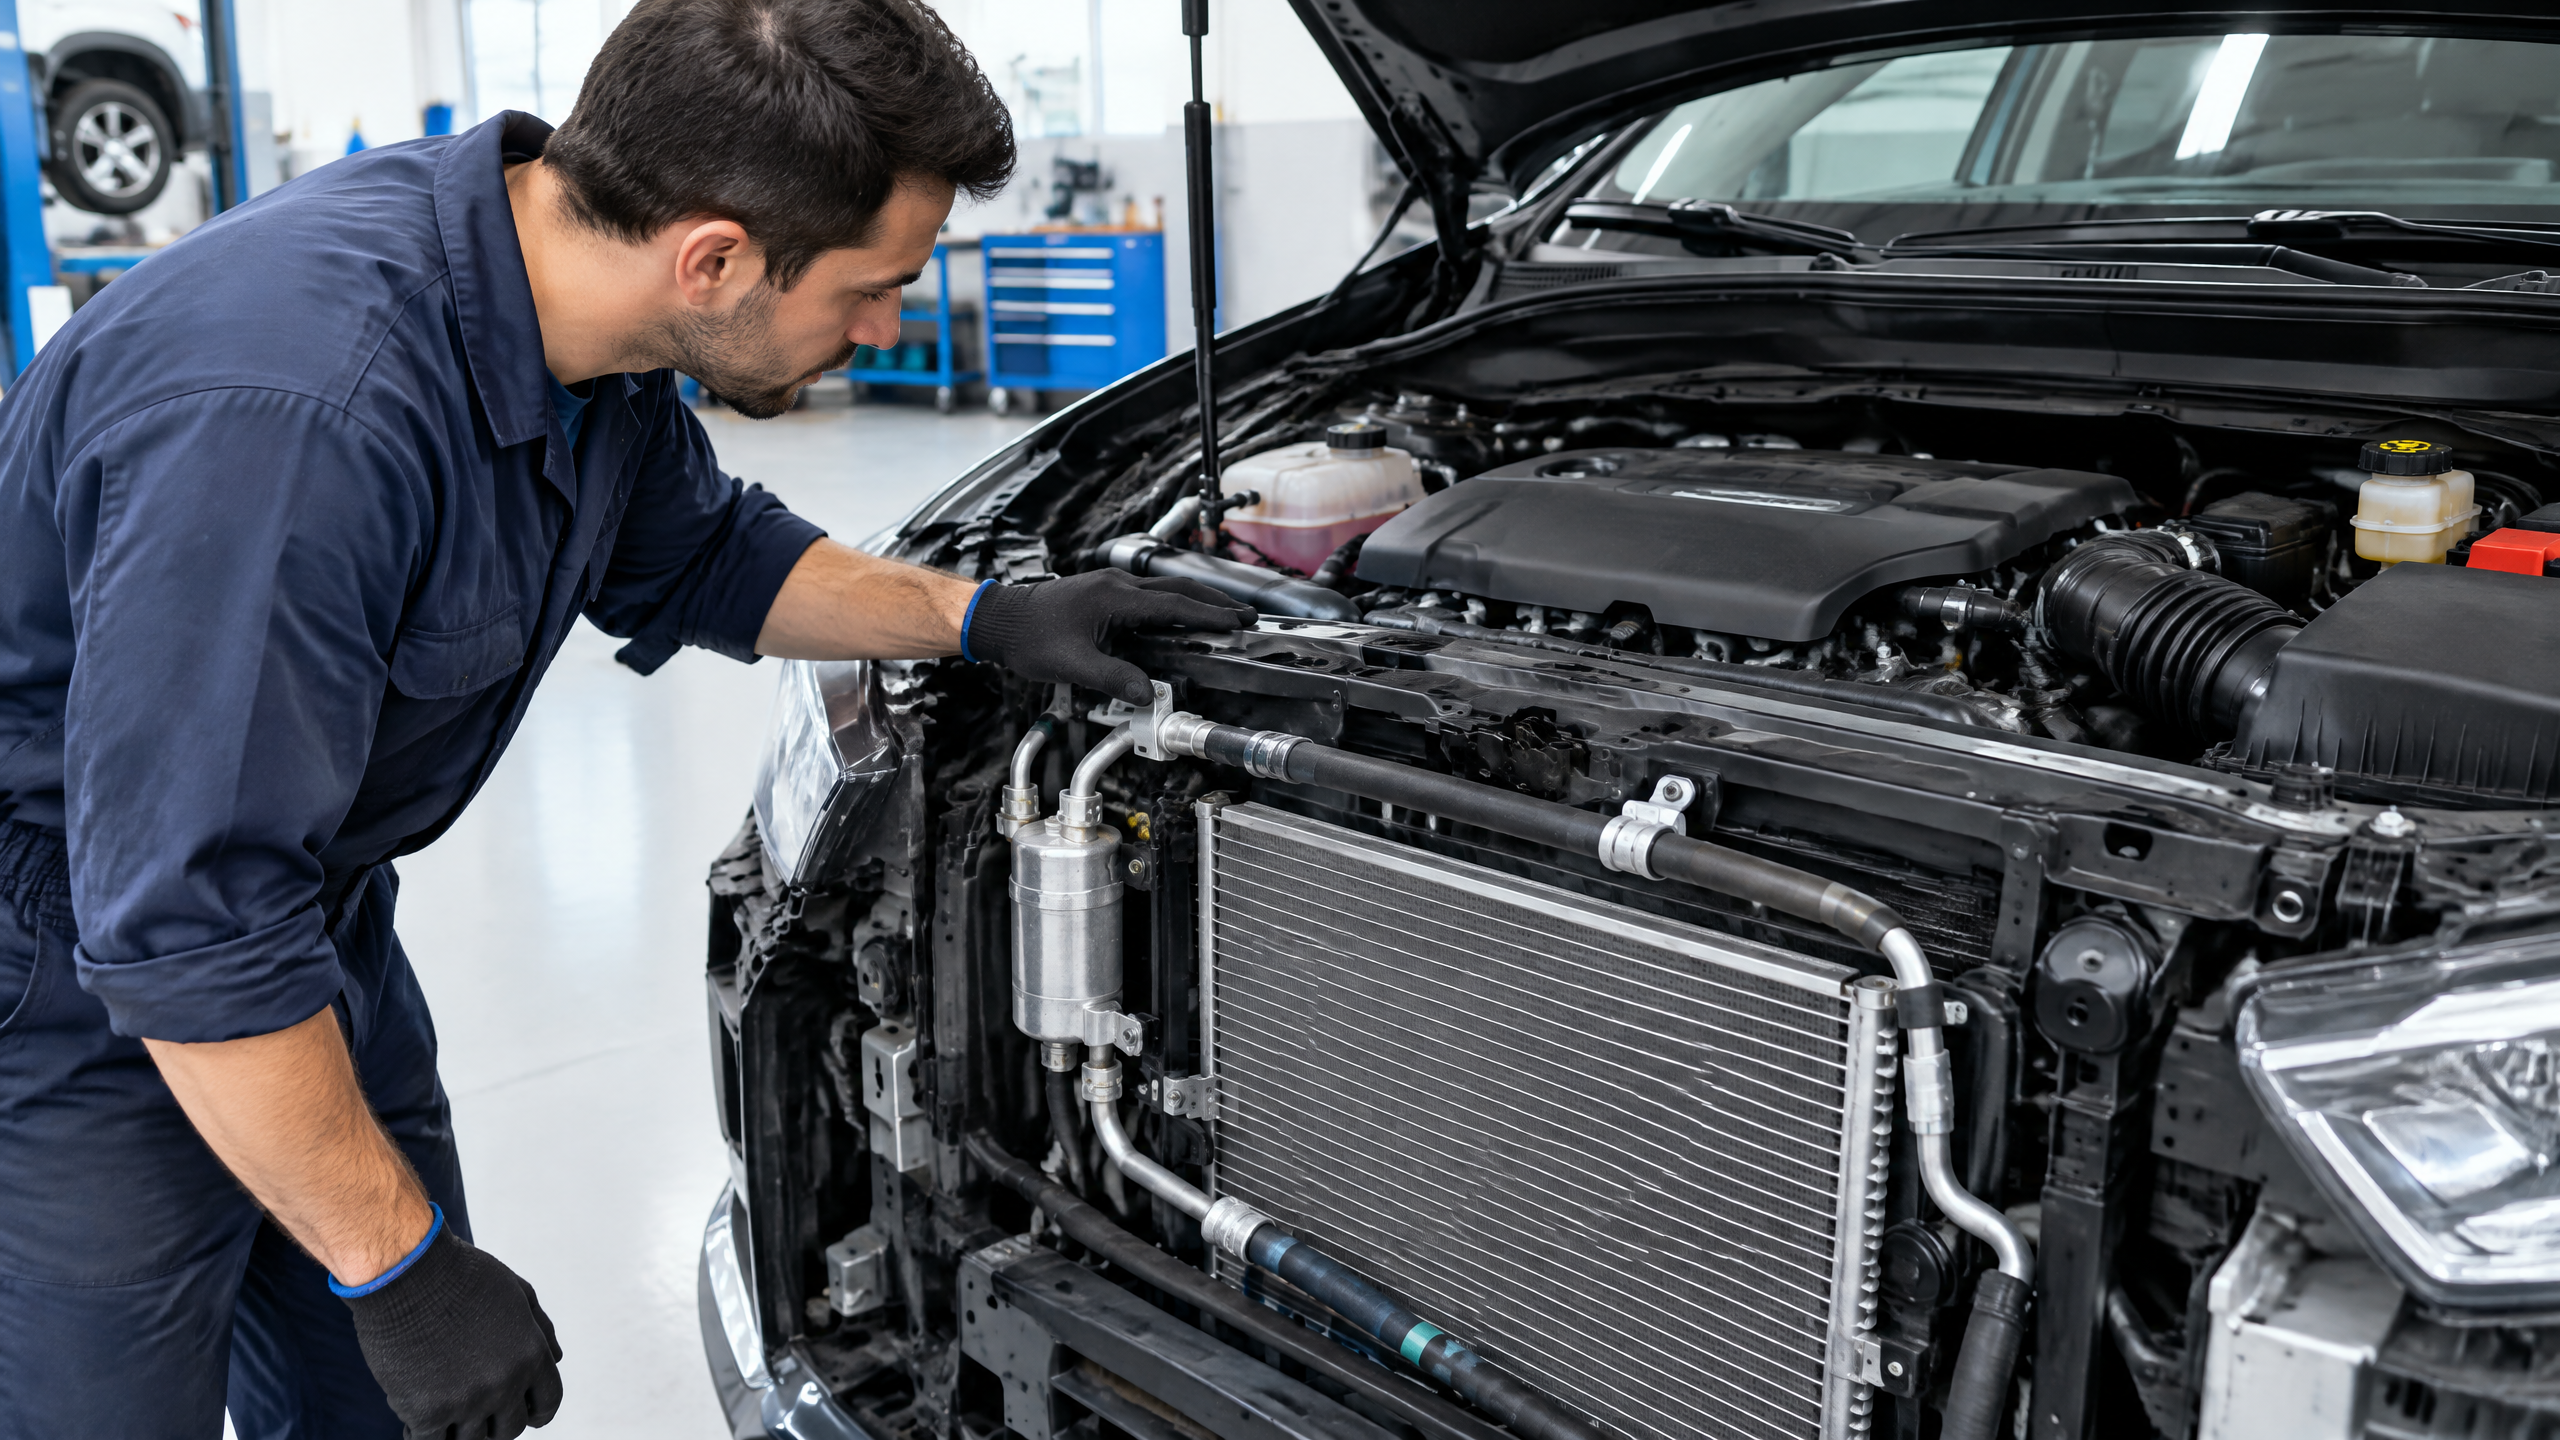
You get in, it’s 95°F outside, you hit MAX AC, and the vents just… blow warm. I’ve seen that panic look a thousand times in my bay in Phoenix. The good news? 70% of the time it’s one of three things, and you can safely narrow it down at home without touching refrigerant.
Refrigerant doesn’t get “used up” like gas. If you’re low, it leaked. Period. Your AC is a sealed loop: compressor → condenser → expansion valve → evaporator → back. Lose pressure anywhere, the low-pressure switch cuts the compressor to save itself, and you get warm air.
1. The Real Reasons Your AC Blows Warm
| Cause | Symptoms | Likelihood | DIY Safe Check |
|---|---|---|---|
| Slow refrigerant leak (O-rings, Schrader, evaporator) | Gradual fade over weeks, colder on highway | #1 ~45% | Flashlight for oily black grime on fittings, condenser corners, service caps |
| Condenser fan / relay failed | Ice cold at 60mph, warm at idle | #2 ~20% | With AC on MAX, fan behind radiator MUST run within 30 sec |
| Blend door actuator stuck | One side hot, clicking under dash | #3 ~12% | Change temp HOT→COLD, listen for thud/click |
| Compressor clutch not engaging | RPM doesn’t dip, center not spinning | ~10% | Watch compressor: outer always spins, center should click & spin |
| Clogged cabin filter / evaporator | Weak airflow, musty smell | ~7% | Pull cabin filter – grey/black = replace |
| Expansion valve blocked | One line frozen, short cycling | ~4% | Both lines freezing or both hot = flow problem |
| Electrical (fuse, pressure switch) | Sudden no cold after battery work | ~2% | Check 10A AC fuse, swap AC relay with horn relay |


2. What Refrigerant Actually Does (R-134a vs R-1234yf)
Refrigerant is a heat taxi. It boils at -15°F in the evaporator, so cabin air makes it evaporate and gets cold. Then it’s compressed to 150-300 psi, gets super hot, and dumps heat in the condenser in front of your radiator.
| Property | R-134a | R-1234yf | What it means for you |
|---|---|---|---|
| Years | 1994-2020 dominant | 2021+ new cars (US) | Check under-hood sticker |
| Pressure | Baseline | ~10% lower | Gauges NOT interchangeable |
| Oil | PAG 46/100/150 varies by car | PAG-YF low-moisture | Wrong oil = compressor death |
| DIY cans | Sold at auto parts | Cert required many states | Don’t use adapters to force it |
| Detection | UV dye works great | UV dye + special sniffer | Both glow yellow-green |
3. What a Leak Looks, Sounds, Smells Like
Forget the TikTok hissing you can hear across the lot. Most leaks are 0.2 oz/month. You will NOT see a puddle – refrigerant is gas. You WILL see:
- Oily dust: Dark, wet, dusty buildup on compressor seams, service port caps, condenser lower corners, crimped hoses
- Intermittent cold: Compressor clicks on 3 sec, off 10 sec = low-pressure cycling
- No water under car? With healthy AC, water should drip from passenger side (evaporator drain). No drip + warm air = evaporator not cold at all
- Sweet chemical smell at startup: Possible evaporator leak (oil cooking)


4. How to Safely Spot a Leak at Home (No Gauges, No Handling)
Legal note: EPA Section 608/609 – you can’t knowingly vent refrigerant. R-134a causes frostbite at -15°F boiling point. So we do visual + logical only. This is the exact sequence I do before hooking gauges.
Step 1 – Vent temp test (2 min): $12 probe thermometer. MAX AC, recirc on, windows closed, fan medium, engine 1500 rpm. Stick probe 2″ into center vent. After 5 min, record. Healthy = 35-50°F colder than outside.
Step 2 – Clutch watch (1 min): Hood up, AC MAX. Outer pulley always spins. Center hub should CLACK and spin. Never engages = pressure too low/high or electrical. Cycles every 5-10 sec = low charge highly likely.
Step 3 – Condenser fan (30 sec): Fan behind radiator MUST run with AC on. No fan = high-side pressure skyrockets, ECU cuts compressor. Warm at idle, cold on highway.
Step 4 – Flashlight inspection (5 min) Engine OFF: Check 4 hotspots: (A) Service ports – remove caps, oily inside? (B) Compressor shaft seal – behind clutch, oil sling? (C) Condenser – through bumper, bent fins + oily patch? (D) Hose crimps/O-ring joints.
Step 5 – Cabin filter: Behind glovebox. Clogged = weak airflow feels like warm AC.
🔧 AC Leak Risk Calculator & Safe Spotter
No gauges, no refrigerant handling. Visual + logical check only.
Mini-Tool 2: Vent Temp Check
5. 3 Things You Should NEVER Do
2. Don’t overcharge with DIY can gauge. Those “green = good” gauges are 25-65 psi range – useless. Overcharge by 2oz on 14-19oz system = high pressure, blown compressor.
3. Don’t vent and refill to “test”. Illegal and loses oil balance. Proper: recover, vacuum to -30 inHg 30 min, weigh in exact charge from label.
6. Low Charge vs Active Leak vs Compressor Failure
| Pattern | Low charge | Active leak | Compressor / electrical |
|---|---|---|---|
| History | Fine last summer | Needed recharge <1 yr ago now warm again | Sudden after jump/belt/noise |
| Clutch | Short cycling 3-8 sec | Cycling or never engages if flat | Never engages OR noisy always on |
| Vent delta | 25-34°F weak | <25°F or 0 | 0 delta |
| Oil evidence | None yet | Yes – oily dust | Metal flakes, black oil |
| Next step | UV dye test before flat | Sniffer + dye, fix + vacuum + recharge | Check fuse/relay then coil power |
7. What a Shop Will Do & Fair Costs (2025-2026 US)
| Service | Includes | R-134a | R-1234yf |
|---|---|---|---|
| Performance Check + Dye Test | Recover, vacuum, dye, recharge by weight | $159-269 | $249-389 |
| O-ring / Schrader repair | O-rings, valve cores, vacuum + recharge | $180-350 | $260-450 |
| Condenser (rock damage) | Condenser + drier + recharge | $420-720 | $580-950 |
| Evaporator (dash out) | 6-10 hr labor + evaporator + valve | $900-1500 | $1100-1800 |
| Compressor | Compressor + drier + valve + flush | $750-1200 | $950-1600 |
8. Prevention
Run AC 10 min weekly even in winter – circulates oil to keep O-rings soft. Rinse condenser gently low-pressure back→front (don’t bend fins with pressure washer). Replace cabin filter 15k. Put plastic service port caps back – they’re primary seal, not dust caps.
Safety Disclaimer: Visual inspection only. Handling refrigerant requires EPA Section 608/609 certification, recovery equipment, PPE. If large leak, ventilate garage, don’t run engine in closed space, take to certified shop. ~2,100 words.
Related posts:
 The Ultimate Year-Round Car Maintenance Checklist: Oil, Brakes, Fluids & More
  The Complete Guide to Engine Oil: Types, Viscosity, and When to Change for Peak Performance
  How to Wash Your Car Without Scratching: Pro Cleaning Tips
  How Often Should You Really Rotate Your Tires? 5k vs 8k vs Front-Wheel-Drive Wear Pattern