
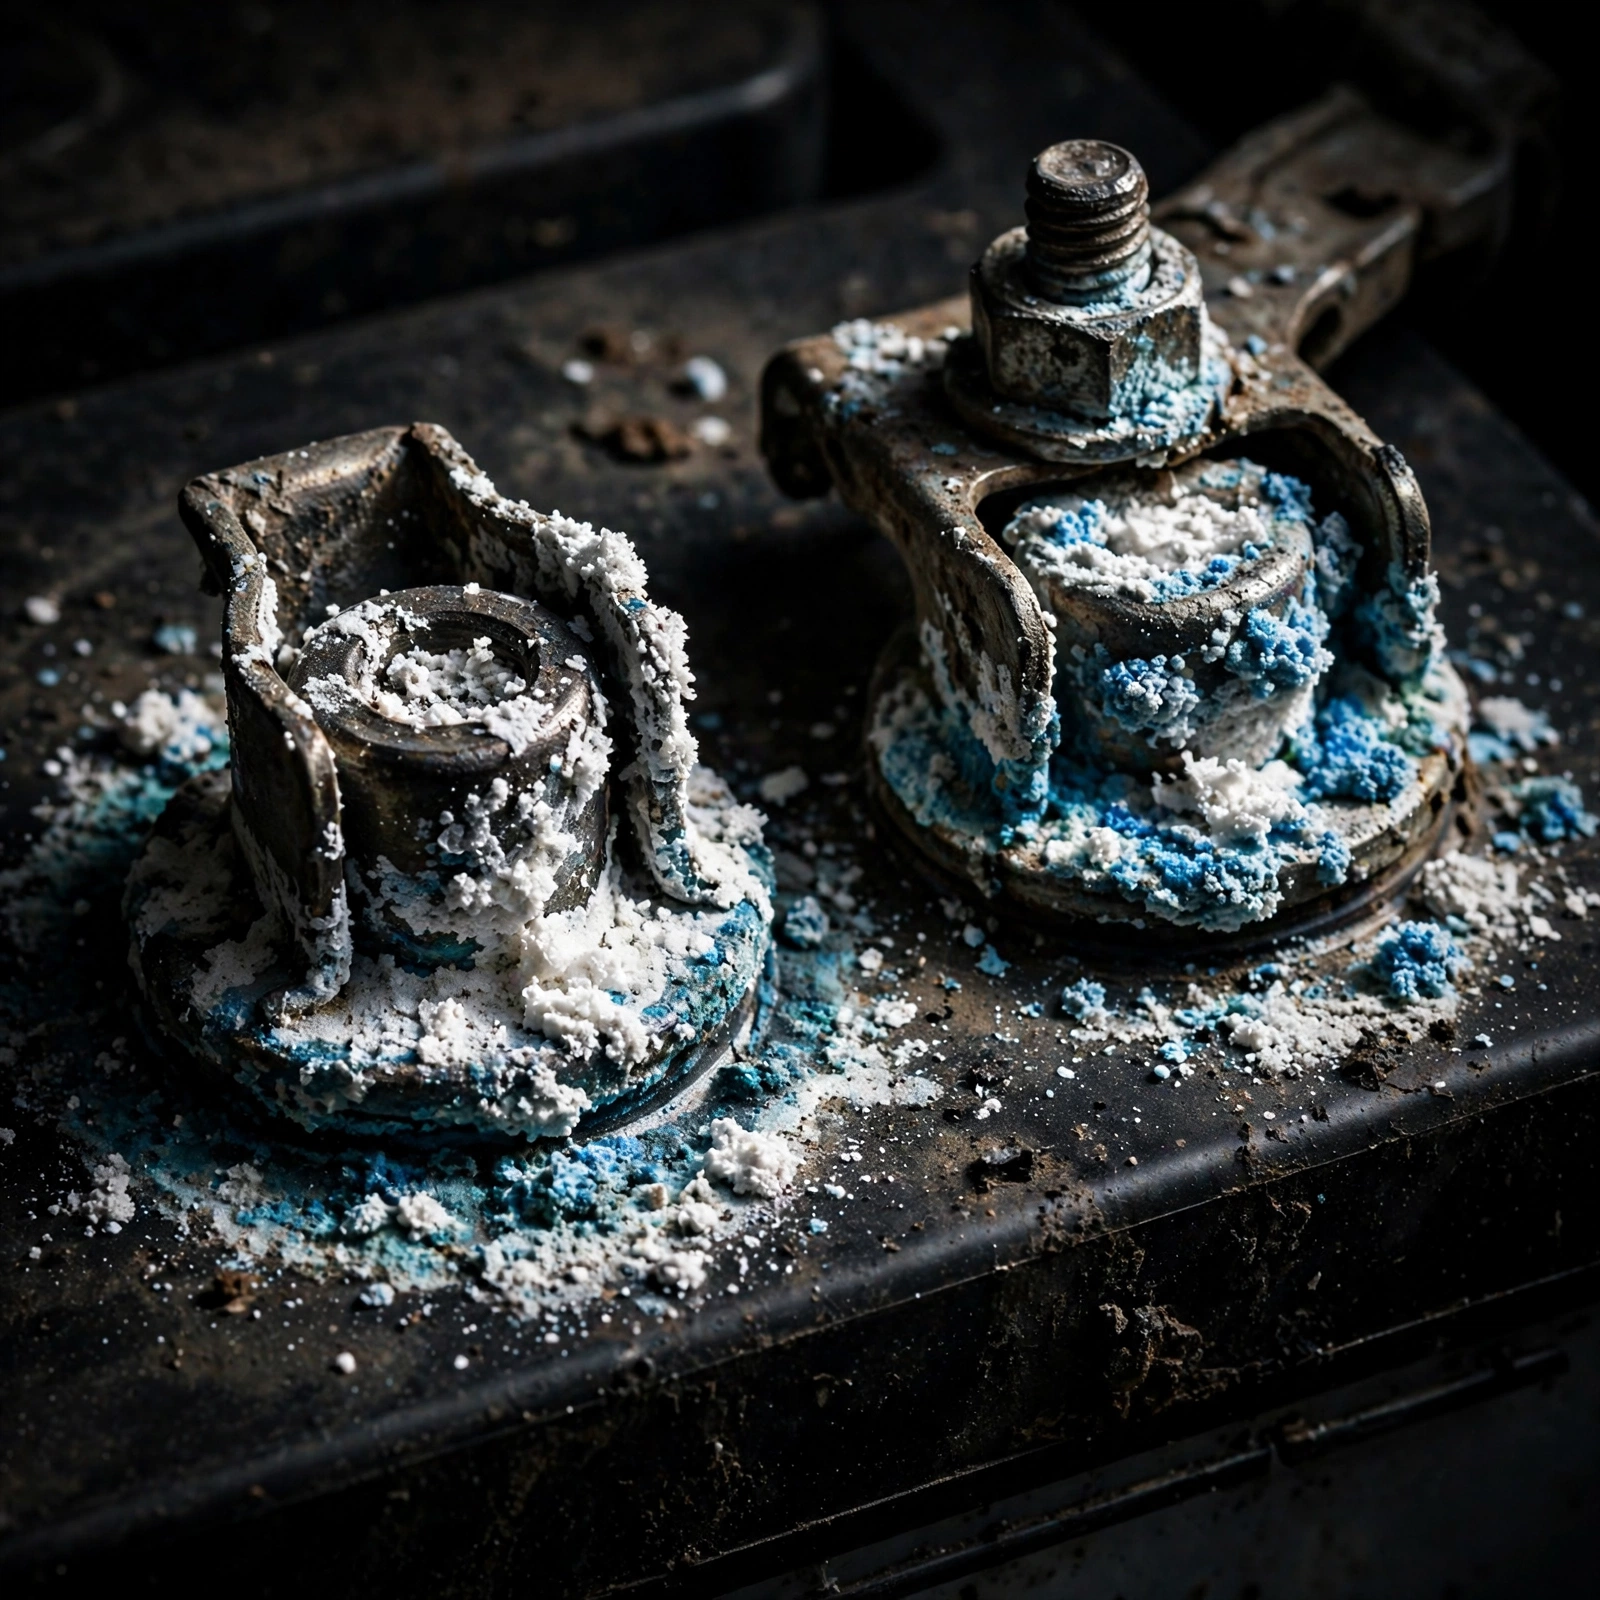
Featured image: corroded battery terminals needing cleaning
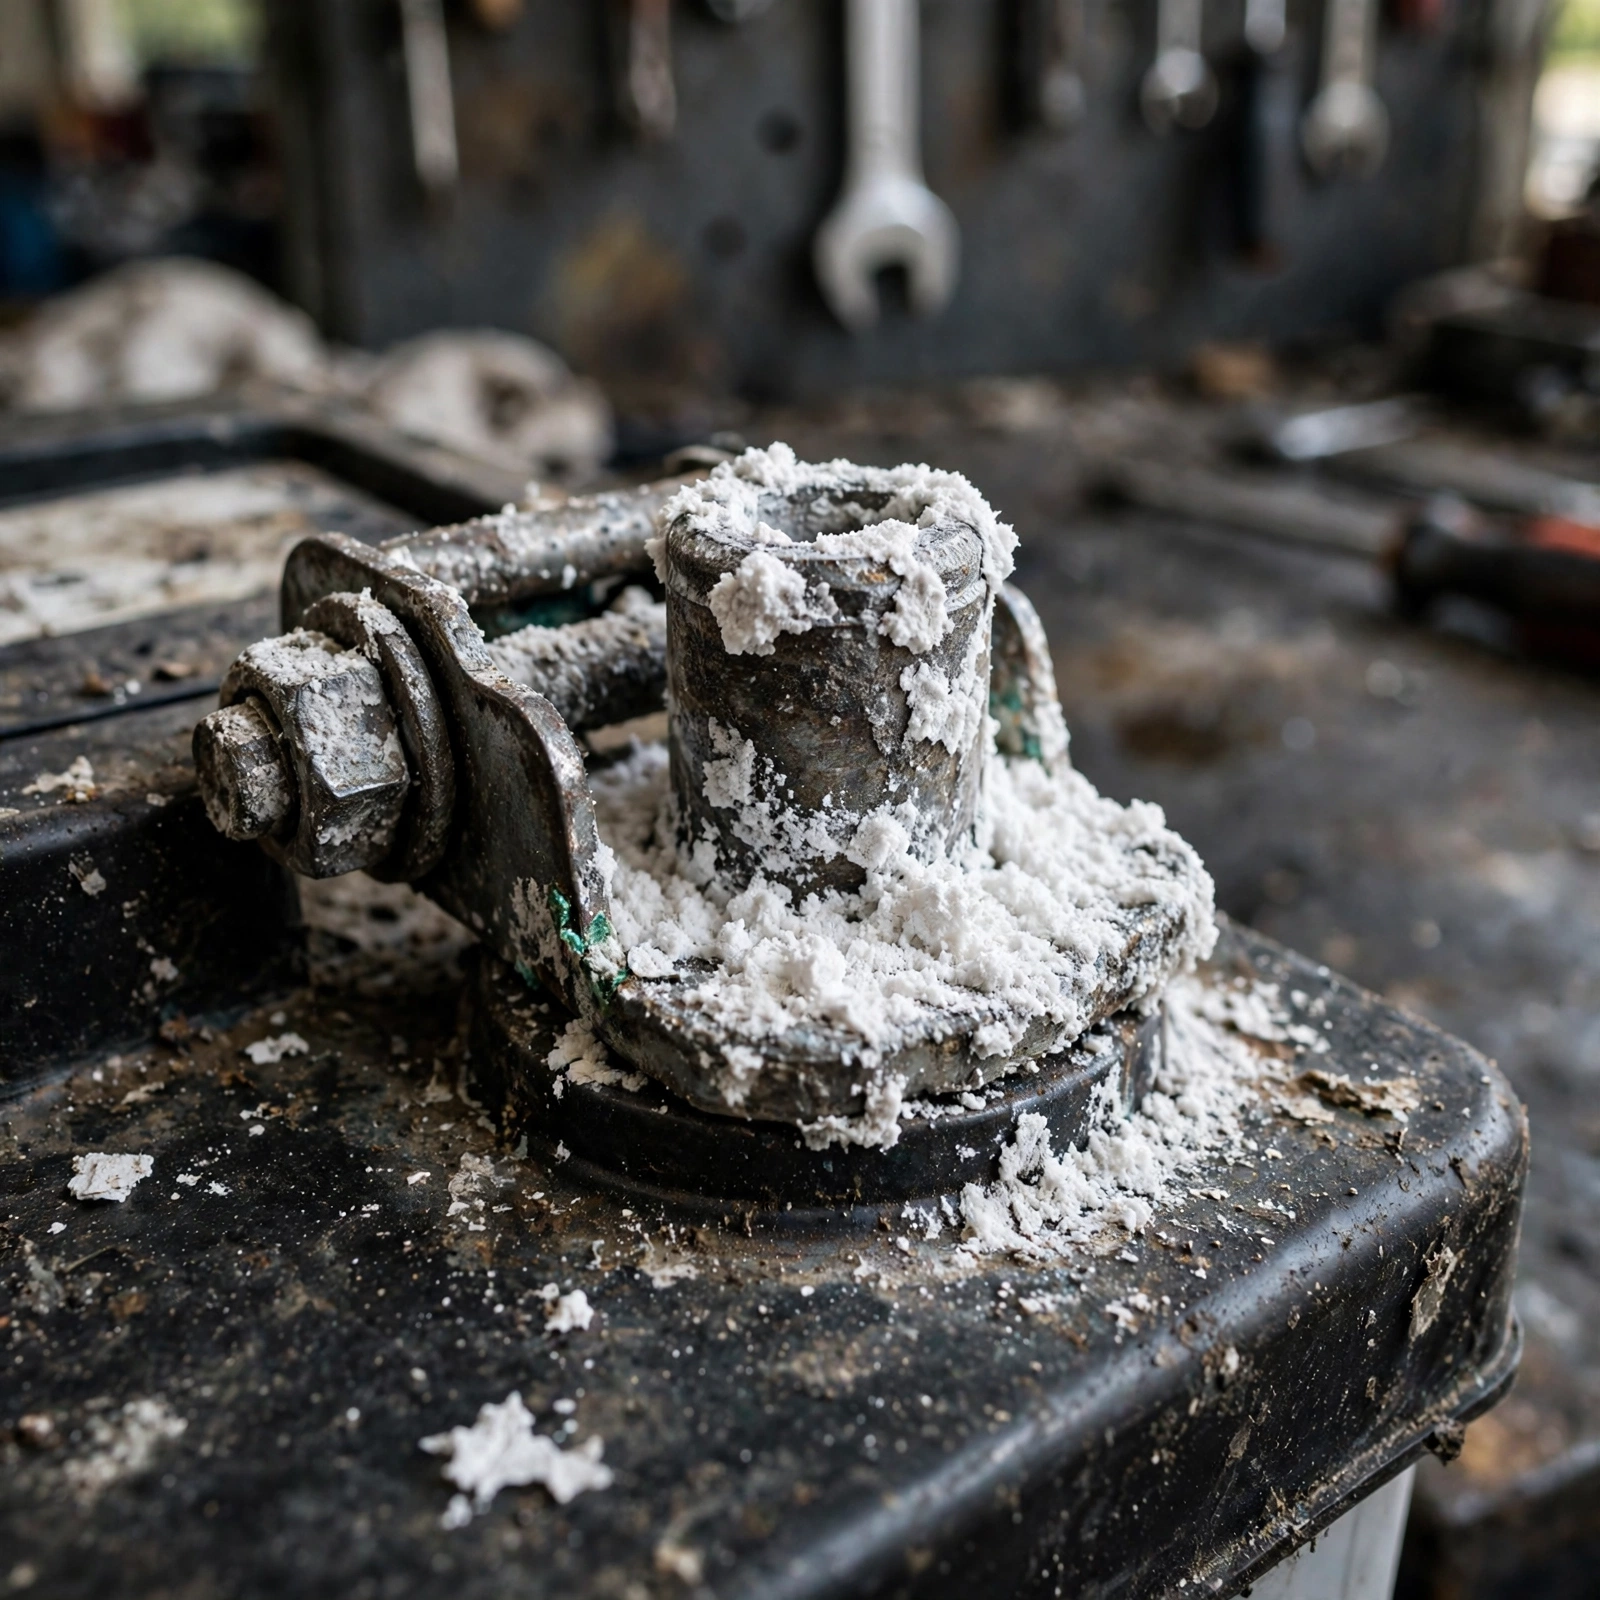
Why You Can Clean Without Disconnecting (And When You Shouldn’t)
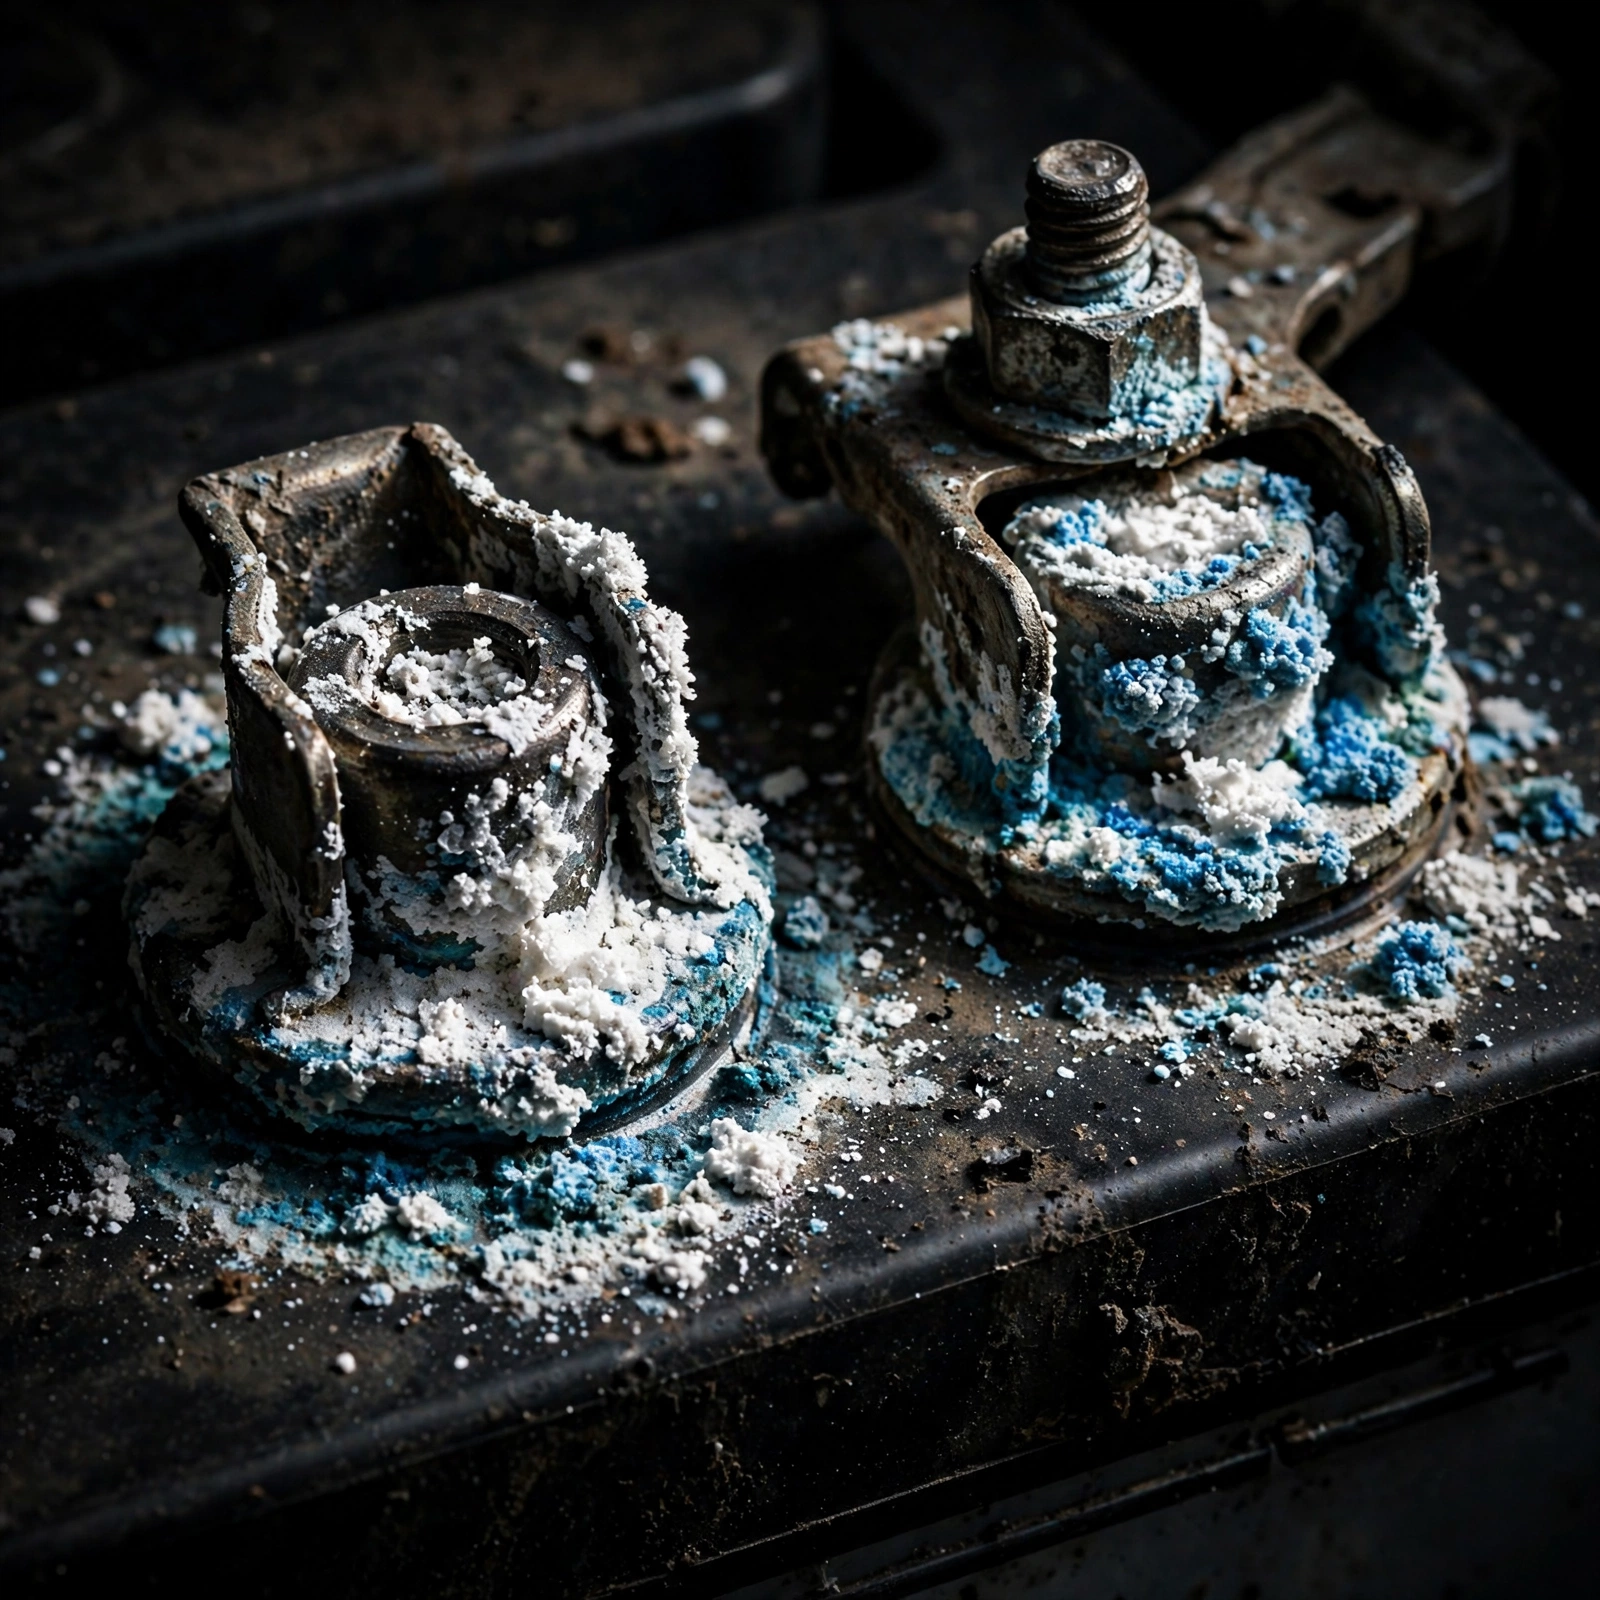
I was under my Mazda in the garage last winter, hands greasy, trying to figure out why it cranked like it had a dead battery. Battery tested fine at 12.6V. The problem was that chalky white pile around the positive terminal. My multimeter showed 0.74V drop just across the corrosion.
You don’t always need to pull the cables. If your car has a touchy ECU, a theft-lock radio, or you just don’t want to reset the throttle adaptation, you can clean in place. I do it this way on my daily drivers when the corrosion is light to moderate.
Here’s the deal: this method works when the clamp is still tight and the crust is on the outside. If the clamp is loose, green inside, or the copper wire is swollen, you need to disconnect. No shortcut saves a bad connection.
- Clean connected when: light white powder, clamp tight, no flickering dash, voltage drop under 0.3V
- Disconnect when: heavy blue-green crust under clamp, cable moves by hand, you smell rotten eggs, battery case is bulged
- Never clean with engine running. One spark near hydrogen gas and you’ll have acid in your face.
What That Corrosion Actually Is
White powder is usually lead sulfate and dried acid. Blue-green is copper sulfate – your copper clamp is being eaten. Both add resistance. Just 0.5 ohm at the terminal can drop your 200 cold-cranking amps to barely 100.
Acid vapor leaks from the post seal. Heat makes it worse. That’s why cheap batteries corrode faster. I see it more on side-post GM batteries and on any battery older than 3 years.
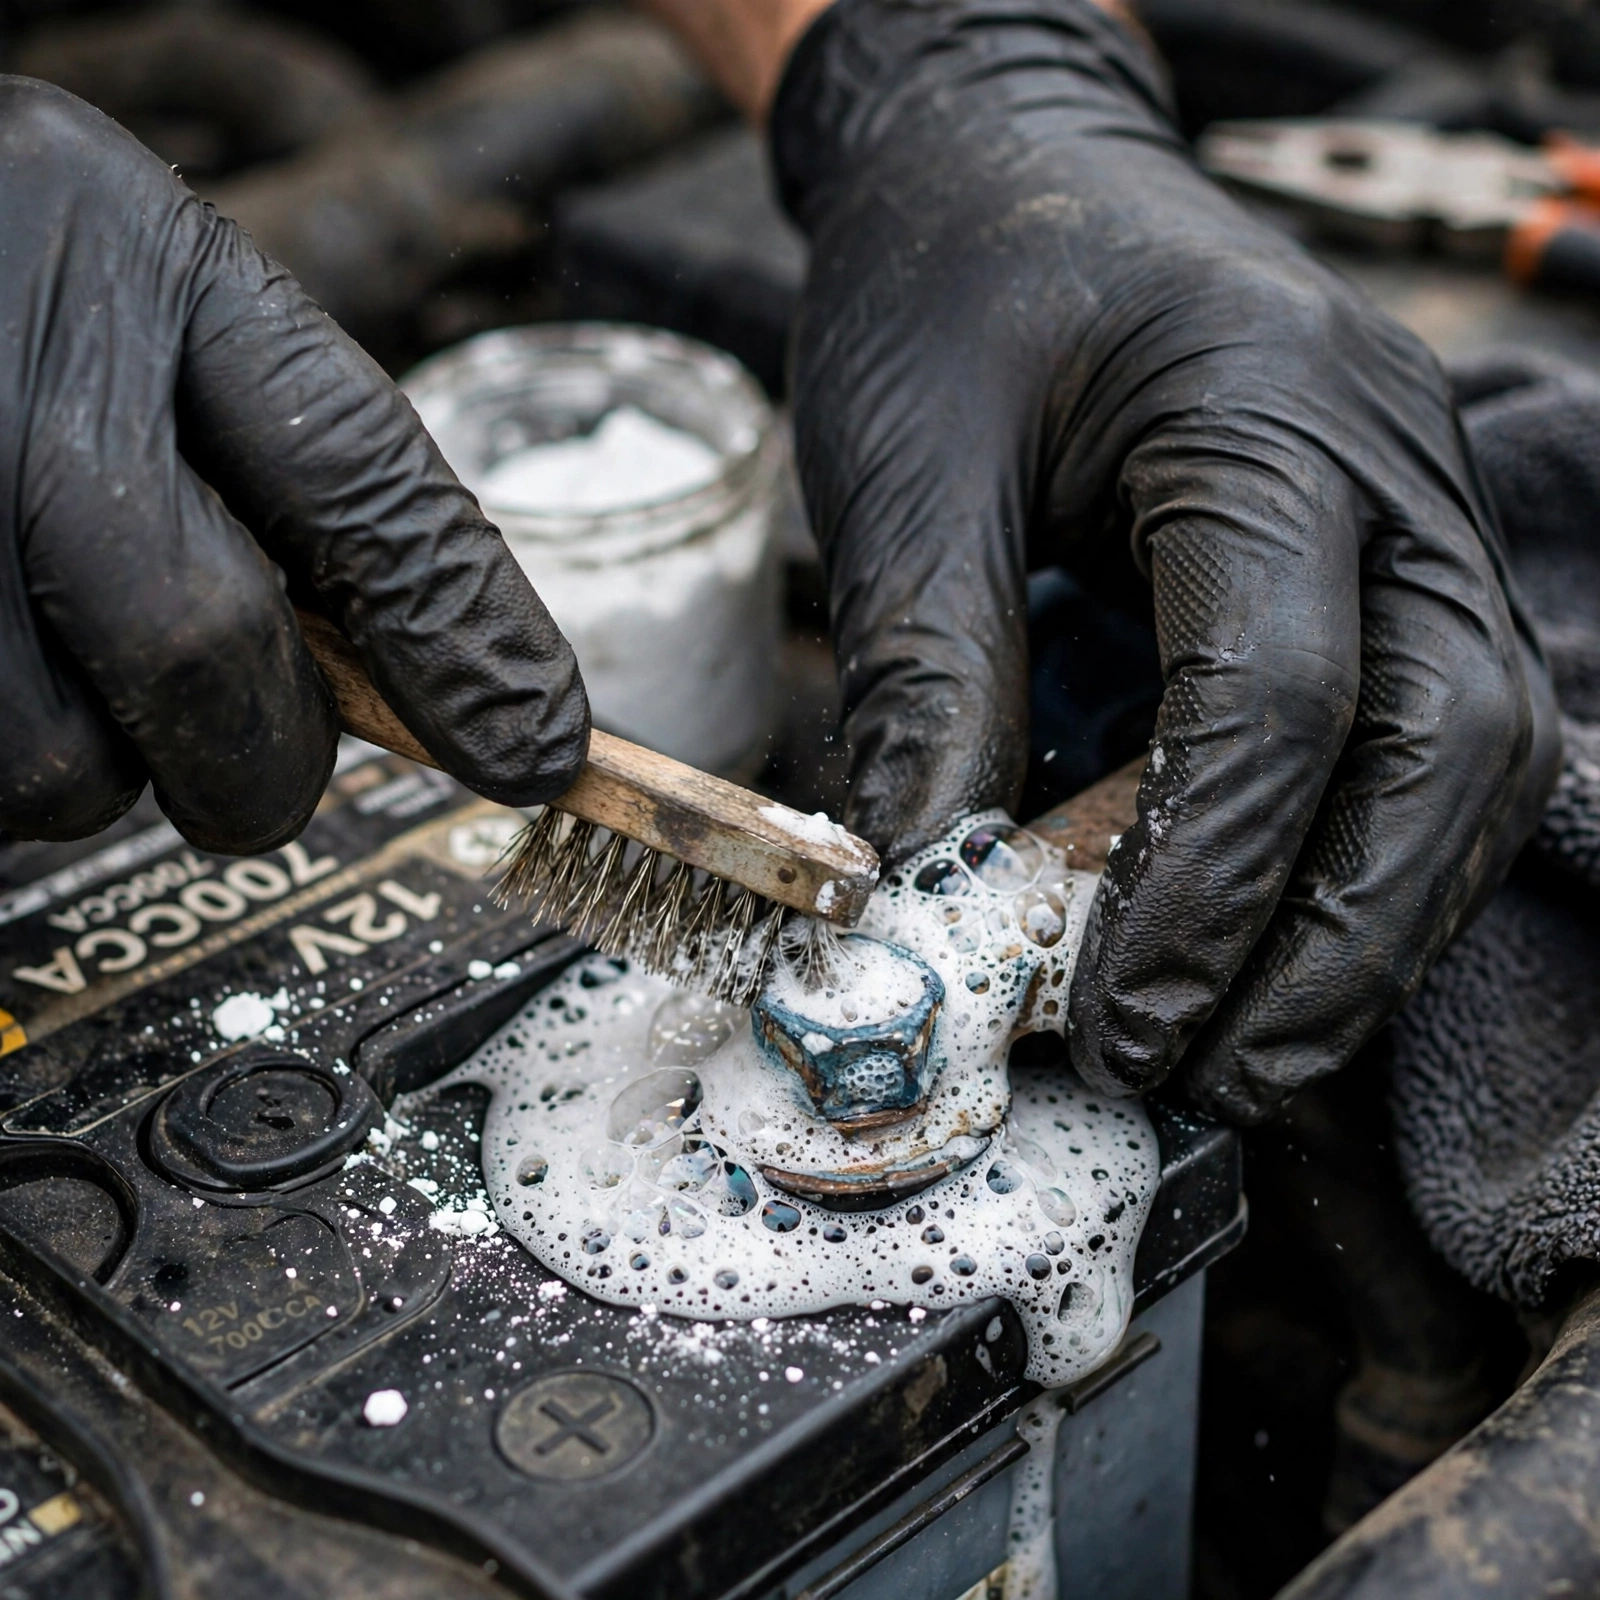
Tools You Actually Need
You don’t need a kit. Grab this from your toolbox before you start:
- Nitrile gloves and safety glasses – battery acid burns. If you get that white powder on bare skin, wash it immediately. It itches then burns.
- 10mm socket or wrench – 99% of battery clamps are 10mm. Some F-150 and Toyota hold-downs are 13mm. Use a 6-point socket, not a 12-point, so you don’t round it.
- Battery terminal brush – the $4 double-ended one. Or an old toothbrush for the baking soda method.
- Small wire brush – brass bristles are gentler on lead.
- Torque spec: Clamp nut to 45-70 in-lbs (5-8 Nm). Snug plus a quarter turn. Over-tightening cracks the lead post and you’ll never get a tight fit again.
- Tray and rags – battery acid eats paint to bare metal. Put a towel over the fender.
Warning: clean dirt off the top of the battery cap before you open anything. Grit falling into the cells kills it. And that fluid? It’s sulfuric acid. Don’t let baking soda paste fall into the vent holes if you have removable caps.
Method 1: Baking Soda – Cheap, Safe, Slow
This is my go-to at home. Costs pennies. I keep a box in the garage just for this.
Mix: 1 tablespoon baking soda to 2 tablespoons distilled water. Make a thick paste, not watery. For foaming spray, 2 tablespoons in 1 cup warm water.
Step-by-Step Without Disconnecting
- Key off, doors closed. Key out of ignition. No lights. Let the car sit 5 minutes so modules sleep. Hot coolant burns, but a cold engine is safe to lean on.
- Inspect. Wiggle the clamp. If it moves with hand pressure, stop – you need to disconnect and re-seat it. If tight, proceed.
- Protect. Cover alternator and fuse box with a rag. Battery cleaner eats that coating.
- Apply paste. Use a popsicle stick or acid brush. Smear it over corrosion only, not down into the battery seam. You’ll see it bubble and fizz. That’s acid neutralizing. Good sign.
- Wait 3-4 minutes. Let it work. Re-apply if still crusty.
- Scrub gently. With brass brush, scrub away from you. Don’t short across posts with the brush. I once sparked a wrench across terminals – scared me and welded a pit in the 10mm.
- Rinse lightly. Use a spray bottle with plain water, not a hose blast. Catch runoff in a rag. Don’t soak the PCM connectors.
- Dry and test. Wipe dry. Check voltage drop: meter on DC volts, one lead on post, one on clamp. Crank. You want under 0.2V drop. I got mine from 0.74V to 0.08V.
Pros: No chemicals, safe on paint if you wipe fast, you control where it goes.
Cons: Slow on heavy blue copper sulfate, needs elbow grease, messy paste if you’re sloppy.
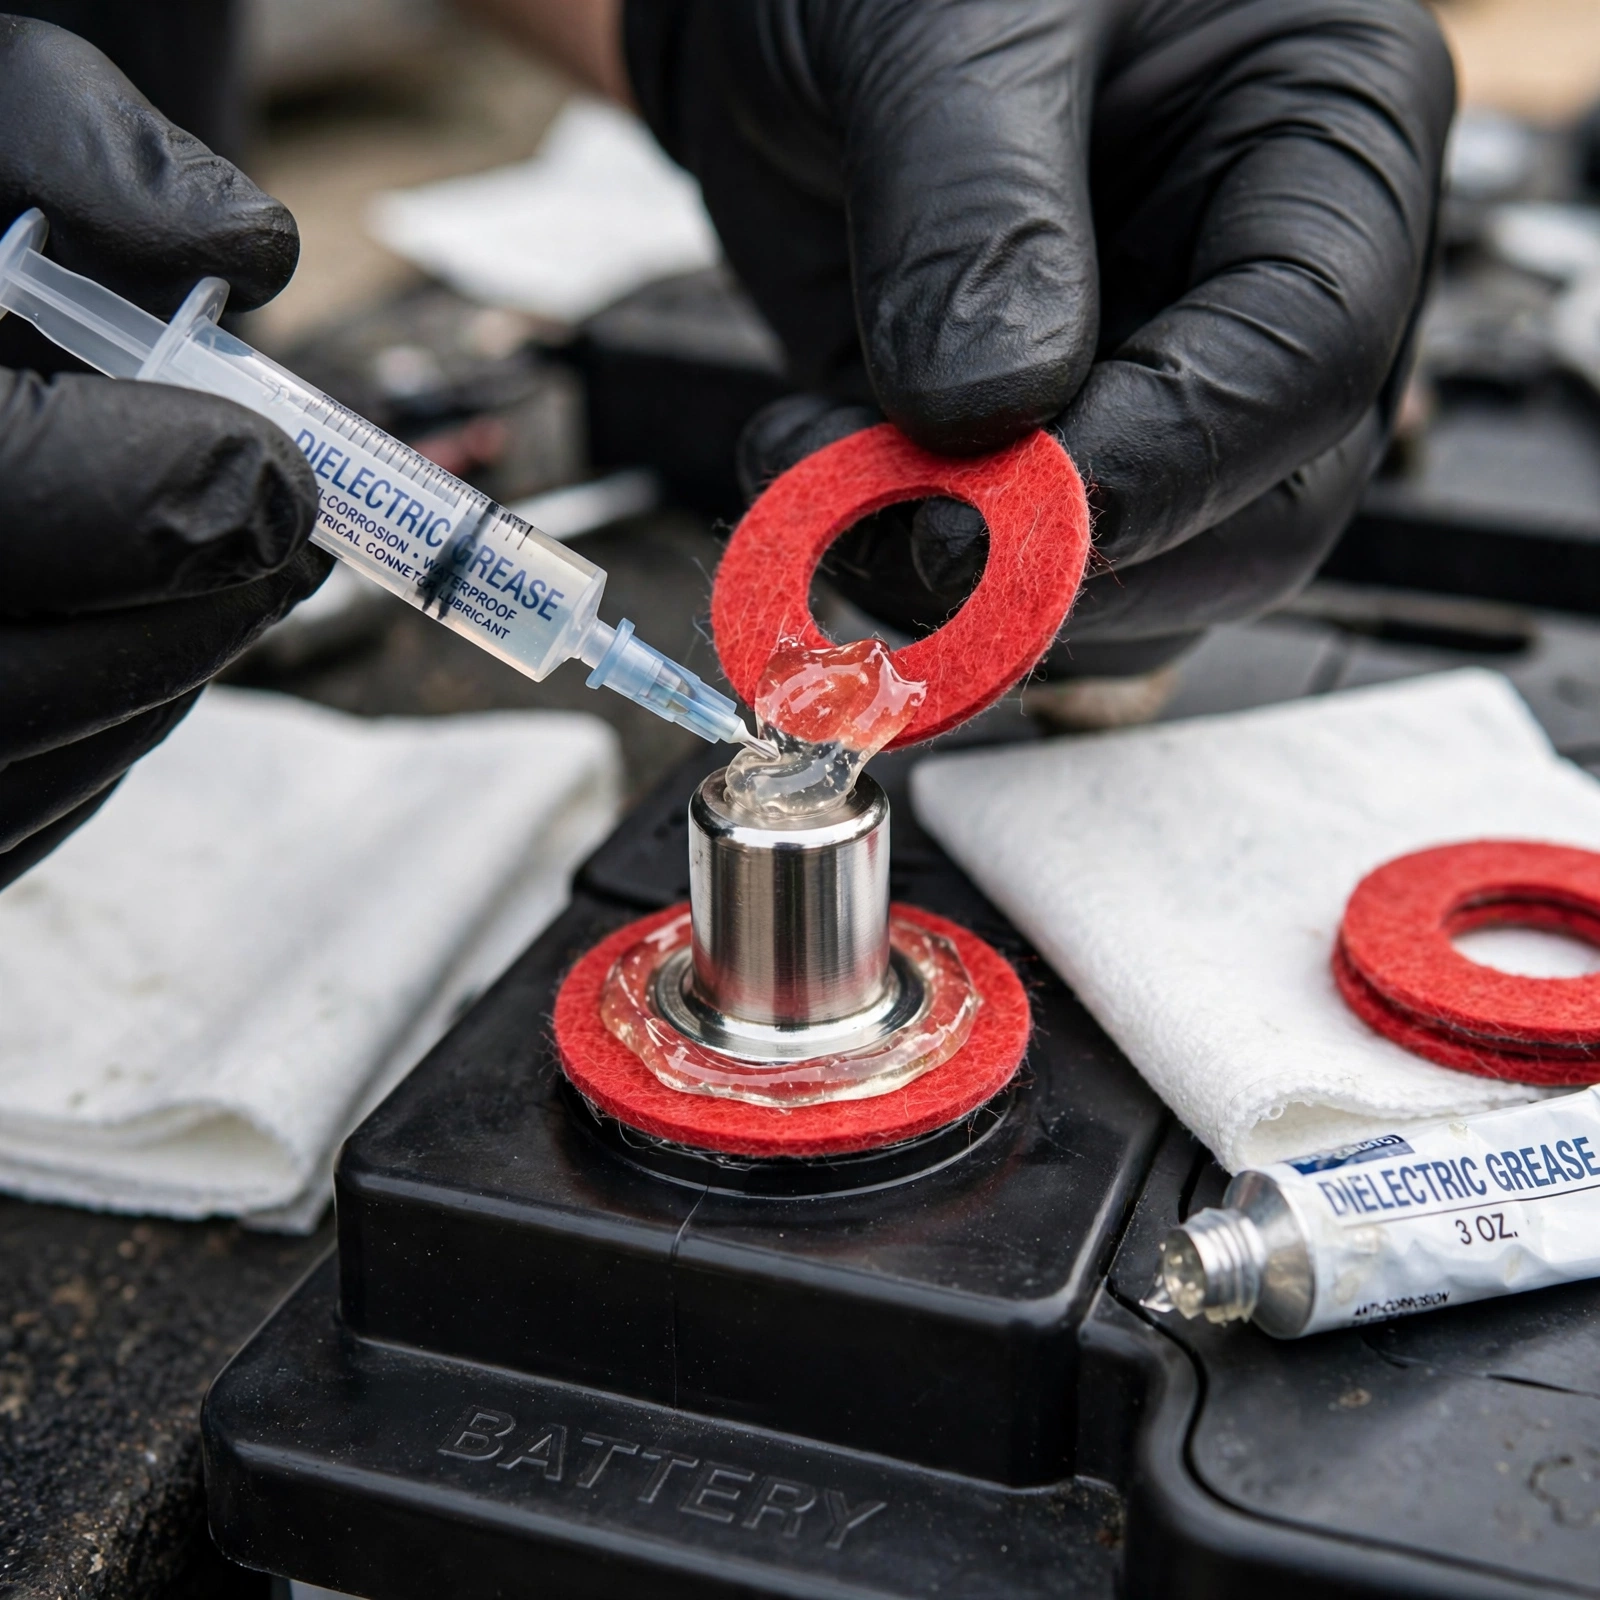
Method 2: Battery Cleaner Spray – Fast, Aggressive, Messy If You Miss
The CRC and Permatex sprays at AutoZone are usually just a strong base (potassium hydroxide) with yellow dye that turns pink when it hits acid. Plus a degreaser.
I use spray when I’m doing oil changes and want fast turnover. One can does 10+ batteries.
How I Use Spray Without Disconnecting
- Same safety: key off, glasses on, fender covered. That spray ruins clear coat if it dries.
- Short bursts. Shake can, 2-second spray directly on crust. It will turn yellow to pink/red and foam like crazy.
- Don’t let it sit more than 2 minutes. It creeps. It will find your serpentine belt and make it squeal for a week.
- Brush and blast. Agitate with terminal brush, then light water rinse. I use a turkey baster to control rinse water.
- Dry fast. Compressed air or shop towel. Spray leaves more water in crevices.
Pros: Cuts heavy corrosion faster, built-in indicator, cleans grease too.
Cons: Overspray hates paint and rubber, you can’t make a paste for vertical clamps, smells harsh, $6-9 per can.
Baking Soda vs Battery Cleaner Spray: Head to Head
| Factor | Baking Soda Paste | Cleaner Spray |
|---|---|---|
| Cost | $0.10 per clean | $6-9 per can |
| Speed on light corrosion | 4-5 min | 2-3 min |
| Speed on heavy blue crust | 10+ min, multiple passes | 5-6 min |
| Paint safety | Very safe if wiped | Can stain if left |
| Control when connected | Excellent – paste stays put | Poor – mist goes everywhere |
| Best for no-disconnect? | Yes – my pick | No, unless you mask well |
My rule: if you’re leaving cables on, use baking soda paste. If you’ve already disconnected for a battery replacement and the tray is nasty, use spray to do the whole tray.
After Cleaning: How to Keep It From Coming Back
You cleaned it. Don’t leave it bare. Bare lead and copper corrode again in weeks.
- Dry completely. Water trapped under the clamp is worse than acid. I use a shop towel then a blast of compressed air at 30 psi max.
- Felt washers. Those green and red rings are soaked in corrosion inhibitor. $3 for a pack. Slip them over the posts. Cut a slit if cleaning connected – you can work them under the clamp with a small flat screwdriver.
- Dielectric grease or anti-corrosion spray. Thin film on post and clamp top. Not too thick. I use Permatex dielectric tune-up grease – pea-sized dab, spread with finger. Keeps air and acid vapor out. Torque stays true.
- Check hold-down. Battery bouncing cracks the seal. 12mm or 13mm hold-down bolt, torque to about 7-10 ft-lbs (9-14 Nm). Snug, not Hulk tight – you can crack the case.
How I Test If It Worked
Don’t just look – measure.
- Static voltage: Battery at rest 12.4-12.7V is healthy. Under 12.2V, charge it first with a 2-10A charger before blaming terminals.
- Voltage drop: Set multimeter to DC V, 20V range. Touch one probe to lead post (not clamp), other to clamp. Have a friend crank for 3 seconds. Drop over 0.2V means resistance is still there.
- Crank speed: You will hear it. My Mazda went from ruh-ruh-ruh to a quick vroom after cleaning.
If drop stays high after no-disconnect cleaning, you have corrosion inside the clamp barrel. Then you must disconnect. Negative off first, positive off second. Clean inside with the round brush. Reconnect positive first, negative last. That order matters – if your wrench hits ground while on positive, you weld it.
Safety Bits Only a Mechanic Learns the Hard Way
- Hydrogen + spark = boom. Batteries vent hydrogen. No smoking, no dropping a 10mm across posts. I keep the wrench insulated with tape when working in tight bays.
- Acid on clothes: It makes holes hours later. Change your shirt after.
- Brake fluid warning cross-check: While you’re in there, don’t pop the brake cap if you have dirt on it. A grain of sand can stick an ABS valve open and you’ll have a soft pedal. Same idea – clean cap before opening any fluid.
- Hot coolant: If engine was running, that reservoir is pressurized at 15-16 psi and 200F. Don’t lean on hoses to reach battery.
- ECU memory: Some Euro cars (BMW, VW) store throttle adaptation. Disconnecting can cause rough idle. No-disconnect cleaning keeps that memory. If you do disconnect, expect 10 minutes of weird idle – it relearns.
Quick Decision Guide
You want fast and safe without losing settings? Here’s my shortcut:
- Daily driver, light crust, tight clamp -> baking soda paste, leave connected
- Work truck, heavy oil + acid slime -> spray, but mask paint and alternator
- Copper wire green inside, clamp loose -> disconnect, replace clamp with a lead-plated 10mm top-post clamp, torque 60 in-lbs
- Battery 4+ years old, keeps corroding -> replace battery, post seal is leaking
I was under my Mazda in the garage again last month checking. Six months after paste + felt + grease, terminals still silver. No white. Took 10 minutes that Saturday. That’s the win.
Clean it in place when you can, disconnect when you must, and always protect after. You’ll keep cranking amps where they belong – in the starter, not heating up corrosion.


Leave a Reply