
FEATURED_IMAGE: https://carsrevamp.com/wp-content/uploads/2025/brake_fluid_1.webp
That Little Reservoir Tells You Everything
I was under my Mazda in the garage last winter, my hands were greasy, and I popped the hood just to check coolant. Then I glanced at the brake fluid reservoir. It looked like old coffee. Not good. I’d never actually flushed it. That was my wake-up call.
Brake fluid is the one fluid most folks never check. It doesn’t leak on your driveway like oil, and it doesn’t have a low warning until your pedal feels weird. But it controls whether you stop. So you should check it every oil change, takes 2 minutes.
What You’re Actually Looking For
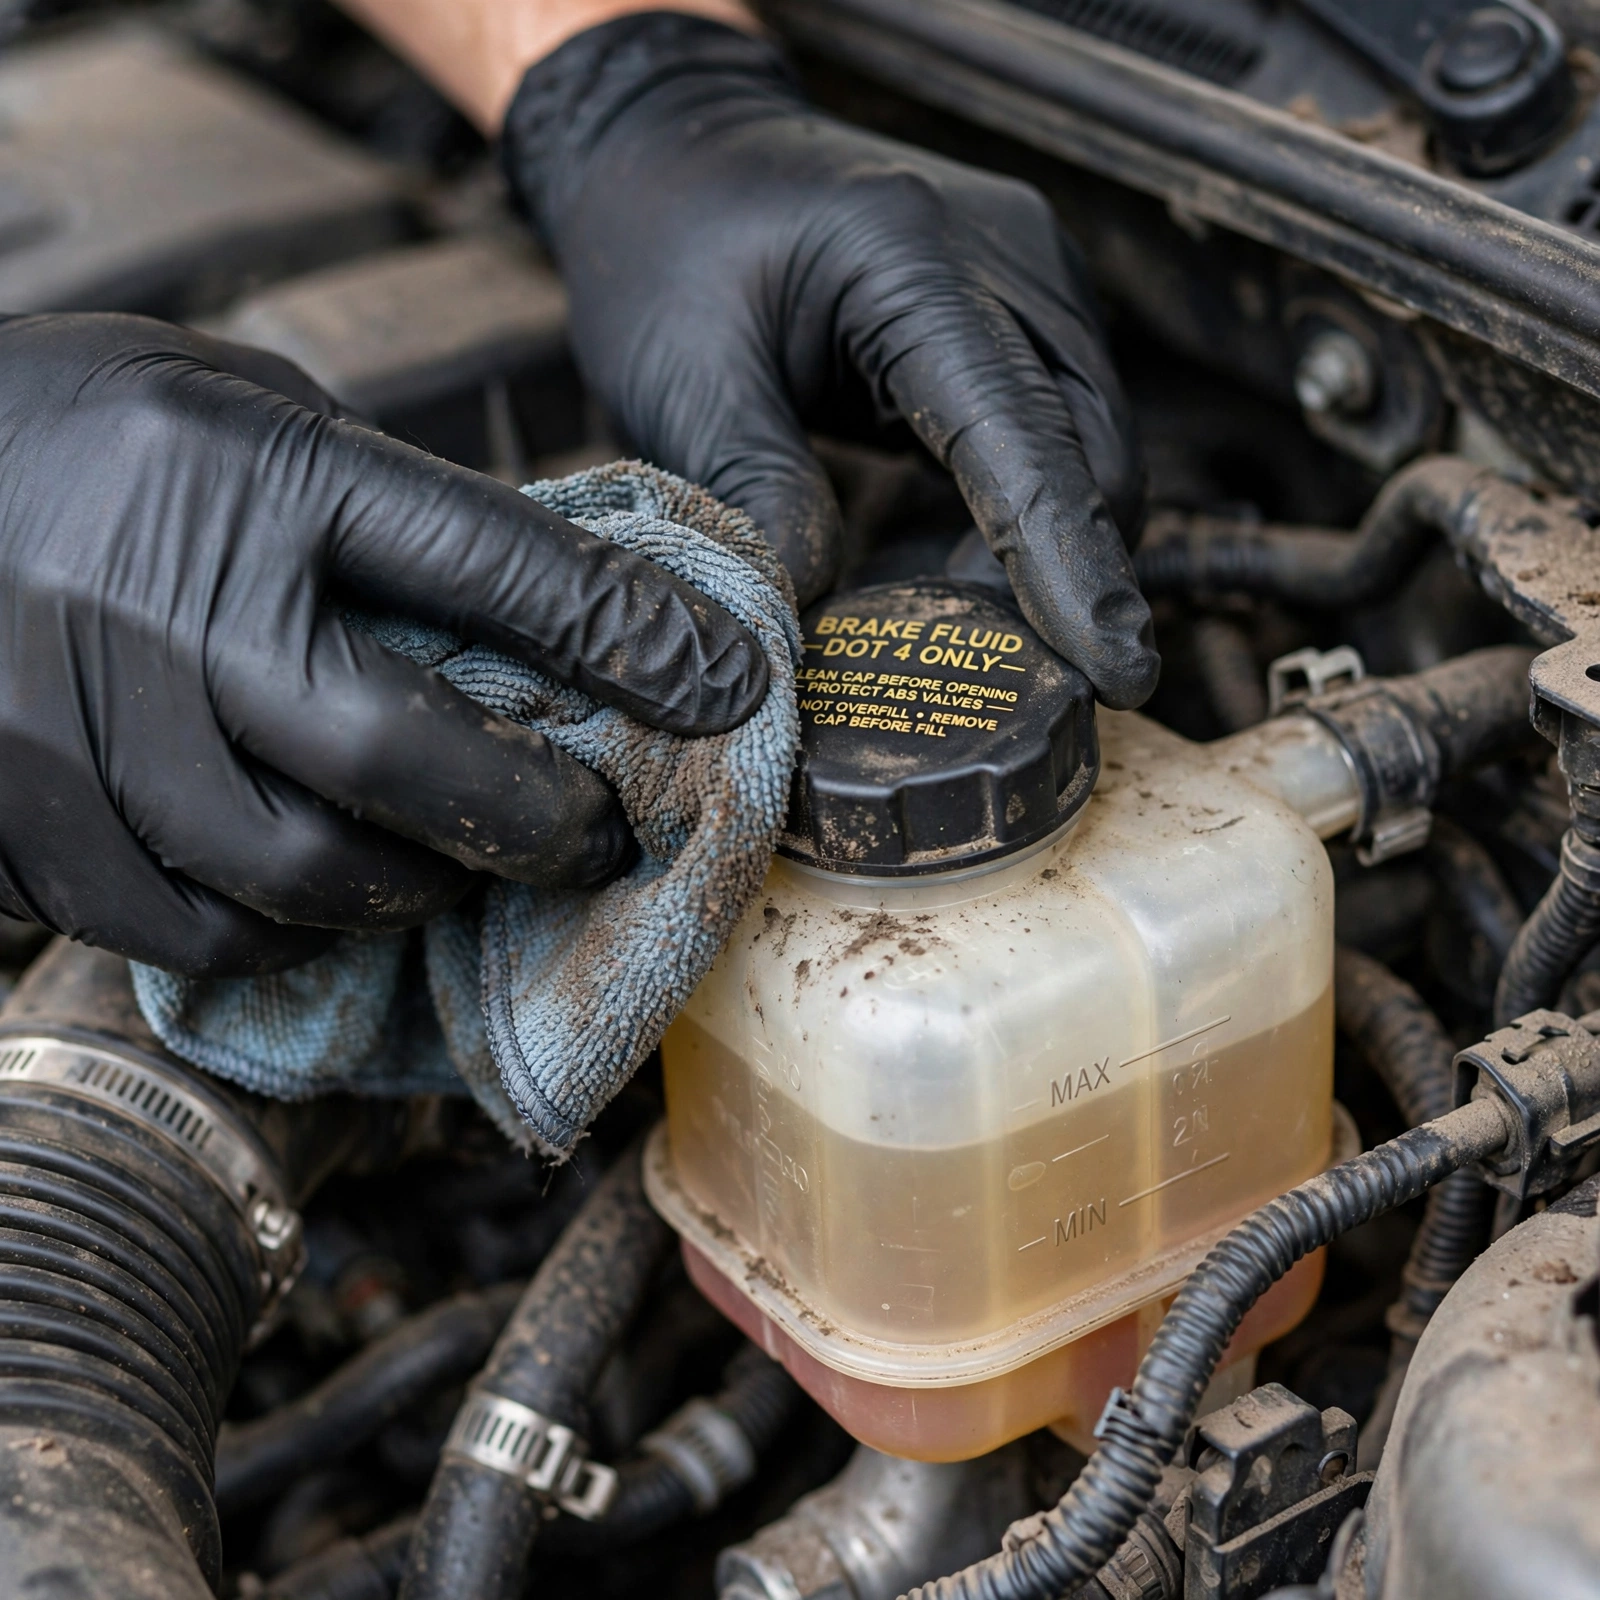
The reservoir sits on top of the master cylinder, driver’s side back of the engine bay against the firewall. White translucent plastic with a black or yellow cap that says DOT 3, DOT 4, or DOT 5.1 ONLY. You’ll see MAX and MIN lines molded into the side.
- Level matters, but it’s not like oil. If it’s low, your brake pads are worn or you have a leak.
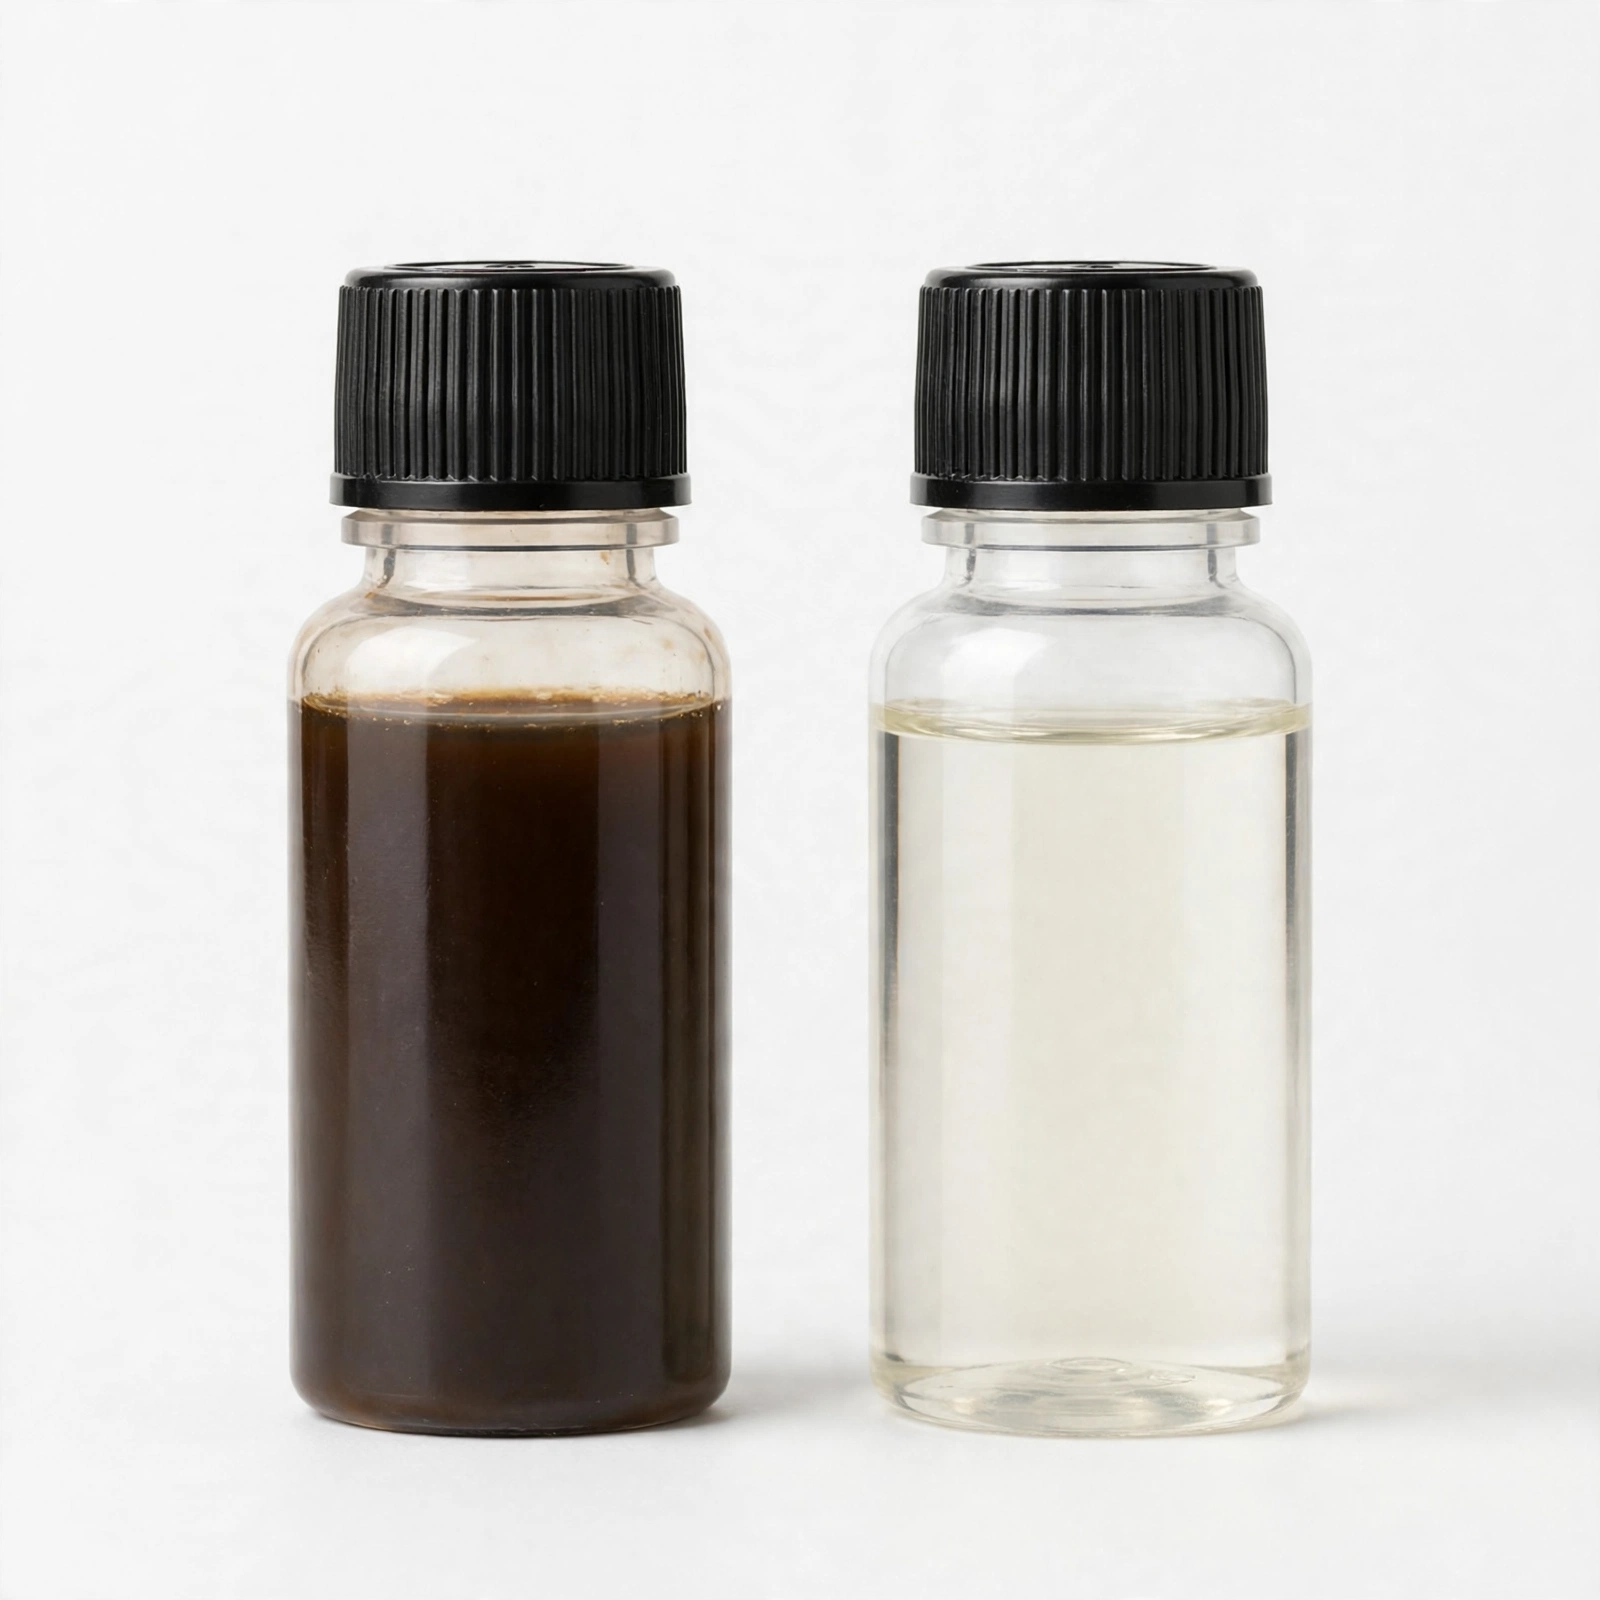
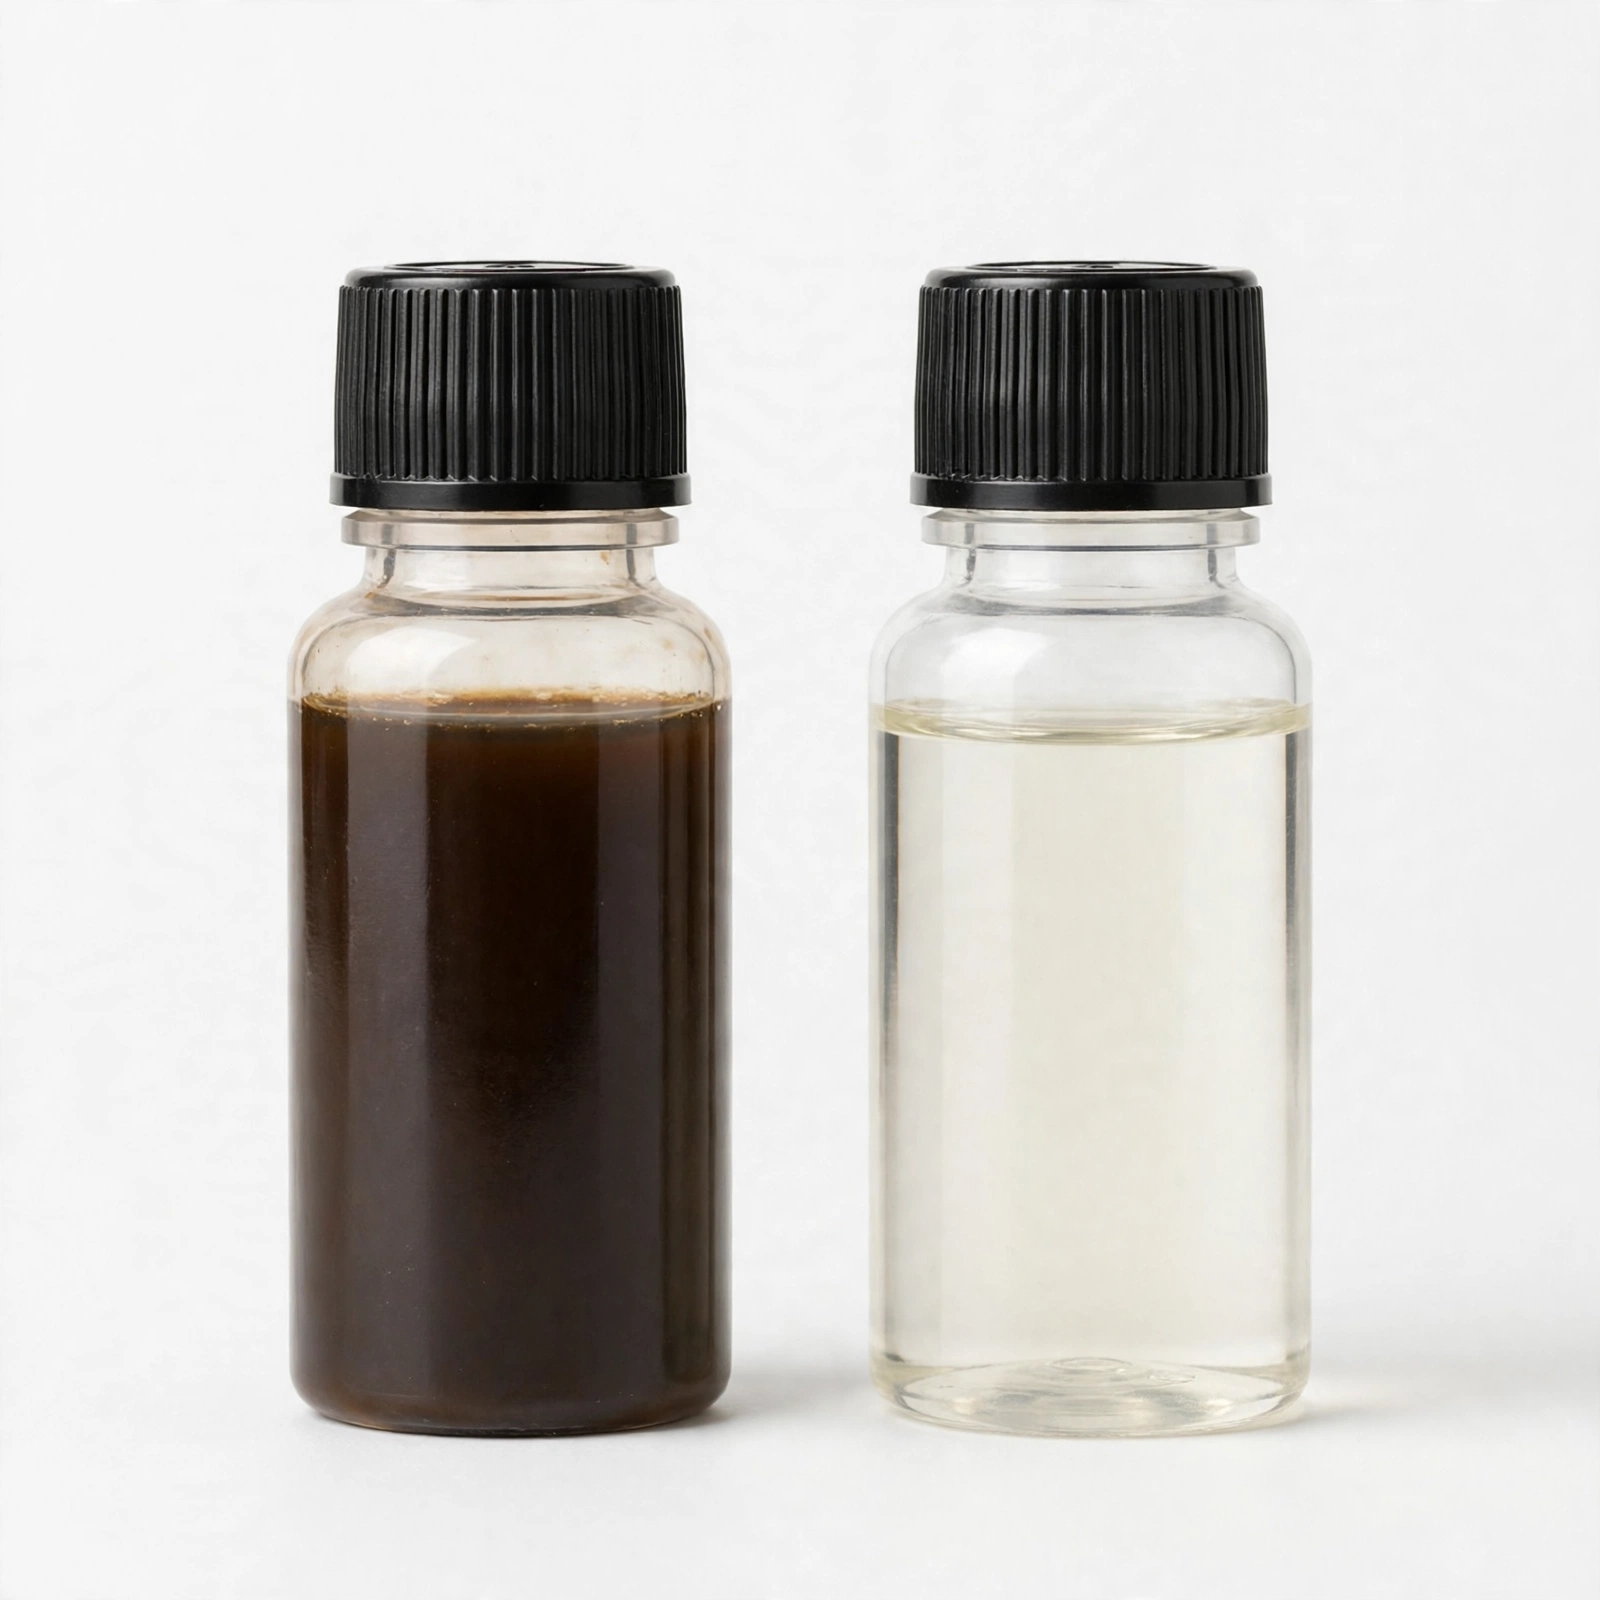
- Color matters more. New fluid is almost clear with a slight yellow tint, like light cooking oil.
- Clarity matters. You should be able to shine a flashlight through it. If you can’t, it’s done.
How to Check Brake Fluid Level and Color Safely
Step 1: Park and Prep
Park on level ground. Engine off, cold if you can. Open the hood. Grab a clean rag and a flashlight. That’s it. No tools needed yet.
Step 2: Clean Before You Touch
This is the part everyone skips and it’s why ABS modules die. Wipe the entire cap and reservoir top with your rag. Get all the dirt, leaves, and grit off. One grain of sand falling into the reservoir can score an ABS valve. The caps literally say “Clean cap before opening” for a reason.
I use a small detailing brush around the cap threads, then a rag. Takes 30 seconds.
Step 3: Check Level Without Opening
Look at the side. Light will show you the fluid line. It should sit between MIN and MAX. If it’s at MIN, don’t just top it off.
- If your pads are worn, fluid drops because the caliper pistons extend. That’s normal. Topping off now will make it overflow when you push pistons back for new pads.
- If your pads are new and it’s low, you have a leak at a line, caliper, or wheel cylinder. Look under the car for wet spots.
Step 4: Check Color Properly
Now unscrew or unclip the cap. On most Toyotas/Hondas it’s a quarter-turn, on some Fords/GMs it has a rubber diaphragm under it – don’t pull that diaphragm out unless you’re flushing. Hold the cap over the reservoir so any drip falls back in.
Safety warning: Brake fluid eats paint down to bare metal in hours. If you spill even a drop on your fender or strut tower, flood it with water immediately, don’t wipe. And it stings eyes, wear nitrile gloves.
Look inside:
| Color | What It Means | Action |
|---|---|---|
| Clear / light straw | Fresh, <1 year | You’re good |
| Light tea / honey | Normal 1-2 years, starting to absorb moisture | Test moisture, plan flush |
| Dark tea / light coffee | 2-3+ years, 2-3% water, oxidized | Flush within next month |
| Dark brown / black coffee | Very old, 3%+ water, corrosion particles | Flush now |
| Cloudy or particles | Rubber seal debris or moisture emulsion | Flush now + inspect calipers |
Use a white paper towel dip test if your reservoir is stained. Pull a little with a clean turkey baster (don’t reuse your kitchen one). Drop it on the towel. The true color shows instantly.
Why Dark Fluid Means Trouble
Brake fluid is hygroscopic – fancy word for it sucks water out of the air like a sponge. Even through tiny pores in rubber hoses. Every year it can gain 1-2% water.
Why that’s bad:
- Boiling point drops. Fresh DOT 4 boils at ~446°F (230°C). With 3.7% water (wet boiling point), it’s down to ~311°F (155°C). Hit a long downhill and your pedal can go to the floor – that’s vapor lock.
- Internal rust. Water corrodes steel lines, caliper pistons, and ABS valves from inside. I’ve seen calipers seized solid because fluid was never changed.
- Spongy pedal. Oxidized fluid compresses more and air bubbles hold on. You’ll feel a soft first half of pedal travel.
I learned this the hard way on my old Subaru. Dark fluid, ignored it, then ABS light at 70k. Dealer wanted $1,200 for ABS module. Mechanic showed me rusty fluid clogging the valves.
When to Flush – Real World Intervals
Your manual may say “lifetime” or “inspect only.” Ignore that. Real shops flush when needed.
- Every 2 years or 30,000 miles is the safe rule for most DOT 3 / DOT 4 cars.
- Every year if you tow, mountain drive, track, or live in humid climates.
- Immediately if fluid is dark brown/black, moisture tester shows >3%, or pedal feels mushy.
- After any brake work where the system was opened.
Moisture Tester Trick
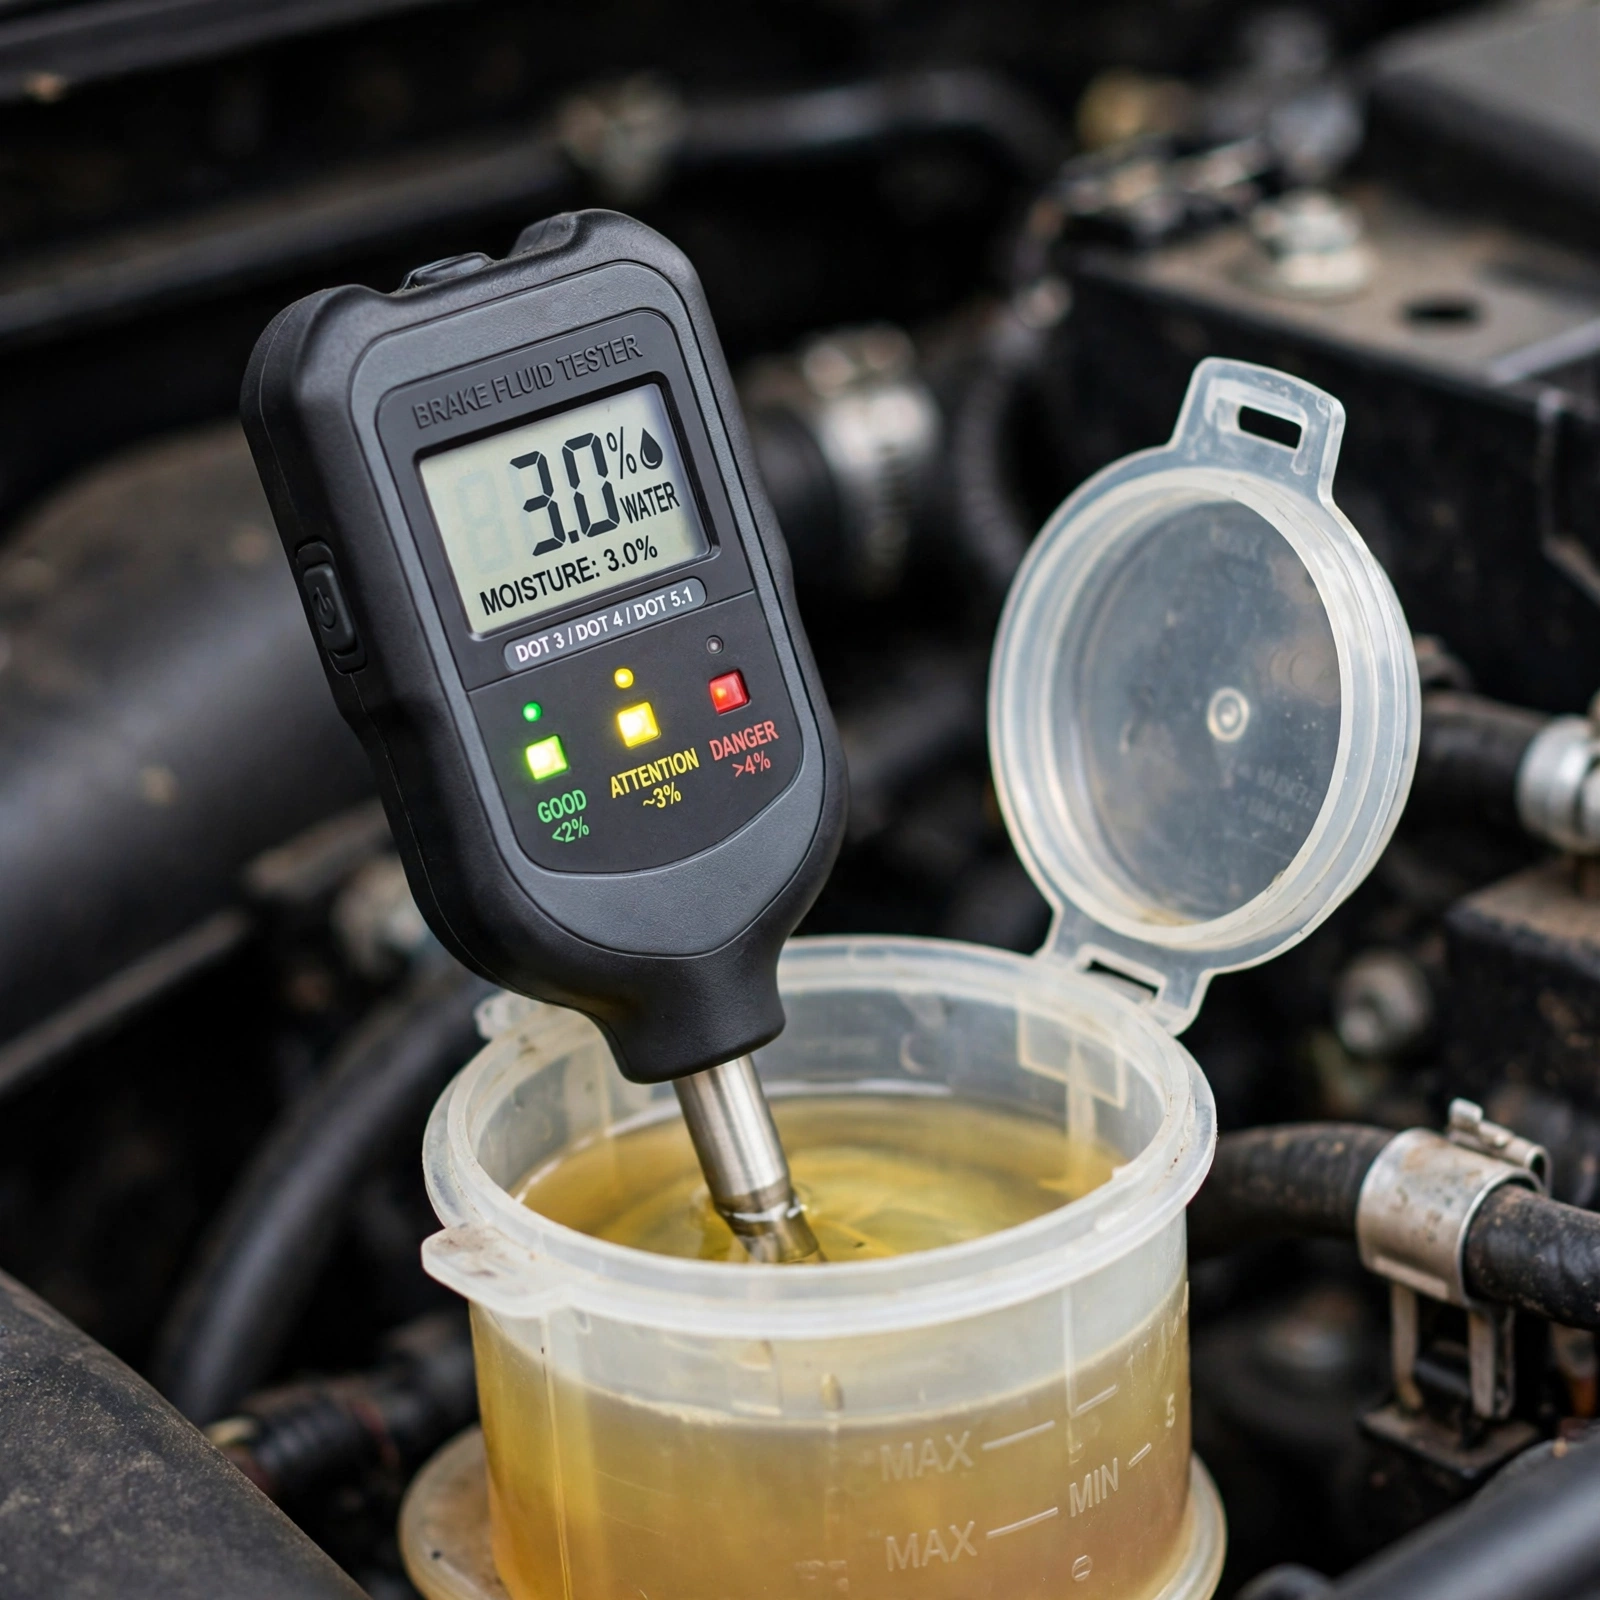
Grab a $15 brake fluid moisture tester off Amazon. It has two prongs and LEDs: Green <1%, Yellow ~2%, Red >3%. Dip it in the reservoir with the car off. If it lights yellow/red, flush. More accurate than color alone.
DOT Types: Don’t Mix Up
Your cap tells you what to use. Here’s the quick rundown:
| Type | Base | Dry Boil | Notes |
|---|---|---|---|
| DOT 3 | Glycol | 401°F (205°C) | Older cars, cheap, absorbs water faster |
| DOT 4 | Glycol + borate | 446°F (230°C) | Most modern cars, better heat tolerance |
| DOT 5.1 | Glycol + borate | 500°F+ (260°C) | Performance / Euro cars, not DOT 5 |
| DOT 5 | Silicone | 500°F (260°C) | NOT compatible with ABS, don’t use unless your car spec says |
You can mix DOT 3 and DOT 4 in a pinch, but you’ll lower the boiling point to the weaker one. Never add DOT 5 (purple) to a DOT 3/4/5.1 system – it will gel and ruin seals and ABS. DOT 5.1 is fine for DOT 3/4 systems, it’s still glycol-based.
Quick Flush Basics (If You’re Doing It)
You need a helper or a one-person bleeder bottle. Tools: 10mm or 11mm box-end wrench (or flare wrench for brake lines), clear hose, catch bottle, new fluid (1 liter is enough for most cars), jack and 19mm or 21mm socket for lug nuts at 80-100 ft-lbs (108-135 Nm) when reinstalling.
- Torque for bleeder screws: Most are 62-89 in-lbs (7-10 Nm) – snug, not gorilla tight. They snap easy.
- Sequence: Furthest from master first – RR, LR, RF, LF for most cars. Some Hondas say LF first – check your manual.
- Method: Pump pedal 3 times, hold, crack bleeder 1/4 turn, close. Repeat until fluid runs clear. Don’t let reservoir go dry or you’ll introduce air and need an ABS scan tool to cycle valves.
- Don’t reuse old fluid. Ever.
If you open the bleeder and nothing comes or fluid is black chunks, your caliper might be rusted inside. That’s beyond a flush.
What I Check Now Every Time
I pop my hood every second Sunday. I wipe the brake cap, look at level, shine my phone light through the side. Takes literally 60 seconds. If it’s honey-colored or darker, I order fluid and test moisture that week. My Mazda’s fluid now stays clear because I flush every 2 years. Pedal feels firm, ABS happy.
Bottom line: if you can’t see through it, don’t drive past it. Dark fluid isn’t just ugly – it’s water, rust, and lower boiling point sitting in your safety system. Check it, test it, flush when it tells you to.
That’s all there is to it. Next time you’re checking oil, give that little white reservoir a glance. Your brakes will thank you.



Leave a Reply