
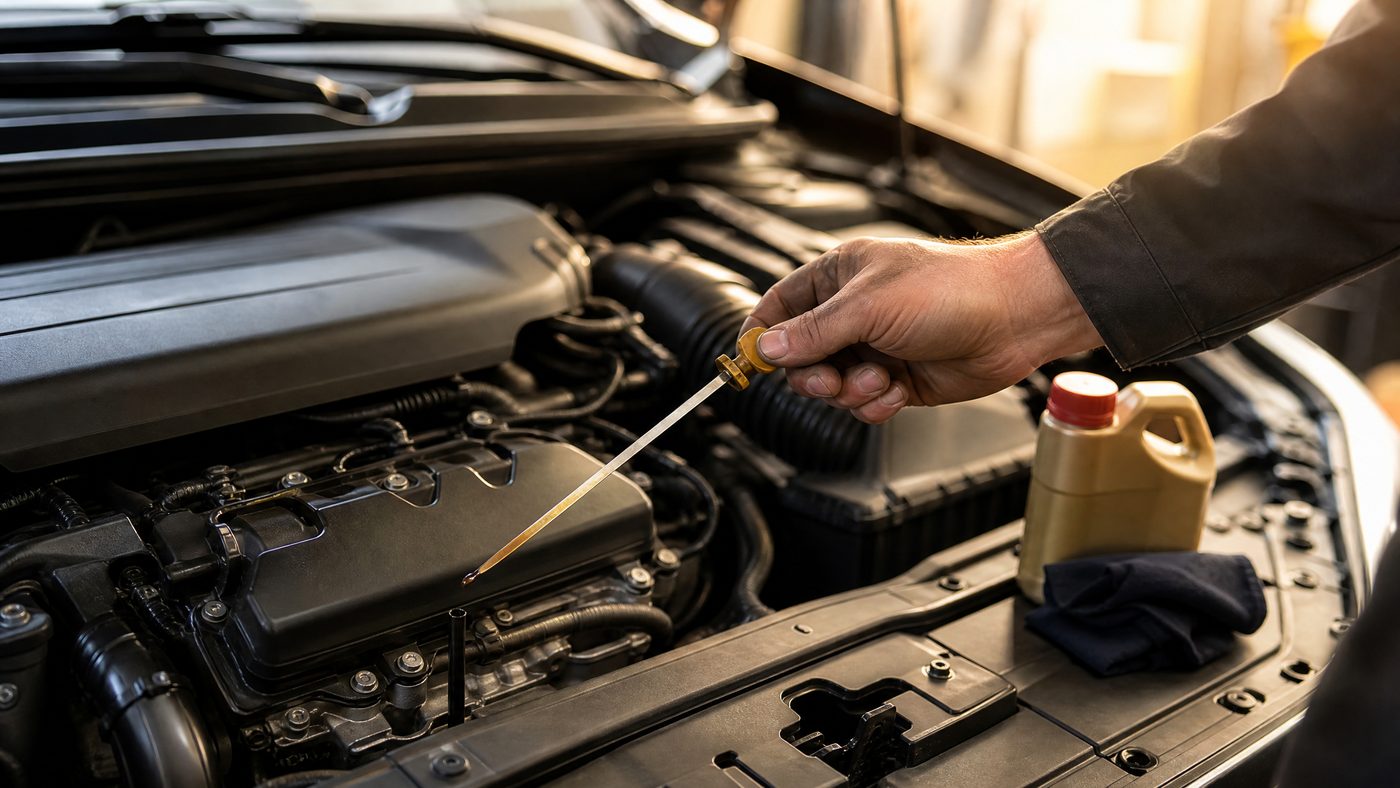
I still remember the first car I ever worked on by myself — a beat-up ’98 Civic with an oil light that flickered on every time I hit a pothole. My dad handed me a rag, pointed at the hood, and said, “Figure it out.” Twenty minutes and one very confused look at the dipstick later, I finally understood what I was looking at.
That was almost two decades ago. I’ve since spent years turning wrenches in home garages and small shops, and if there’s one thing I can tell you, it’s this: checking your oil is the single easiest maintenance task you can do, and it’s the one most people skip.
Skipping it is how engines die early. Low oil means metal grinding on metal. High oil (yes, that’s a real problem too) can foul your spark plugs and blow seals. So let’s get you comfortable doing this yourself — no shop visit, no appointment, just you, your car, and about five minutes.
Why This Five-Minute Check Actually Matters
Your engine oil does three jobs at once: it lubricates moving parts, carries away heat, and picks up tiny bits of metal and grime so they don’t chew up your engine internals.
When oil runs low, all three of those jobs suffer. I’ve pulled apart engines with scored cylinder walls because someone drove around for months on a quart low. That’s not a cheap fix — you’re looking at a full engine rebuild or replacement in the worst cases.
The good news? A quick check catches this before it becomes a five-figure problem.
What You’ll Need
Nothing fancy here. This is one of the rare car jobs that doesn’t call for a socket set.
- A clean shop rag or paper towel (an old t-shirt works too, but shop rags are lint-free)
- A flat, level parking spot
- Your owner’s manual (just to confirm your dipstick location and oil capacity — not mandatory, but handy)
That’s it. No jack, no gloves required, no ramps.
Step 1: Warm Up (or Cool Down) the Engine Correctly
Here’s where I see most people mess up before they even pull the dipstick.
You want the engine off and the oil settled back in the pan. If you just drove the car, give it 5 to 10 minutes to sit. Checking oil right after a hard drive gives you a false low reading because a chunk of the oil is still up in the engine, coating the parts it just lubricated.
On the flip side, don’t check it stone cold first thing after it’s been sitting overnight either — that’s actually fine, but make sure the car is parked on level ground. I’ve had customers swear their car was “burning oil” when really they’d been checking it parked on a sloped driveway. Gravity does weird things to a dipstick reading.
My rule of thumb: check it in the morning before you start the car, or park it and wait 10 minutes after a drive. Either works, as long as the car is level and the engine’s off.
Quick Safety Note
If the engine’s been running, that oil pan and dipstick tube can hold residual heat. Not scalding, but warm enough to surprise you. Give it those few minutes — no need to rush this.
Step 2: Find and Pull the Dipstick
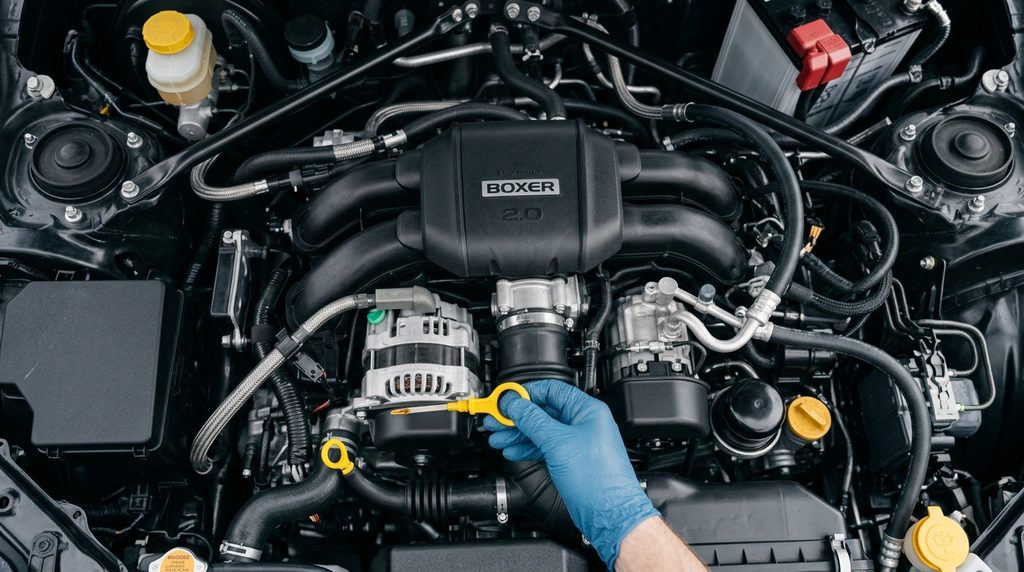
Pop the hood and look for a small loop-handled stick, usually with a bright yellow or orange handle, tucked somewhere near the front of the engine. Most manufacturers make it easy to spot on purpose.
Here’s the process I use every single time, no exceptions:
- Pull the dipstick all the way out.
- Wipe it clean with your rag — get it bone dry, no oil film left on it.
- Re-insert it fully. Push it all the way down into the tube. This part trips people up constantly. If you don’t seat it completely, you’ll get a false reading.
- Pull it back out again and hold it flat, horizontal to the ground, so the oil doesn’t run down the stick and smear your reading.
That first pull you did? That was just to clean it. The reading only counts on the second pull. I’ve watched plenty of DIYers read the first pull and think their car’s bone dry — it’s almost always wrong.
A word of caution: don’t confuse the oil dipstick with the transmission dipstick if your car has both (less common these days, but older automatics sometimes do). The oil dipstick handle is usually near the front, close to the belts. The transmission one, if present, sits lower and further back. Check your manual once if you’re not sure — you only need to look it up the first time.
Step 3: Read the Level and Check the Oil Condition
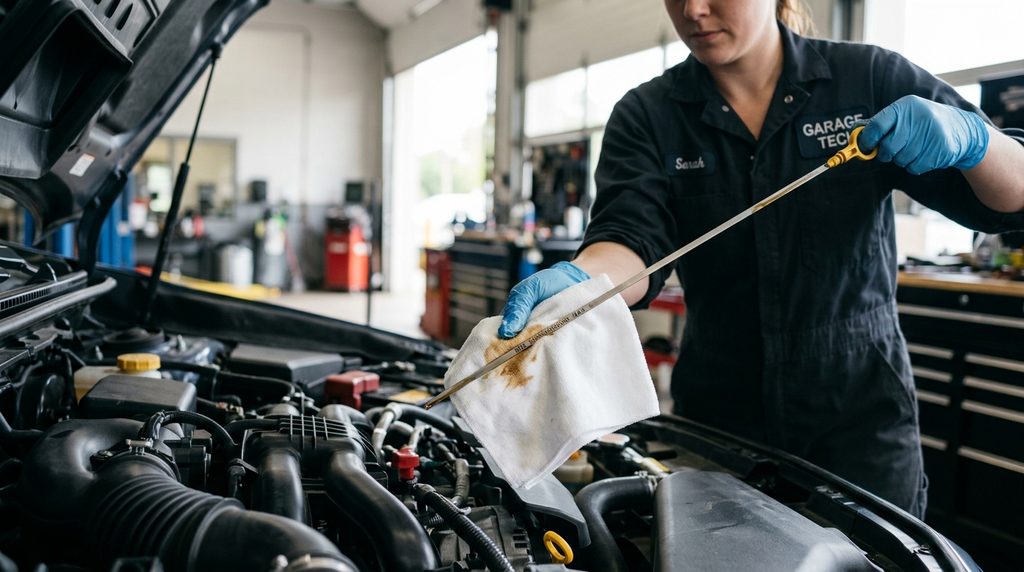
Now look at the tip of the dipstick. You’ll see two marks, hash marks, or dots — sometimes labeled “MIN” and “MAX,” sometimes just two dimples stamped into the metal.
- Oil level between the two marks: you’re good, no need to add anything.
- Oil level at or below the low mark: add oil, a little at a time.
- Oil level above the high mark: too much oil is in there, and you’ll want to have some drained out.
While you’re at it, rub a bit of the oil between your fingers (careful, it can stain). This tells you almost as much as the level does.
What healthy oil looks like:
- Amber to light brown, slightly translucent when you smear a thin layer
- Smooth, no grit you can feel between your fingers
What’s a warning sign:
- Black and gritty — overdue for a change, or picking up excess carbon
- Milky, tan, or has a coffee-with-cream look — this usually means coolant is mixing with your oil, which points to a blown head gasket. Don’t drive far on this; get it looked at.
- Smells like gasoline — could mean a fuel system issue diluting your oil. Also worth getting checked soon.
If everything checks out and you’re just topping off a low reading, add oil in small amounts through the oil fill cap (a separate cap on top of the engine, not the dipstick tube) using a funnel. Add about half a quart, wait a minute for it to settle down into the pan, then recheck with the dipstick. Repeat until you’re in the safe zone. Overfilling by even a little can cause the crankshaft to churn the oil into foam, so go slow here.
A Few Things I’ve Learned the Hard Way
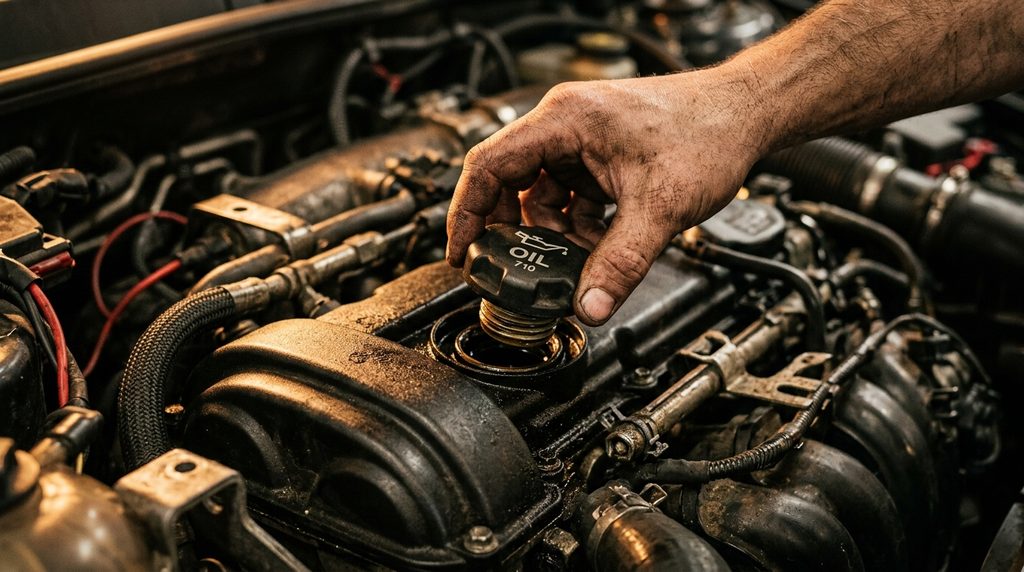
Clean the area around the fill cap before you open it. Dirt sitting on top of that cap will fall straight into your engine the moment you crack it open. I make it a habit to wipe around any cap — oil fill, coolant reservoir, brake fluid reservoir — before opening any of them. It takes ten seconds and saves you from introducing grit into a clean system.
Keep oil off your paint if you’re topping off near the fender. It’s not as aggressive as brake fluid, which will eat straight through clear coat down to bare metal if you leave it sitting, but oil drips still aren’t great for your paint over time. Keep a rag handy and wipe up any spills right away.
Don’t trust the dipstick alone if your car has an electronic oil level sensor. A lot of newer vehicles — especially some European models — don’t even have a manual dipstick anymore. If that’s you, check your owner’s manual for how to pull up the digital reading through the dash menu. The 3-step process above is for the classic, manual dipstick setup most cars still use.
Check it monthly, and always before a long road trip. I do mine every other fuel fill-up. It takes less time than pumping gas.
How Often Should You Actually Check It?
I get asked this constantly, so here’s my honest answer based on years of doing this:
| Driving Situation | Recommended Check Frequency |
|---|---|
| Daily commuter, newer car (under 60,000 miles) | Once a month |
| Older car (over 100,000 miles) or known oil burner | Every 1-2 weeks |
| Before a road trip | Always, no exceptions |
| Towing, hauling heavy loads regularly | Every other fill-up |
| After any dashboard oil warning light | Immediately, before driving further |
If your engine burns through more than about half a quart between oil changes, that’s not necessarily an emergency, but it’s worth mentioning to a mechanic at your next visit. Some engines are just known to use a bit more oil than others — certain direct-injection engines are notorious for it — but a steep, sudden increase in oil consumption is your engine telling you something changed.
Common Questions I Get Asked in the Garage
“Can I check the oil with the engine running?” No. The dipstick reading will bounce around and won’t mean anything while oil is circulating through the engine. Always check with the engine off.
“My dipstick shows no oil at all — did I mess something up?” Probably not, but stop driving the car until you sort it out. Pull the stick again to double check you seated it fully on re-insertion (that’s the number one cause of a false “empty” reading). If it’s genuinely empty, don’t start the engine — add oil first, then check again before you turn the key.
“What type of oil should I add if I’m topping off?” Check your oil fill cap or owner’s manual for the viscosity grade, something like 5W-30 or 0W-20. Adding the wrong viscosity for a quick top-off won’t destroy your engine, but try to match what’s already in there when you can. And if your car takes synthetic, don’t mix in a bottle of conventional unless it’s genuinely an emergency top-off to get you home.
“Is it bad to check my oil too often?” Not at all. There’s no downside to checking too much — only to checking too little. I’d rather see someone check weekly out of habit than never check until the warning light comes on.
“My oil looks fine but my car still has an oil warning light on. What now?” The light usually means low oil pressure, which isn’t always the same as low oil level. If your dipstick shows a good level and the light’s still on, that could point to a failing oil pump, a clogged filter, or a bad sensor. That’s a job for a shop with a pressure gauge, not something to diagnose in your driveway.
Quick Reference Checklist
I keep a version of this taped inside my garage cabinet. Print it, save it, whatever works — it’s the whole process boiled down.
- [ ] Park on level ground
- [ ] Turn engine off and wait 5-10 minutes if just driven
- [ ] Pull dipstick and wipe clean with rag
- [ ] Re-insert dipstick fully, all the way down
- [ ] Pull dipstick out again, hold flat
- [ ] Check level against MIN/MAX marks
- [ ] Check color and texture of the oil
- [ ] Top off in small amounts if low, rechecking each time
- [ ] Wipe any spills off paint immediately
- [ ] Wipe dirt off caps before opening them
That last one seems minor, but I’ve replaced more than one ABS valve because grit got kicked into a reservoir from a dirty cap. Same logic applies here — a dirty dipstick tube or fill cap can send debris straight into your oil system if you’re not careful.
Tools That Make This Even Easier
You don’t need any of these, but if you’re the type who likes having the right tool for the job, a couple of extras make the process cleaner:
- A small automotive funnel — keeps you from dribbling oil down the side of the engine when topping off
- Disposable nitrile gloves — if you’d rather not get oil on your hands at all
- A magnetic dipstick holder or clip — sounds unnecessary until you’ve dropped a hot, oily dipstick into a tangle of wiring and had to fish it out
None of this is required. I did this job with nothing but a rag for the first ten years I worked on cars. But if you’re setting up a home garage and want it dialed in, these are worth the few dollars.
The Bottom Line
This is genuinely a five-minute habit that can save you from a five-figure repair bill. I’ve seen too many good engines get junked because nobody popped the hood and checked a stick that costs nothing to look at.
Get in the rhythm of checking it at every other gas station stop. Keep a rag in your glovebox or trunk for exactly this purpose. And if you ever see that milky, coffee-colored oil I mentioned earlier, don’t wait around — get it to a mechanic that week, not that month.
Your engine’s the most expensive single part of your car. A dipstick and a rag are cheap insurance for it.
Test What You’ve Learned
I put together a quick quiz below to help the steps stick. It’s the same stuff I’d quiz a shop apprentice on during their first week.
Oil Check Quiz
Test what you picked up about checking your engine oil level.




Leave a Reply