
I detailed a neighbor’s SUV the week before he sold it, and the buyer’s inspector used the word “immaculate” out loud. The car was nine years old with three kids’ worth of history in the carpet. What changed wasn’t the car’s age — it was that every surface got cleaned in the right order with the right strength of chemistry.
Detailing at home fails for one reason: people attack it with enthusiasm and no plan. They soak the headliner, shine the dash, and call it done while the carpet stays a swamp. A checklist fixes that. This one is the exact order I follow on customer cars, printed here so you can work it in your own driveway.
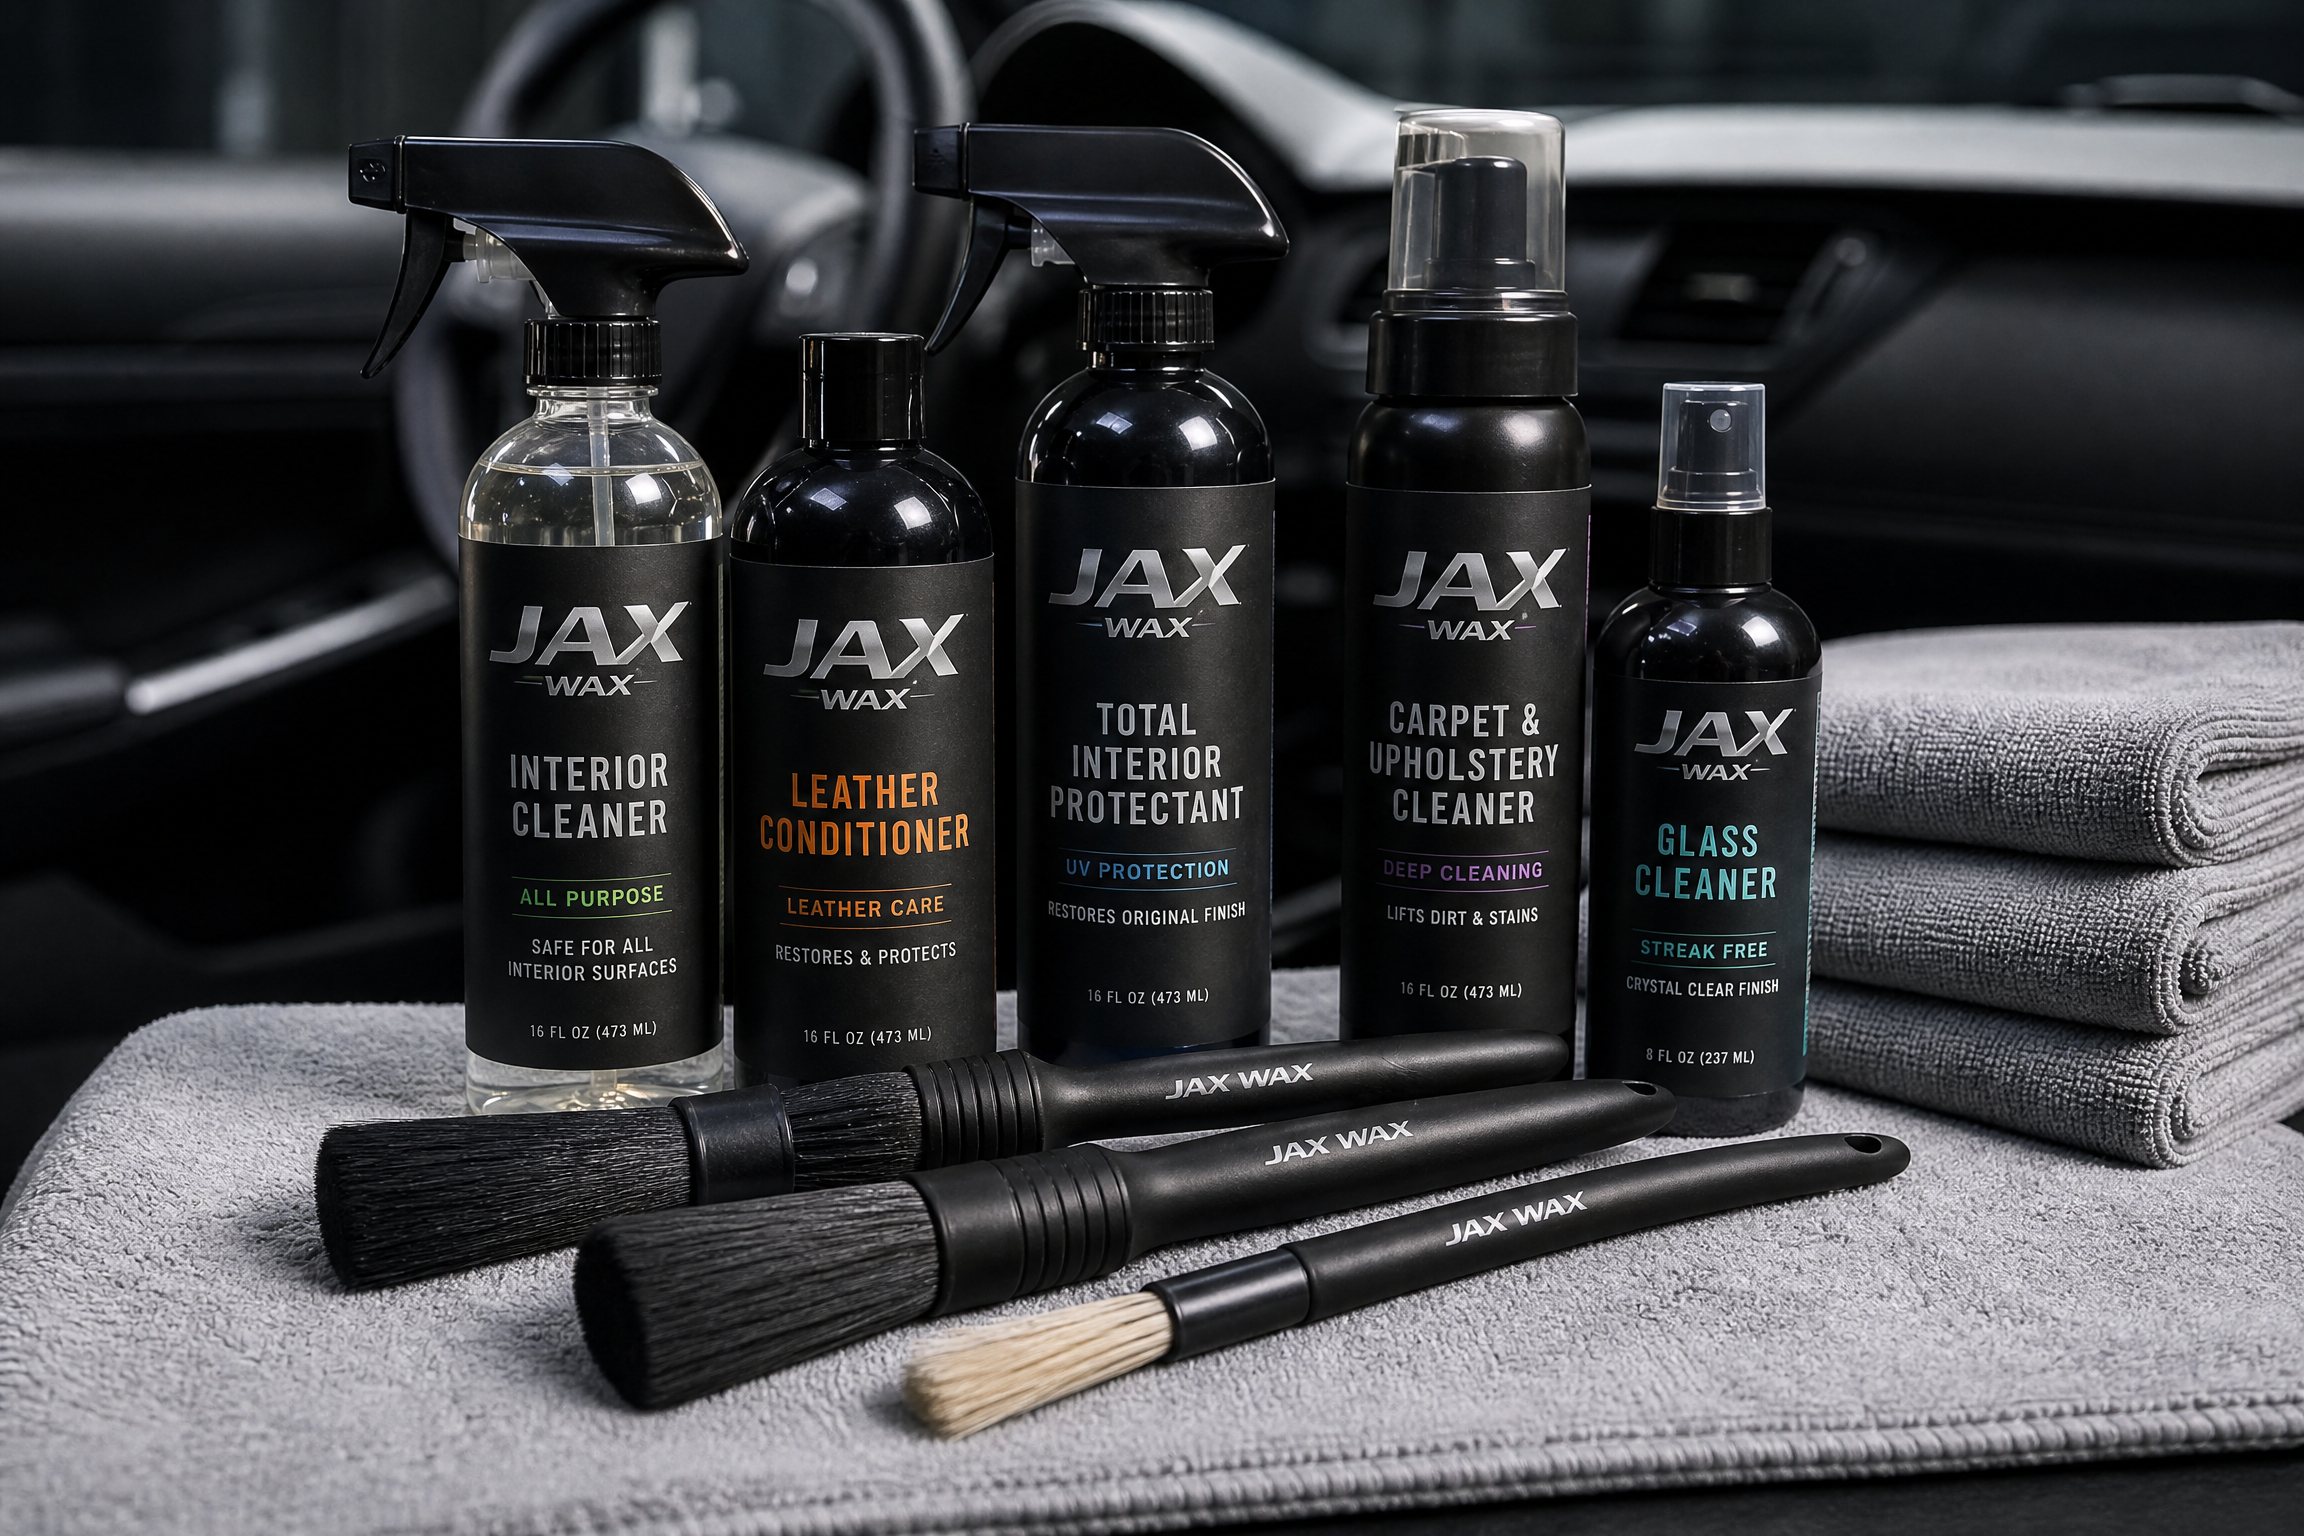
The Kit, Assembled Before You Start
- Shop vacwith a crevice tooland a stiff brush attachment.
- Microfiber towels, at least ten, folded into quarters so each has four clean faces.
- All-purpose cleaner (APC)you dilute yourself, in two spray bottles at two strengths.
- Interior detail brushes, soft-bristled, for vents and seams.
- Carpet and upholstery cleaner, or APC at strength plus a drill brush.
- Leather cleaner and conditioneras a matched pair.
- Ammonia-free glass cleanerand two dedicated glass towels.
- Matte interior protectantfor dash and trim.
- A trash bag, a bucket, and a fanif the carpet needs one.
The Dilution Chart That Saves Your Trim
One bottle of concentrate, three jobs. Mixing your own is cheaper and safer than guessing with ready-made “degreasers.”
| Job | APC : water | Why |
|---|---|---|
| Dash, console, door panels | 10:1 | Lifts dust and hand oils without stripping coatings |
| Door jambs, seat sides, general grime | 4:1 | Real cleaning strength, still trim-safe |
| Carpet, mats, cloth seats | 3:1 or dedicated carpet cleaner | Needs muscle to lift ground-in dirt |
Label the bottles with a marker. Unlabeled spray bottles are how shiny-dash dressing ends up on the windshield.
Stage 0: Declutter and Stage the Car
- Remove every loose item: trash, mats, car seats, the gym bag from March.
- Trash bag first, sentiment second. Coins to a cup, not the vacuum.
- Pull the floor mats and beat them on the driveway, edge first, until they stop coughing dust.
- Park in shade with all four doors open. Airflow is your drying system.
- Read the dilution chart and fill your two bottles.
This stage takes ten minutes and decides whether the next two hours work. Wet work over a cluttered, un-vacuumed car is how mud gets made.
Stage 1: The Vacuum Pass
Vacuum before any liquid, slowly, like you’re being paid by the dirt found.
- Brush the carpet first with the stiff brush to stand the fibers and break the crust.
- Vacuum the seats, then push them forward and back to expose both floor zones.
- Crevice tool along seat tracks, console seams, the trunk lip, and belt buckles.
- Vacuum the dash and console tops so no dust is left to fall on clean surfaces later.
- Hit the vents with a dry detail brush and vacuum the fallout.
- Finish with the trunk: spare well, tire, and the corners where gravel collects.
A rushed vacuum shows up later as streaks in every wet step. Slow is smooth.
Stage 2: Mats and Carpet
The mats left the car in Stage 0. Now the carpet gets its turn.
- Rinse rubber mats with a hose, scrub with APC 4:1 and a brush, and lean them to dry in the sun.
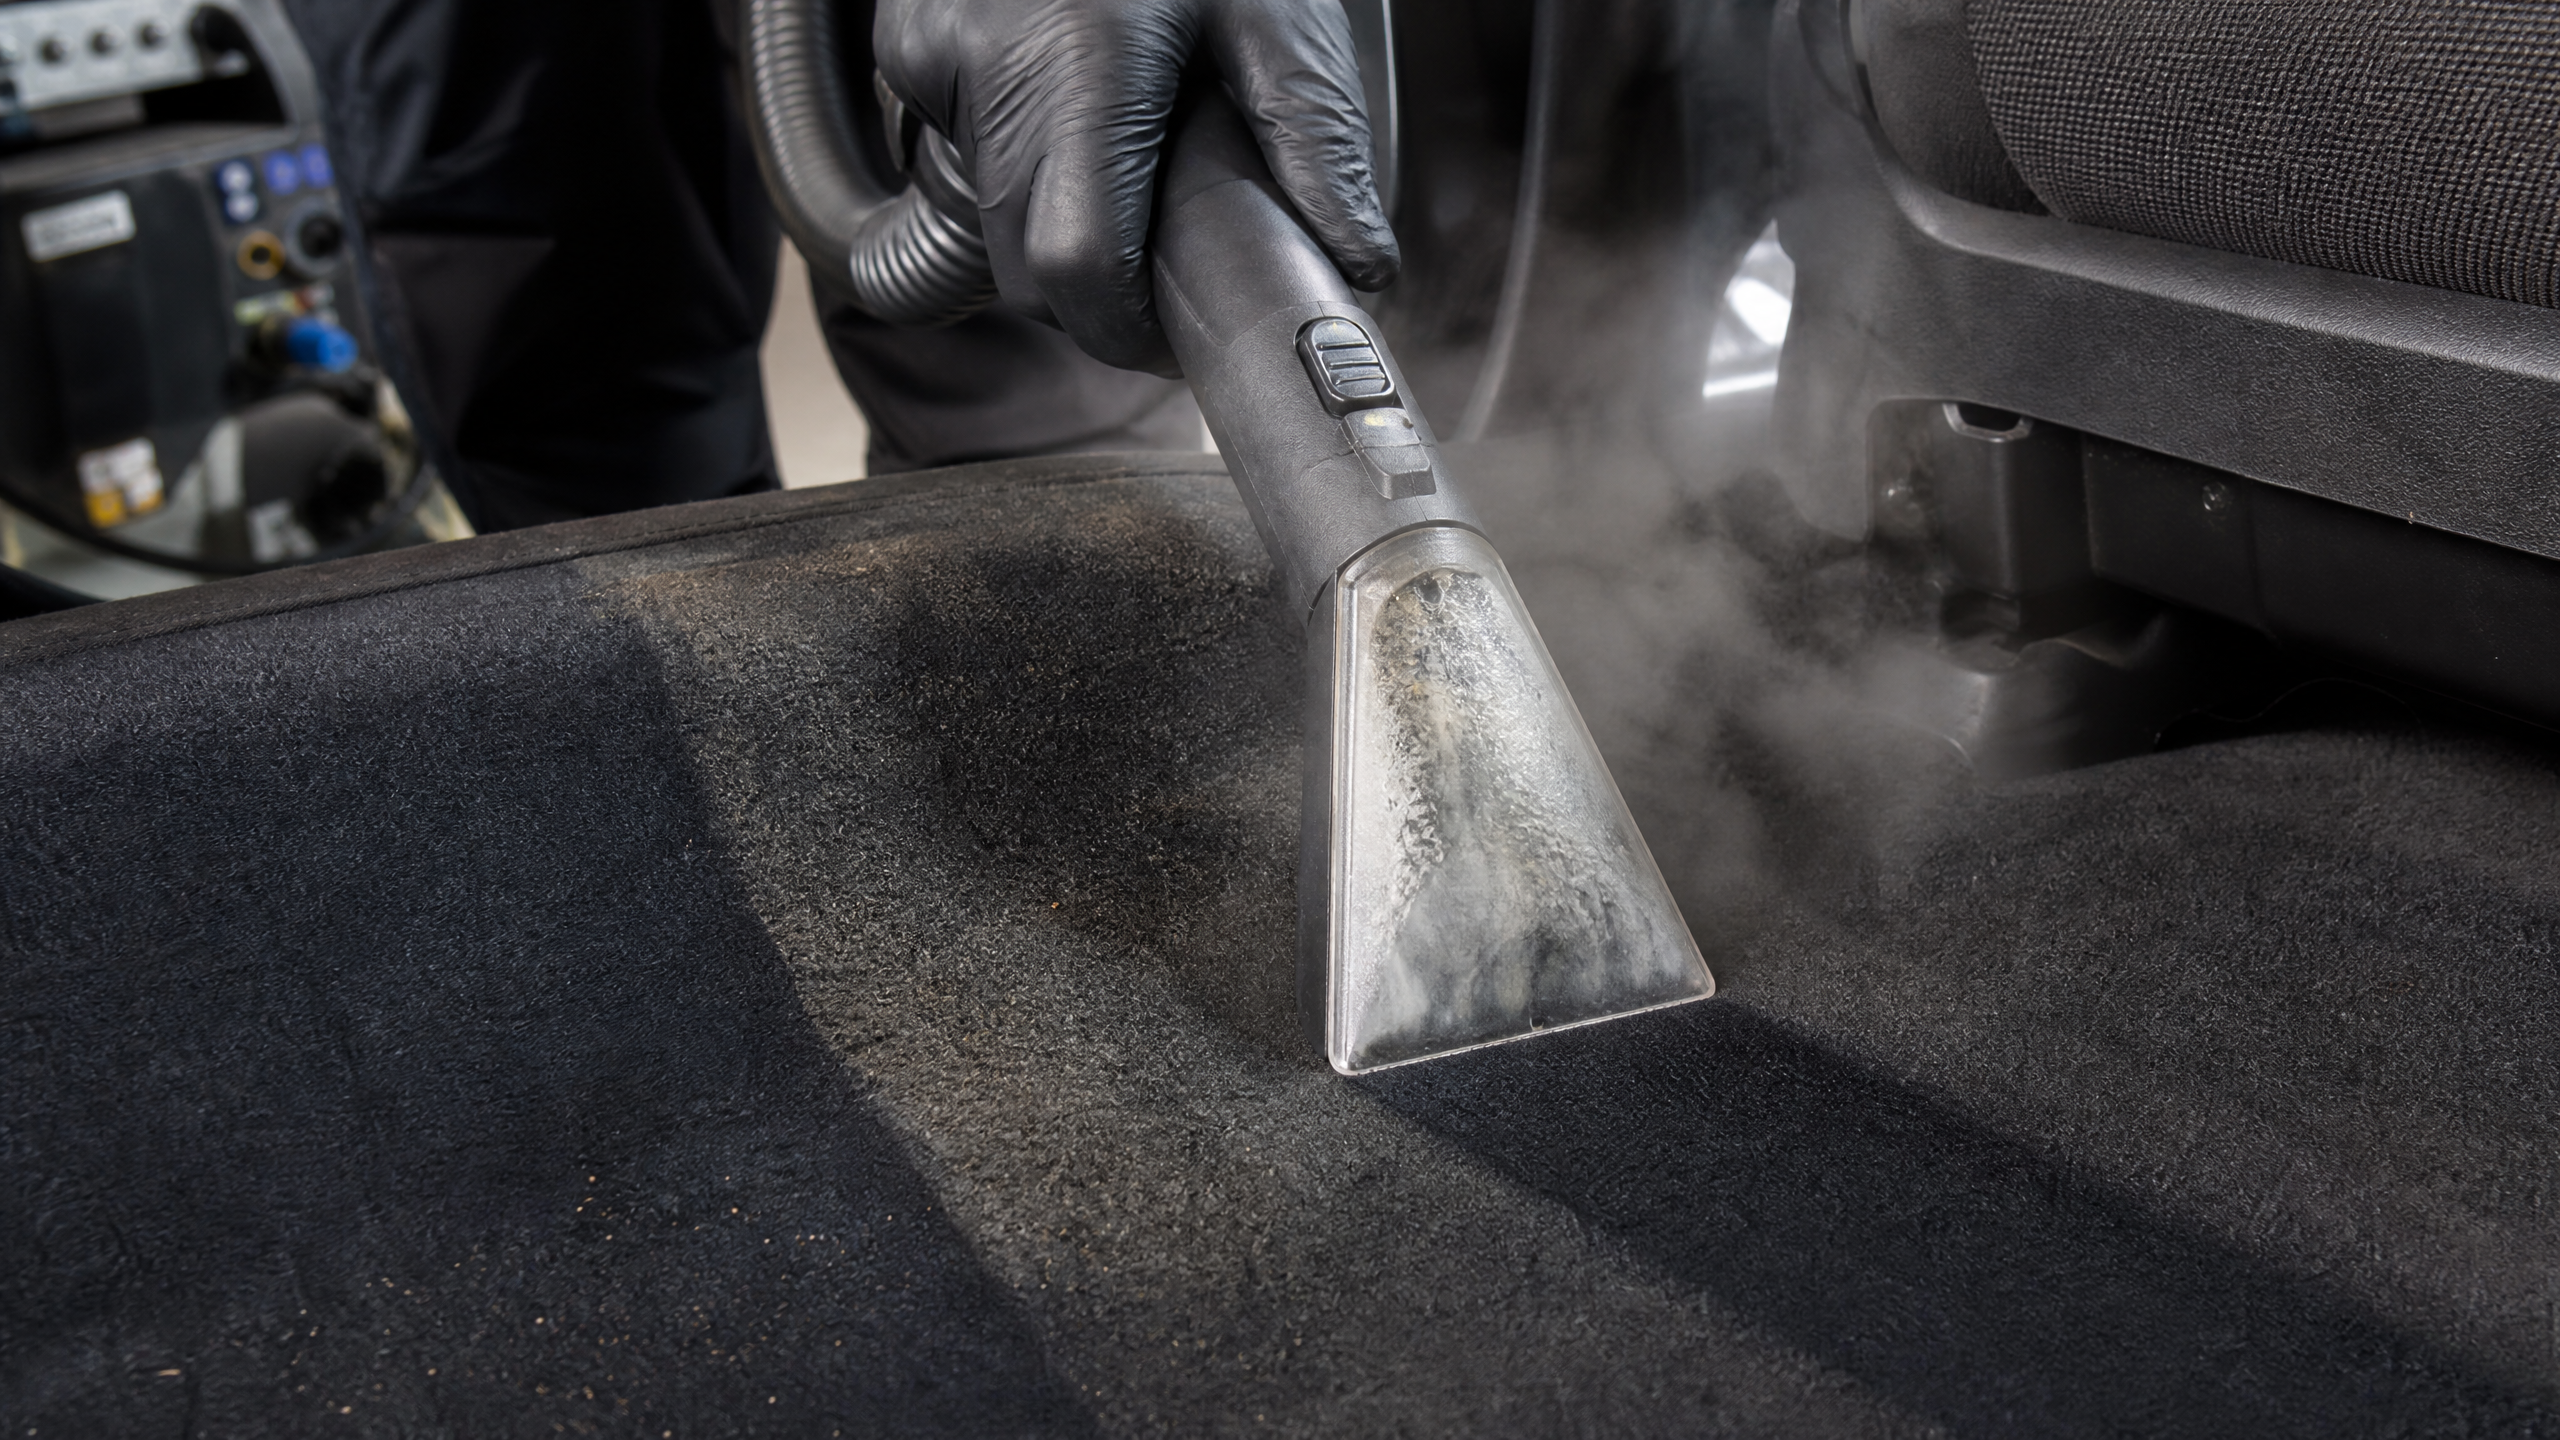
- Carpet mats: spray carpet cleaner, dwell two minutes, drill brush in crosshatch, extract.
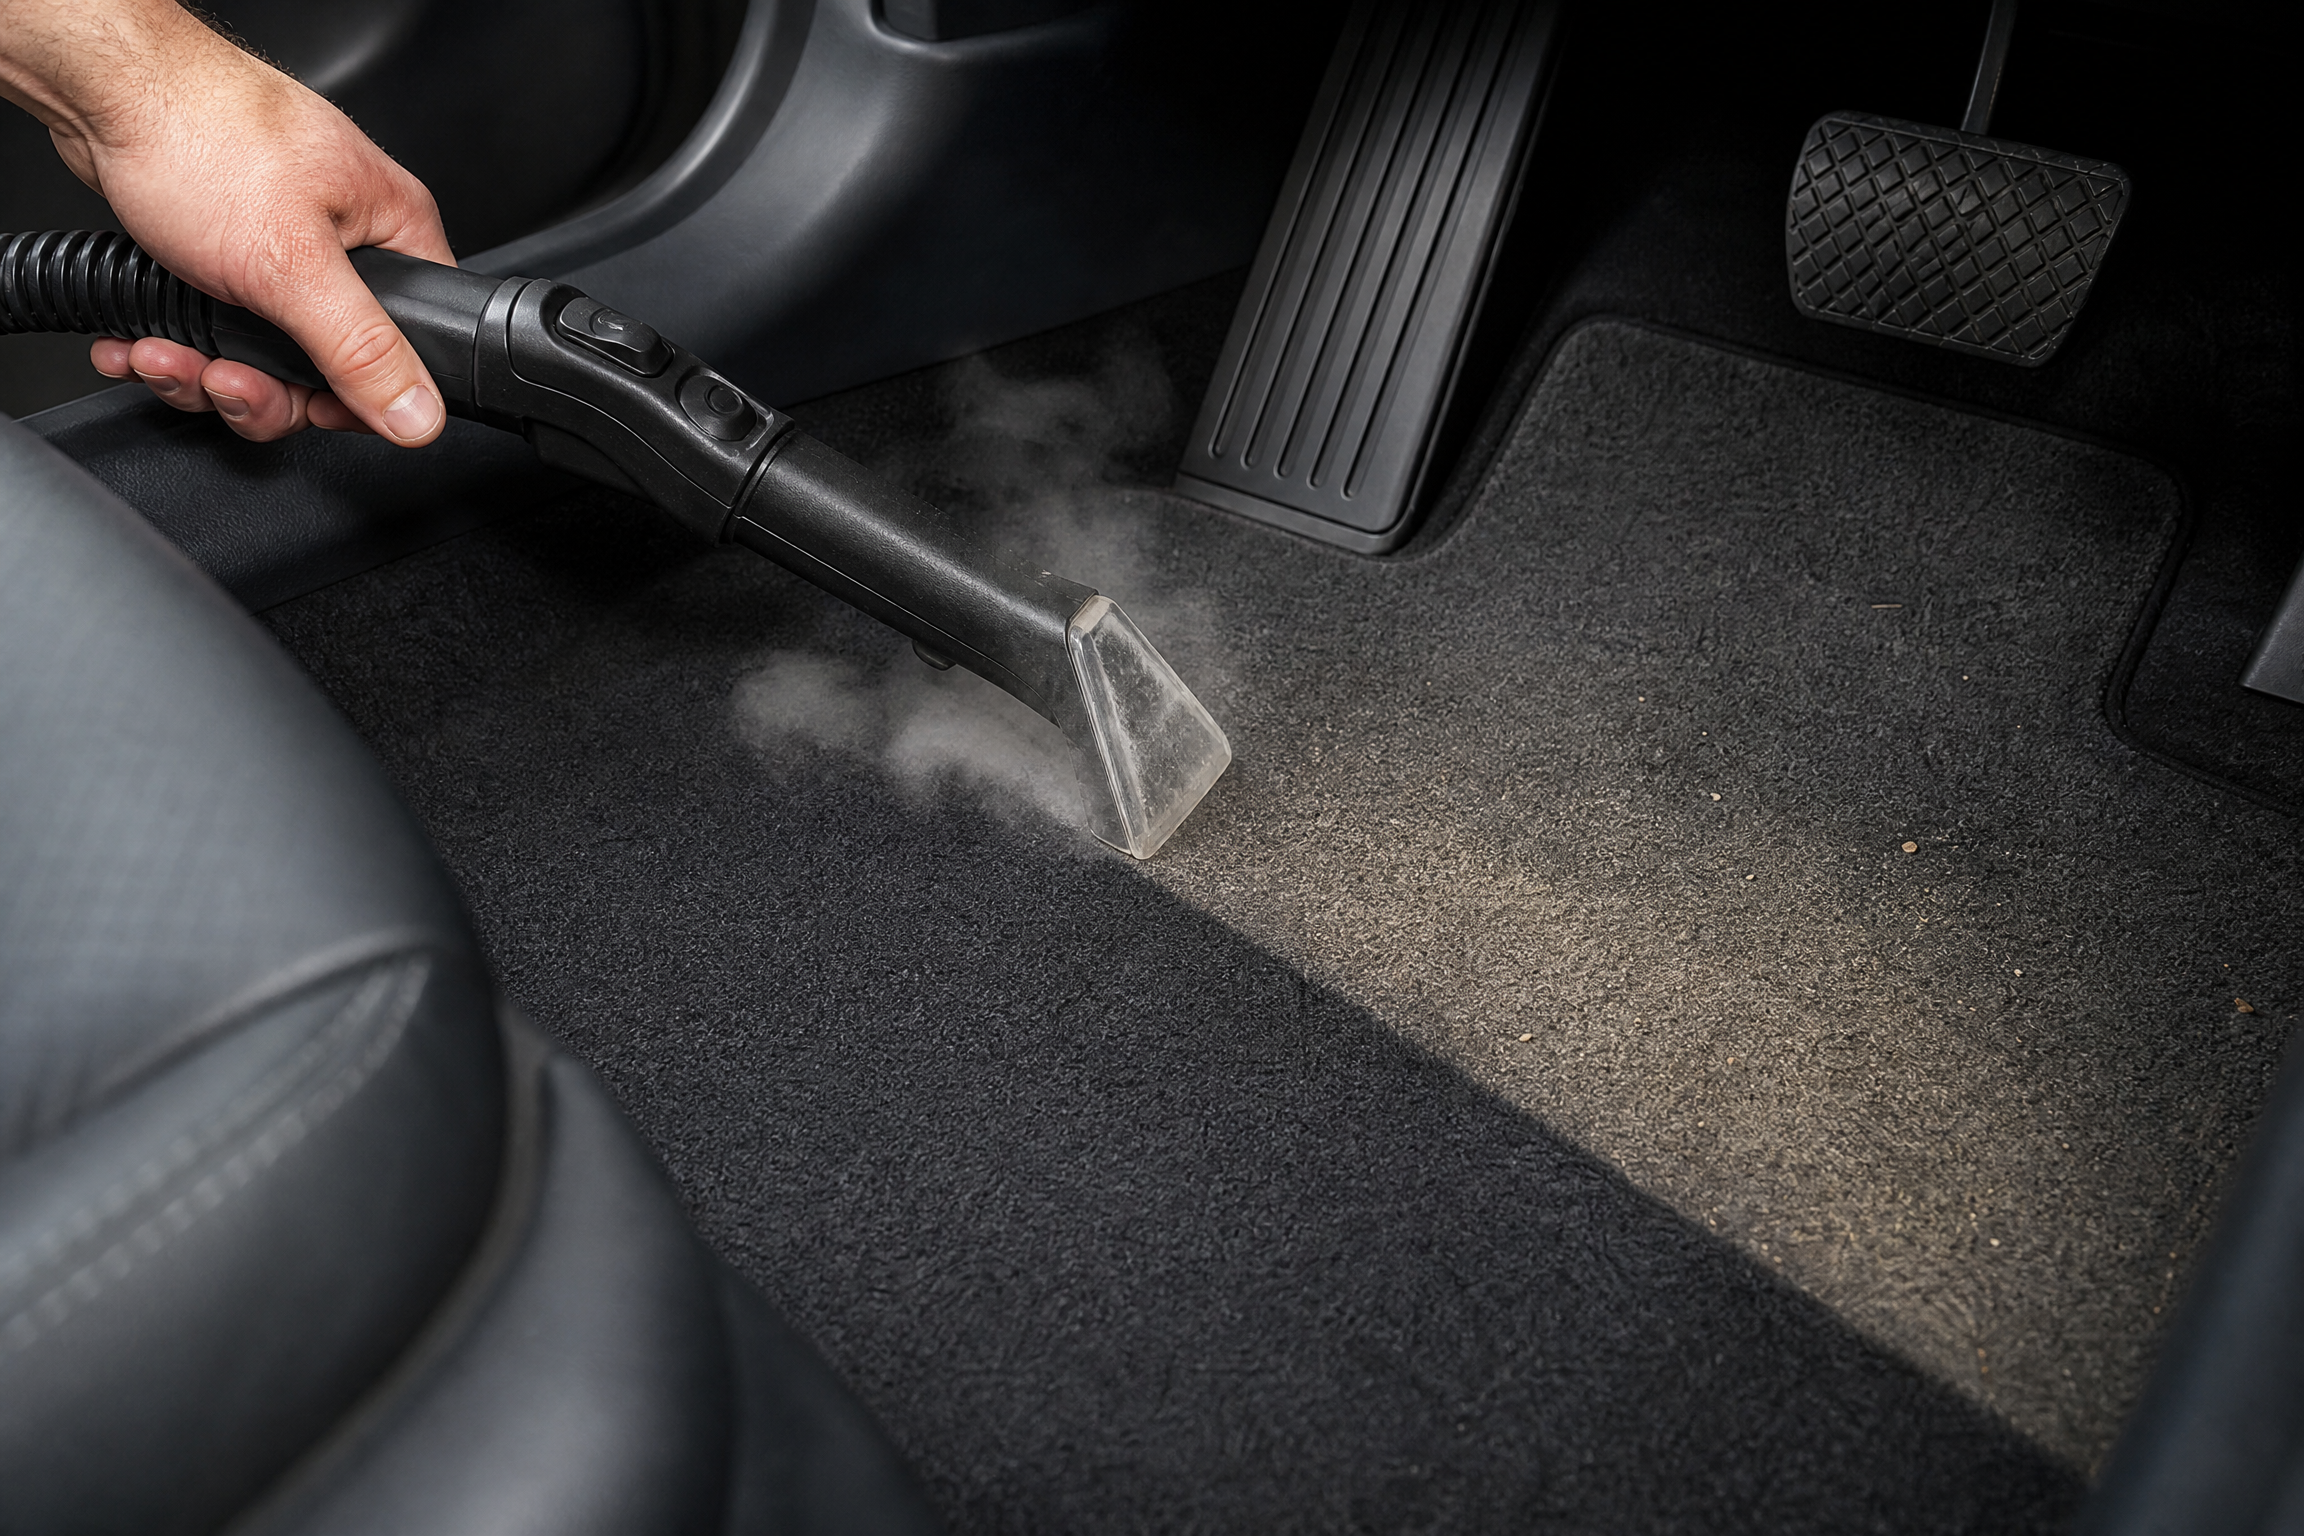
- In-car carpet, section by section: spray, dwell, brush, then extract with a wet-dry vacor press with dry towels hard and repeat.
- Salt stains: 1:1 white vinegar and water, brush in, extract twice. Salt wicks back up from the pad if you only clean the surface.
- Check the foam under the carpet at the heel pads. If it’s soaked and sour, that’s a pad replacement, not a cleaning.
- Aim a fan at the carpet or park in sun with doors open. Damp carpet under a mat is a mildew farm by Friday.
The rule for all fabric: damp, not flooded.You’re cleaning the fibers, not watering the foam.
Stage 3: Cloth Upholstery
- Vacuum the seats again, seams first — grit in the stitching sandpapers the fabric every drive.
- Spray upholstery cleaner or APC 4:1 onto the fabric, not the seat heater buttons.
- Agitate with the drill brush or a stiff hand brush in overlapping passes.
- Extract or towel-press until the towel comes up mostly clean.
- Spot-treat old stains with a second dwell and a soft brush; patience beats pressure.
- Leave the seats dry with doors open before anyone sits on them.
Headrests and seat backs get the same treatment; they collect hair product and sunscreen film that reads as “gray” in photos.
Stage 4: Leather Done Right
- Vacuum seams and perforations first.
- Apply leather cleanerto a soft brush or towel, work it into the grain in small circles.
- Wipe off with a clean towel and look at the towel. The gray on it is why the seats looked tired.
- Repeat on bolsters and headrests, the wear points.
- Let it dry ten minutes, then apply conditionerthin and even.
- Buff the residue off after the conditioner flashes, so jeans don’t wear it home.
Conditioner prevents cracks; it doesn’t heal them. Twice a year on the calendar, spring and fall, is the whole secret.
Perforated leather caution:don’t flood cleaner into the holes. Wipe across them, and use a barely-damp towel for the final pass.
Stage 5: Headliner and Delicate Zones
- Headliner gets a barely-damp microfiberand a light APC mist on the towel, never on the fabric.
- Wipe in gentle, overlapping strokes; no soaking, no scrubbing. The headliner is fabric glued to a board, and soaked glue sags.
- Sun visors and grab handles get the same light touch.
- Seat belt webbing: spray cleaner on a towel and pull the belt through it, section by section. Belts hold more skin oil than anything in the car.
If the headliner is already sagging, cleaning won’t re-glue it. That’s a repair, and now you know why it happened.
Stage 6: Trim, Vents, and Buttons
- Mist APC 10:1 on the towel, not the dash. Spraying floods the buttons and screens.
- Wipe the dash top-down, then the console, door panels, and steering wheel.
- Detail brush through every vent, dry or barely damp, then a dry brush pass.
- Buttons and knobs: brush, then a towel-wrapped screwdriver for the gaps.
- Cup holders: the drill brush with 4:1 solves the fossil record at the bottom.
- Finish with matte protectanton the dash and door tops for UV. Matte, not gloss — gloss glares in the windshield at night and photographs like a rental car.
The steering wheel deserves its own minute; it’s the highest-traffic surface in the vehicle and the one everyone forgets.
Stage 7: Glass, Last
- Ammonia-free cleaner, always, or the tint pays for it.
- Damp towel wipes, dry towel buffs, and wipe the inside glass in one direction, outside in the other, so streaks confess which side they’re on.
- Run the dry towel along the bottom edge of the glass — the line everyone misses.
- Rear window last, around the defroster lines, light pressure.
Glass last means no dust left to settle on it. Order is the whole game.
Stage 8: Odors, If They Survived
- Sniff test with the fan on high. Musty means the cabin air filteror the evaporator, not the seats.
- Swap the cabin filter; it’s $20 and it re-perfumes every drive if skipped.
- Organic spills (milk, smoothie, the dog) get enzyme cleanerat the source, soaked into the pad, not misted on top.
- Still haunted? An ozone treatmentper the machine’s rules, car empty of people, pets, and plants.
Air fresheners are a witness-protection program for smells. Evict the smell instead.
Time Budget: Know Your Saturday
| Level | What it includes | Realistic time |
|---|---|---|
| Maintenance | Declutter, vacuum, wipe-down, glass | 45–60 min |
| Standard detail | All of the above plus leather or cloth cleaning, trim protect | 2–3 hrs |
| Deep clean | Standard plus extraction, stain fights, odor work | 4–6 hrs |
First timers: book the deep clean across two weekends. A rushed detail is just a damp car with opinions.
The Rhythm That Keeps It Easy
- Weekly: trash out, mats shaken, glass done.
- Monthly: full vacuum and wipe-down.
- Twice a year: the full checklist, spring and fall, with leather conditioning and a cabin filter swap.
Clean begets clean. A maintained interior takes an hour; a neglected one takes a weekend and a prayer.
Mistakes This Checklist Prevents
Wet before dry.Mud, instantly.Full-strength everything.Stripped coatings, bleached trim, streaky plastic.Soaked headliner.Sagging fabric, one direction, expensive.Gloss dressing on the dash.Glare at night, dust by noon.Closing the doors on damp carpet. The smell arrives before the weekend ends.
Try It: Detail Progress Tracker
Tick stages as you finish them and watch the bar fill. Refresh-safe? No — but a detail fits in one sitting anyway.
Track your detail
Wrap-Up
A pro interior isn’t chemistry magic. It’s order: dry before wet, top before bottom, glass last, and every surface met with the right strength of the right product.
Run the checklist top to bottom this weekend, and the car will smell, read, and resell like a newer one.
Stain that survived round one, or a smell that came back? Comment with what spilled and on what, and I’ll hand you the next move.




Leave a Reply