

Why this guide works
If your car shudders or vibrates only at higher speeds, the problem is often easy to spot. A few quick checks can tell you whether you have a tire, wheel, or driveline issue — or something that needs a pro. This guide walks you through a simple, safe 10-minute inspection you can do in your driveway.
How to think about speed-related vibration
Vibrations that show up only when you hit 40–70+ mph usually come from rotating parts. That includes tires, wheels, wheel bearings, axles, CV joints, driveshafts and the parts they attach to.
Short, sharp shudders most often point to tires or a bent wheel. A low rumble or growl that changes with speed can mean a bearing or driveshaft issue. Steering-wheel shake usually links to front wheels; a seat or floorboard vibration can come from rear wheels or the driveline.
What this guide won’t do
This is a quick triage. It helps you find likely causes and decide if you can fix the problem or need a shop. I won’t give vehicle-specific torque numbers or instructions that require special tools or lifts. If you need exact specs, check your owner or service manual.
Tools and items you might need
- Flashlight
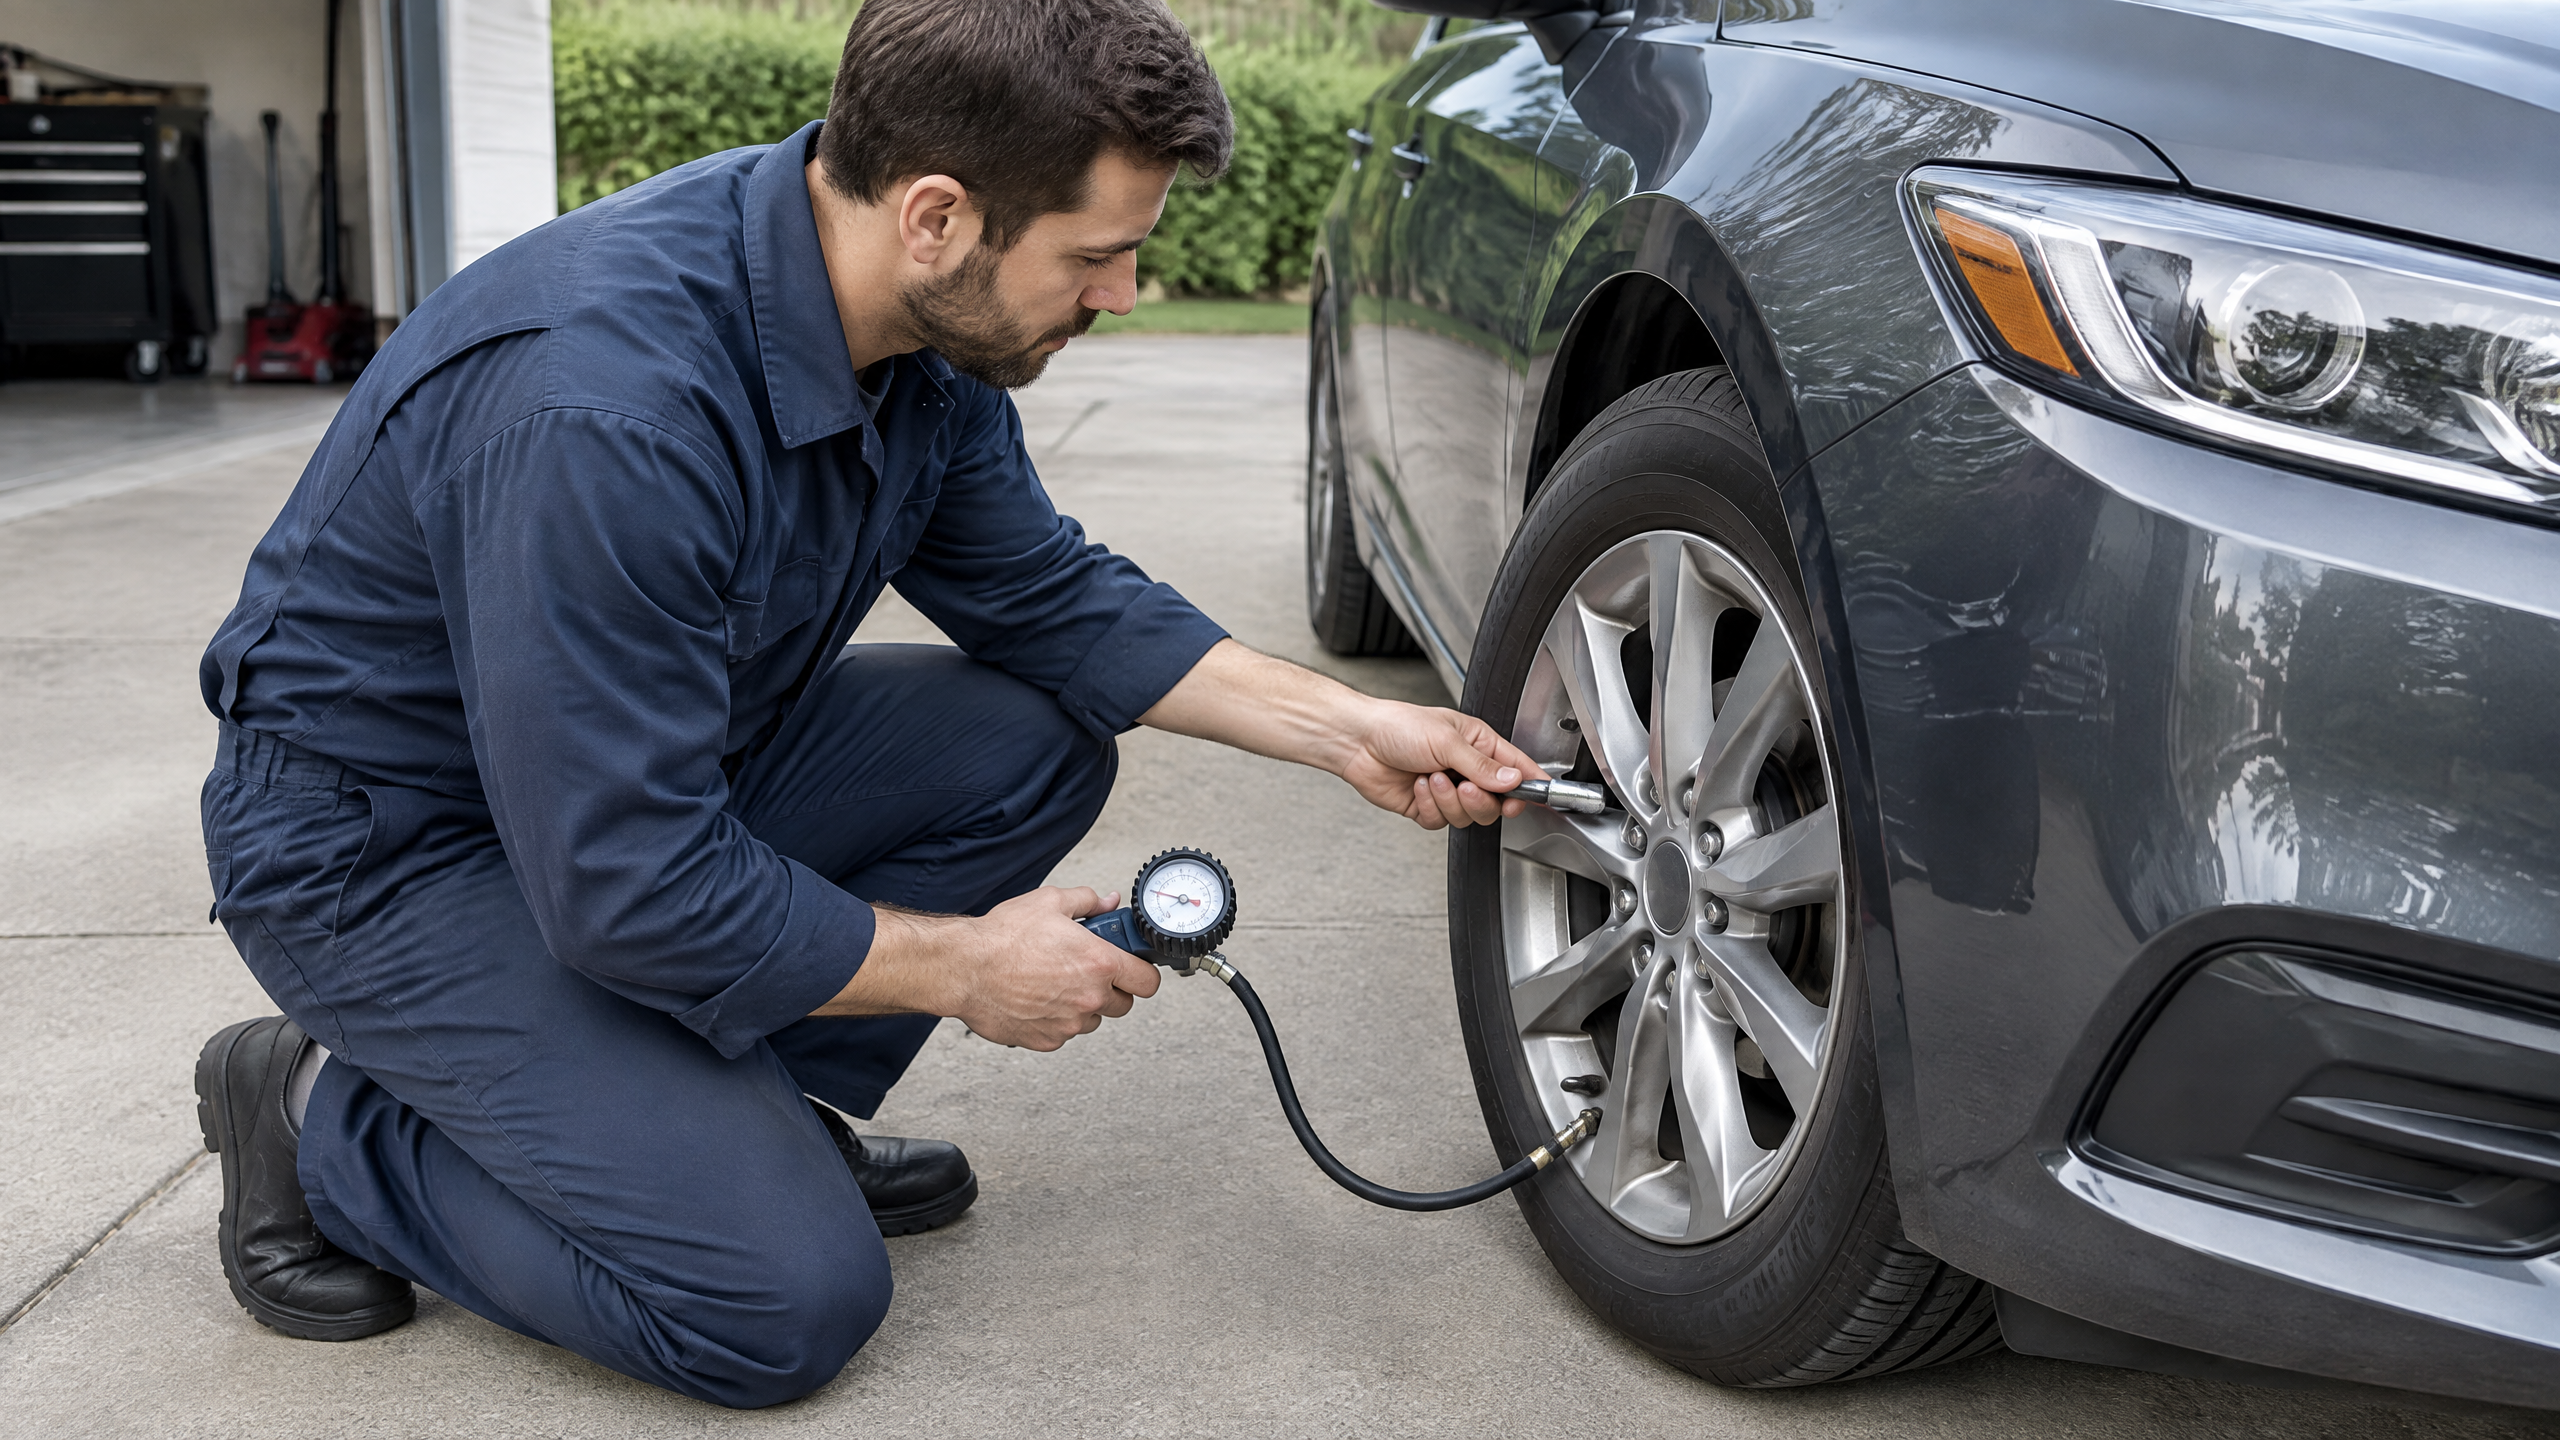
- Tire pressure gauge
- Jack and jack stands (or safe ramps)
- Lug wrench or breaker bar
- Work gloves
- Marker or chalk
- Rag
Quick safety notes before you start
Stop and get help if you see smoke, bad sparks, a wheel wobbling violently, or a loud grinding sound. Don’t work under a car that’s only supported by the jack. Use jack stands on a flat surface. If you ever feel unsure, call a trusted mechanic.
10-Minute Vibration Triage — Checklist
Follow these steps in order. Each step takes a minute or two. Put a check when done. If a step reveals a serious problem, stop and seek help.
| [ ] | 1. Road test and note conditions: speed, sounds, where vibration is felt. |
| [ ] | 2. Check tire pressure on all four tires and set to recommended values. |
| [ ] | 3. Visual tire inspection: cuts, bulges, flat spots, uneven wear. |
| [ ] | 4. Check wheels for bends: look along rim edge and spin wheel by hand (jack up if needed). |
| [ ] | 5. Grab tire at 12 and 6 o’clock and rock; repeat at 9 and 3 — check for play in bearings or ball joints. |
| [ ] | 6. Check lug nuts for tightness and look for missing wheel weights. |
| [ ] | 7. If all looks OK, swap front/rear or left/right tires (if you can safely) to see if vibration moves. |
| [ ] | 8. If vibration remains, stop and have a shop check wheel balance, bearings, driveshaft, and CV joints. |
When to stop and call a professional
- Severe wheel wobble or visible rim crack
- Grinding or loud growling that gets worse with speed
- Excessive play when you rock the wheel
- You can’t support the car safely to check components
If a step shows a problem you can’t fix with tools you have, or if you’re unsure, stop and seek professional help.
Step 1 — Road-test notes that help diagnose
Before you start poking around, make a short road test and take notes. Try to describe how the vibration behaves.
- Does it happen at a specific speed range? Write the numbers down.
- Does it come through the steering wheel, seat, or floor? That tells you front or rear.
- Does it change when you brake, turn, or hit a bump?
These details narrow the list of suspects and save time.
Step 2 — Tires: pressure, wear and flat spots
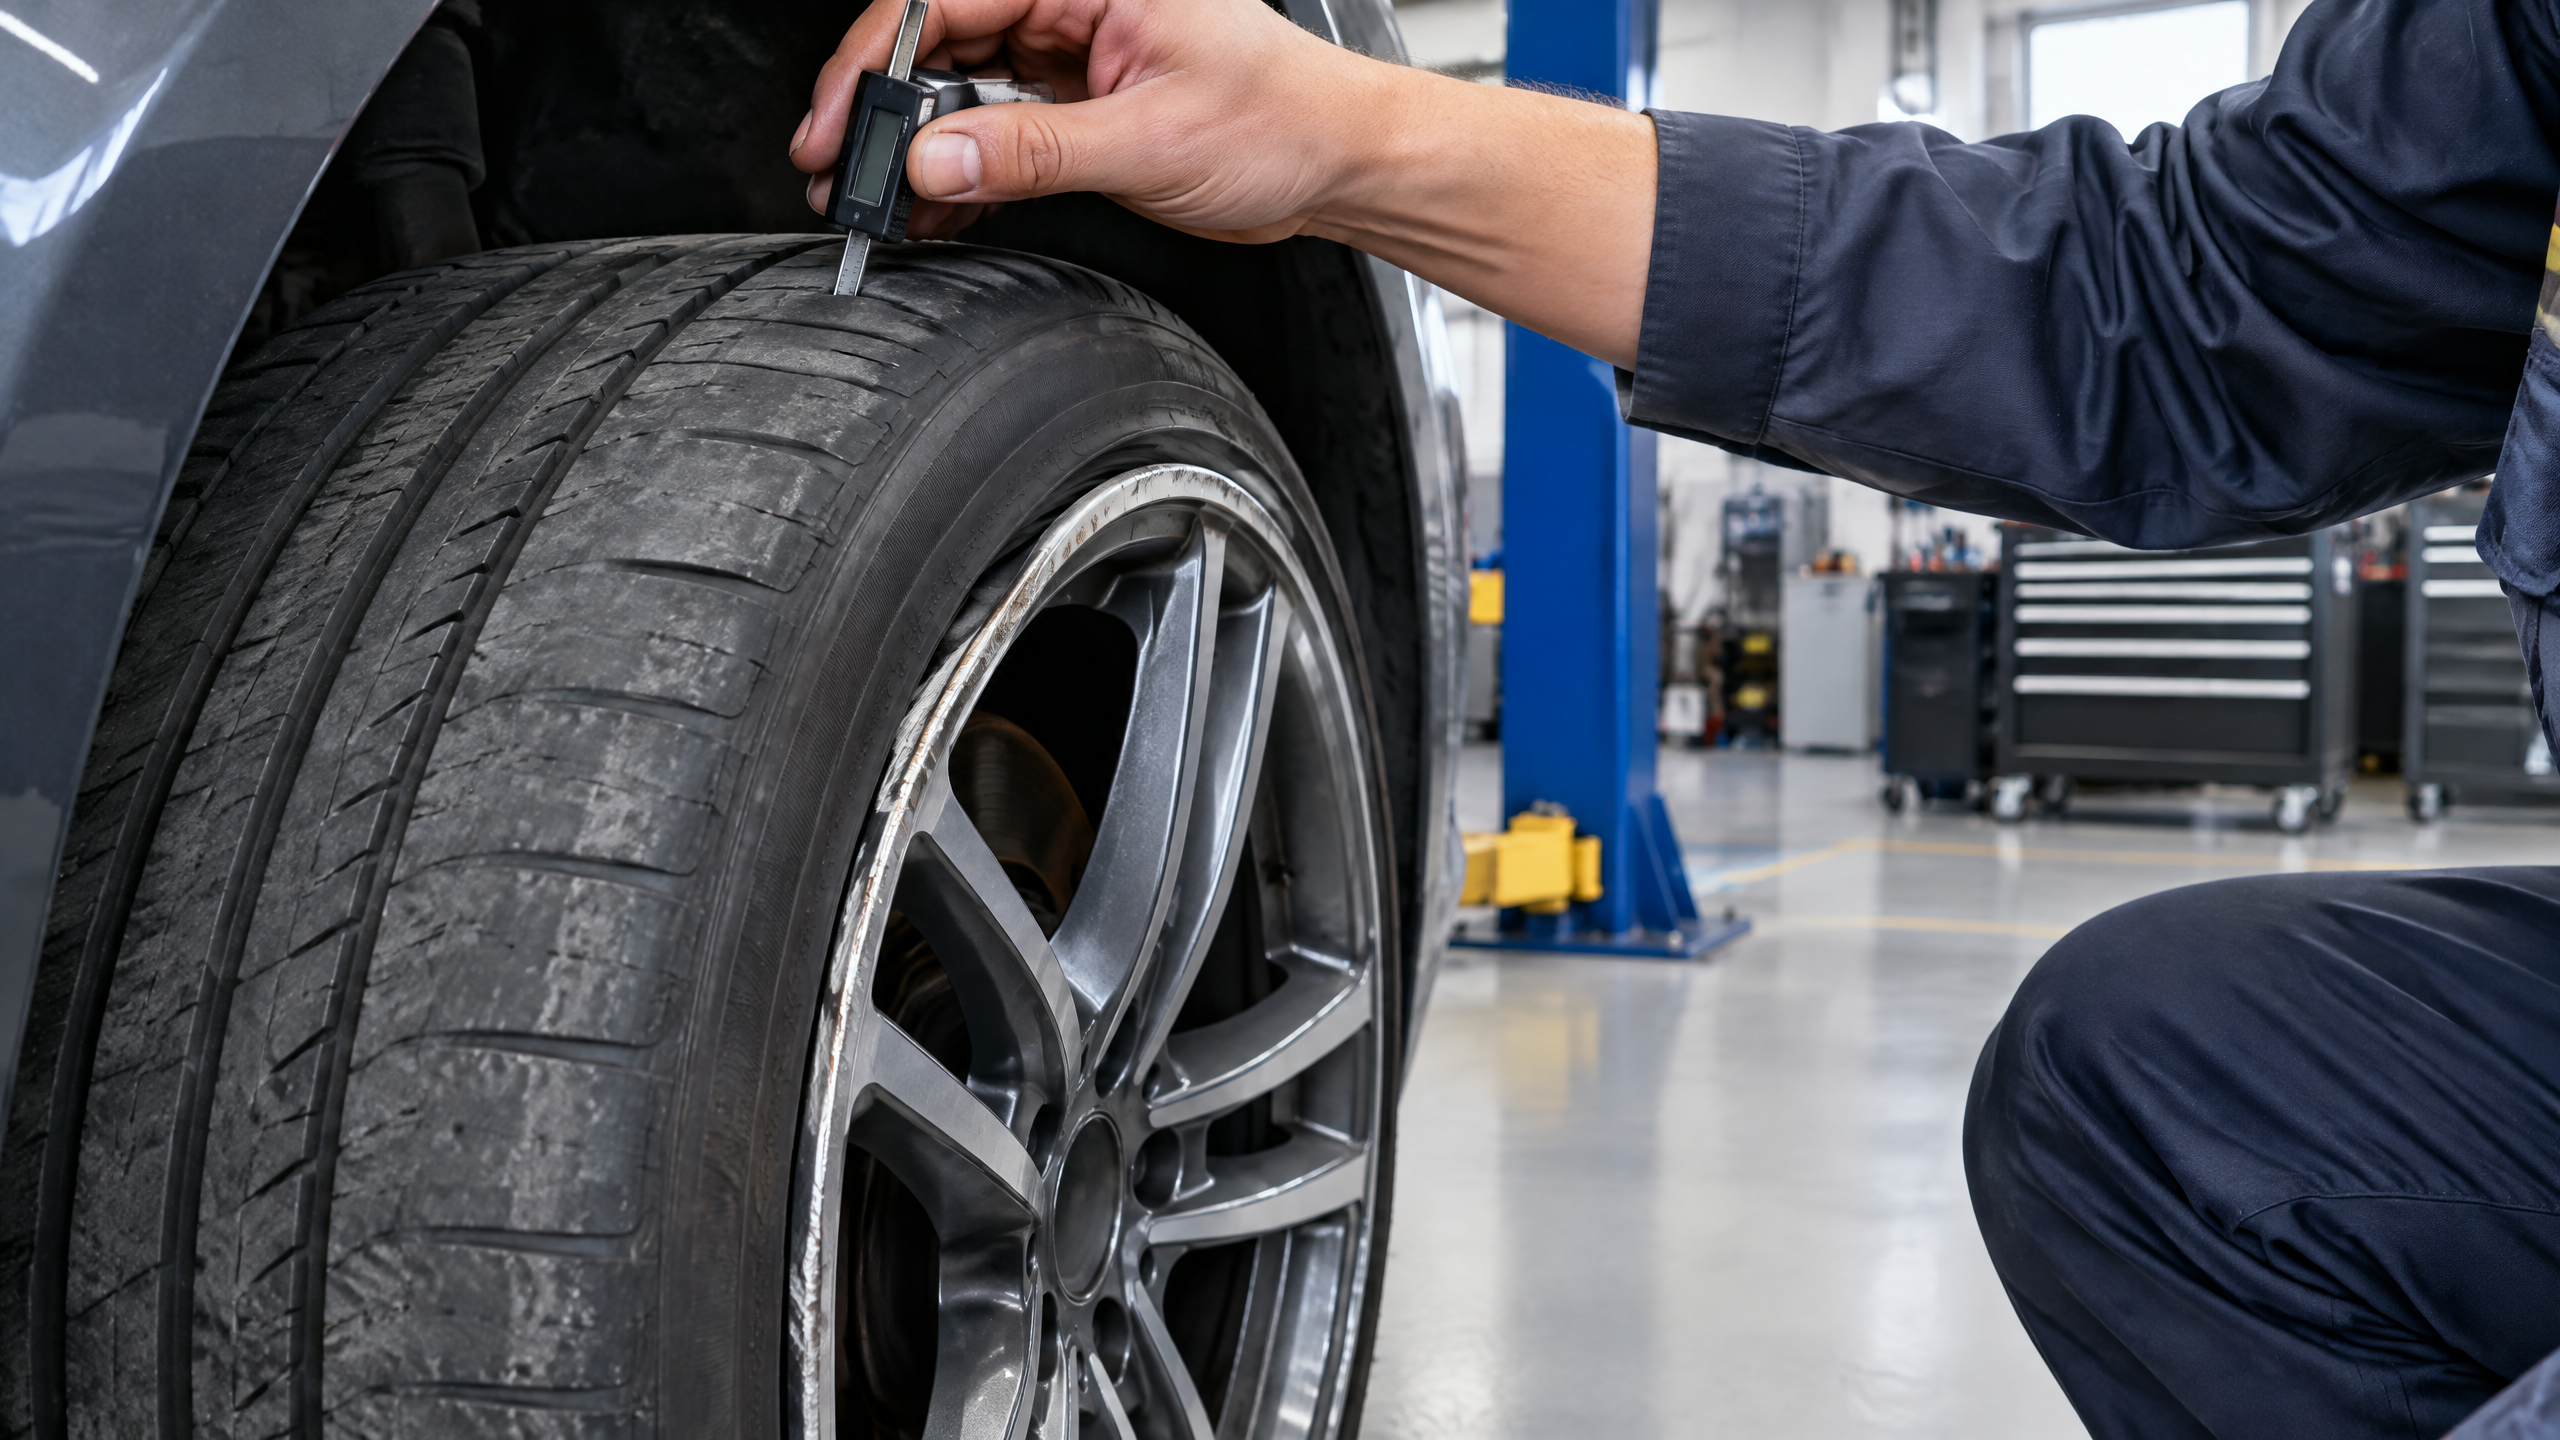
Tires are the most common cause. Start with tire pressure. Even a 5–10 psi difference can cause vibration and uneven wear.
Check every tire cold and set to the manufacturer’s recommended pressure shown on the driver’s door jamb or in the owner manual. If a tire is low, fill it and re-test. Sometimes the vibration disappears right away.
Next, inspect the tread. Look for:
- Bulges in the sidewall — these mean internal damage. Replace the tire.
- Flat spots — often from panic stops or sitting in one position for a long time. They can cause thumping at certain speeds.
- Uneven wear — edge wear or cupping suggests balance, suspension, or alignment problems.
Step 3 — Wheel balance and missing wheel weights
A wheel with a heavy spot will shake at speed. Shops balance tires on a machine that adds small weights to cancel the heavy spot. You can spot missing weights on the rim; look around the outside edge and behind spokes.
If you see missing weights, that’s a strong hint. Take the car to a tire shop; they can rebalance the wheel in 15–30 minutes. Balancing often fixes highway vibration.
Step 4 — Bent rim checks
Bent rims can be tricky. A rim that looks fine from a distance can still be warped. With the car lifted and the wheel off the ground, spin the wheel slowly and watch the rim lip relative to the brake rotor or a fixed point.
Any wobble or hop as the wheel turns indicates a bent wheel or a tire separated from the bead. If the rim is bent, replacement or repair is usually needed. Small bends sometimes get fixed, but a cracked rim needs replacement.
Step 5 — Wheel bearing and suspension play test
With the car securely lifted and on stands, do a hands-on check:
- Grab the tire at 12 and 6 o’clock and rock back and forth. Any movement or clunk could mean a bad wheel bearing or worn ball joint.
- Repeat grabbing at 9 and 3 o’clock and try to pull the wheel in and out. Play here points to tie rod or ball joint wear.
Bearings that are failing also make noise: a growl that changes with speed and may get louder during turns.
Step 6 — Driveshafts, CV joints, and U-joints
If vibration seems to come from the middle or rear of the car, the driveshaft or rear axle parts could be the cause. Front-wheel-drive cars use half-shafts with CV joints; rear-wheel-drive and 4WD vehicles use a driveshaft with U-joints.
Signs to look for:
- Clunks when shifting from drive to reverse — may mean joint wear.
- Clicking when turning sharply — often a bad outer CV joint.
- A vibration that grows with speed and keeps getting worse — could be worn U-joints, an unbalanced driveshaft, or a center support bearing.
These parts may be hard to check without lifting the car. If you suspect a driveshaft or CV joint, get a professional to inspect and, if needed, replace parts safely.
Step 7 — Brakes and warped rotors
Warped brake rotors usually show up as a pulsing in the brake pedal when braking, but heavy rotor wobble can cause vibration at speed, too. If the vibration changes or reduces when you apply light brake pressure, have the rotors checked.
Step 8 — Steering and alignment
Worn tie rods, loose steering components, or bad alignment can cause vibration or shake. If the steering feels loose or the car pulls to one side, get the steering and suspension checked. Alignment itself rarely causes a strong vibration, but the worn parts that lead to misalignment can.
Step 9 — Test by swapping tires (if safe)
If you have time and a safe place to work, swapping a front tire with a rear tire (or left/right) can help locate the source. If the vibration moves with the tire, the tire or wheel is the problem. If it stays in the same location, the problem likely lives in the suspension, wheel bearing, or driveline at that corner.
Only do tire swaps if you have the tools, stands, and know-how. If not, take the car to a shop.
How shops diagnose what’s left
If you reach a shop, they have machines and lifts to check balance, runout, and component play. They can also road-test with the car on an alignment rack or use dial indicators to find runout in hubs and rotors.
Be ready to share your road-test notes and what you found in the 10-minute inspection. That will speed up diagnosis and avoid unnecessary work.
Typical fixes and what to expect
- Tire pressure and inflating: free or very low cost.
- Balancing: usually 15–45 minutes per wheel at a tire shop; price varies by shop.
- New tire: if there’s a bulge or internal damage, replacement is the right fix.
- Wheel repair or replacement: small bends may be repaired; cracks or severe damage require replacement.
- Wheel bearing: replacement requires part and labor; shops will recommend replacing both sides on the same axle in many cases.
- CV joint or driveshaft repairs: depend on part cost and labor; a shop can advise on repair vs replacement.
Ask for an estimate before work begins. If the shop recommends replacing multiple parts, ask why and whether the parts show wear that affects safety.
Maintenance to avoid future vibration
- Keep tires inflated to recommended pressure and check monthly.
- Rotate tires at regular intervals to promote even wear.
- Replace tires when tread or sidewall damage appears.
- Have wheel balance checked whenever you get new tires or feel a shake.
- Address steering or suspension noises early — worn parts can speed up tire wear.
When to stop and get professional help — clear signs
- Visible rim cracks, bulging tire sidewalls, or large tire separations.
- Severe wobble while driving — this can make the car unsafe to steer or stop.
- Loud grinding or growling noises that change with speed or during turns.
- Any time you can’t lift and support the car safely to inspect parts.
If you see these, pull over safely and arrange towing or a shop visit. Driving on a damaged wheel or failing bearing can cause a crash or further serious damage.
Quick FAQ
Q: Can a balancing weight fall off and cause vibration?
A: Yes. If a weight drops, the wheel becomes unbalanced and will often vibrate at highway speeds. A shop can rebalance it quickly.
Q: If the vibration only happens during braking, is it the tires?
A: Usually that points to warped rotors or brake problems. But check tires and wheel condition too — multiple issues can exist.
Q: Is it safe to drive home with a slight vibration?
A: If the vibration is mild and nothing is smoking or wobbling, you can drive slowly to a shop. If the vibration feels severe or gets worse, stop and get help.
Final words
High-speed vibration often has a straightforward fix. Start with tire pressure, a visual check, and a quick play test on the wheels. Use the 10-minute checklist above to separate simple fixes from problems that need a pro. When in doubt, stop and get help — safety comes first.
References
- https://www.nhtsa.gov/vehicle-safety/tires
- https://www.tirerack.com/upgrade-garage/what-causes-a-steering-wheel-shake
- https://www.bridgestonetire.com/learn/maintenance/tire-vibration/
Why speed changes the diagnosis
A vibration that starts at one road speed and fades at another often points to a rotating assembly. The tire and wheel may be out of balance, the wheel may be bent, or the tire may have a belt separation or a high spot. A vibration that follows engine speed while the car is stationary is a different problem. A vibration only under acceleration can point toward a driveshaft, axle, or engine mount.
Use the steering wheel as a clue, but do not treat it as proof. A shake felt mostly through the steering wheel often begins at the front axle. A seat or floor vibration can come from the rear wheel or driveline. The body can transmit vibration in surprising ways, so a proper inspection still matters when the location seems obvious.
What not to ignore
Stop driving and get help if the tire has a bulge, a deep cut, exposed cord, or a rapidly losing pressure. Do the same if a wheel nut is missing, the vehicle pulls hard, the vibration suddenly becomes severe, or you hear a rhythmic clunk. These signs can involve a damaged tire or loose suspension hardware. A balance machine cannot make an unsafe tire safe.
After a balance or tire repair, ask what was found and whether the wheel was checked for runout. Keep the work order. If the vibration returns, that record helps the next technician avoid repeating the same guess. A short, careful road test is useful; a high-speed test on public roads is not.
Related posts:
 Why Your Car Pulls to One Side: Diagnosing Alignment and Brake Issues
  Troubleshooting Common Car Audio Problems: Diagnosing and Fixing Sound System Issues
  Top Tech Car Upgrades: Dash Cams, Backup Cameras & Parking Sensors
  How to Change Your Car Air Filter Yourself in Under 10 Minutes (No Tools Needed)