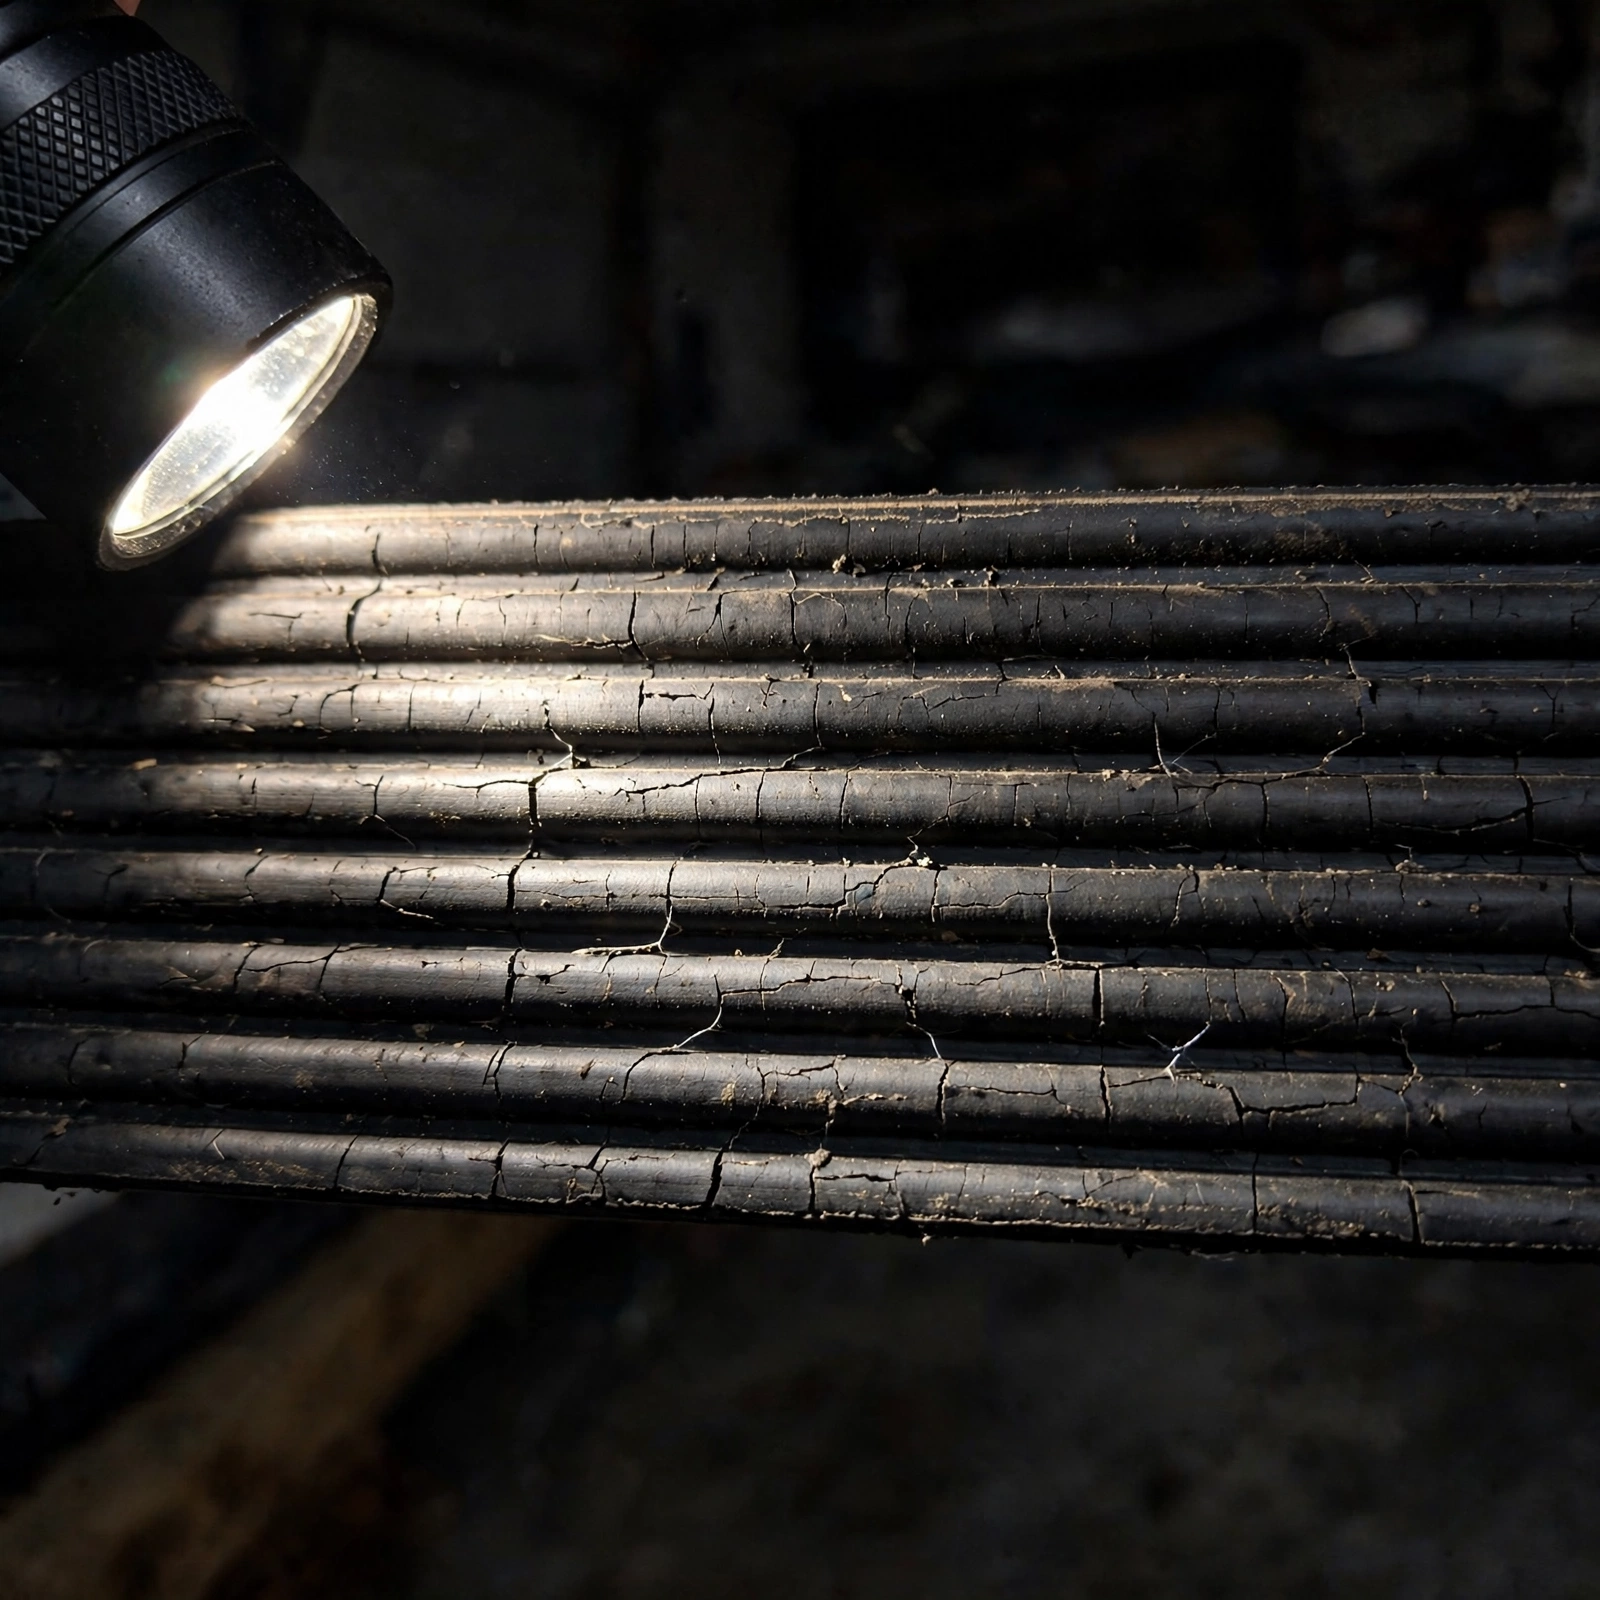
Last winter I was under my Mazda 3 in the garage, hands cold, flashlight flickering. My neighbor yells, “Hey, is that belt supposed to look like that?” It wasn’t. That one glance saved me a tow. If you’ve never really looked at your serpentine belt, this guide will show you exactly what to spot with just a flashlight and 30 seconds.
Why Your Serpentine Belt Matters More Than You Think
One belt does all the work now. No more three separate V-belts like my dad’s old Chevy. Your serpentine belt snakes around your alternator, water pump, power steering pump, and AC compressor. If it snaps, you lose charging, cooling, and steering assist in one second.
I learned that the hard way on I-70. Battery light on, temp gauge climbing, steering suddenly heavy as a truck. It was a $28 belt I kept ignoring. Don’t be me.
- 60k-100k miles is typical life, but heat and oil kill it faster
- A broken belt = no alternator = dead battery in ~15 minutes
- On many cars, it also drives the water pump – overheating warps heads fast
- Safety warning: Never check a belt with the engine running. Keep fingers, loose clothes, and jewelry clear. Hot coolant burns – that upper radiator hose can be 200°F+
What You Need Before You Look
You don’t need a lift. I check mine in the driveway with coffee in one hand.
- Flashlight – phone light works, but a small LED penlight is better for angles
- 3/8″ drive ratchet or breaker bar – most tensioners have a square 3/8″ hole
- 10mm socket – for engine cover clips on Toyotas, Mazdas
- Safety glasses – road grime falls in your eyes
- Optional: mechanic’s mirror on a stick for tight engine bays
Tip: Clean dirt off the coolant reservoir cap and belt cover before you open anything. A little grit can ruin ABS valves and pulleys if it drops in.
How to Do a Flashlight Inspection in 60 Seconds
Park cold. Engine OFF. Keys in your pocket – not in the ignition. Pop the hood.
- Find the belt diagram – usually a sticker on the hood underside or strut tower. Snap a photo.
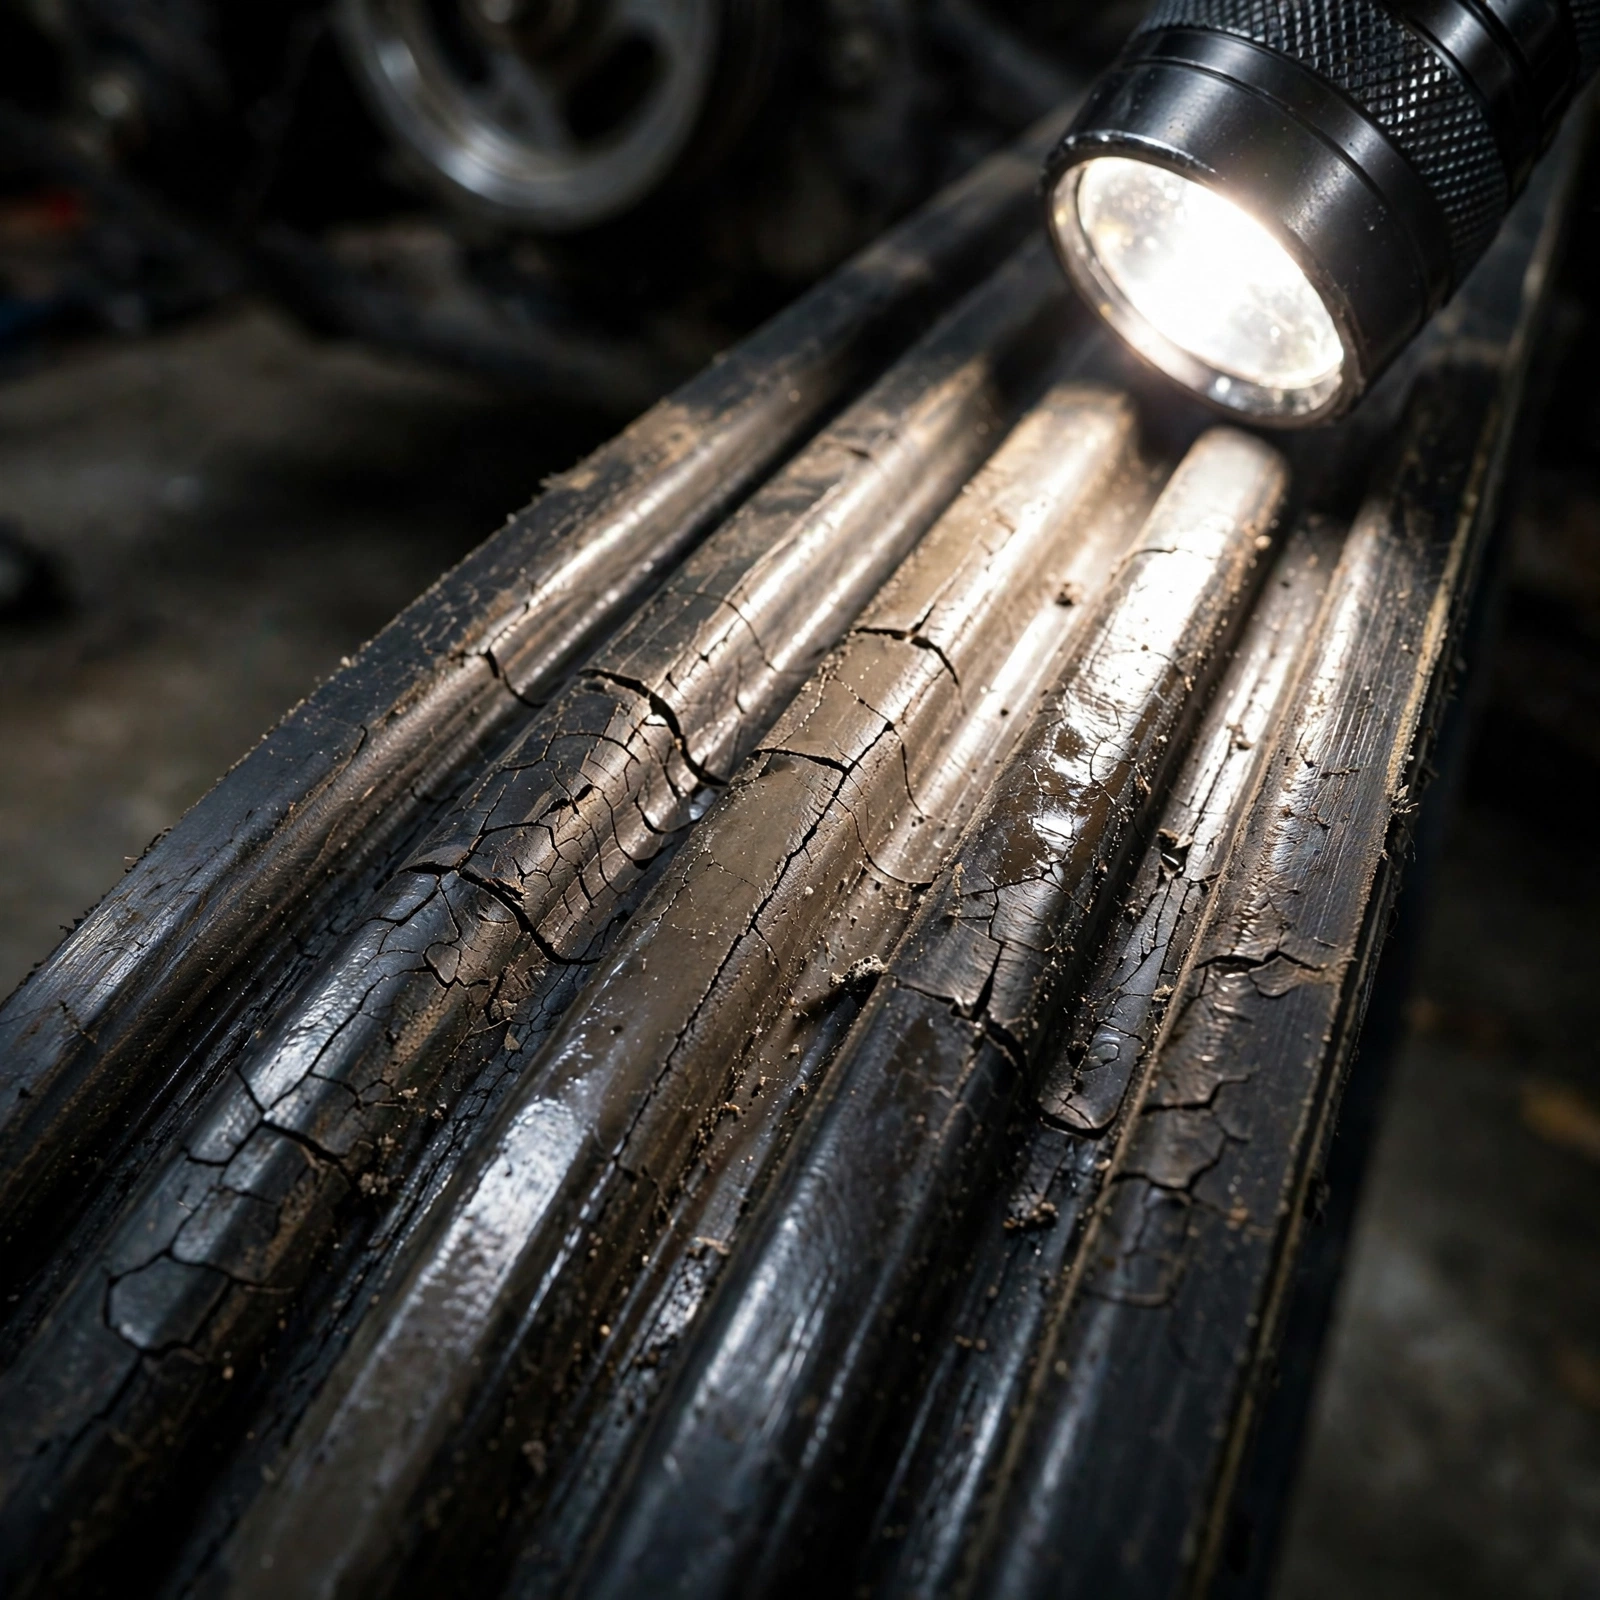
- Shine your light on the flat backside first, then the ribbed inside. Rotate the belt slightly by bumping the crank with a 19mm socket on the crank bolt (or have a friend bump the starter for a split second – just don’t start it).
- Look along the ribs, not across. Cracks hide between them.
- Check both edges for fraying. One frayed cord means it’s coming apart.
The 3 Cracks You Can Actually See (And What They Mean)
1. Rib Cracks – The Count-Per-Inch Test
This is the big one. Old-school rule from Gates and Continental: flip the belt inside-up with tension off.
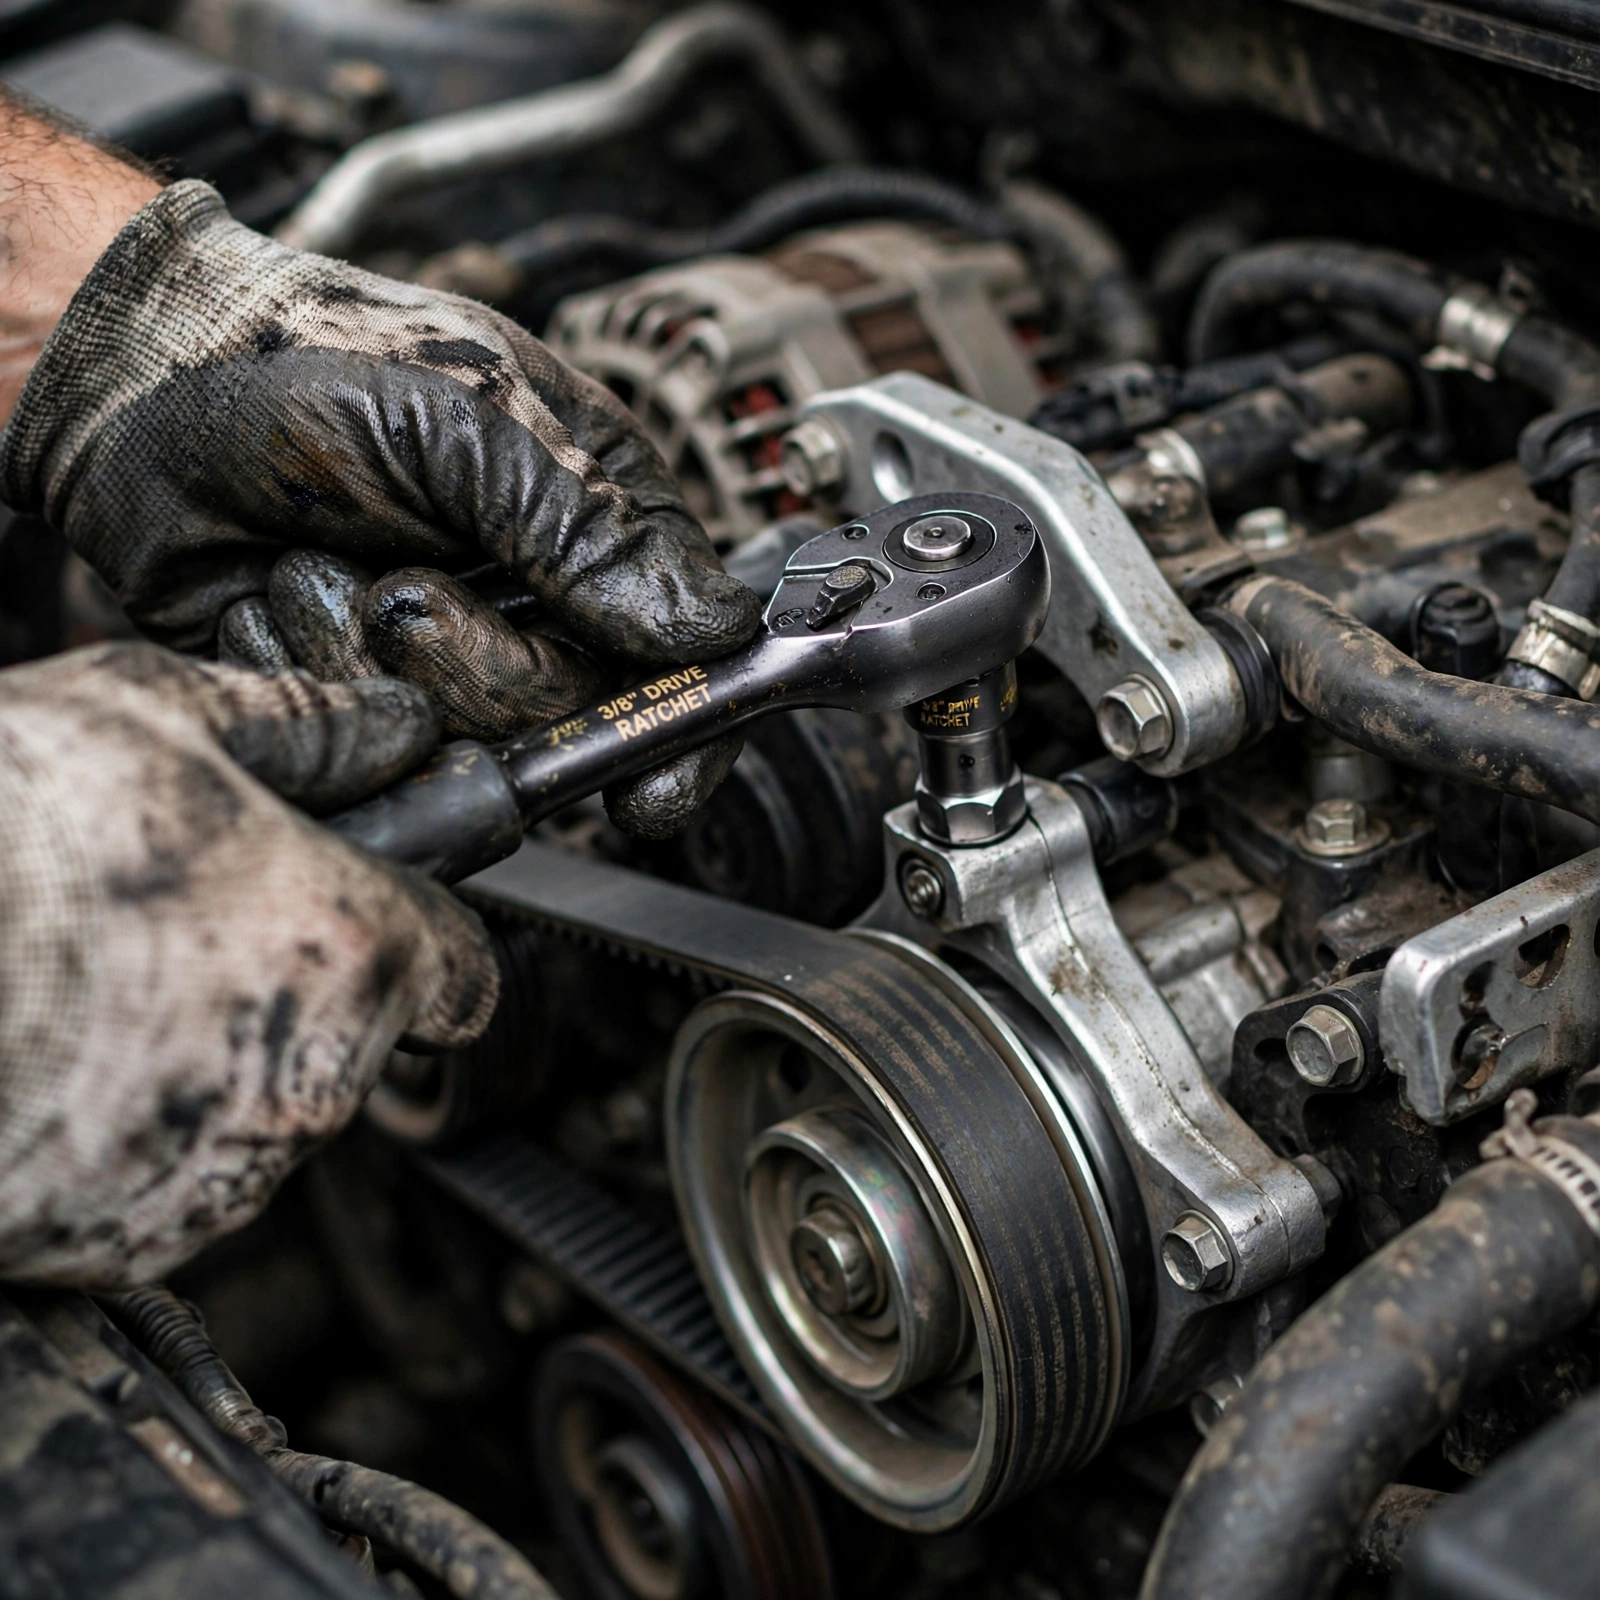
Use your 3/8″ ratchet to rotate the tensioner pulley clockwise (most Japanese cars) or counter-clockwise (many GM). Hold it. Slip the belt off the alternator pulley – it’s usually easiest. Let the tensioner back down slow. Don’t let it snap.
Now bend a section backward so the ribs spread. You shine your flashlight right in there.
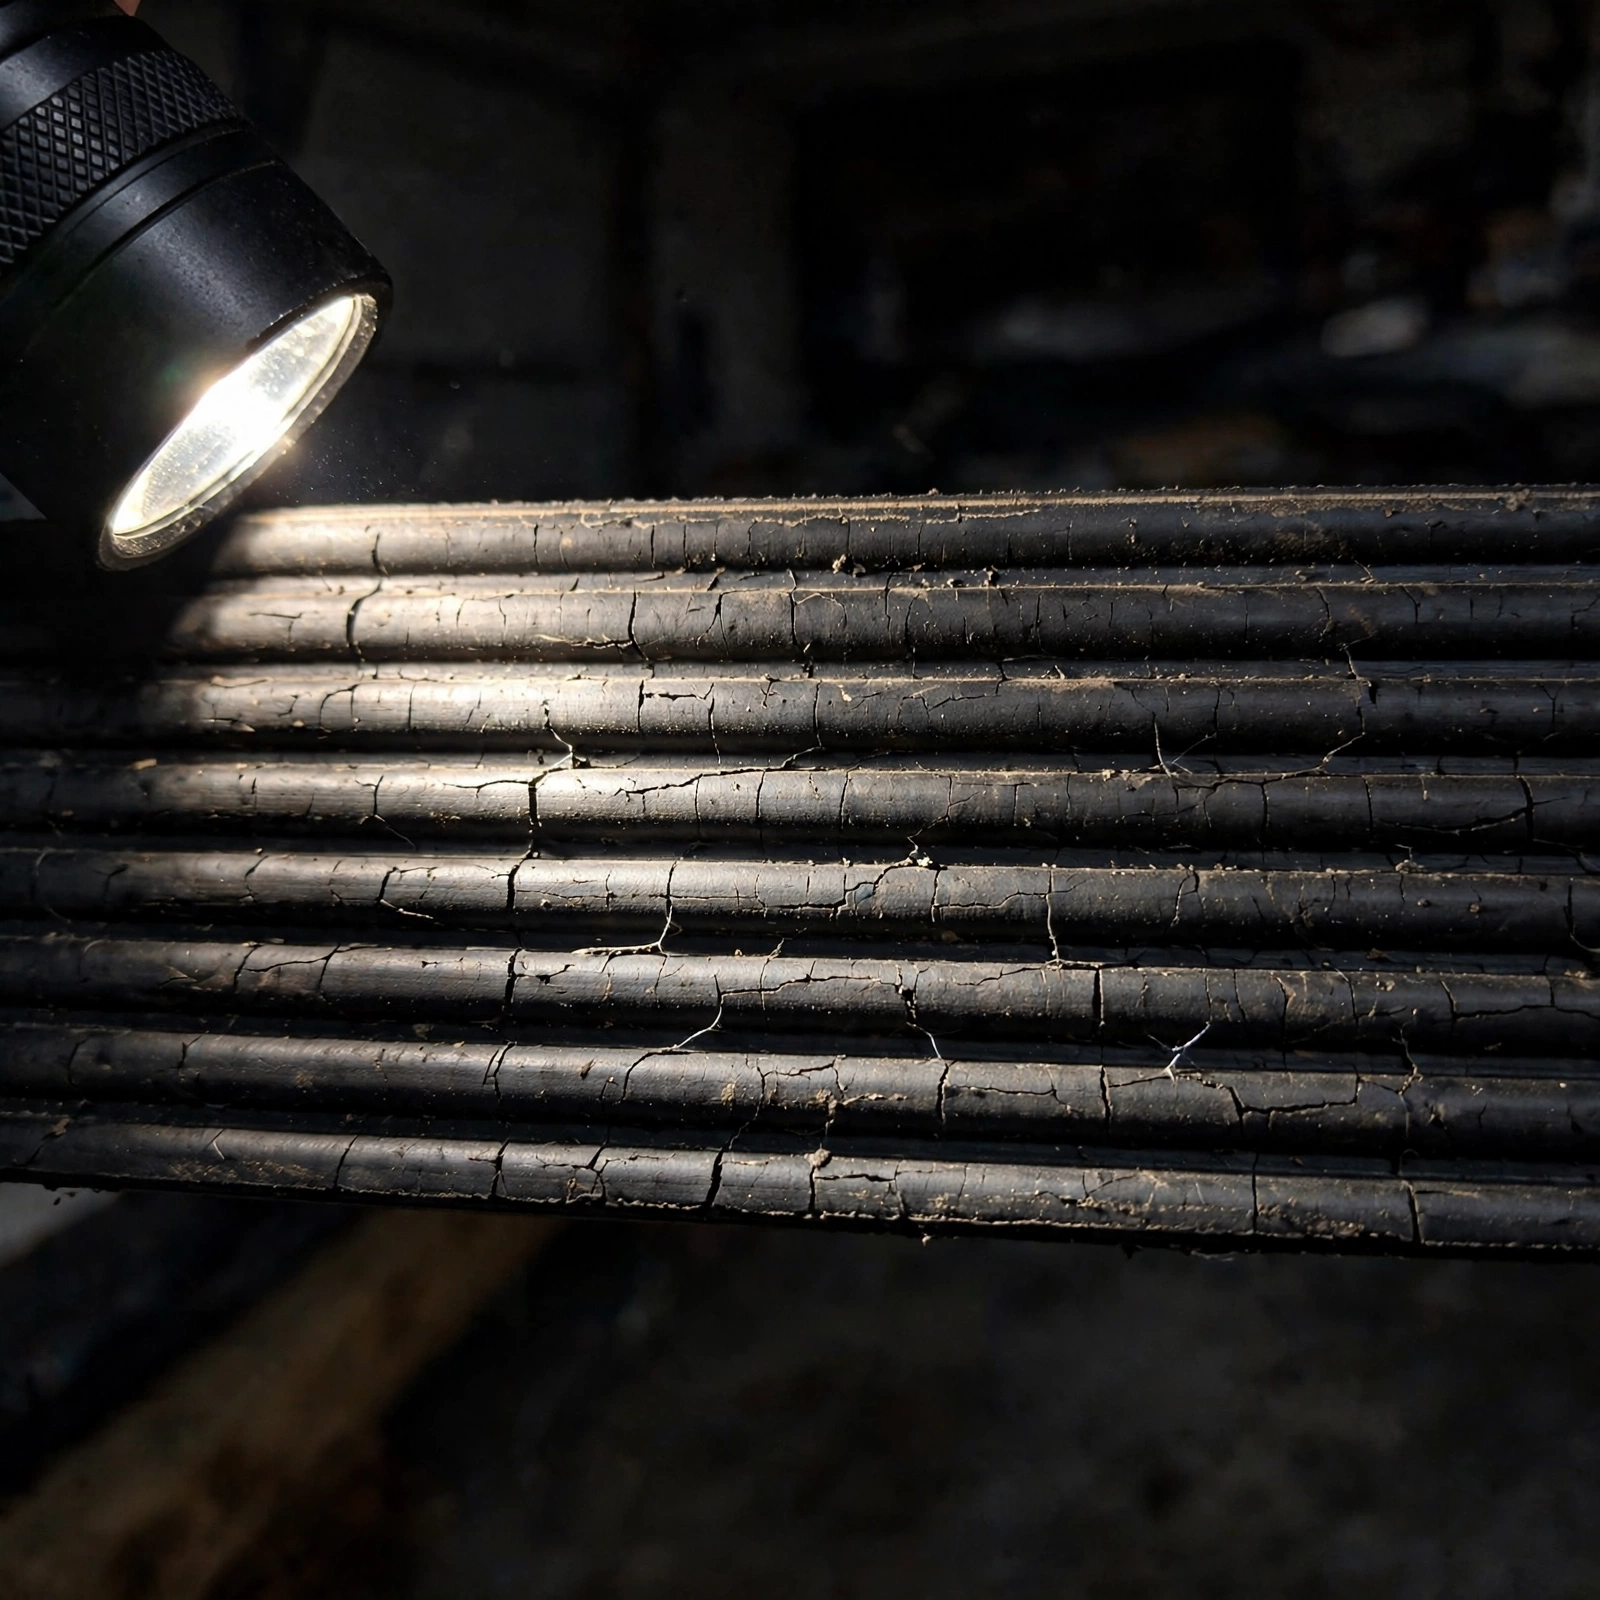
- Good: No cracks at all, or 1 tiny crack per inch
- Monitor: 2-3 cracks per inch in one rib
- Replace now: 3+ cracks per inch in one inch of length, or any crack that goes across two ribs, or cracks deeper than 1/32″
I was under my Mazda, my hands were greasy, and I counted 5 cracks in a half-inch on the AC compressor loop. Belt was only 4 years old but coated in a little oil leak. Oil swells EPDM rubber and cracks it fast.
2. Backside Cracks and Glazing – The Shiny Trap
Flip the belt over. The smooth back should be matte black, not shiny. Glazing looks like a polished shoe – super shiny, sometimes hard and slick.
Glazing = belt is slipping. It polishes itself. You’ll hear it first – that cold-start squeal for 2-3 seconds in the morning.
- Shiny, glazed streaks plus small lateral cracks across the back = heat damage
- If you can see fabric cords showing through the back, it’s done. Replace that day.
- Run your fingernail across the back. If it feels like glass and leaves no mark, it’s hardened. A good belt is slightly soft and grippy.
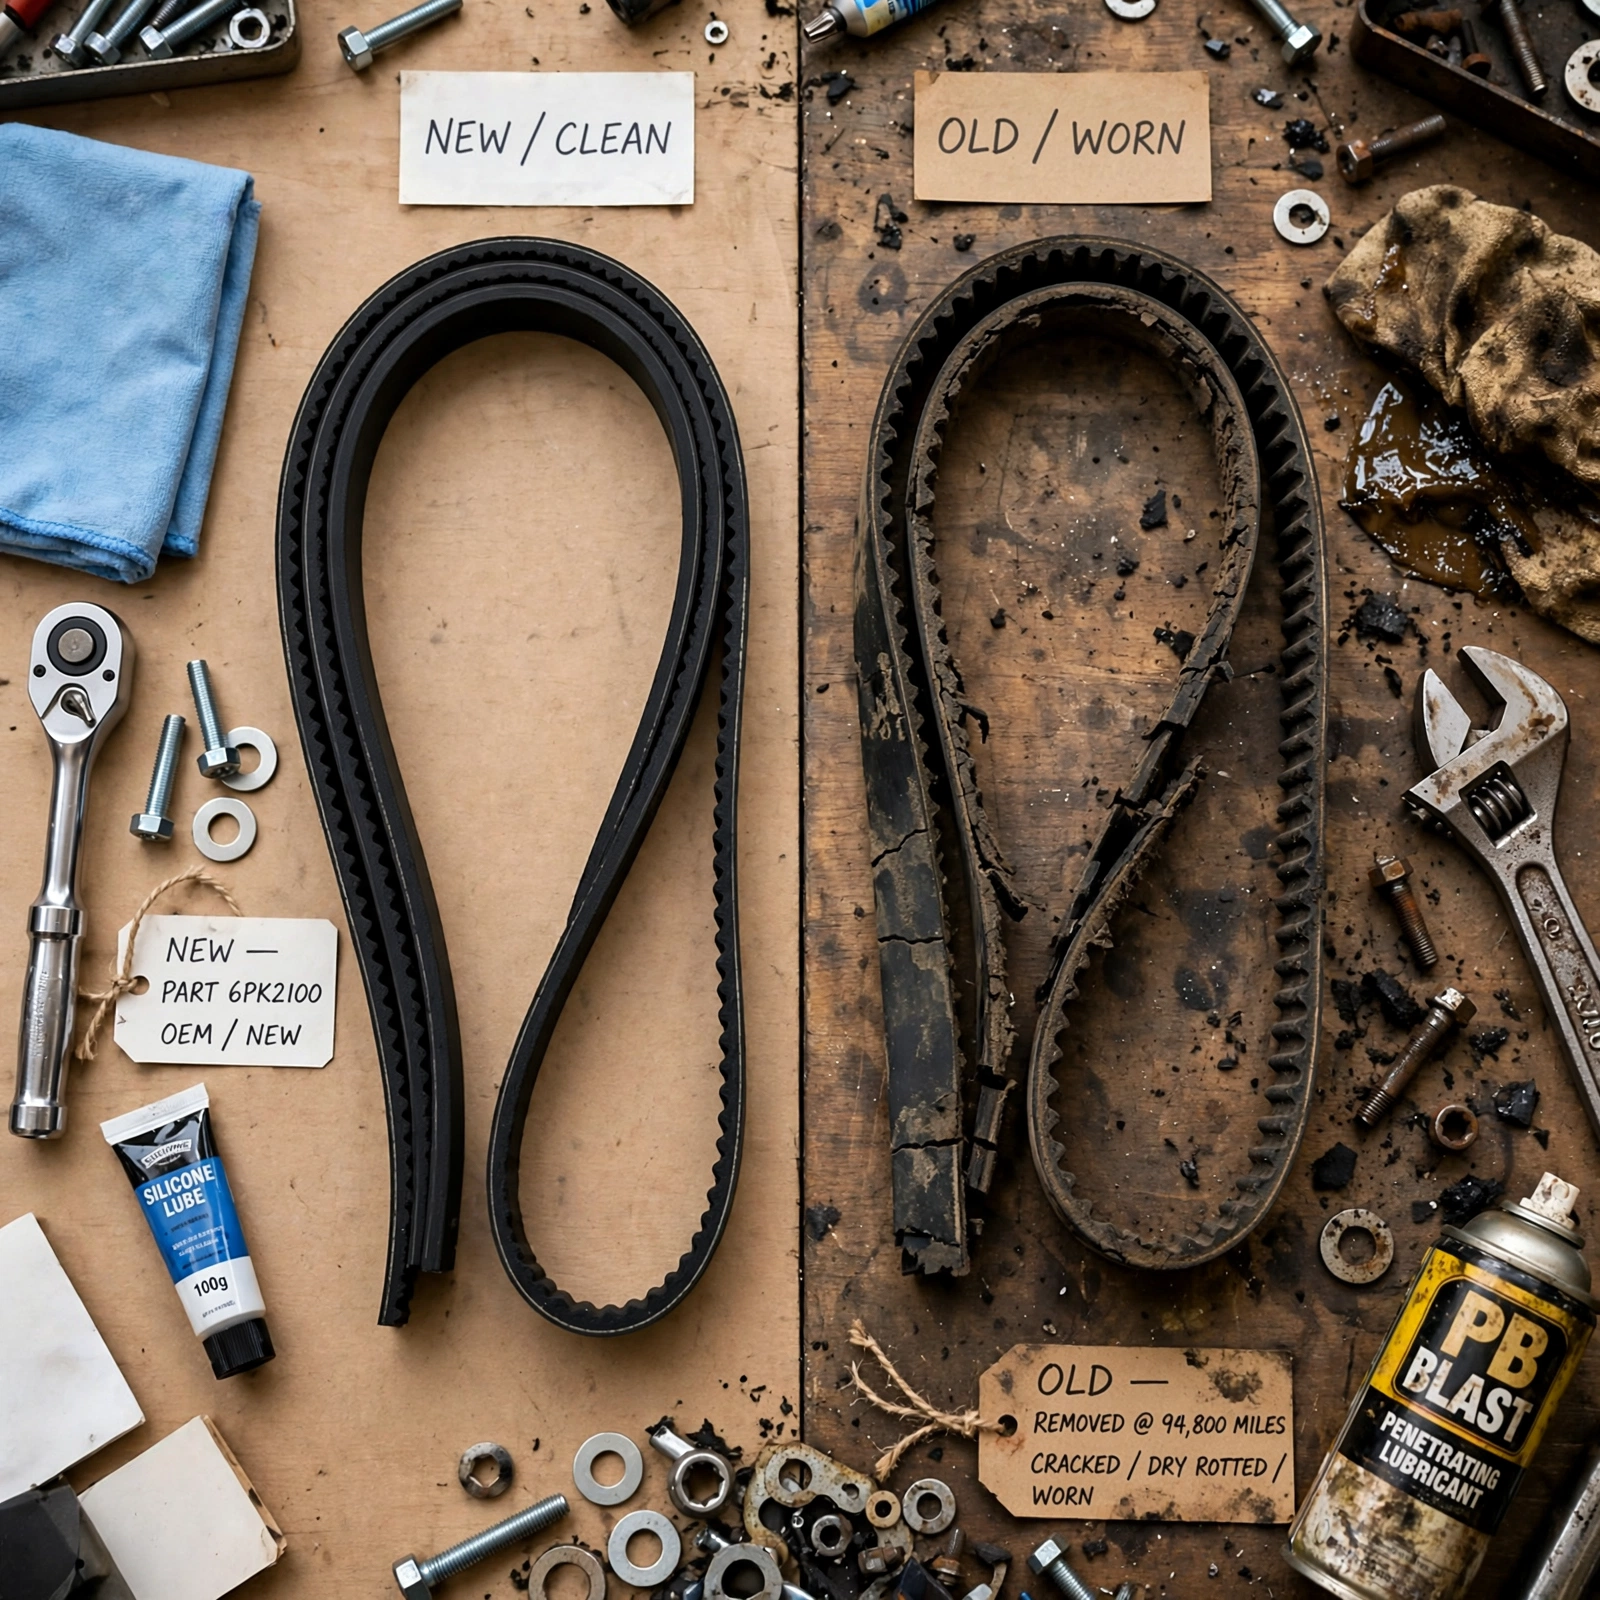
3. Edge Fray, Chunking, and Missing Ribs – The Failure Point
This is where I get nervous. If the belt lost material, it’s already failing.
- Missing chunks on ribs – little black pieces gone, looks like a pothole
- Edge fraying – fuzzy cords hanging off the side, often from a misaligned pulley
- Pilling – rubber dust packed between ribs, looks like pocket lint. Means a pulley is seized or wobbling
Last one killed my buddy’s F-150 on a camping trip. The idler pulley bearing seized, ate the belt edge for a week, then snapped at midnight in 20°F. Check pulleys when you’re in there. Spin each by hand with belt off – they should spin free with no growl or wobble. If an idler feels crunchy, replace it. They are usually 10mm or 13mm bolts, torqued to about 18 ft-lbs (25 Nm), and $15-25.
Beyond Cracks: 2 More Clues Your Ears Catch First
Your flashlight shows cracks. Your ears show slip.
- Cold squeal: Loud squeak for 5-20 seconds on cold start, goes away when warm. Glazed belt or weak tensioner.
- Chirp under load: Turn on AC or turn steering wheel lock-to-lock at idle – if it chirps, the belt is slipping under load.
Don’t spray belt dressing. That stuff is like makeup on a bad bearing. It hides the noise for a day and makes the rubber swell. Fix the cause.
When to Replace vs When to Watch
| What You See | Mileage | Action |
|---|---|---|
| No cracks, matte finish | < 60k | Good – recheck at oil change |
| 1-2 small cracks per inch, no glazing | 60k-80k | Monitor monthly, plan replacement |
| 3+ cracks per inch, or any missing chunk, or shiny glazing + squeal | Any | Replace now |
| Edge fray or fabric showing | Any | Replace now + check pulley alignment |
| 5+ years old even if looks okay | Any | Replace – EPDM looks okay until it snaps |
Safety reminder: Brake fluid ruins paint to bare metal in minutes. If you spill while topping off, flood with water. And if you’re working near the coolant cap, use a rag and open slow – hot coolant burns instantly.
DIY Replacement – Tools, Torque, and Tricks
Honestly, it’s one of the easiest jobs. Took me 18 minutes on my Mazda after I stopped fighting the diagram.
- Tools: 3/8″ breaker bar or long ratchet, 10mm socket for covers, phone camera for routing
- New belt: Match by part number (e.g., 6PK1030) – 6 = ribs, PK = metric, 1030 = mm length. Don’t guess.
- Tensioner bolt if you replace it: usually 14mm or 15mm, torqued to 33-38 ft-lbs (45-52 Nm) – check your manual
- Route diagram – draw it BEFORE you remove the old belt
Steps:
- 1. Disconnect negative battery terminal – 10mm wrench.
- 2. Release tensioner with 3/8″ drive, slip belt off alternator.
- 3. Slowly release tensioner. Remove belt.
- 4. Spin idler and tensioner pulleys – replace if gritty.
- 5. Clean pulley grooves with dry brush – no solvents on EPDM.
- 6. Install new belt per diagram. Keep it seated in every groove – one rib off will shred in 30 seconds.
- 7. Tensioner holds itself. Double-check routing. Reconnect battery.
- 8. Start, watch for 30 seconds, listen.
If you overtighten the tensioner mounting bolt, you’ll crack the aluminum bracket. If you leave belt one groove off, you’ll smell burning rubber fast. I did both once. Learn from my mistakes.
What Eats Belts Early?
I’ve seen 30k-mile belts look 100k because of this stuff.
- Oil or coolant leaks – even a small valve cover drip softens the rubber. Fix the leak first.
- Misaligned pulleys – after an alternator swap, the bracket might be off 1-2mm. Check with a straight edge.
- Weak tensioner spring – if the tensioner pointer is outside the marks with a new belt, the spring is tired. Replace tensioner assembly.
- Too many short trips – belt never fully warms, stays stiff. City cars crack faster than highway cars.
Check It at Every Oil Change
You don’t need to pull the belt every time. Just shine that flashlight when you’re waiting for oil to drain. Count cracks per inch, look for shine, peek at edges. Thirty seconds, saves you a tow and a warped head.
And if you’re past 5 years or 80k and you can’t remember the last change? Just replace it. Belt is $25-45. Tow is $150. Engine overheat is $2500.
Keep a photo of your belt routing and part number in your glove box. Next time you’re at the auto parts store, grab the belt. Keep it under the trunk floor with that 3/8″ ratchet. You’ll thank yourself at 11pm in a parking lot.




Leave a Reply