
- Where to actually start (hint: not the subwoofer)
- Choosing speakers that fit your doors
- Subwoofers: sealed vs. ported, and sizing
- Amplifiers and matching power correctly
- Electrical upgrades your system will need
- Sound staging and speaker placement
- Does your head unit need to change too
- Power matching calculator
- Quiz: what setup fits your goals
- Buying reference
Where to actually start (hint: not the subwoofer)
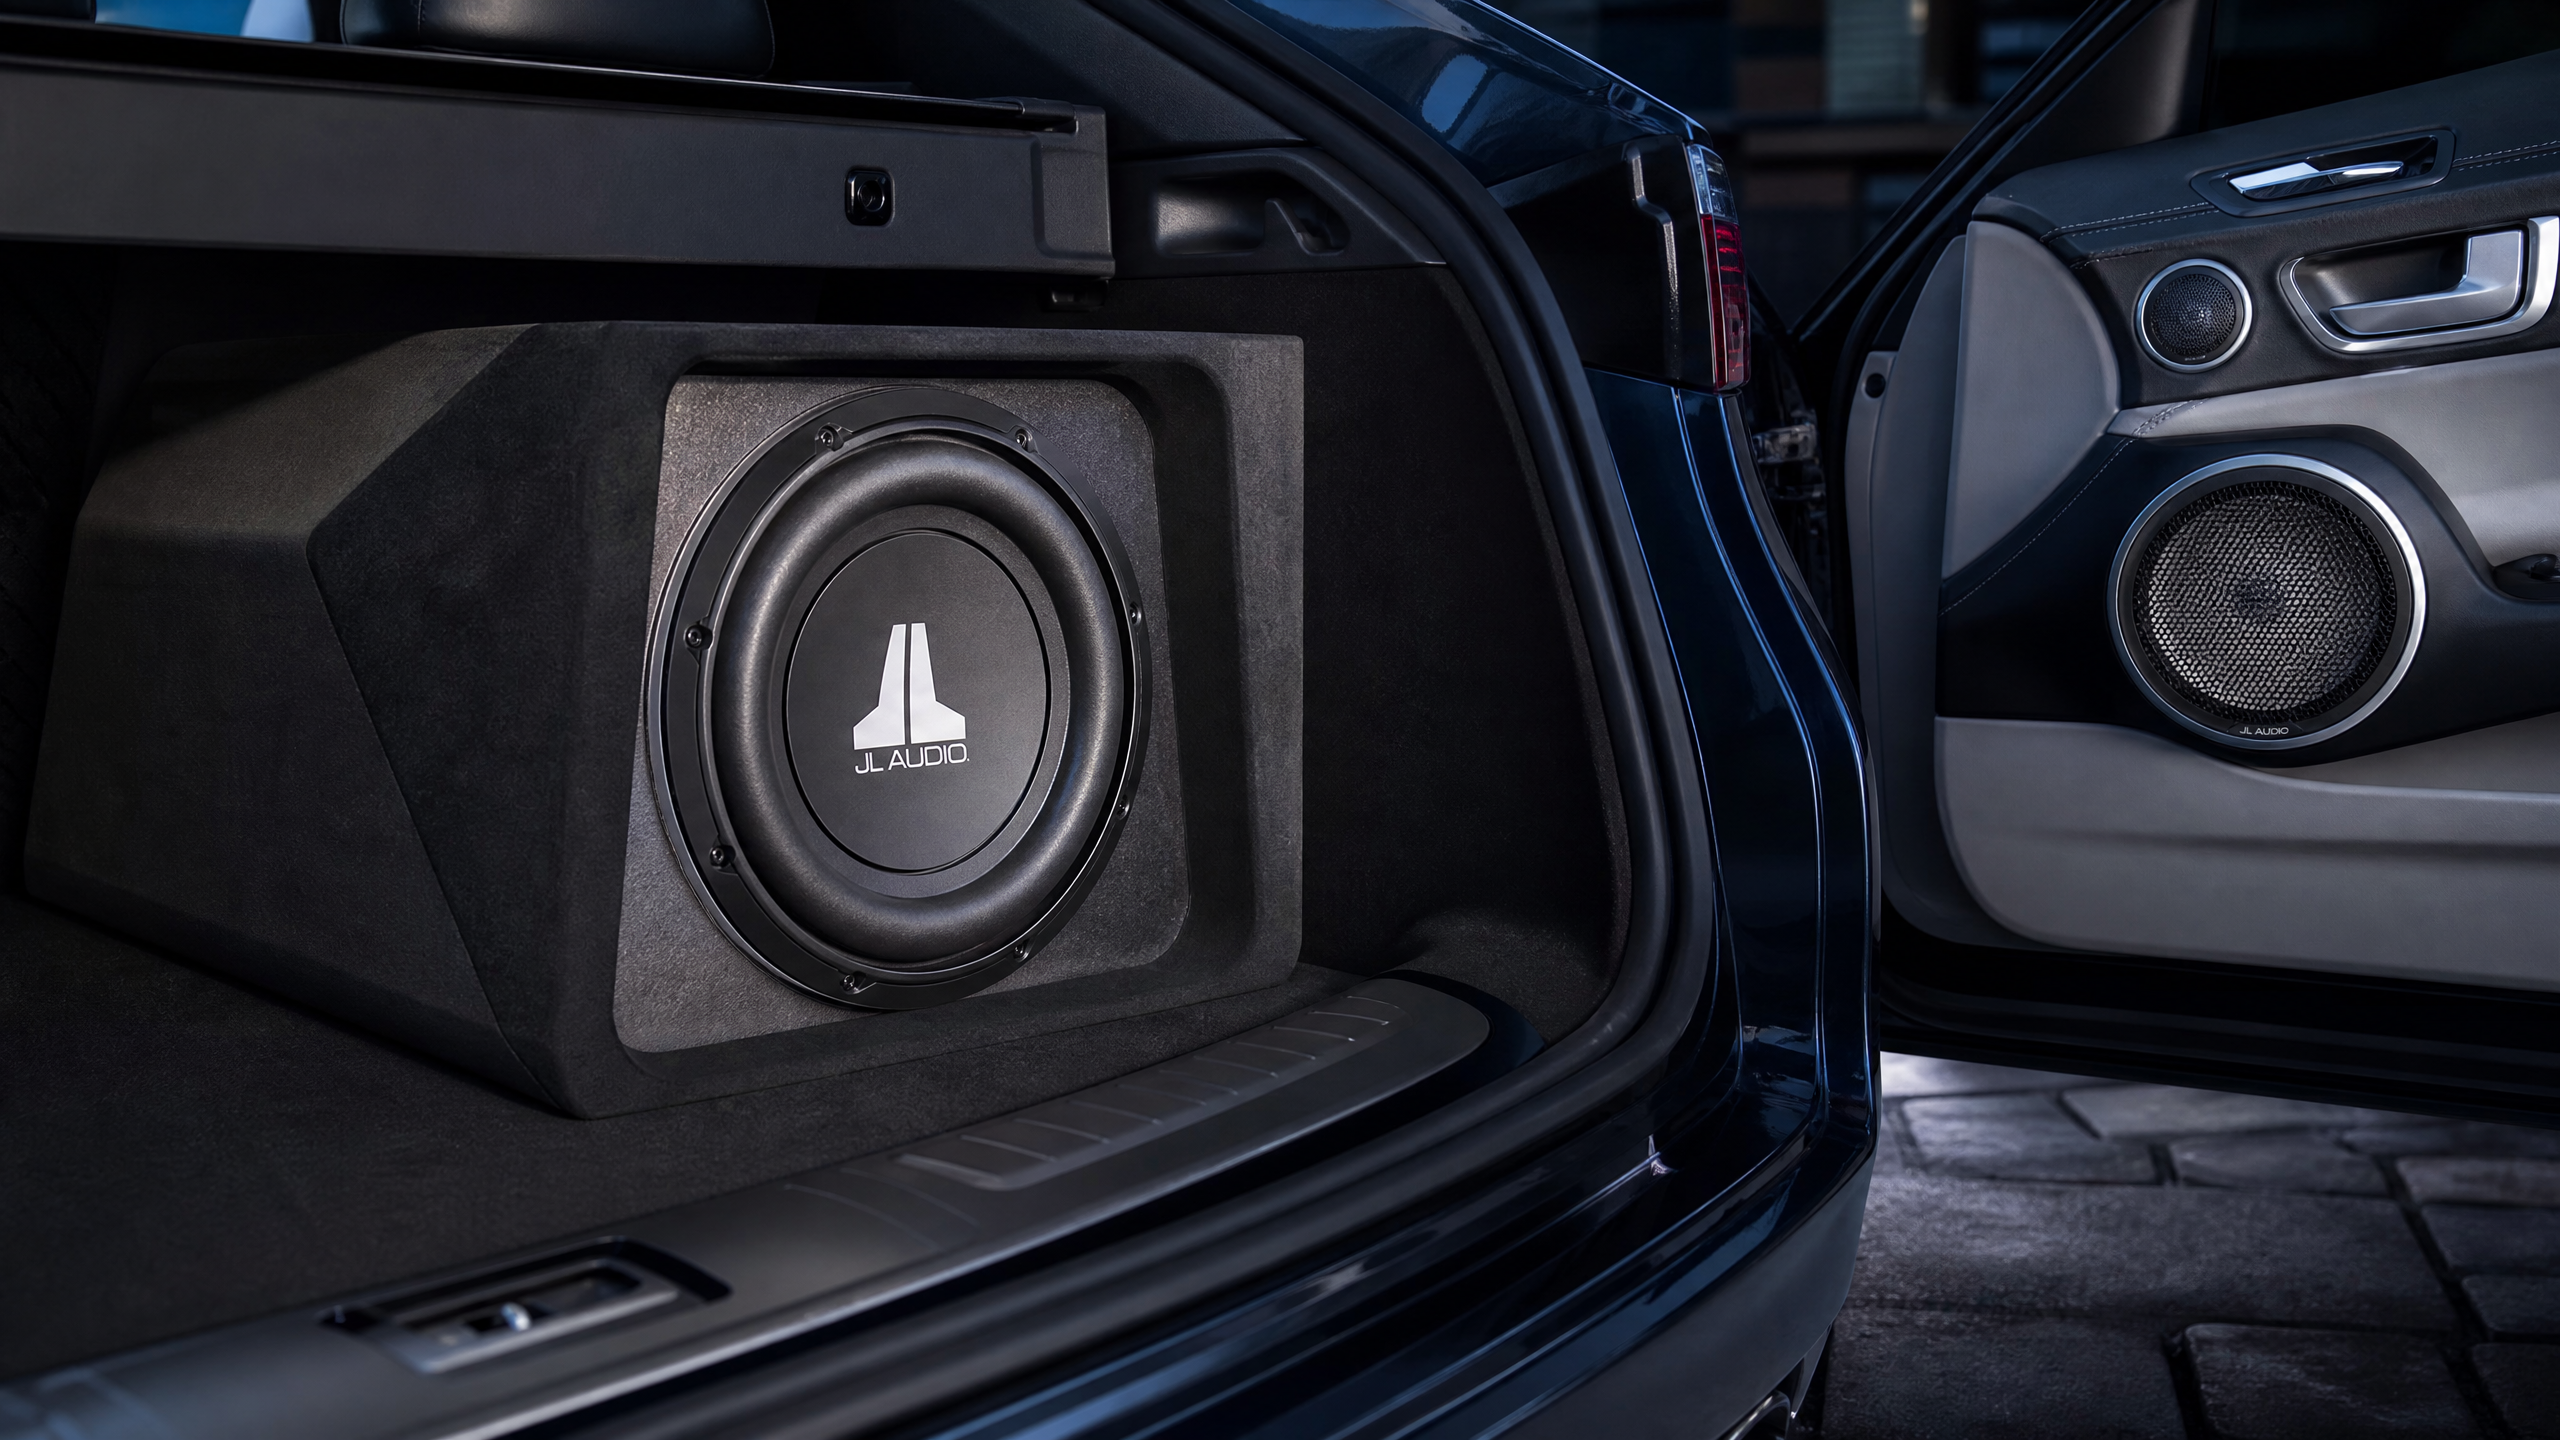
Every customer who walks up to my bench with a big subwoofer box already picked out asks me the same thing: “will this fit my car.” Wrong question. The right question is what’s actually feeding that subwoofer power, and whether your factory wiring can handle any of it.
I’ve seen more blown fuses and melted wiring harnesses from people skipping straight to the biggest sub they could find than from any other mistake in car audio. Build a system in this order and you won’t regret it: speakers first, then subwoofer, then the amp and wiring to support both.
Speakers are what you hear 90% of the time — talk radio, podcasts, most of your music. A subwoofer only handles the bottom octave. If your speakers sound like tin cans, no amount of bass is going to fix that.
Choosing speakers that fit your doors
Factory speaker sizes vary a lot by vehicle, and the two numbers that matter most are the mounting diameter and the depth available behind the door panel.
- Coaxial (full-range) speakers — tweeter and woofer built into one unit. Easiest swap, bolts right into the factory location in most cars.
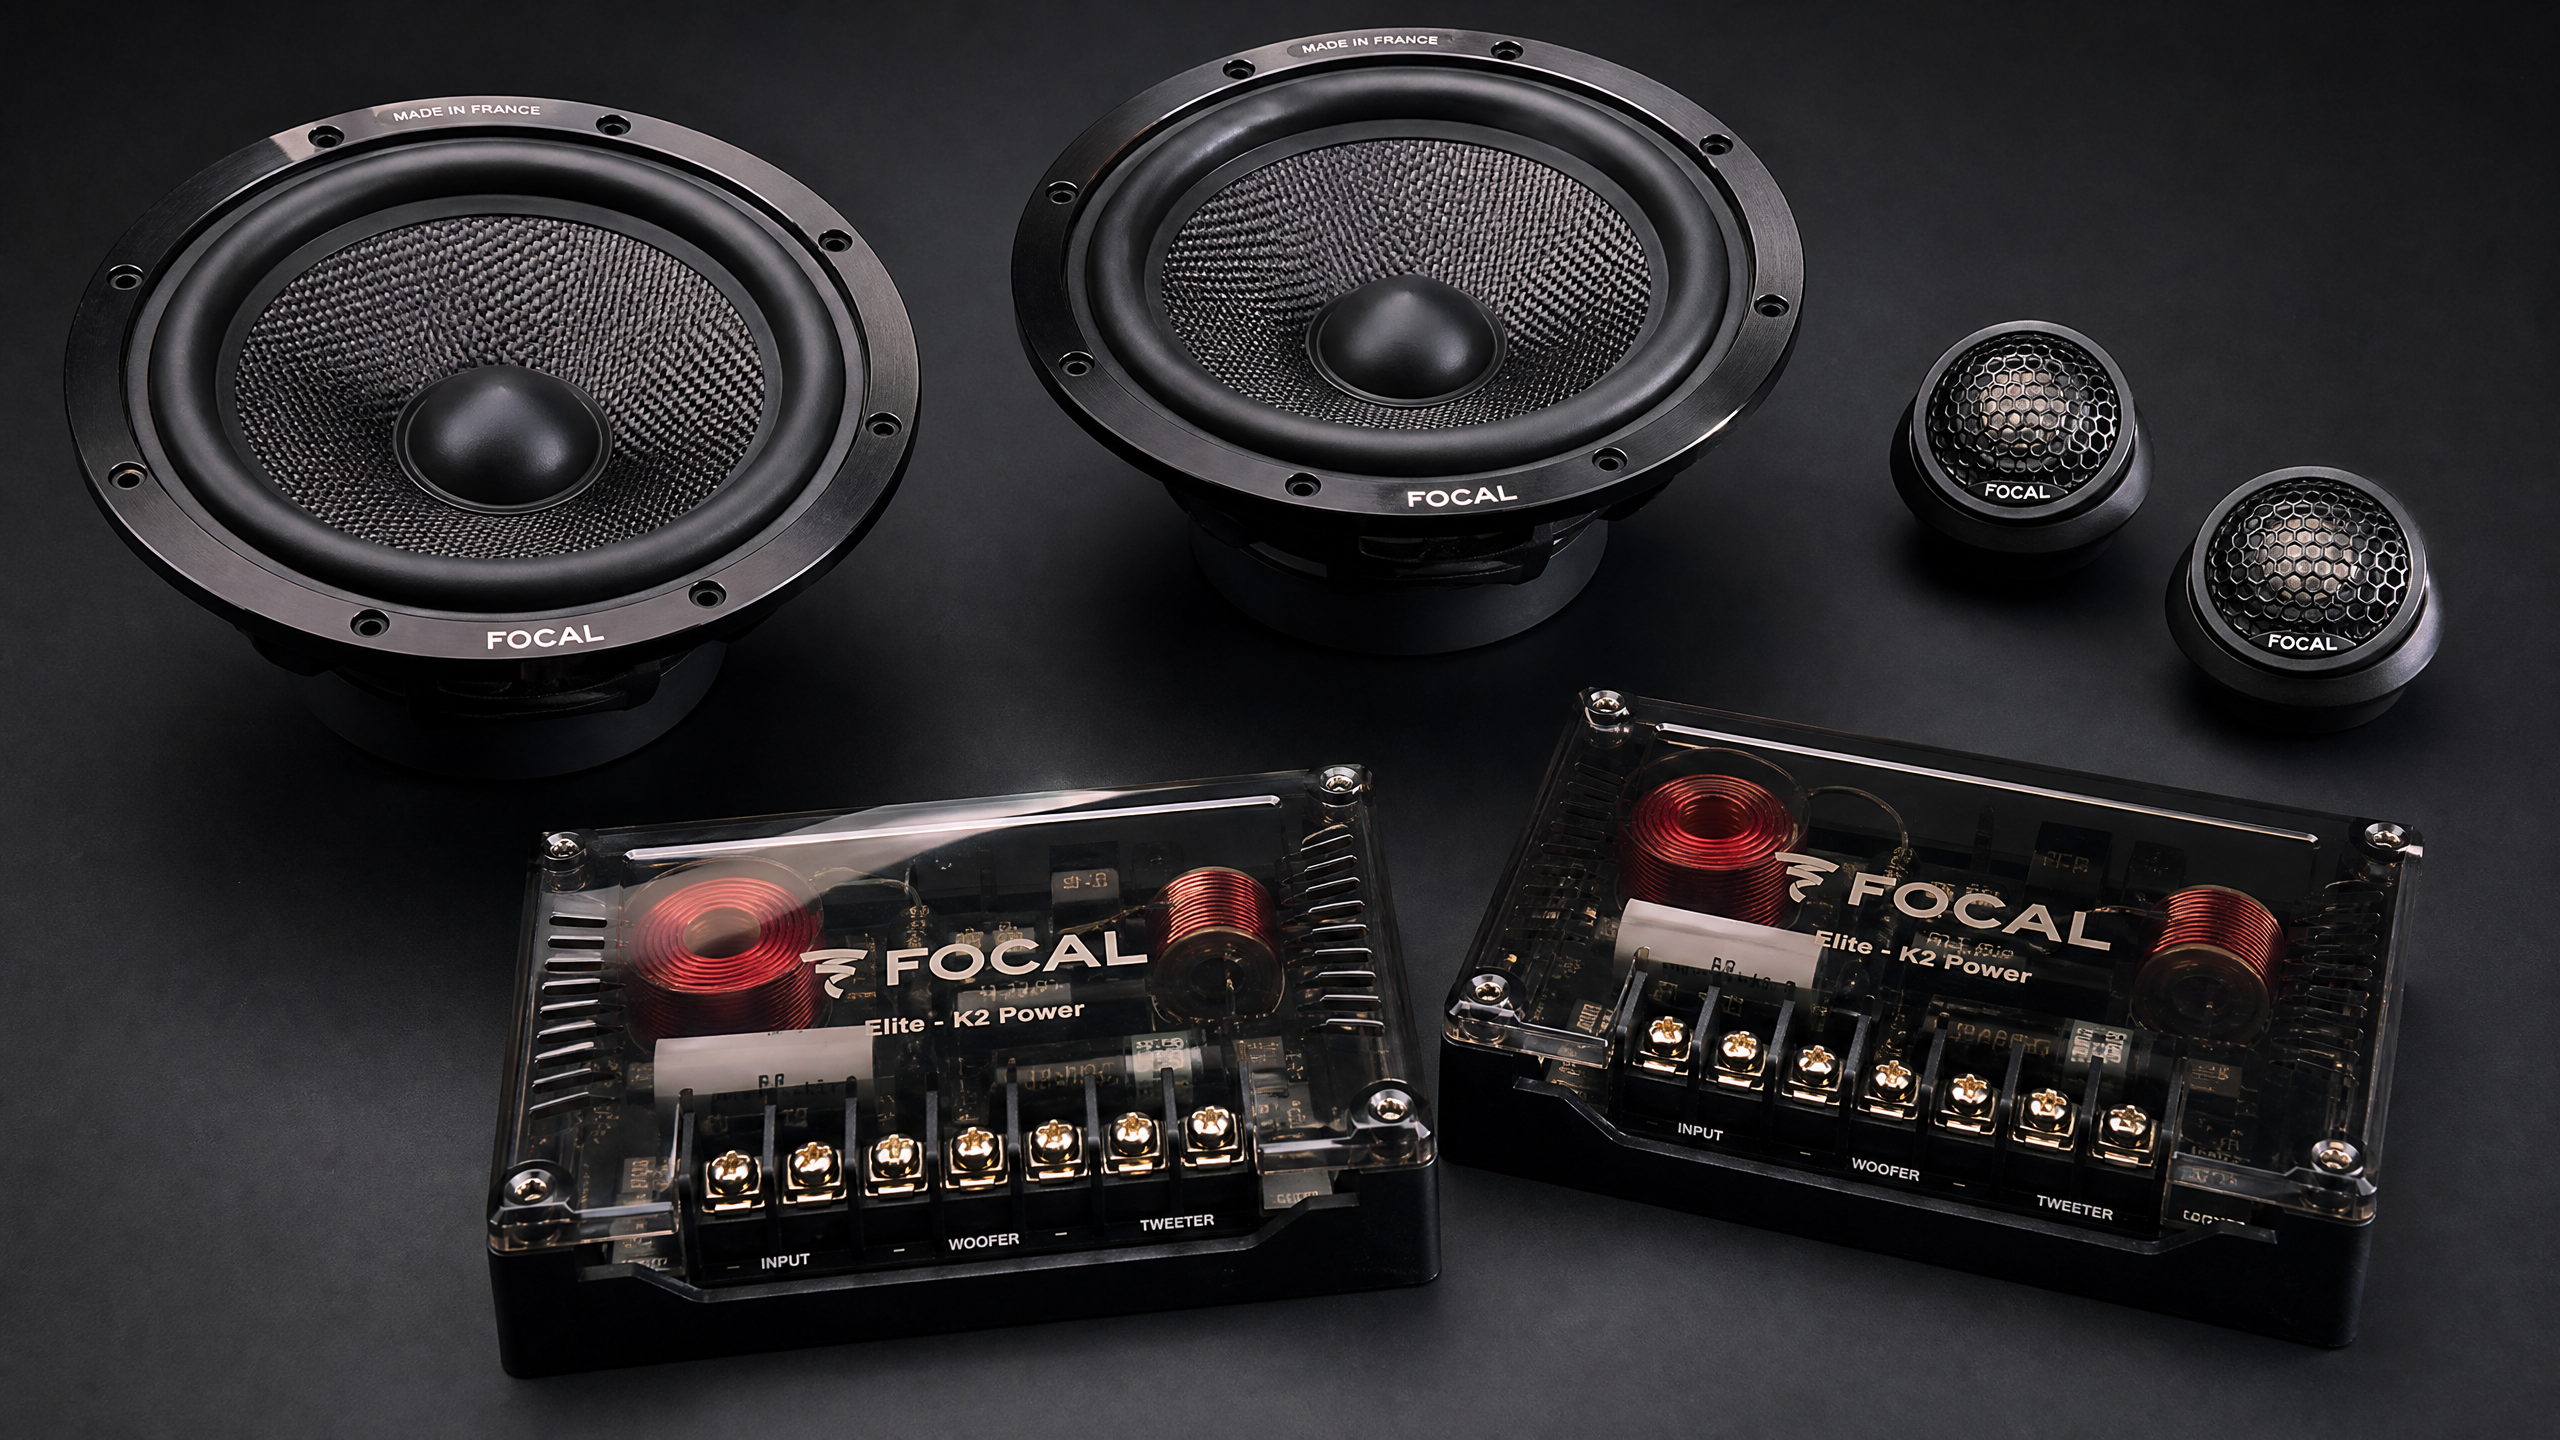
- Component speakers — separate woofer and tweeter with an external crossover. Better sound staging and clarity, but needs a spot to mount the tweeter and run extra wire for it.
Measuring before you buy
- Pop the door panel or grille off your existing speaker location using a trim tool.
- Measure the mounting hole diameter — common sizes are 3.5″, 4×6″, 5.25″, 6.5″, and 6×9″.
- Measure the depth from the mounting ring back to the window glass or door skin. A speaker that’s too deep will rattle against the window mechanism.
- Check the mounting hole pattern — some speakers need an adapter bracket to match the factory screw holes.
Subwoofers: sealed vs. ported, and sizing
This is where I get the most questions, so let’s break it down plainly.
Sealed enclosures
Tighter, more accurate bass. Smaller box. Takes more amplifier power to hit the same volume as a ported box. This is my pick if you listen to a lot of rock, acoustic, or anything where you want punchy, controlled bass rather than room-shaking boom.
Ported (vented) enclosures
Louder for the same power input, with a boomier, more extended low-end. Bigger box, and tuning the port length matters — get it wrong and you get a muddy, one-note bass instead of real depth. This is the pick for hip-hop, EDM, and anyone chasing SPL over accuracy.
| Sub size | Typical use case | Enclosure volume (approx.) |
|---|---|---|
| 8″–10″ | Daily driver, fills in low end without eating trunk space | 0.5–1.0 cu ft sealed |
| 12″ | Most popular all-around size, good for music and some SPL | 1.0–1.5 cu ft sealed / 1.5–2.5 cu ft ported |
| 15″+ | Dedicated bass builds, SPL competition, trunk space not a concern | 2.5+ cu ft, often ported |
Amplifiers and matching power correctly
An amplifier’s job is to deliver clean power that matches what your speakers and subwoofer are rated to handle — no more, no less.
- RMS power is the number that matters, not “peak” or “max” power printed in huge letters on the box. RMS is the continuous power rating; peak is a marketing number for a fraction of a second burst.
- Match amp RMS output to speaker/sub RMS rating, ideally within about 75–100% of the speaker’s rating. Underpowering causes clipping distortion that can actually blow speakers faster than slightly overpowering them.
- Check impedance (ohms) — most car speakers are 4 ohm, subs commonly come in 2 or 4 ohm (dual voice coil subs can be wired to different total impedances). Your amp needs to be stable at whatever impedance your final wiring configuration lands on.
Electrical upgrades your system will need
This is the step people skip and then wonder why their headlights dim every time the bass hits.
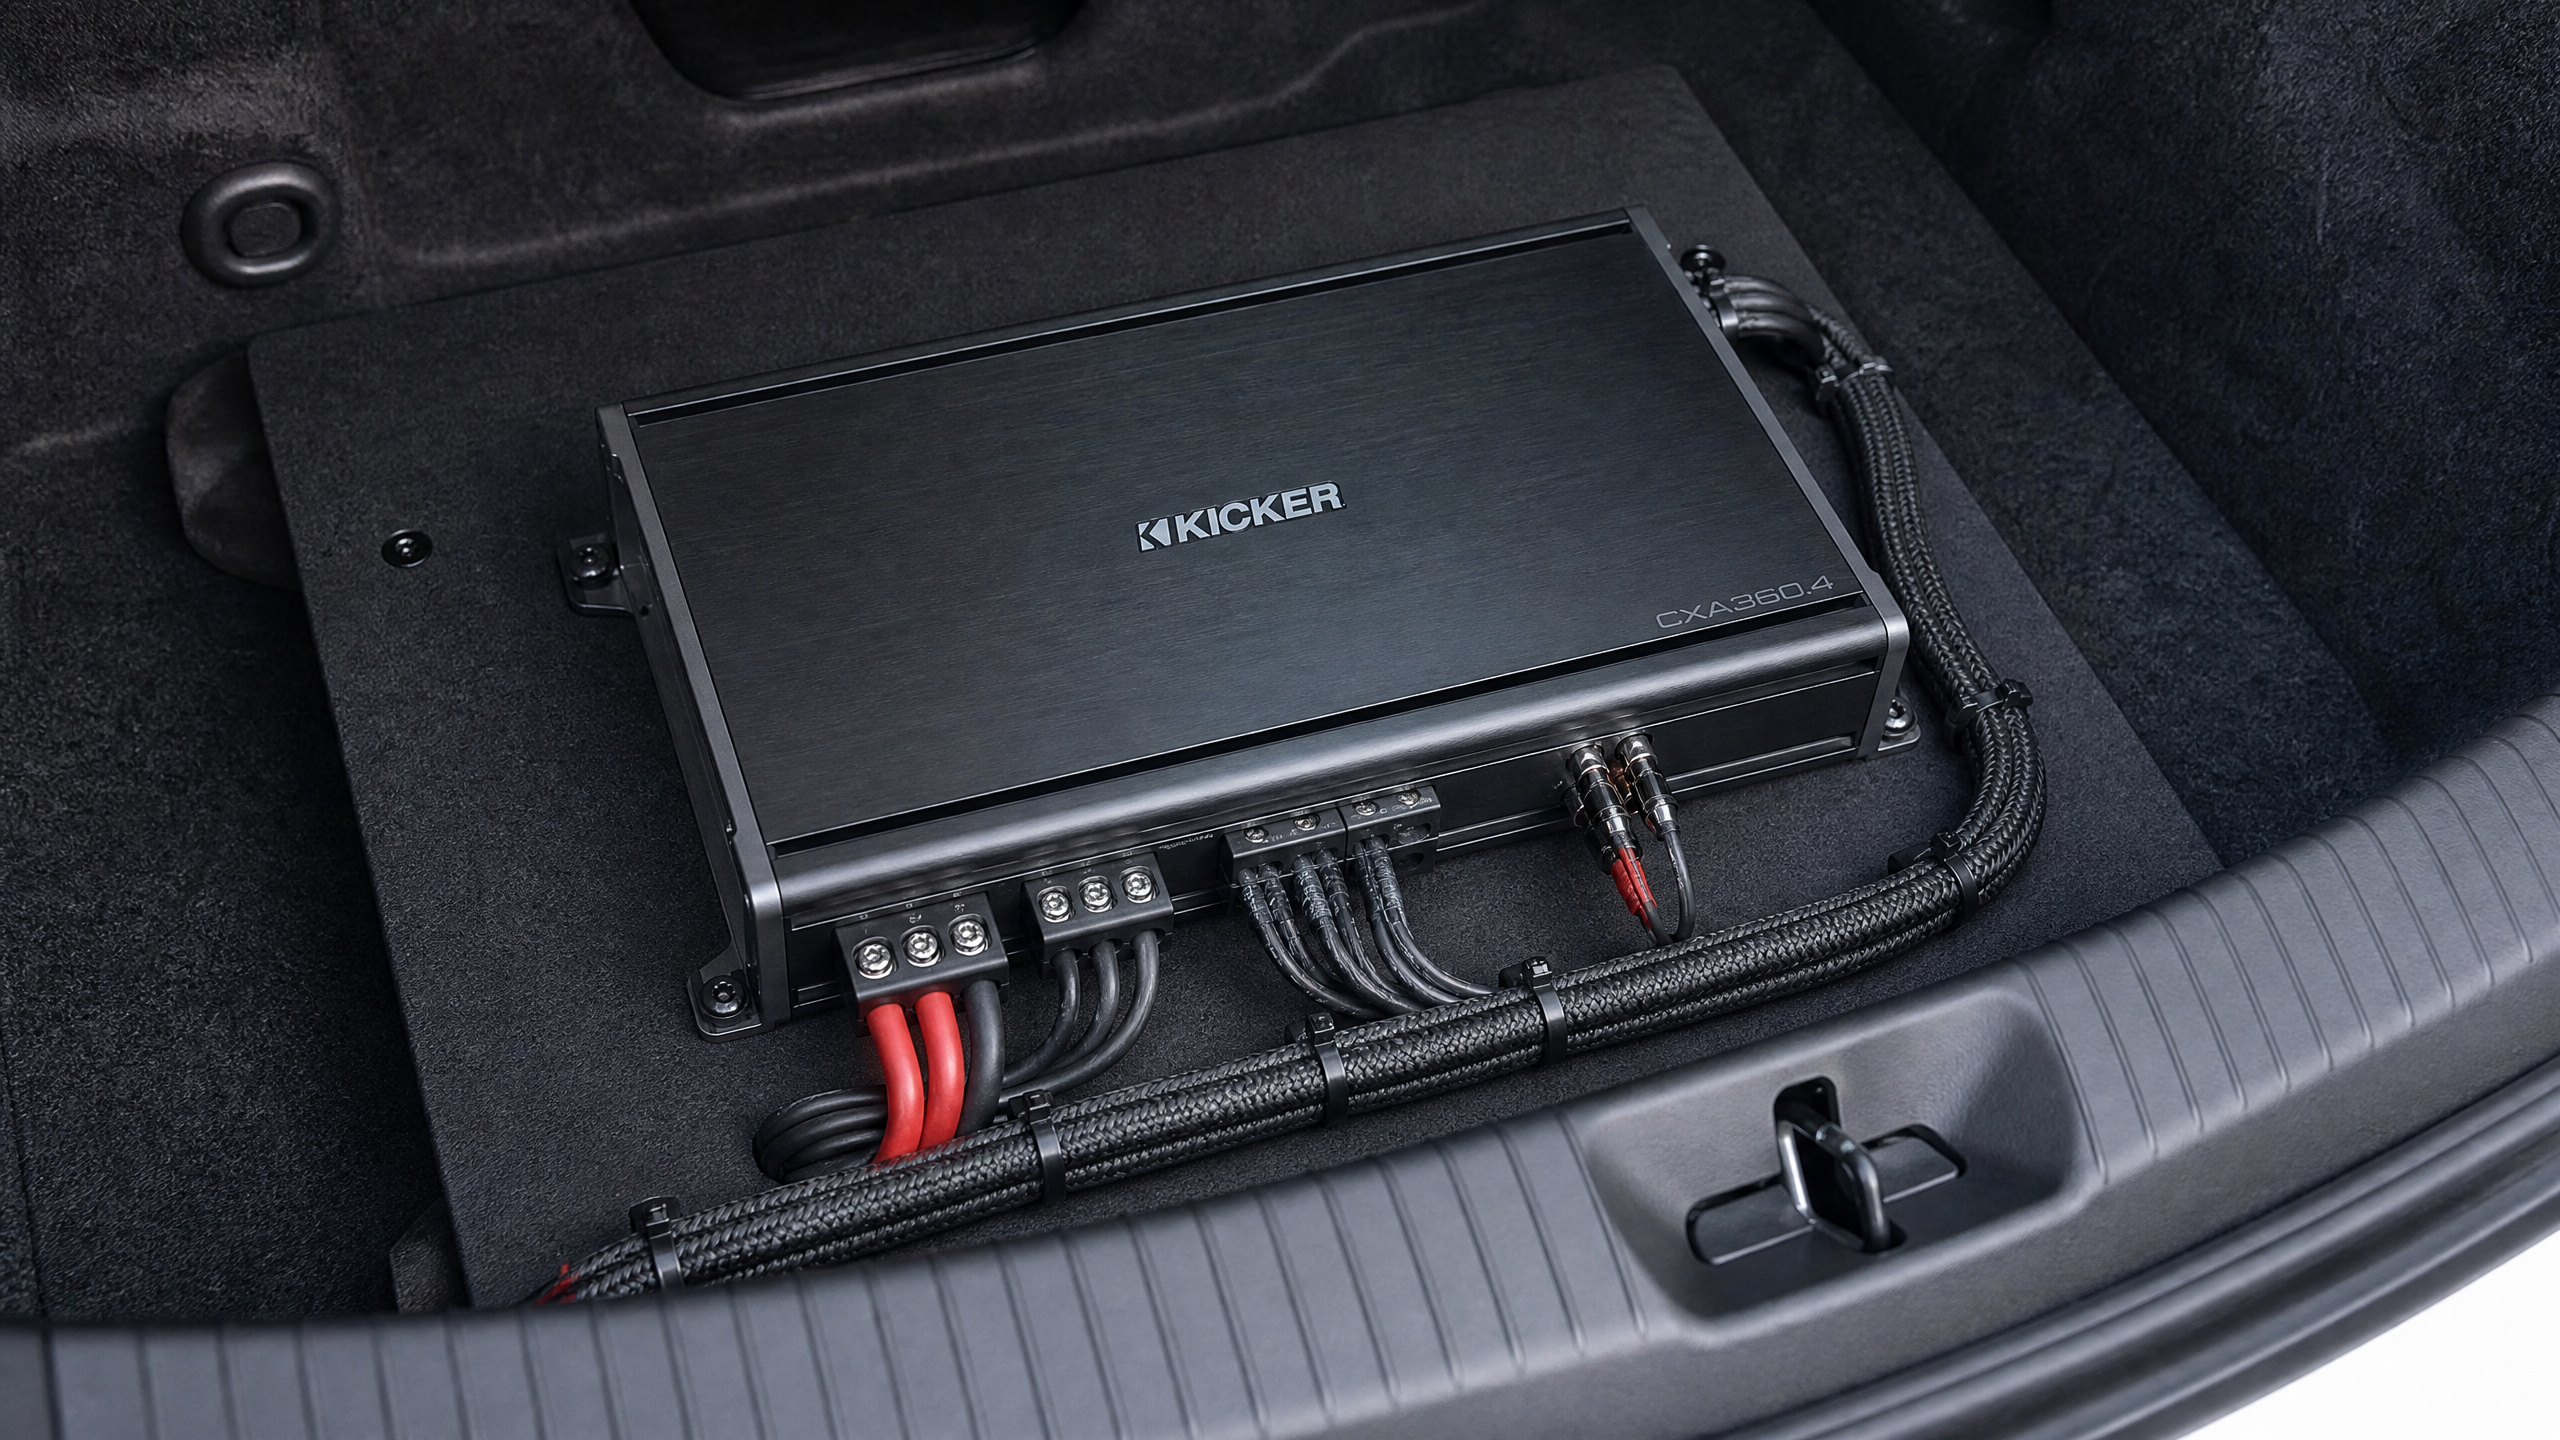
- Upgrade your power and ground wire gauge to match your amp’s fuse rating — an undersized power wire is a fire risk, not just a performance issue.
- Add a distribution block if you’re running more than one amp off a single battery feed.
- Run a dedicated ground wire to a clean, sanded, bare-metal chassis point — a bad ground is the number one cause of alternator whine and random amp shutdowns.
- Consider a big 3 upgrade (battery-to-alternator, battery-to-chassis ground, engine-to-chassis ground) if you’re running more than about 1,000 watts RMS total system power.
- Add a capacitor or second battery only after the big 3 is done — a cap doesn’t fix a weak charging system, it just smooths out momentary voltage dips.
Sound staging: why placement beats raw power
I learned this one the hard way on my own daily driver. I dropped good money on component speakers and a clean amp, wired everything perfectly, and it still sounded flat and directionless — like the music was coming from my dashboard instead of surrounding me.
The fix wasn’t more power. It was tweeter placement. I’d mounted the tweeters low in the factory door location instead of up on the A-pillar or sail panel, angled toward my ears. Moving them up changed the whole feel of the system without touching a single wire on the amp.
- Aim tweeters at ear level whenever you can — A-pillar pods or dash-mounted tweeters almost always beat a stock low door location.
- Keep left and right speakers symmetrical in mounting height and angle, or your stereo image pulls to one side.
- Deaden your doors with sound deadening mat before installing new speakers if the factory doors are just bare sheet metal — it kills rattle and actually improves bass response from the mid-woofer, since the panel isn’t flexing and losing energy.
Does your head unit need to change too?
A common mistake is dropping serious money on speakers and an amp while running everything off a weak factory head unit with a low-voltage preamp output. If your factory stereo’s RCA preamp output is under about 2 volts, you’re feeding your amp a thin signal that it has to work harder to amplify cleanly, which raises the noise floor.
You don’t necessarily need a touchscreen replacement — plenty of aftermarket head units in the $80–150 range put out a solid 4-volt-plus preamp signal and have built-in EQ and crossover controls that let you dial in your new speakers properly. If you’re already swapping speakers and adding an amp, it’s worth checking this spec before you assume your factory unit is “good enough.”
A few more questions I get asked a lot
Can I mix speaker brands between front and rear?
You can, but matching sensitivity (dB) ratings front to rear keeps the volume balance even without extra fader adjustment. Mismatched sensitivity often means one end of the car sounds louder even at the same volume setting.
Is a passive crossover included with component speakers, and do I need it?
Yes, and yes. The passive crossover splits the signal so your tweeter only gets highs and your woofer only gets lows and mids. Skipping it and wiring both drivers straight to the amp will blow a tweeter fast — they’re not built to handle bass frequencies.
How do I know if my factory alternator can handle the new system?
Most factory alternators can handle a modest speaker and single sub upgrade fine. Once you’re running 1,000+ watts RMS of amplifier power, get your charging system load-tested at idle with the system playing at a normal volume — dimming headlights or a flickering dash are early warning signs your charging system is maxed out.
Power matching calculator
Quick Amp-to-Speaker Match Check
Enter your speaker or subwoofer’s RMS rating and I’ll give you the amp output range to aim for.
Quiz: what setup fits your goals
60-Second Fit Check
Answer three questions and I’ll point you toward sealed, ported, or a speaker-only upgrade.
1. What matters more to you?
2. How much trunk or cargo space can you give up?
3. What do you mostly listen to?
Buying reference
| Component | Entry-level target | What to prioritize |
|---|---|---|
| Coaxial speakers | Match factory RMS rating within 20% | Sensitivity (dB) if running on low factory power |
| Component speakers | Set with dedicated crossover | Tweeter mounting flexibility |
| Subwoofer | Match to enclosure spec sheet exactly | Don’t oversize the box “to be safe” |
| Amplifier | RMS rating within 75–100% of speaker RMS | Class D for subs, stable at your final ohm load |
| Wiring kit | Gauge matched to amp fuse rating | Never skip the inline fuse near the battery |
Grab the gear I actually use
I keep an updated list of the speakers, subs, amps, and wiring kits I trust for builds like this.
Check Sound System Gear on Amazon →Final word from the garage
The best-sounding systems I’ve built were never the ones with the biggest single subwoofer — they were the ones where every piece was matched to the next: speakers to the door, amp to the speaker rating, wiring to the amp’s fuse, and the electrical system upgraded to actually support all of it.
Take it one step at a time, measure twice before you cut into a door panel or run a new wire, and you’ll have a system that makes you want to take the long way home every single day.
Related: Check out our guide on Remote Starter Installation: Warm Up Your Car Remotely.





Leave a Reply